Raymond Theatre Photos: Photographing a Pasadena Fundraiser in Low Light
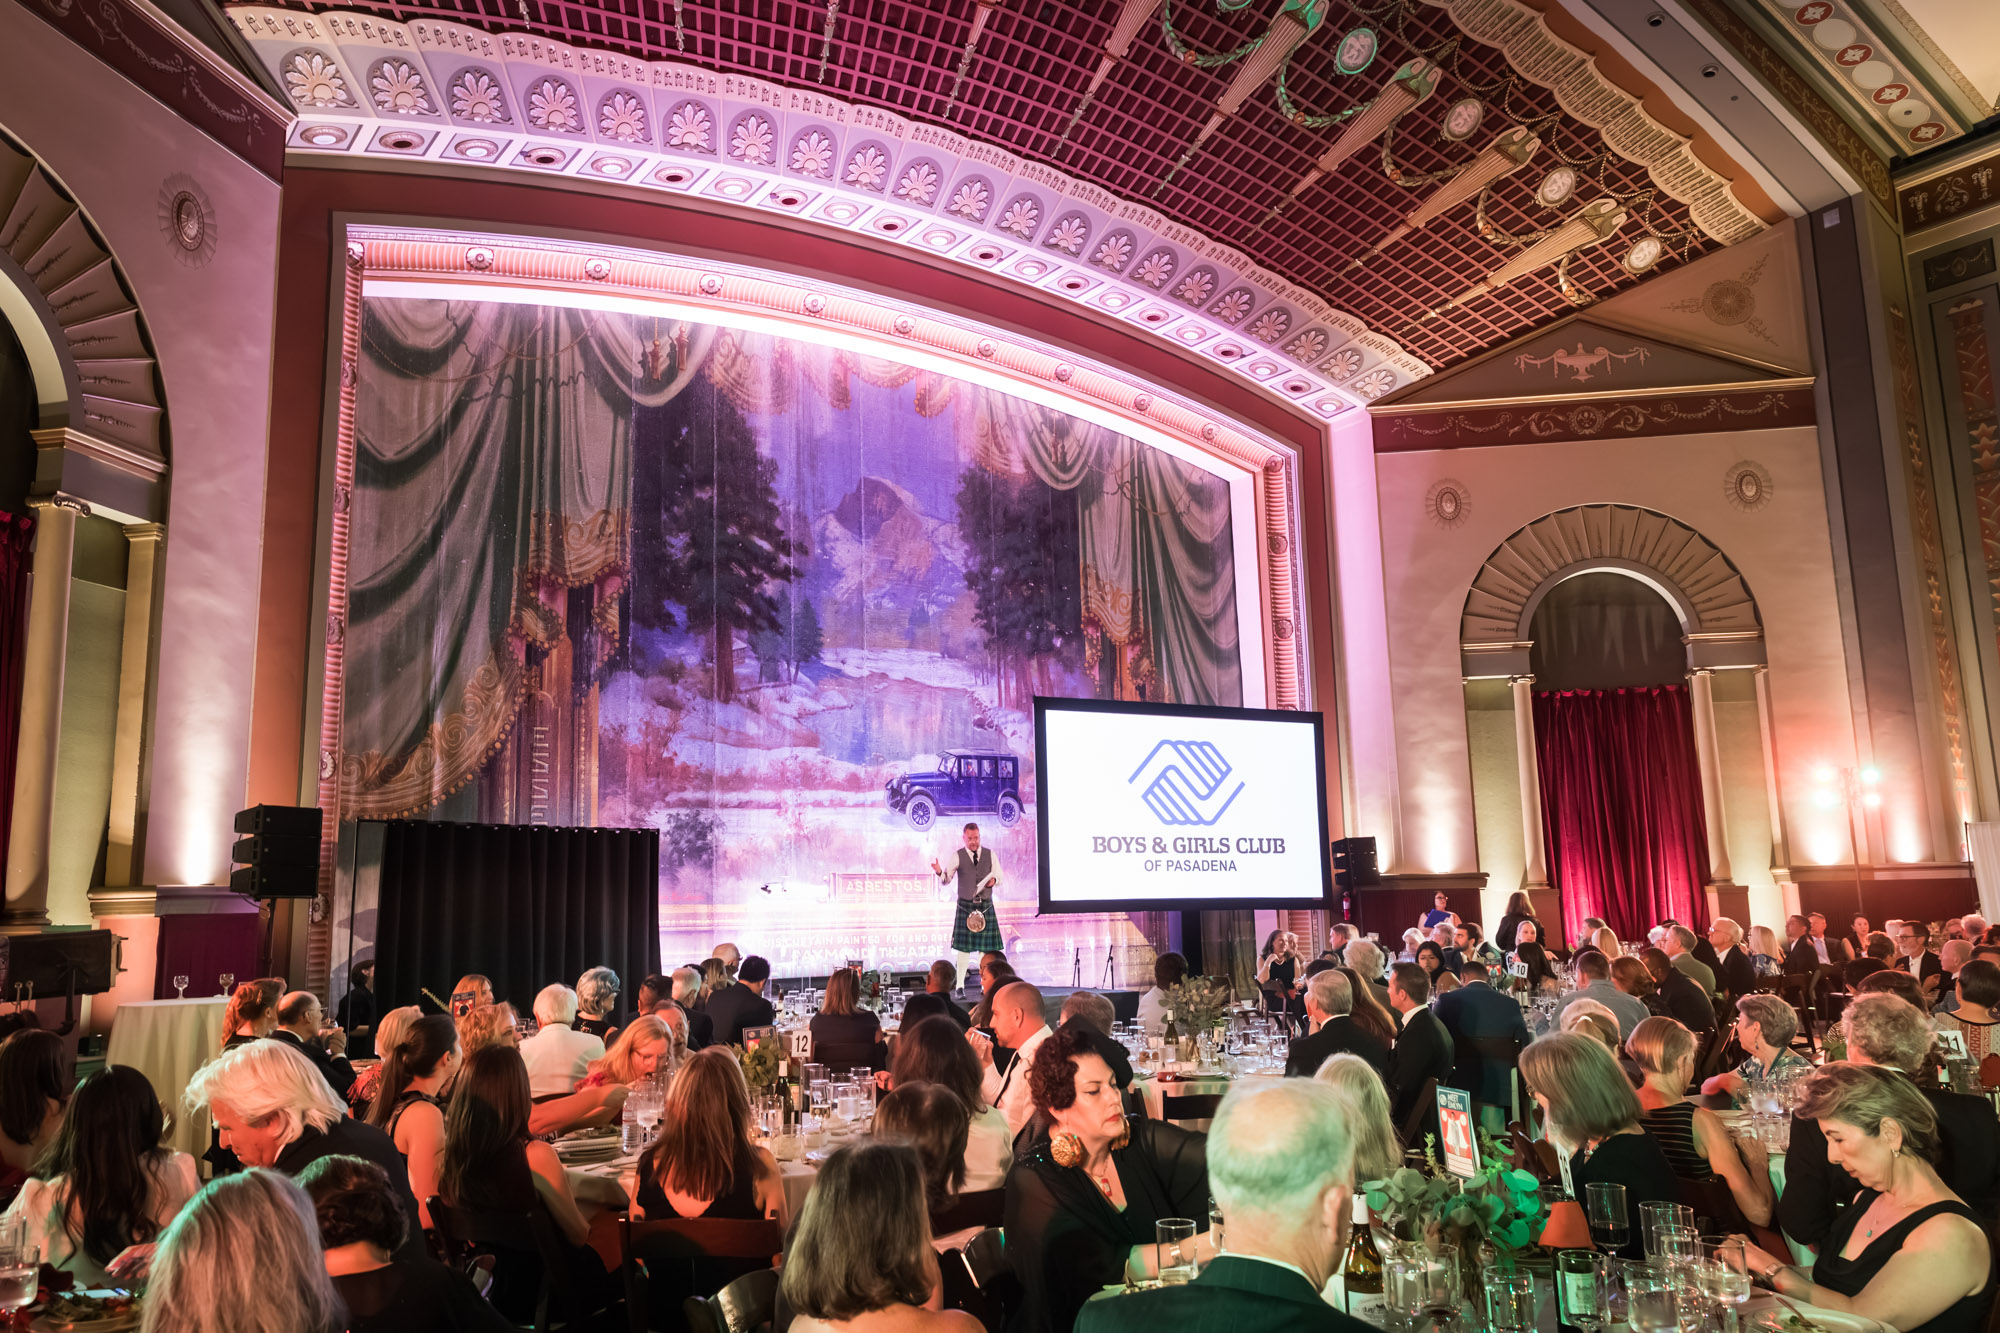
Capturing an event in low light is always an extraordinary challenge for a photographer. On the one hand, you do not want to be disruptive to the event, and that often means a limited use of flash. At the same time, you want to take the best images possible, which can seem technically impossible without more light. So, what is a photographer to do? Thankfully, modern cameras make the task much easier, and it is often a case of using the correct settings. In today’s blog post, I will use a real-life example of how I captured these Raymond Theatre photos during a fundraiser for the Boys and Girls Club of Pasadena. I’ll give you my exact camera settings and tell you how I balanced my light when necessary, so that you can learn from my triumphs (and mistakes) at your next event.
The Raymond Theatre: A Brief History
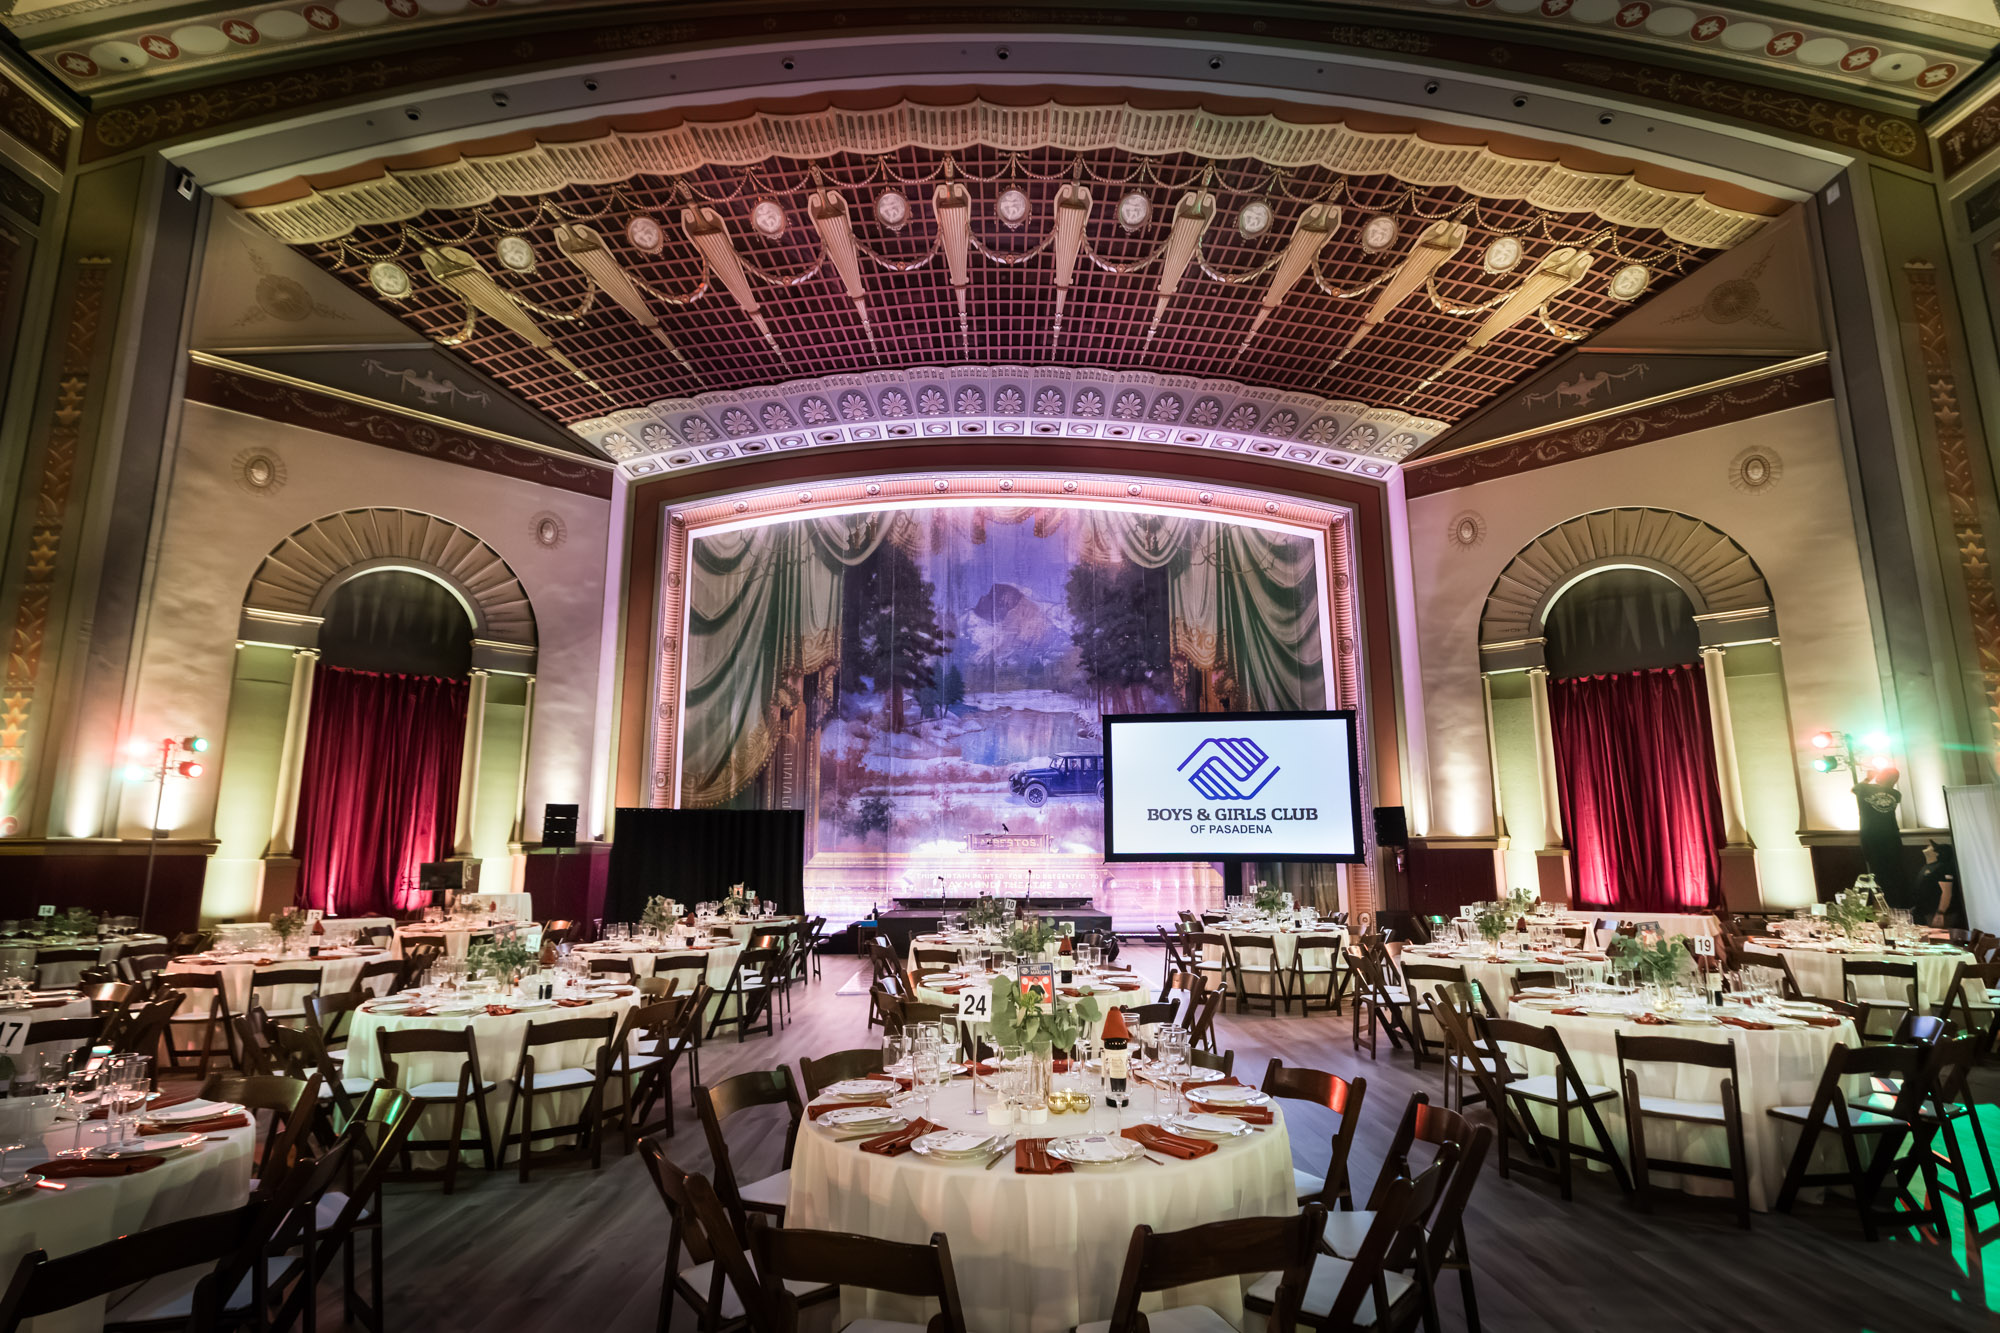
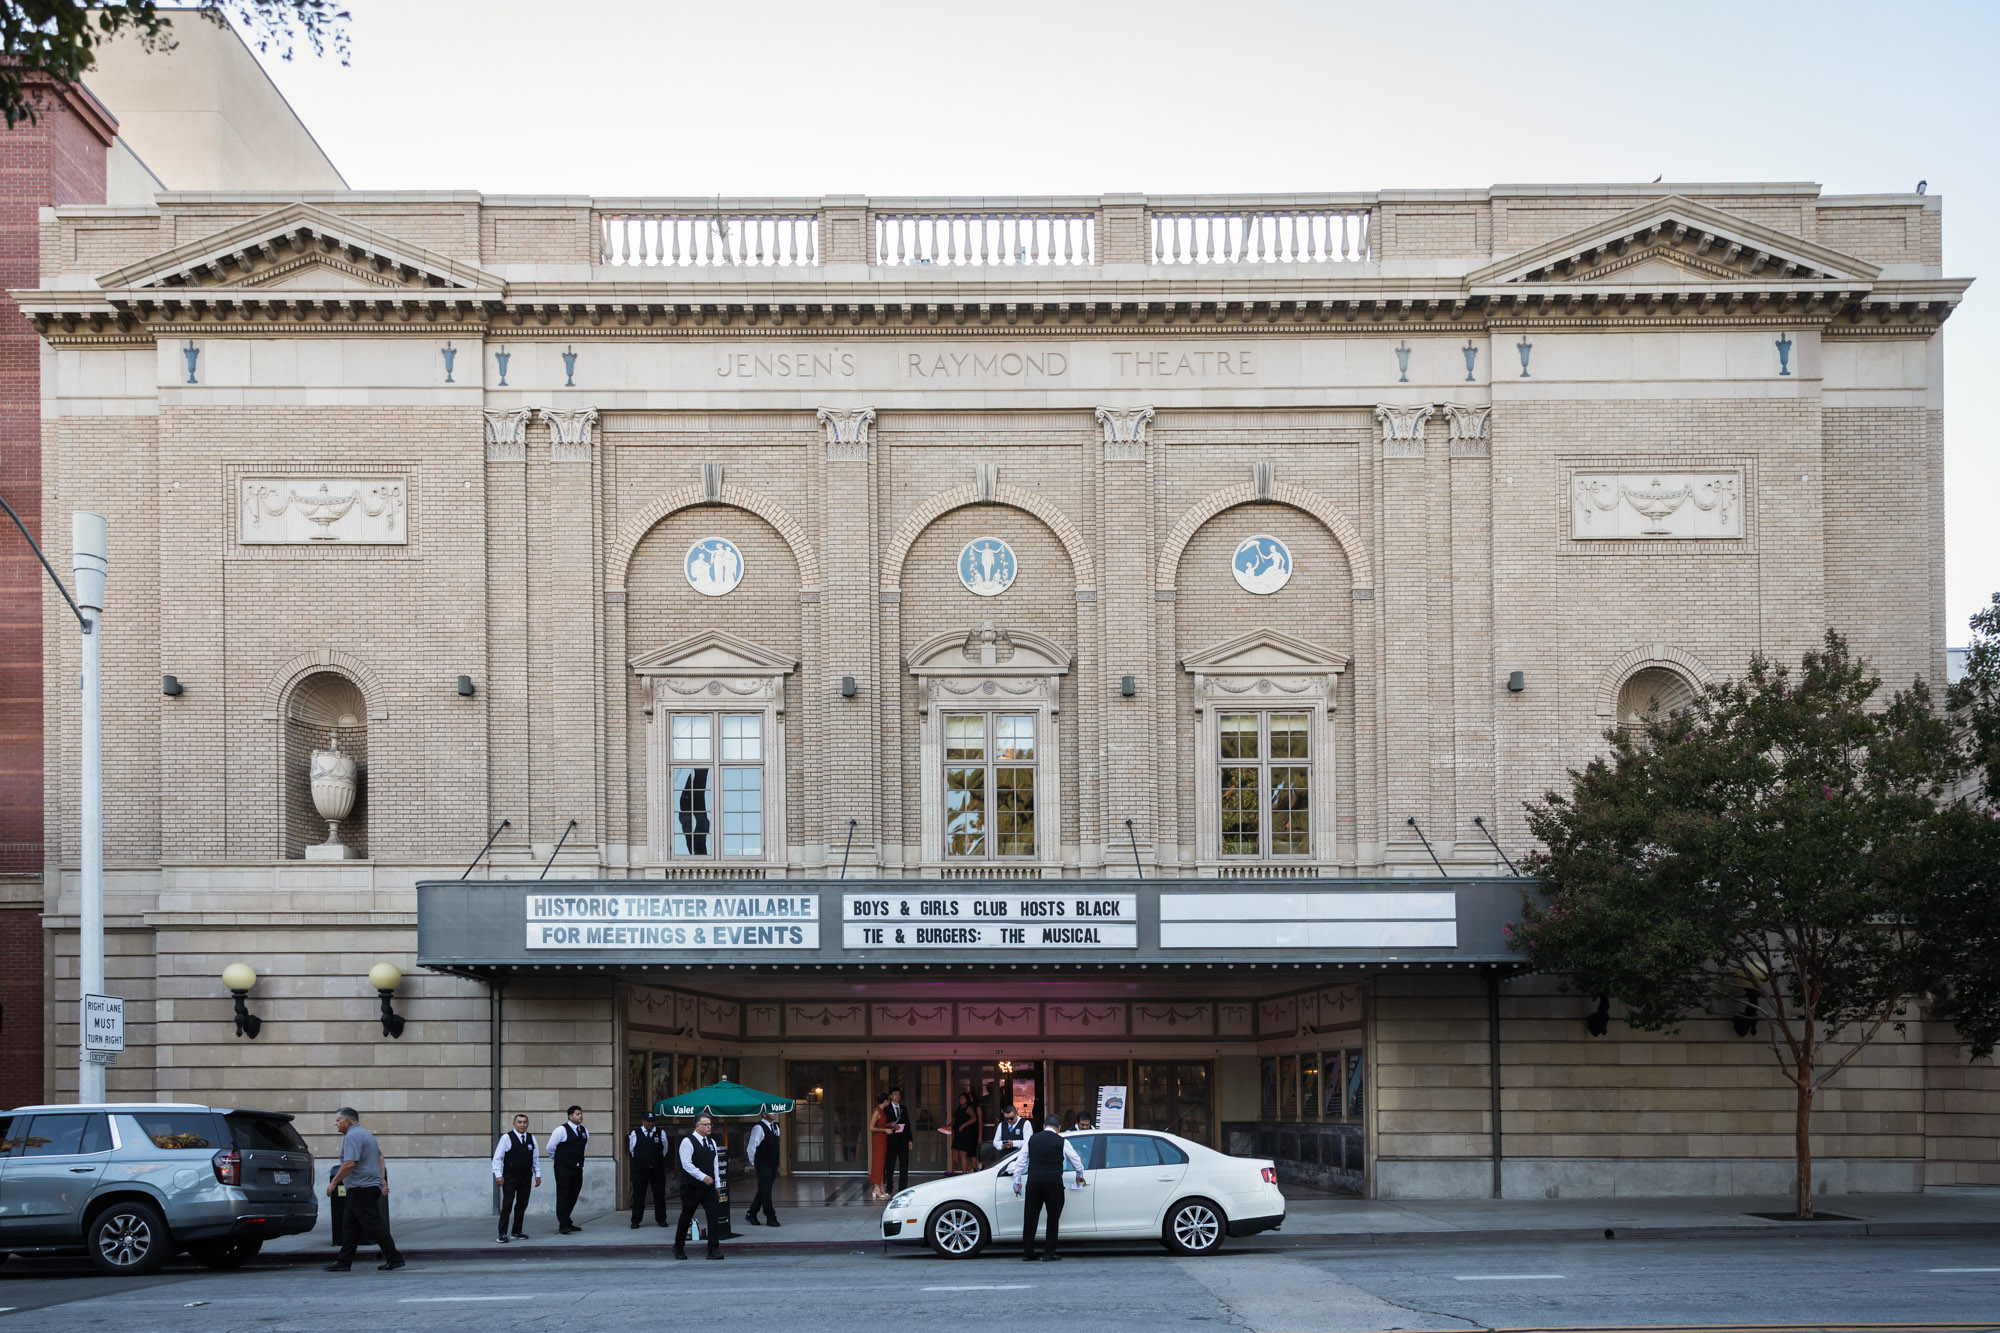
The Raymond Theatre is a beautiful building, located in downtown Pasadena. It opened in April of 1921 as Jensen’s Raymond Theatre, with roughly 1,800 seats and a design in the Adamesque style. The theater began as a venue for vaudeville and movies, and later became a rock venue called Perkins Palace, where acts like Bruce Springsteen and R.E.M. played. Hollywood came calling as well, and scenes from This Is Spinal Tap were filmed on its stage. Its exterior even appeared in Pulp Fiction.
The building later went through a long fight over its future, and it was eventually converted to retail and residential use. The building is currently owned by Dr. Khaled Tawansy, who operates his ophthalmology practice – the Raymond Renaissance Surgery Center – on the top floor of the theater.
The Boys and Girls Club of Pasadena
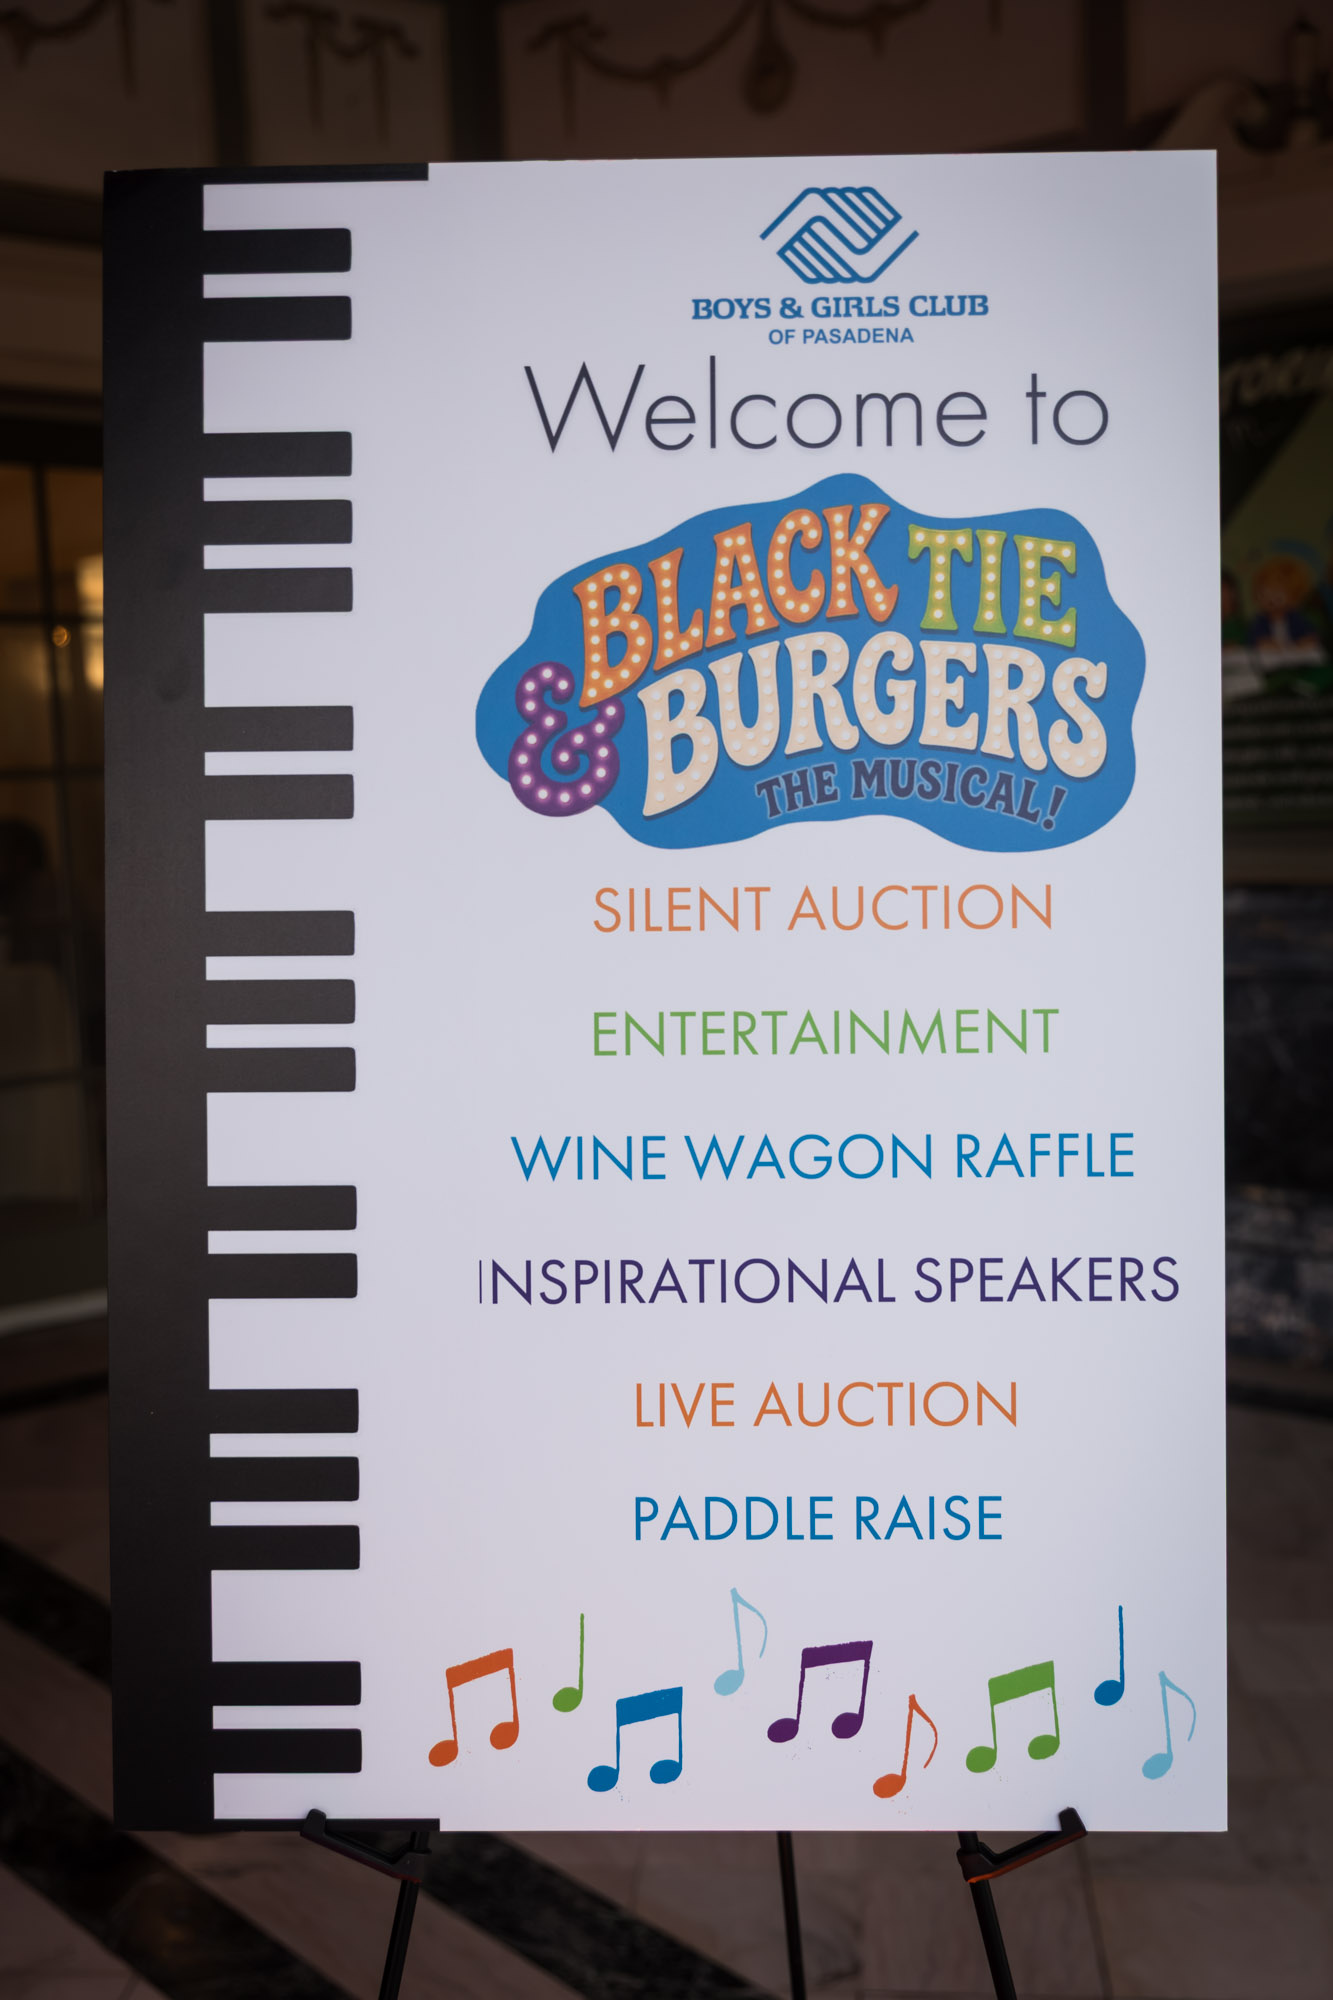
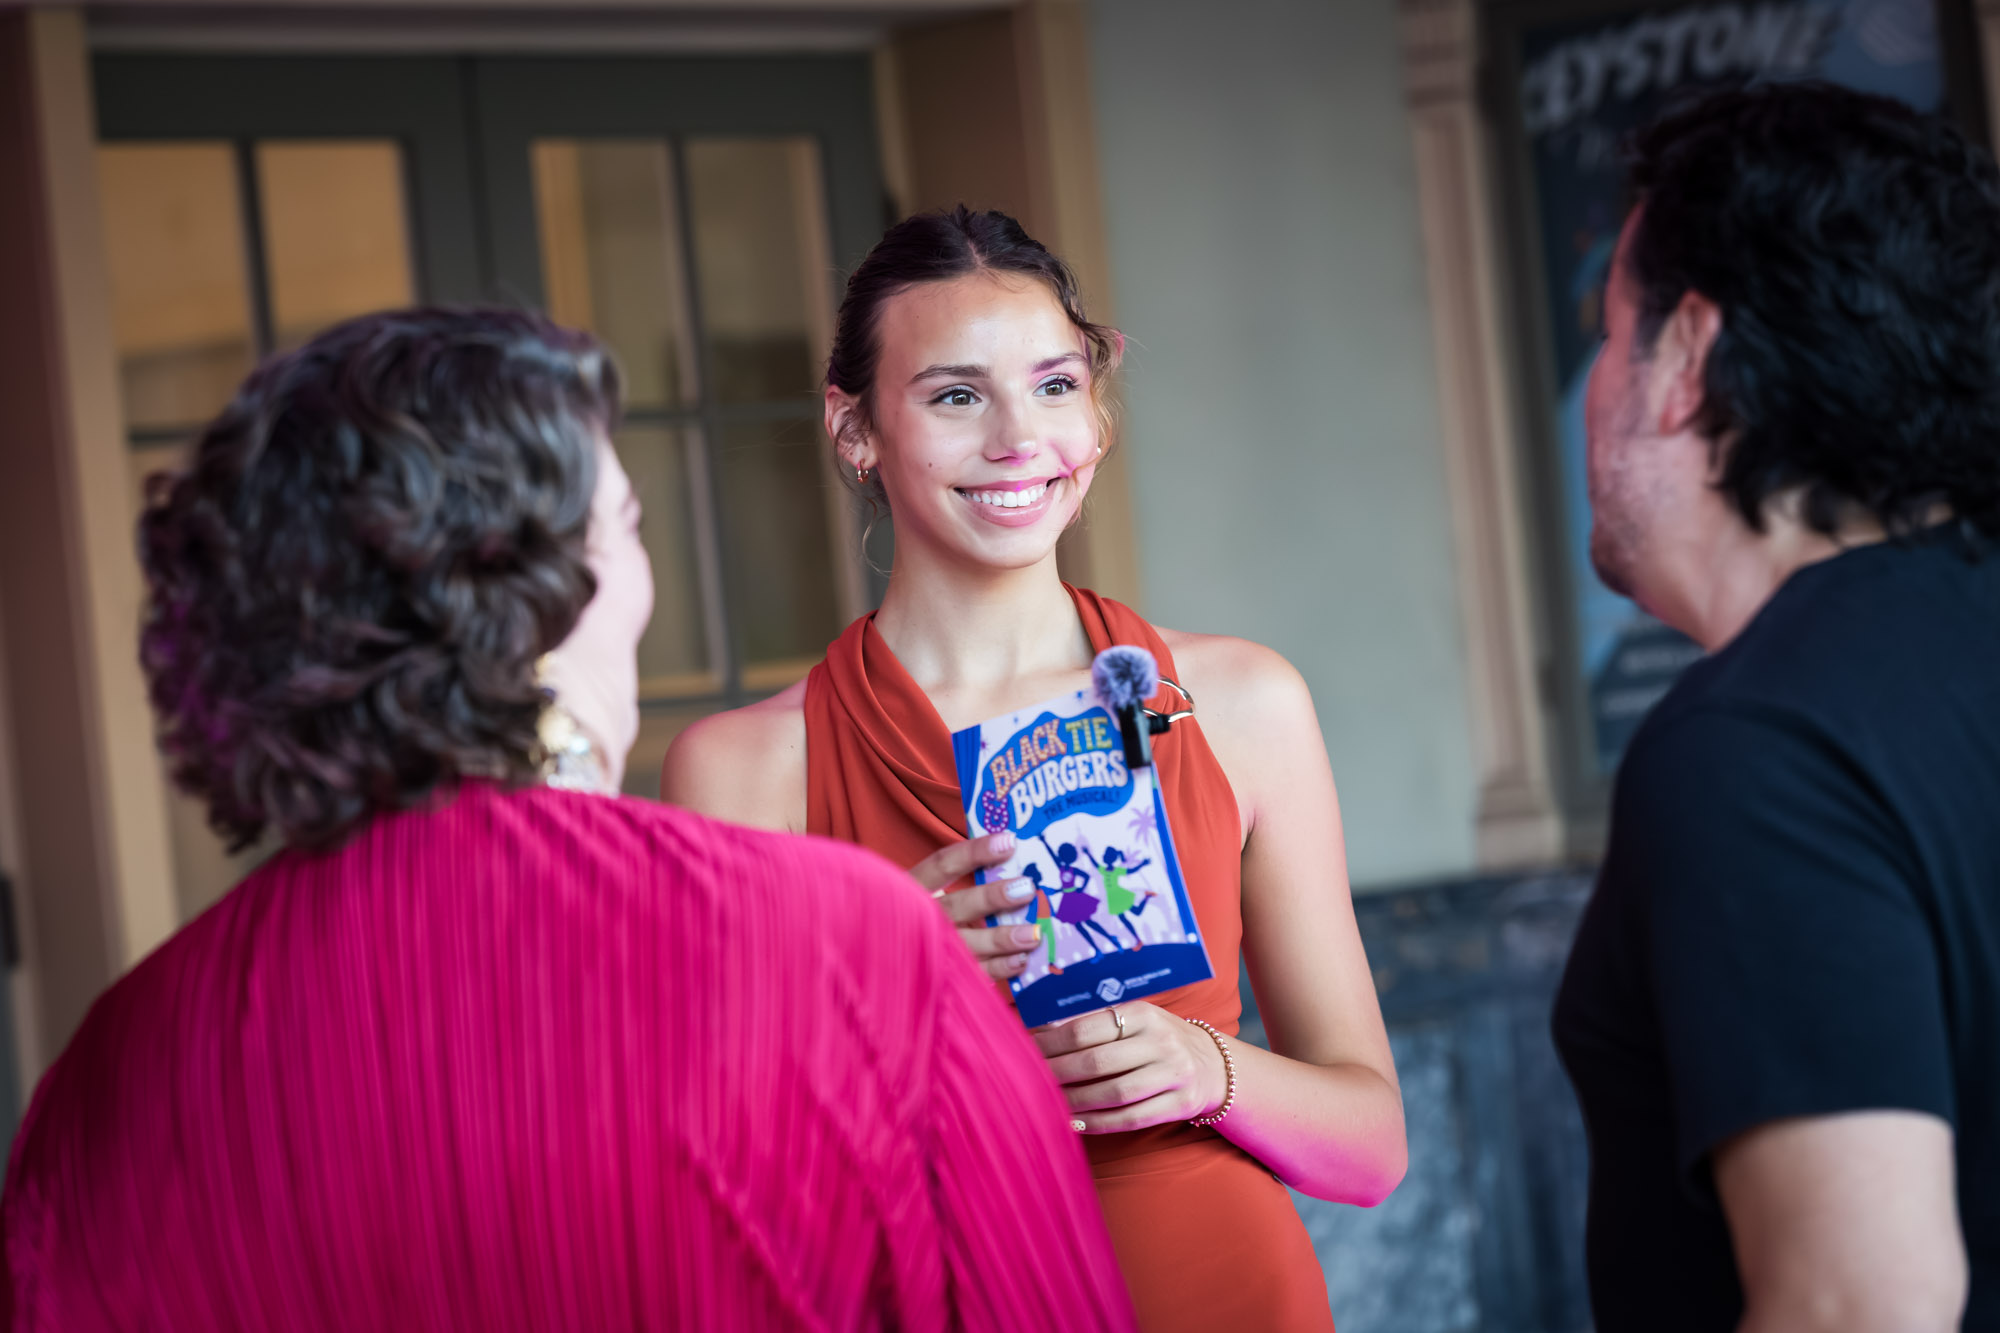
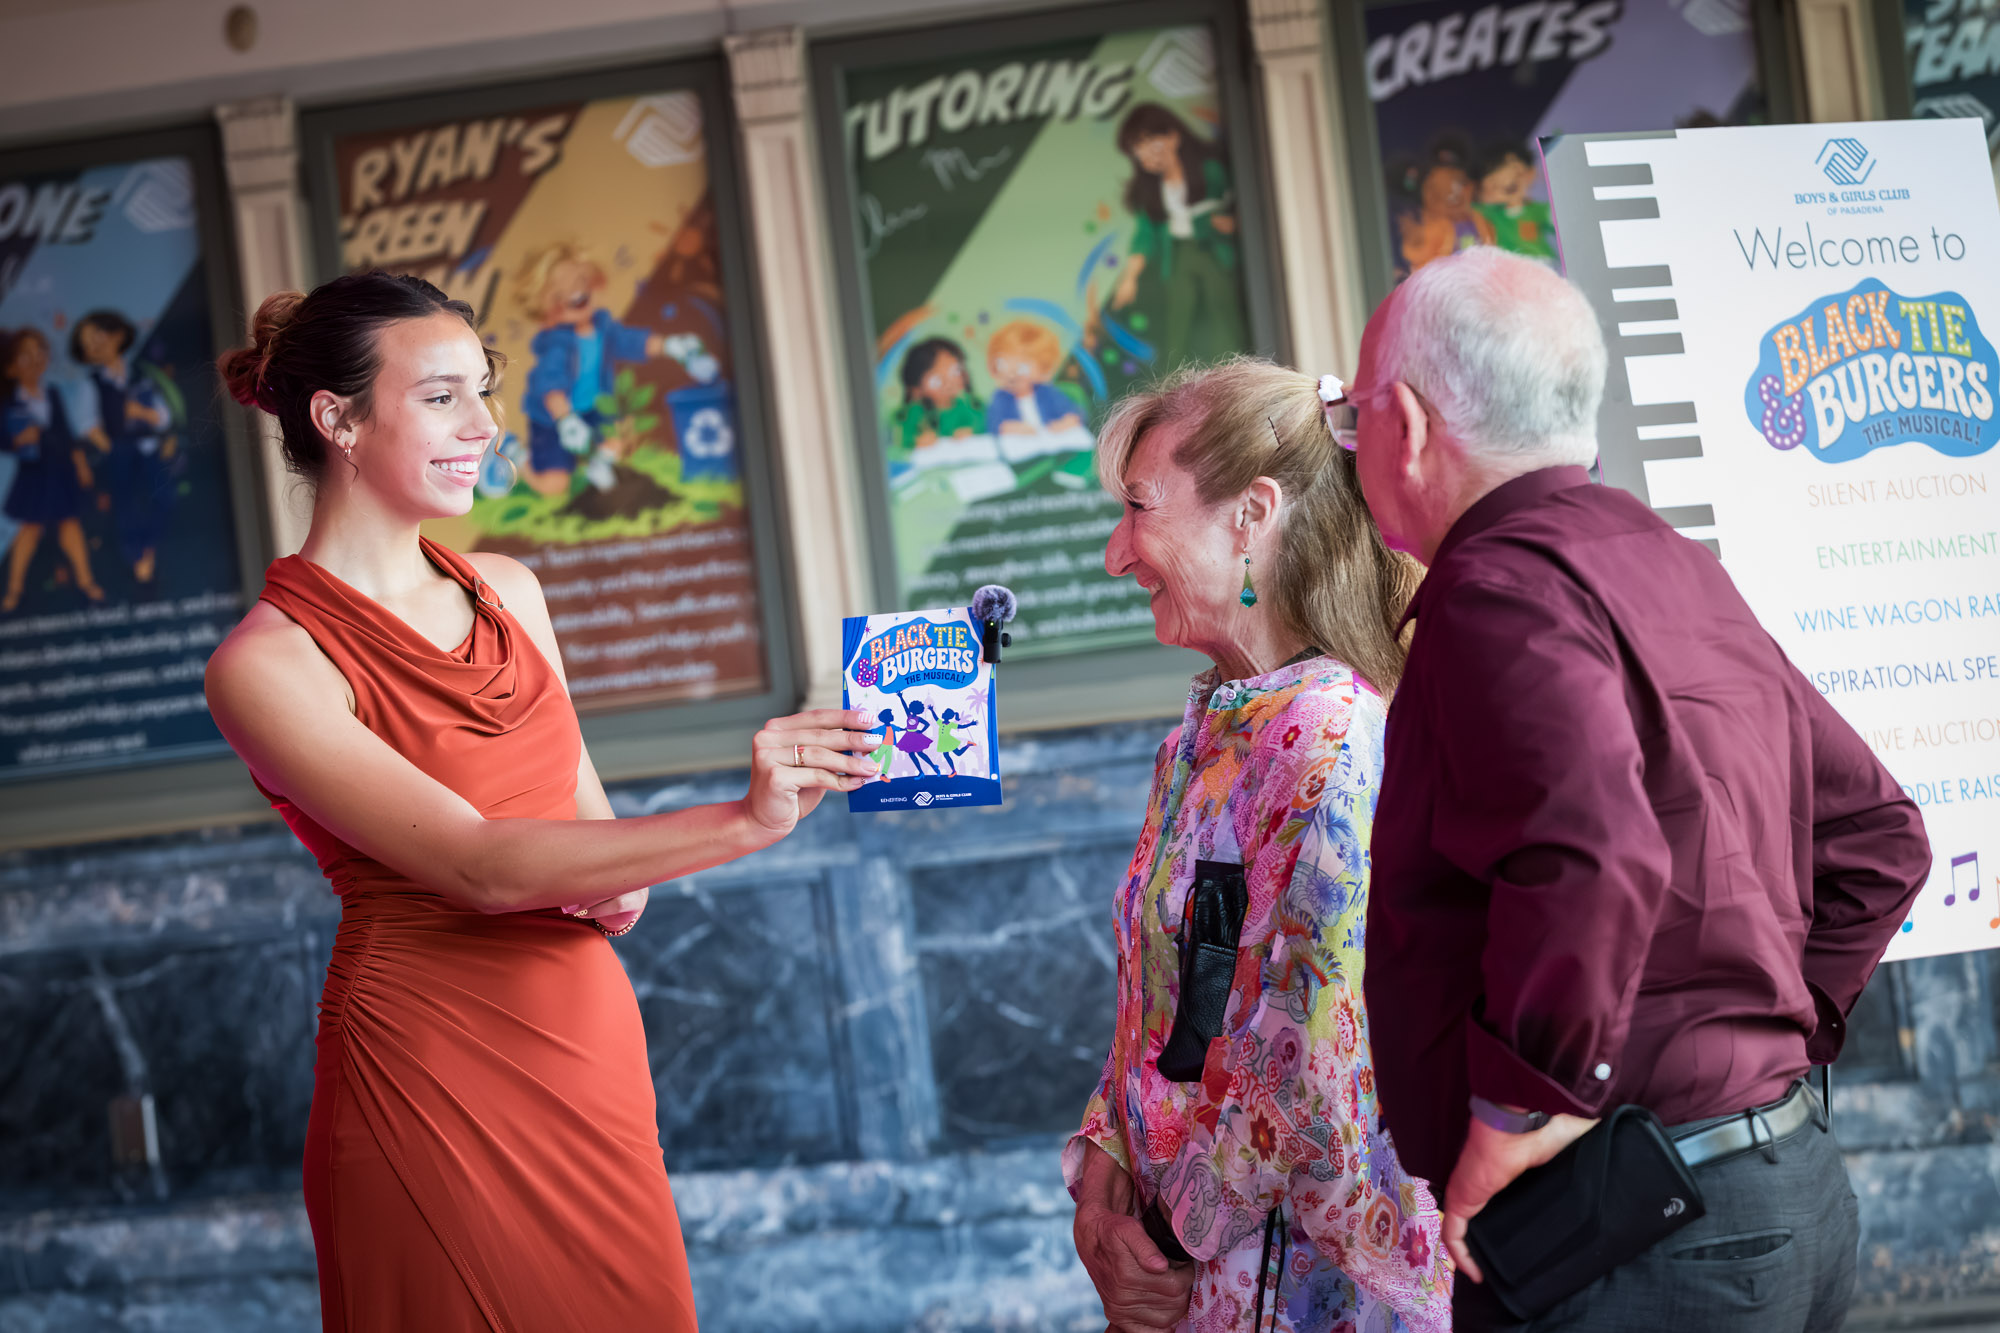
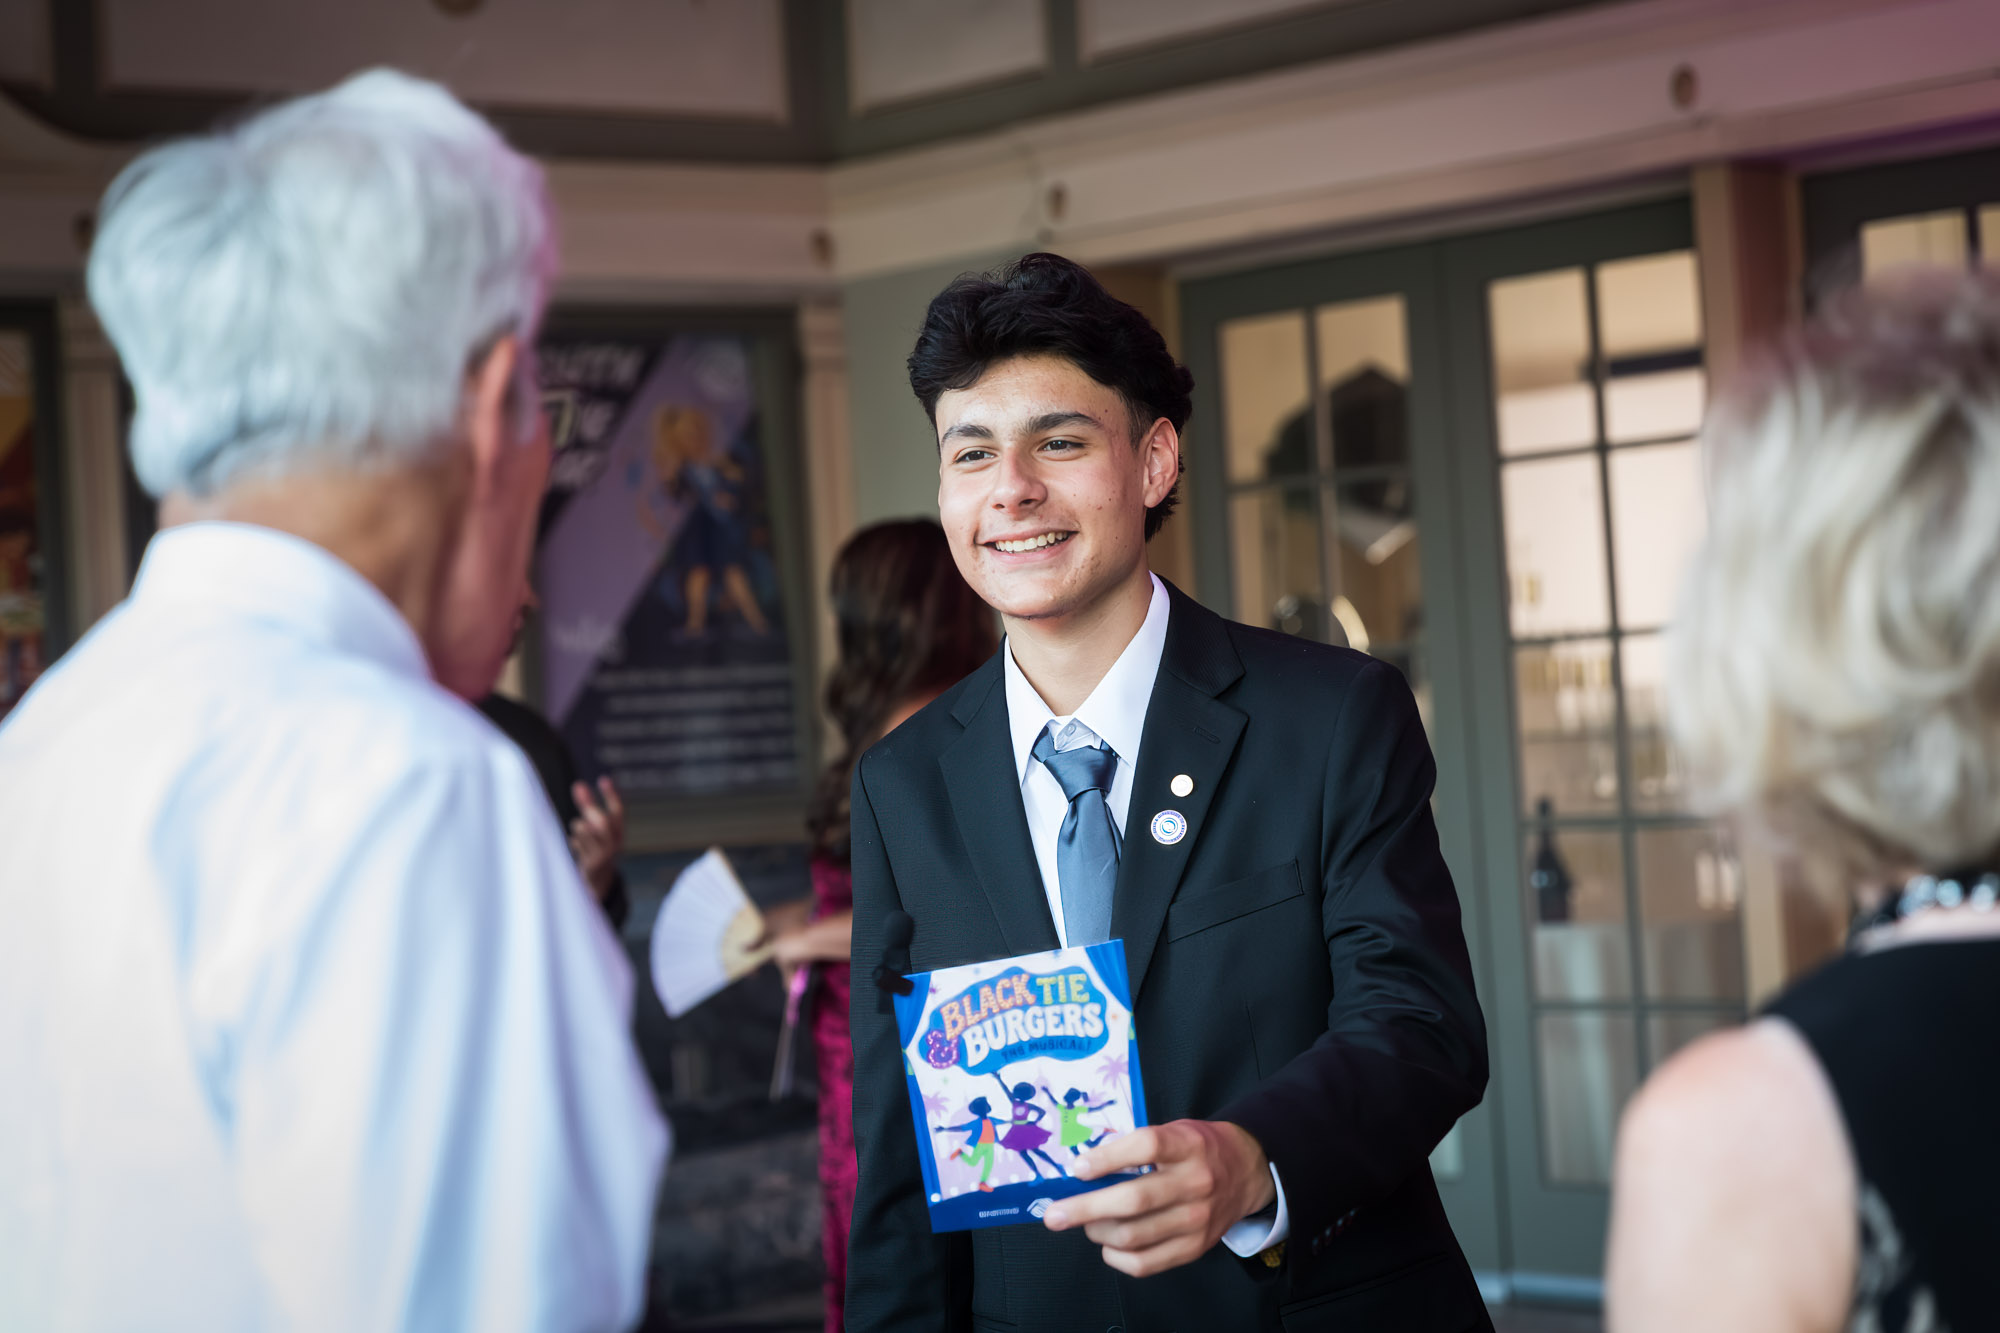
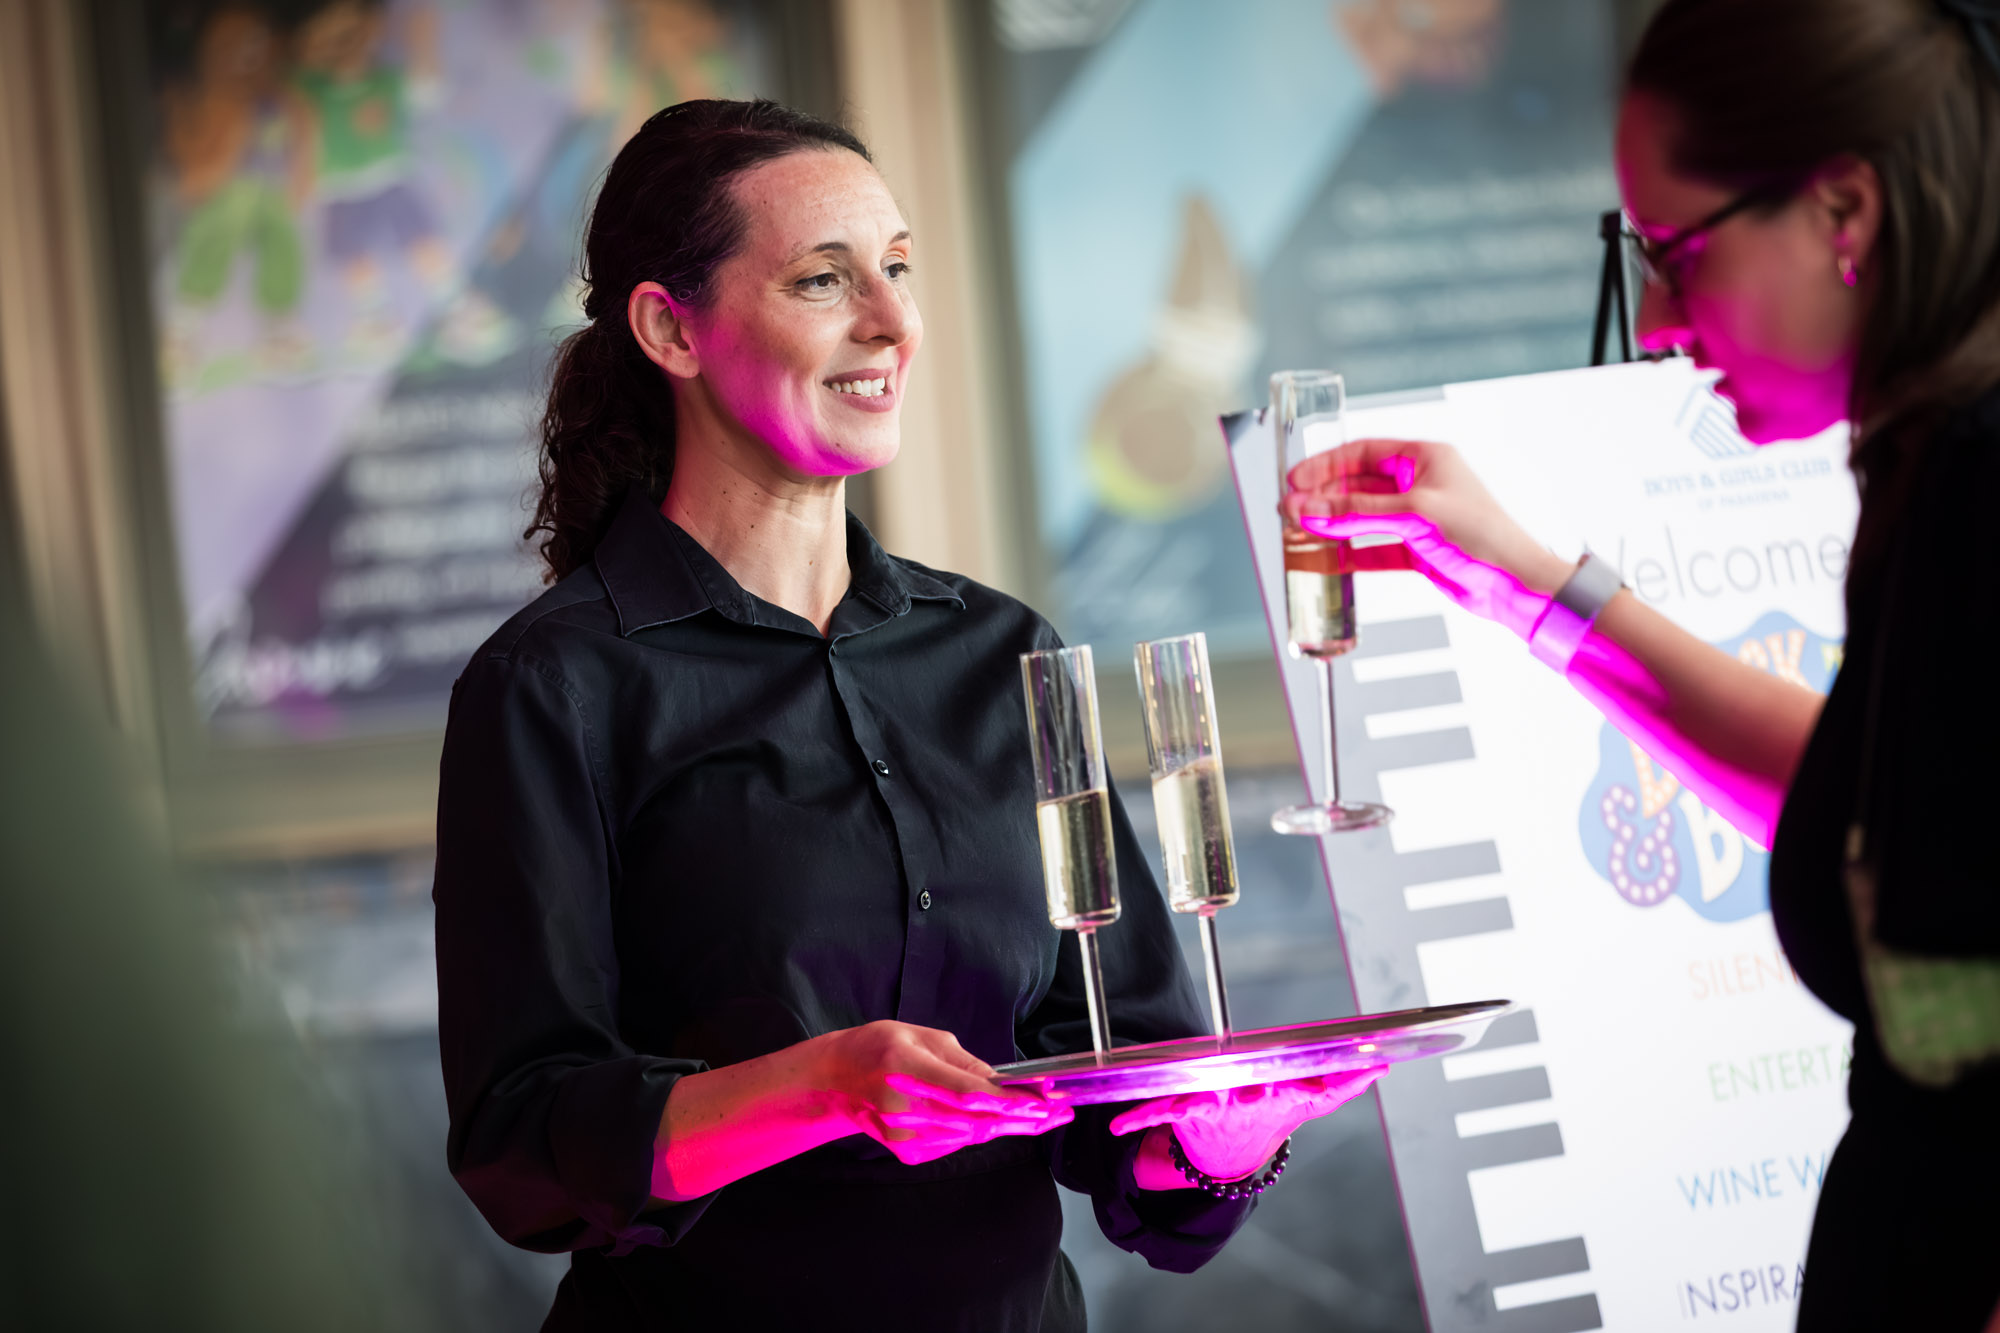
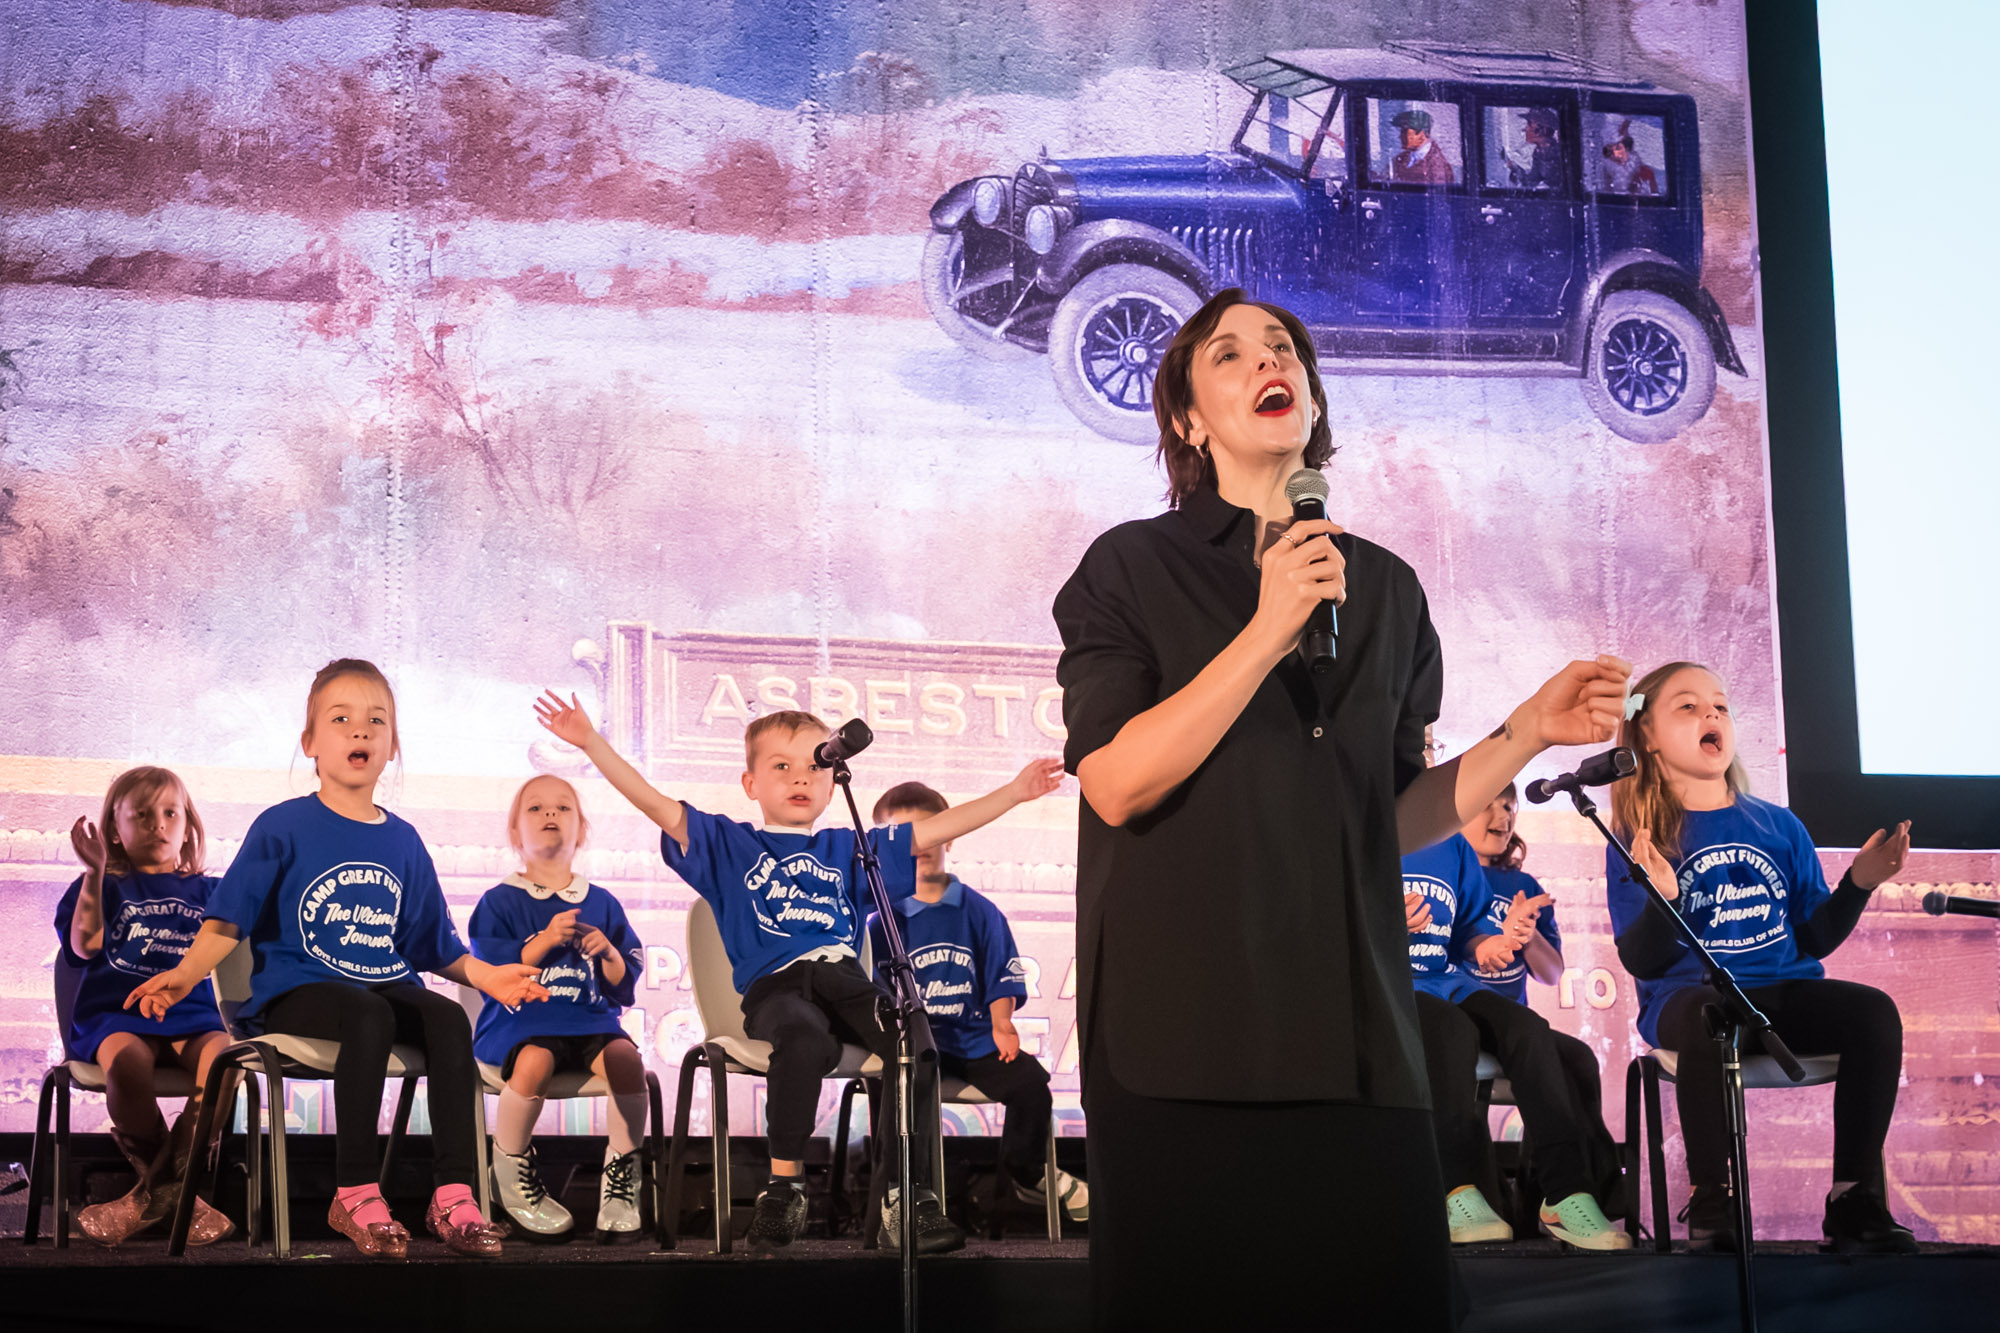
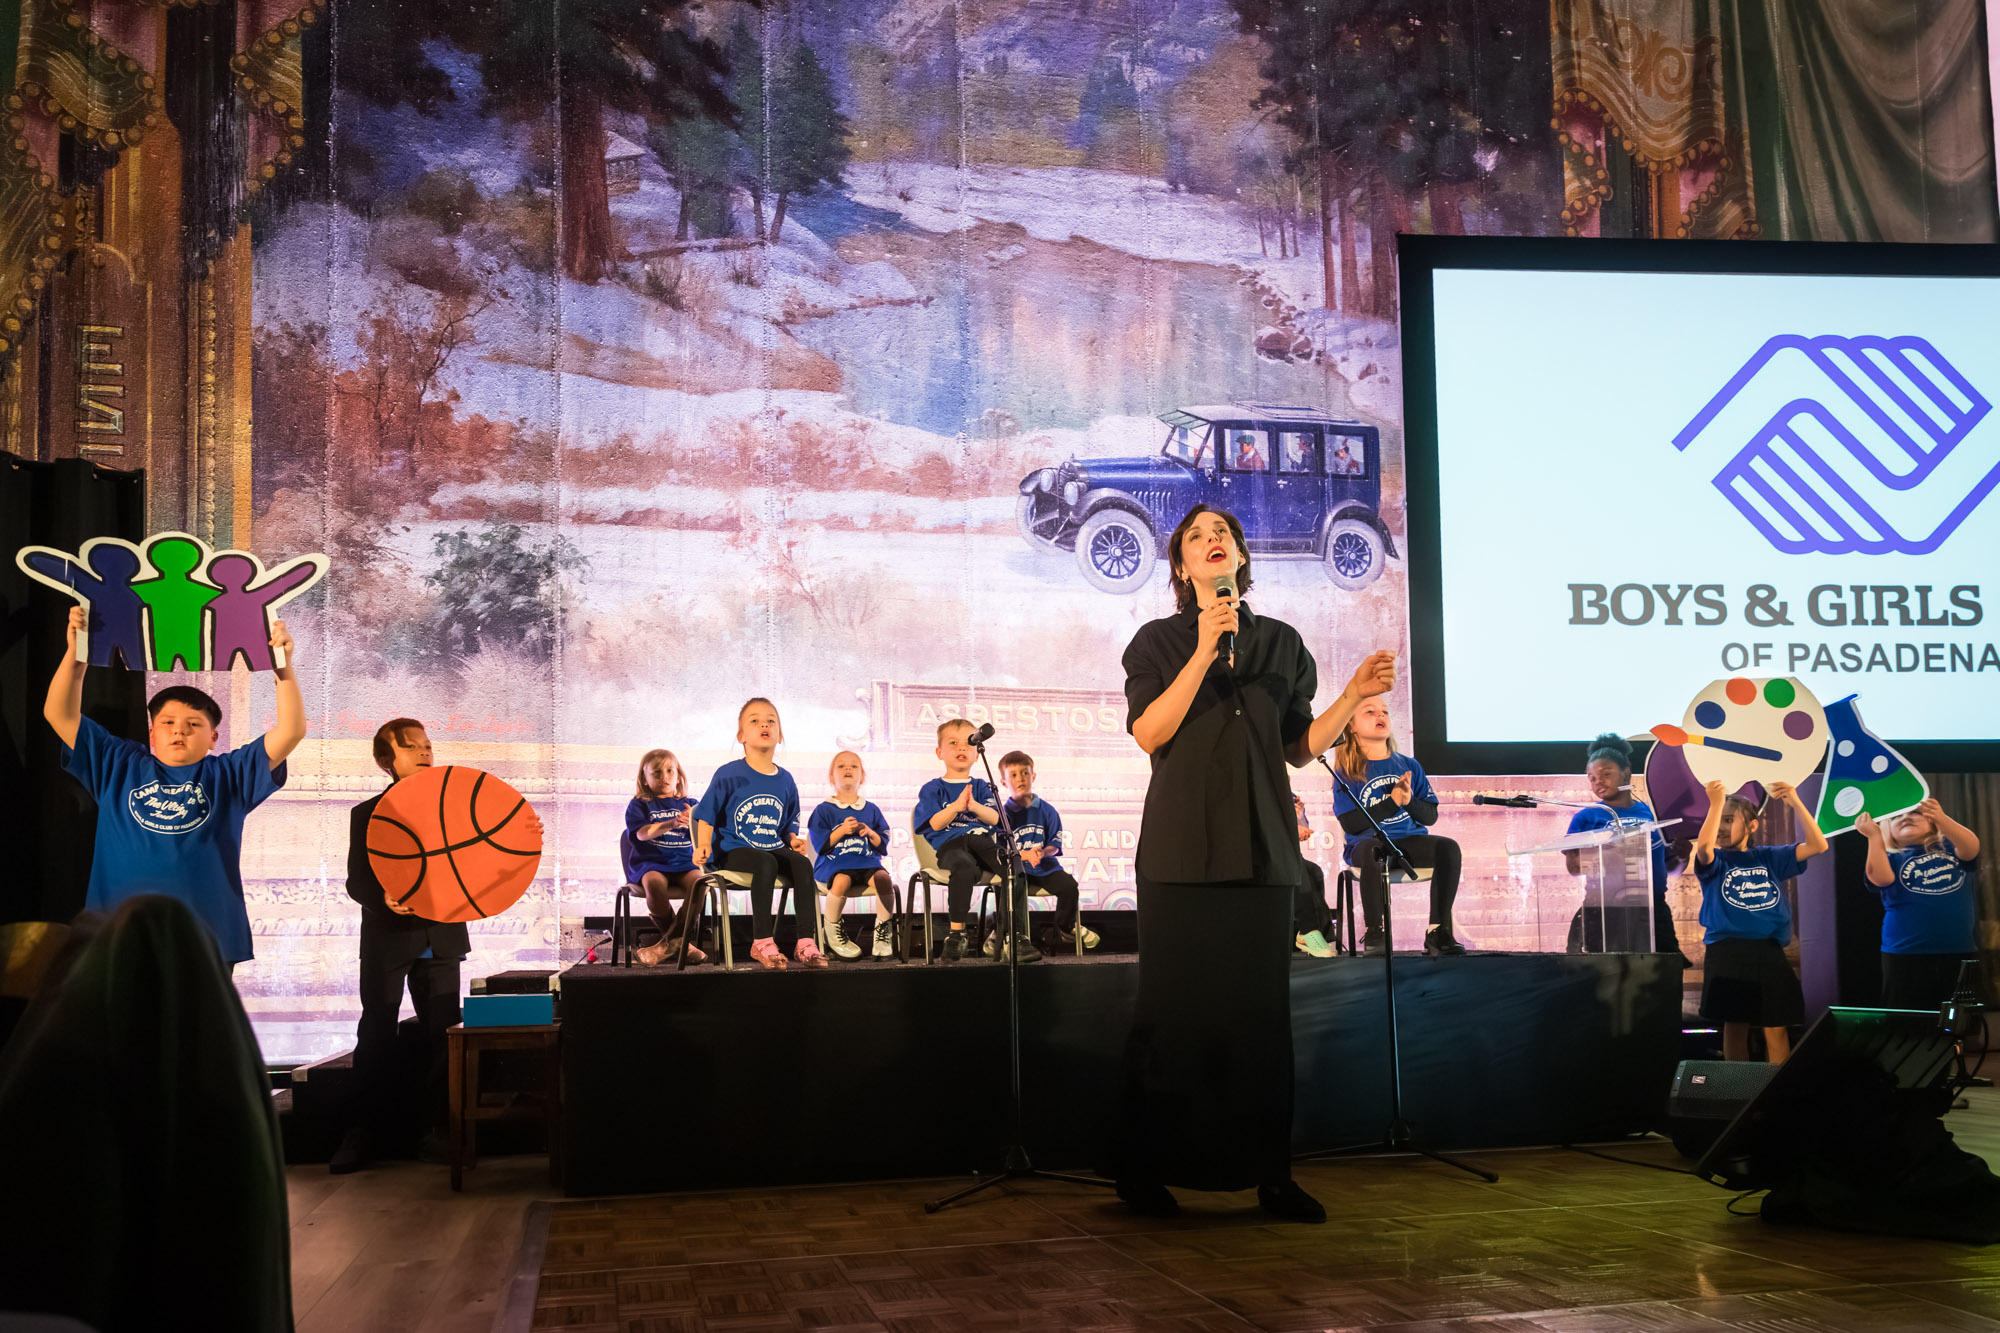
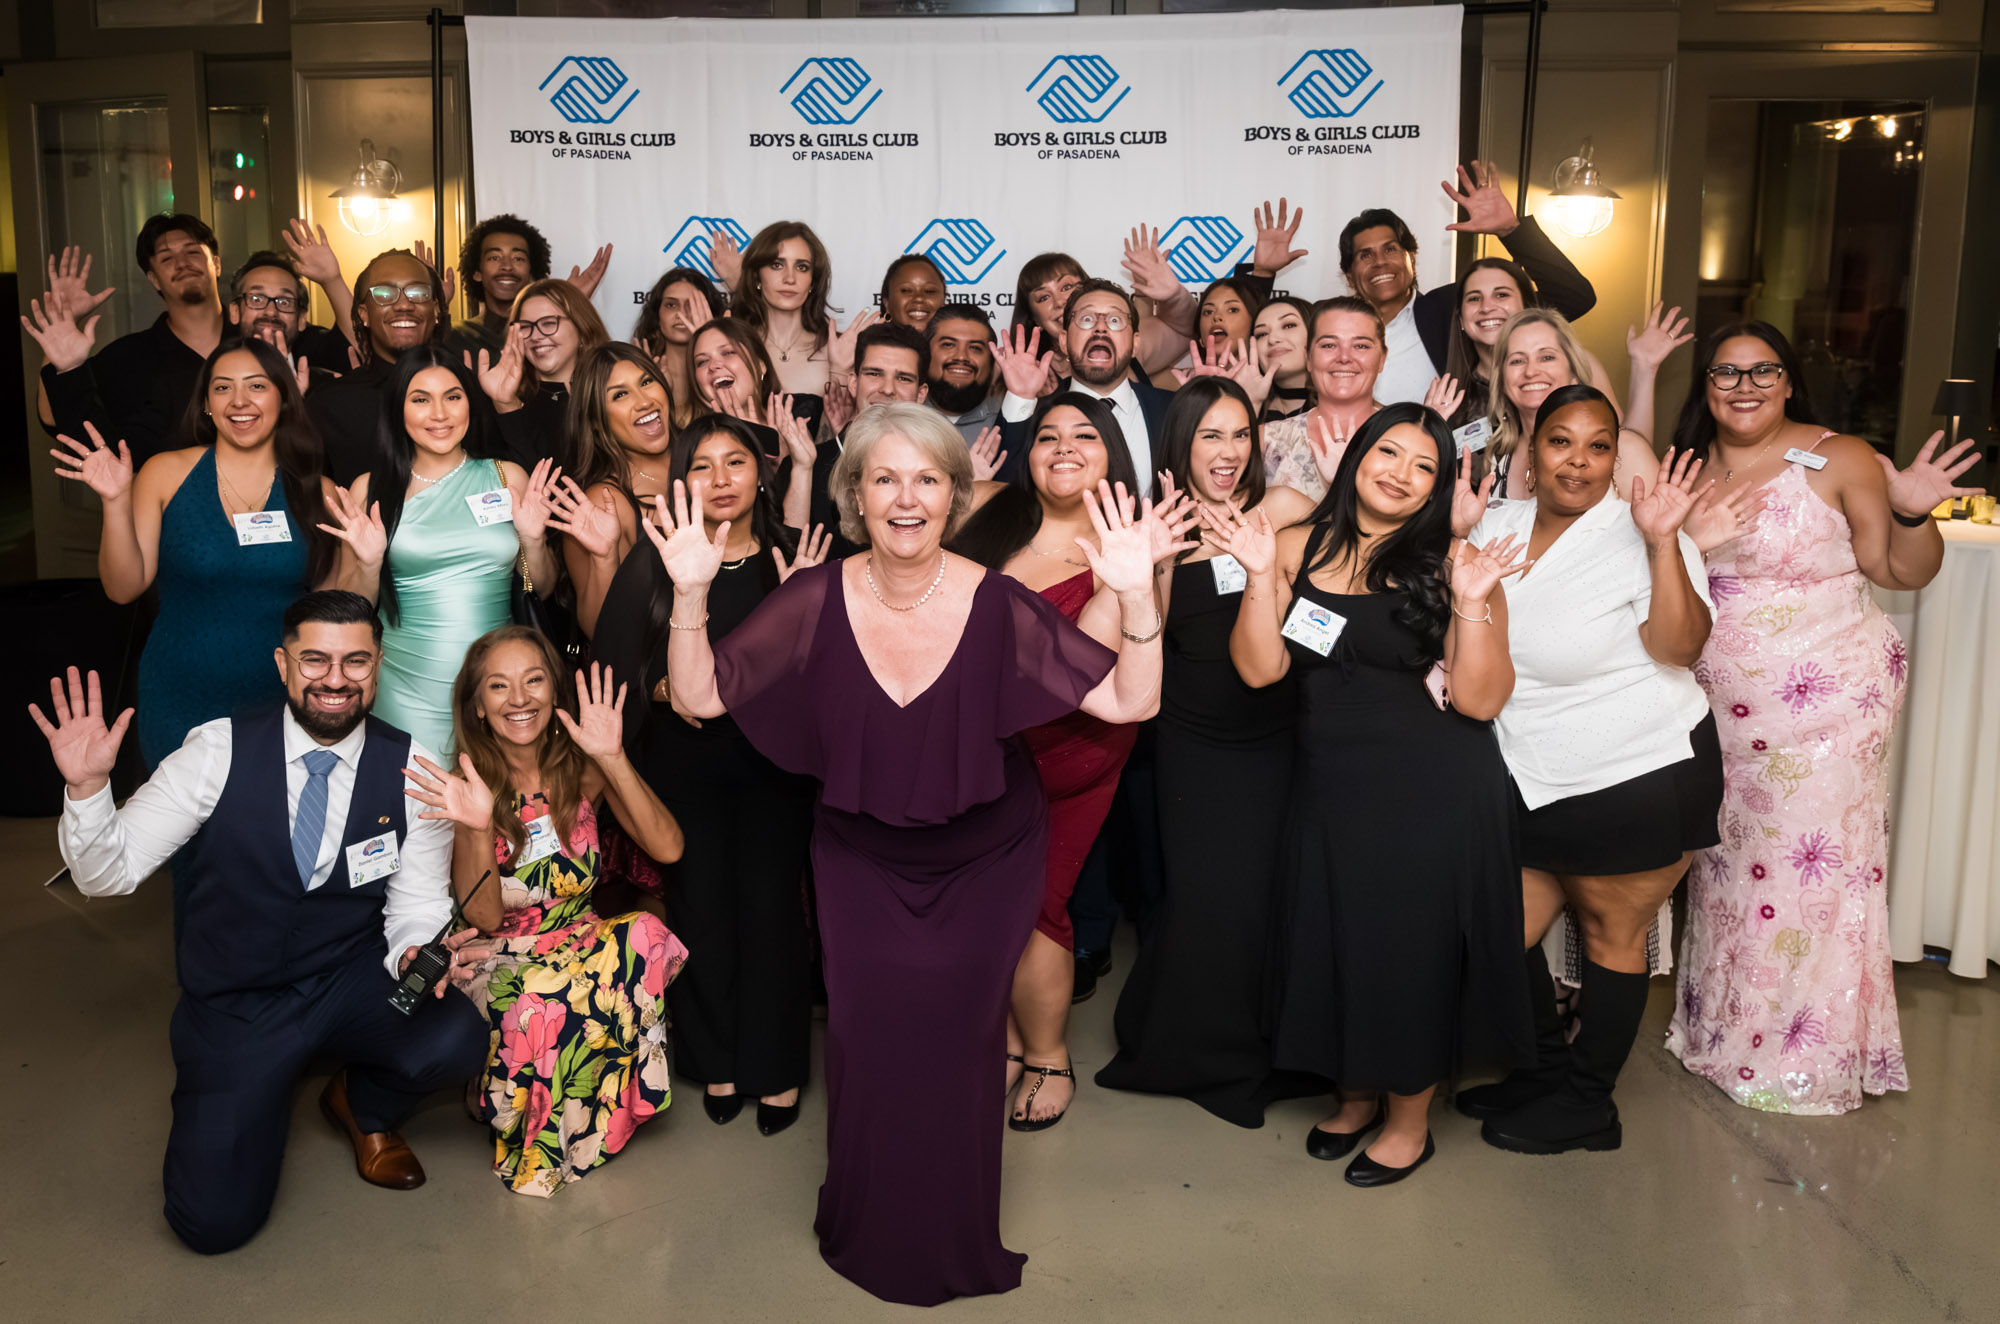
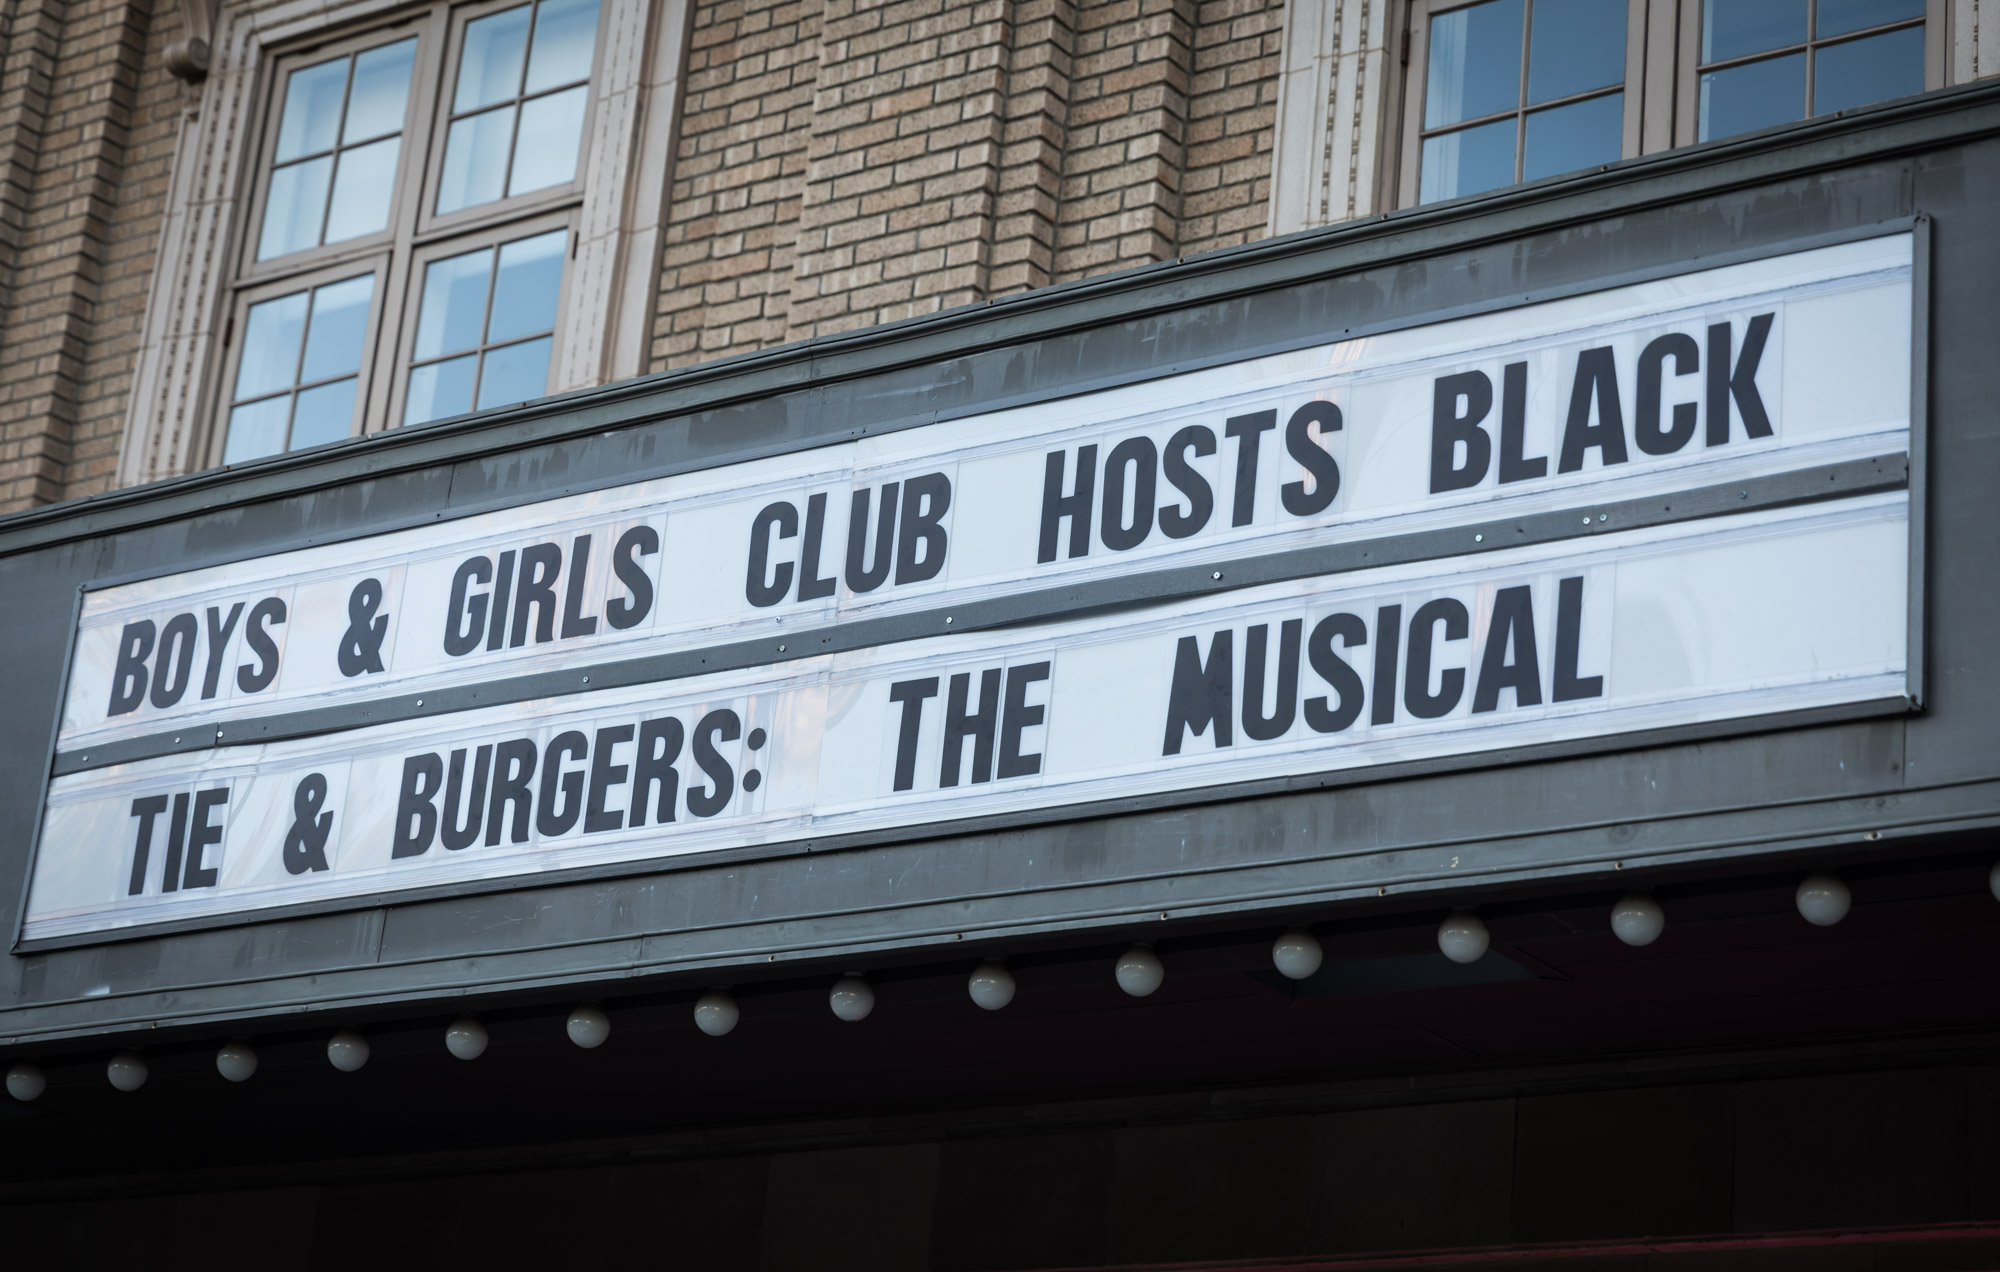
The Boys & Girls Club of Pasadena exists to give local young people the environment, relationships, and opportunities they need to learn, lead, and succeed. The Club serves more than 1,500 kids and teens each year in Pasadena, Altadena, and Sierra Madre through programs focused on academic success, healthy lifestyles, good character and leadership, and life and workforce readiness. Black Tie & Burgers is its annual fall fundraiser, and this year’s edition, billed as “The Musical,” took over the Raymond Theatre on October 3 with burgers and desserts from Pie ’n’ Burger, an auction, and performances by Club kids alongside a professional musical theater performer.
Raymond Theatre Photos: The Schedule
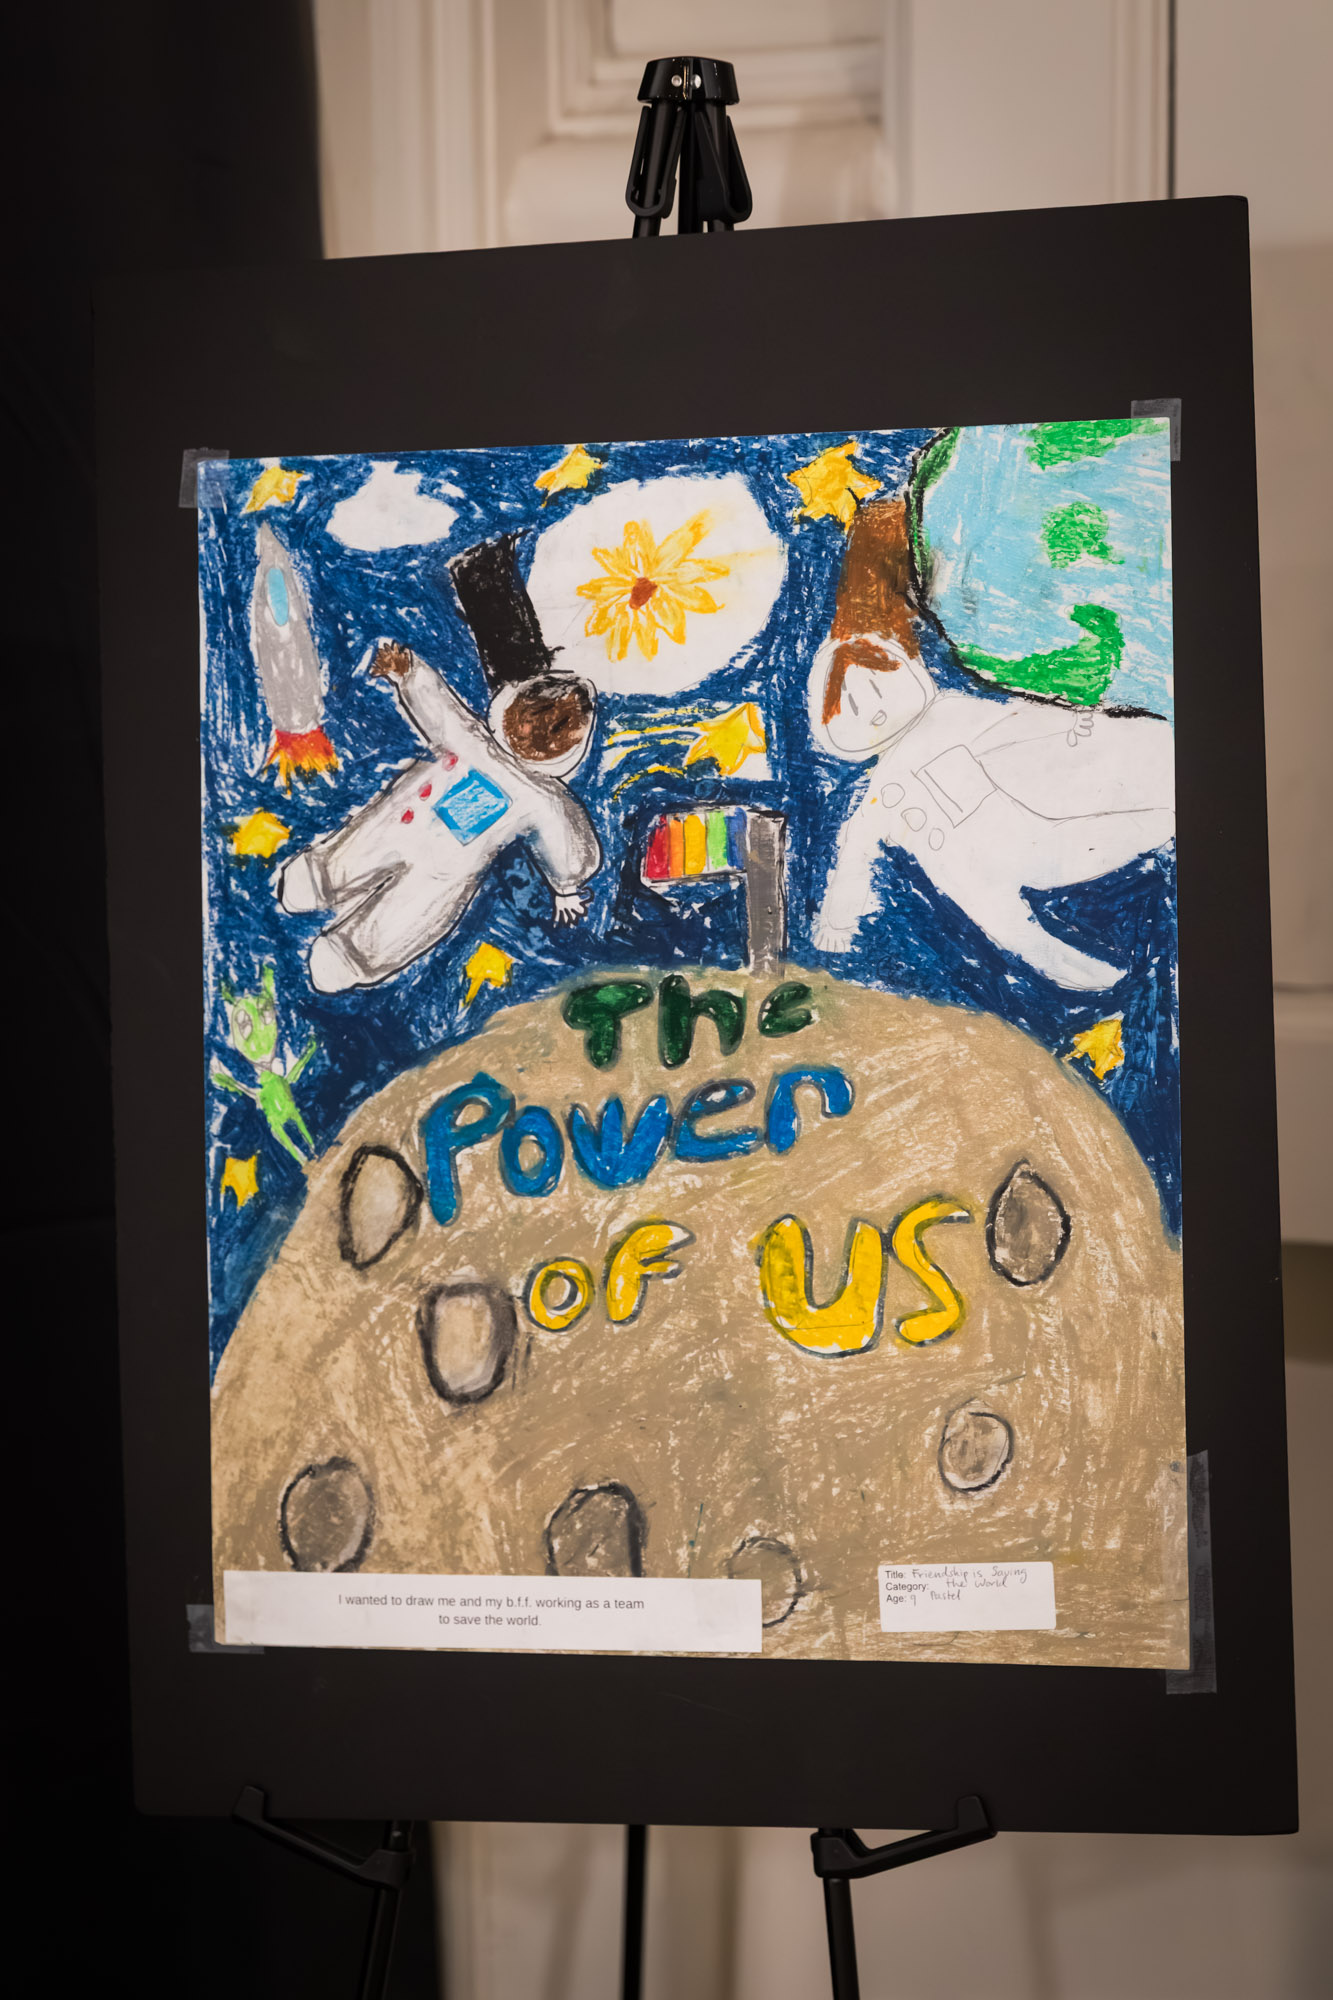
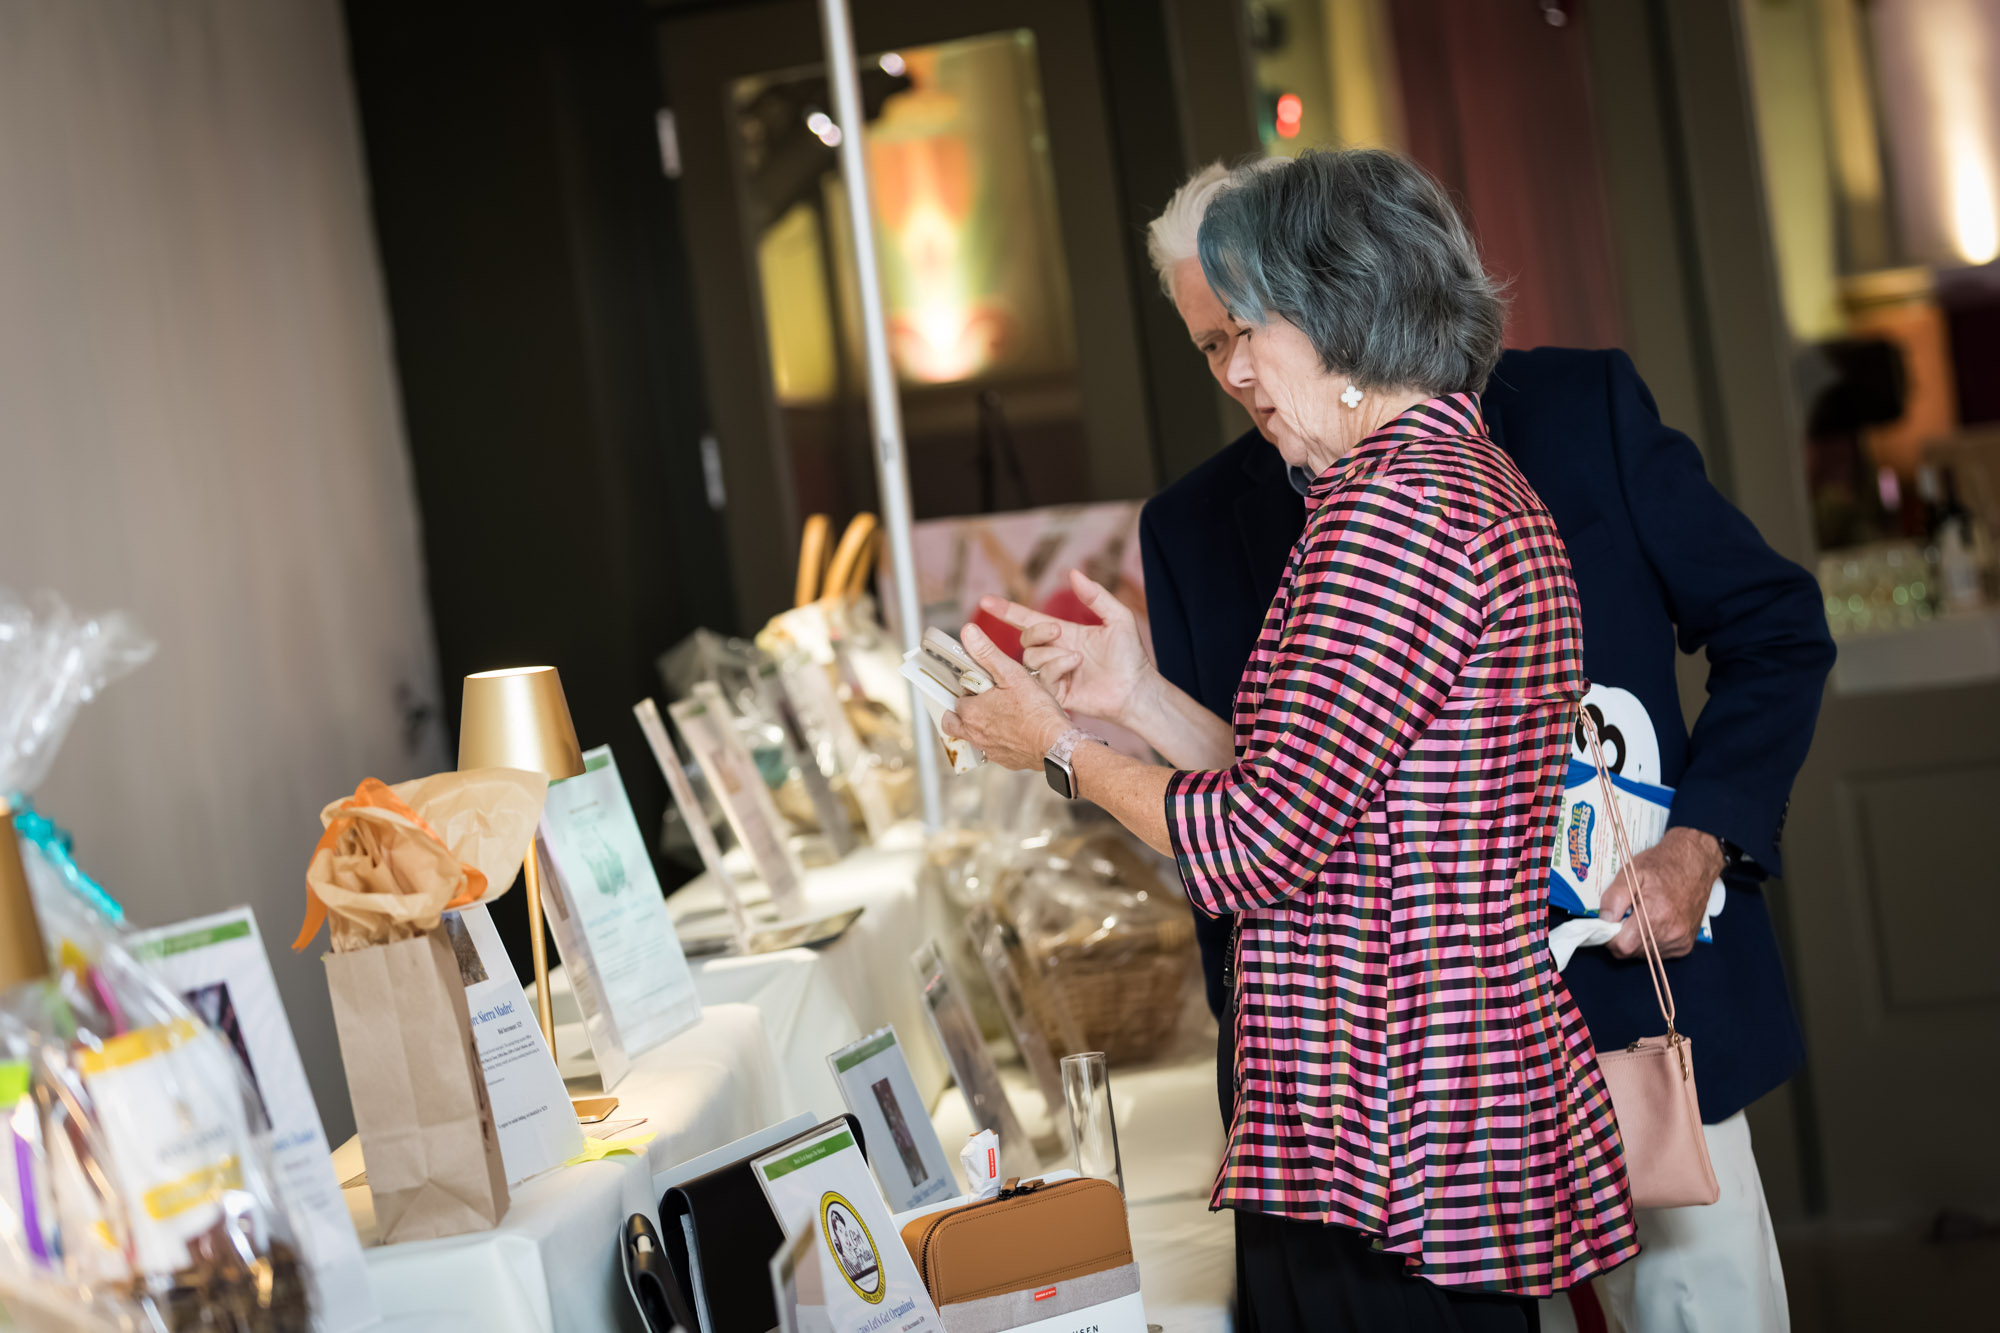
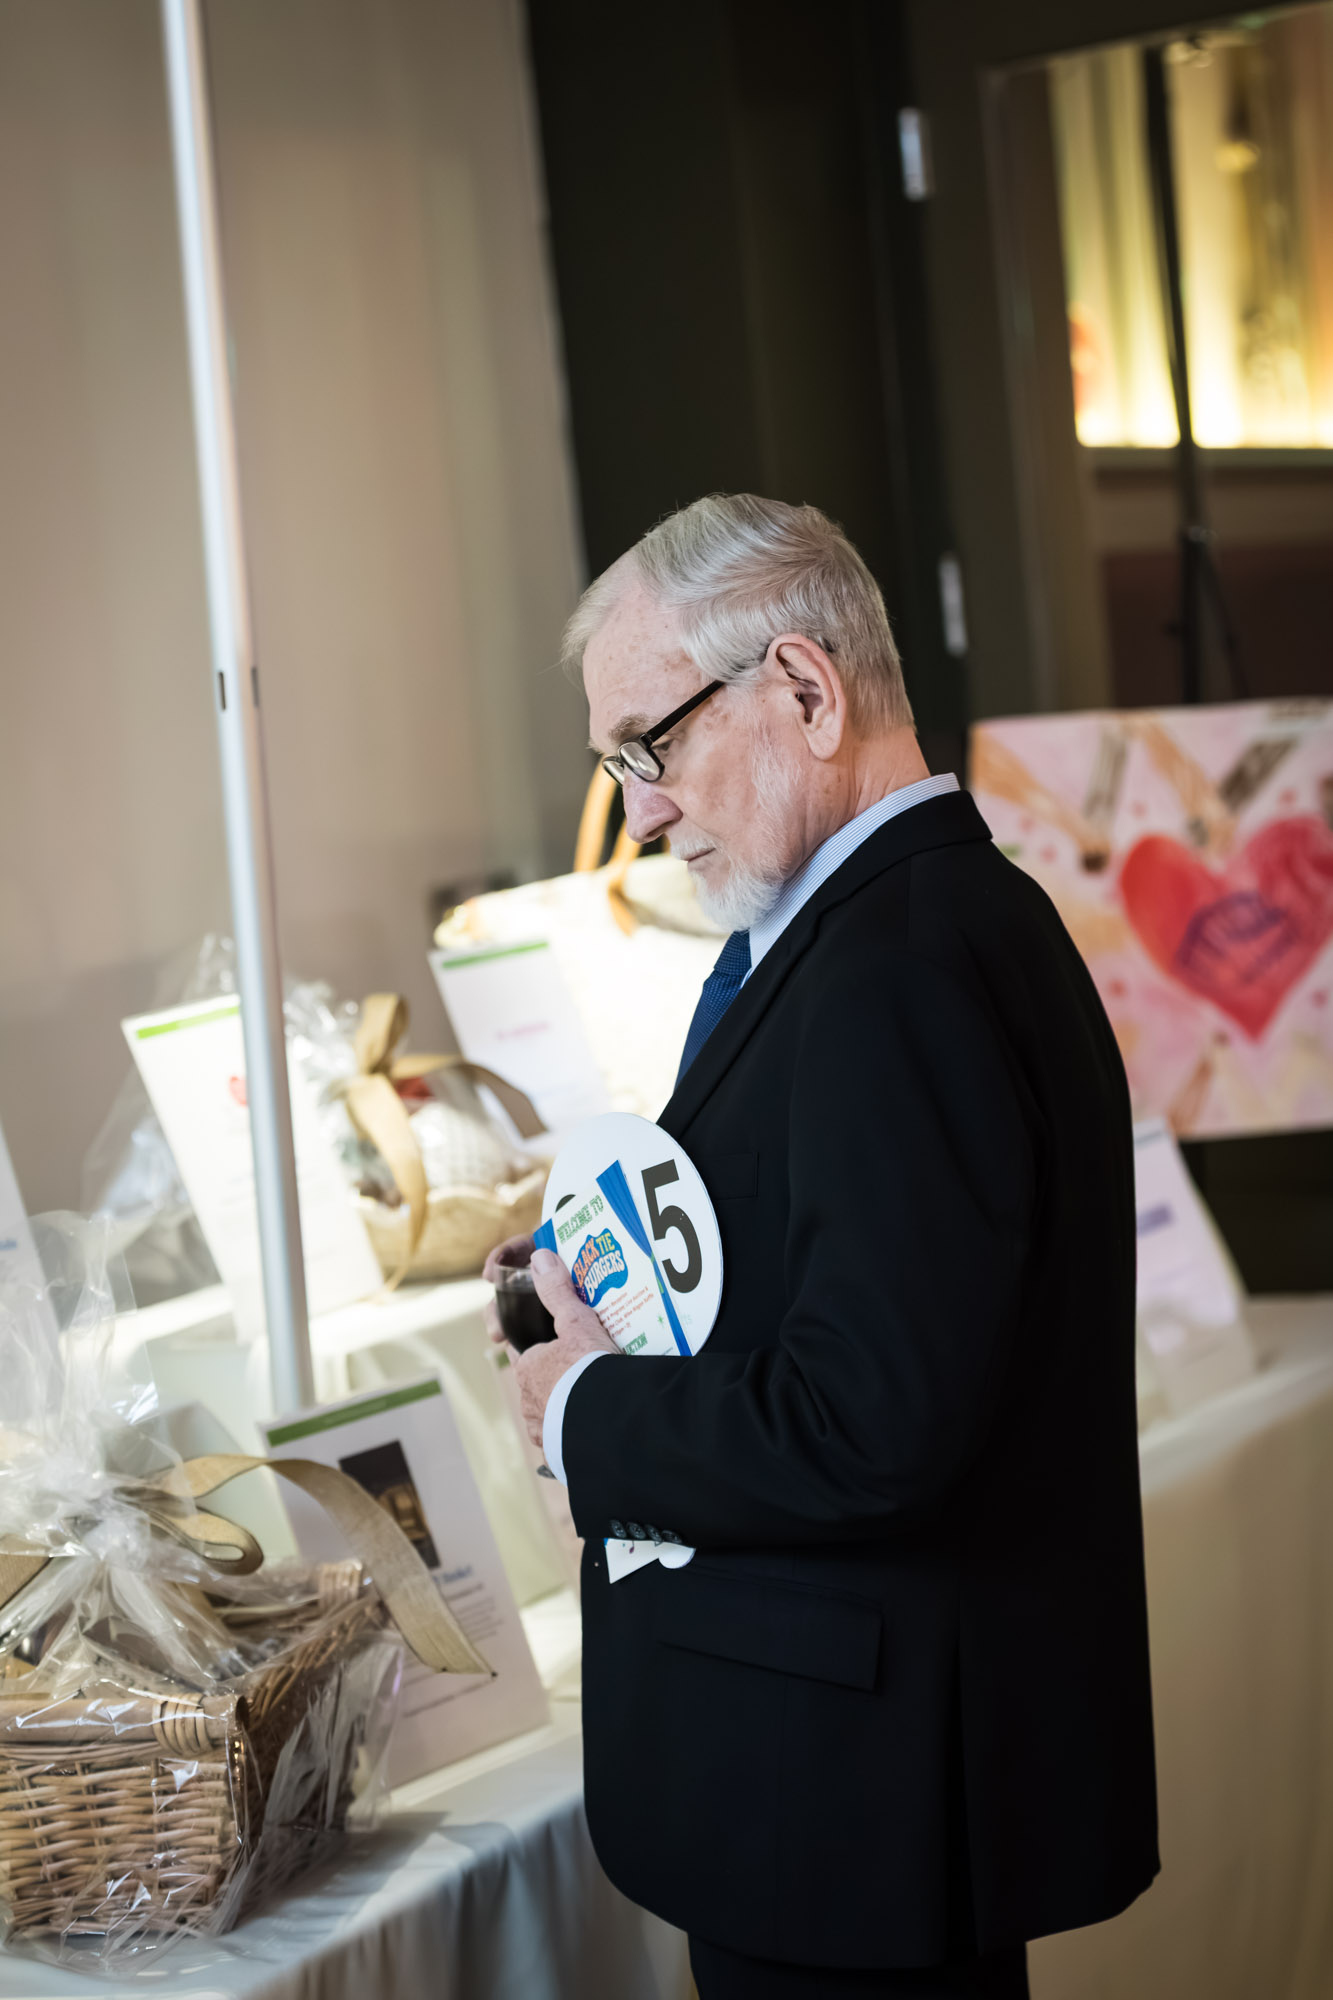
Let’s start off by discussing the schedule for the evening. For event photography, the schedule normally begins by photographing details before guests arrive. In this case, I photographed the auction items and main stage area where the tables were set.
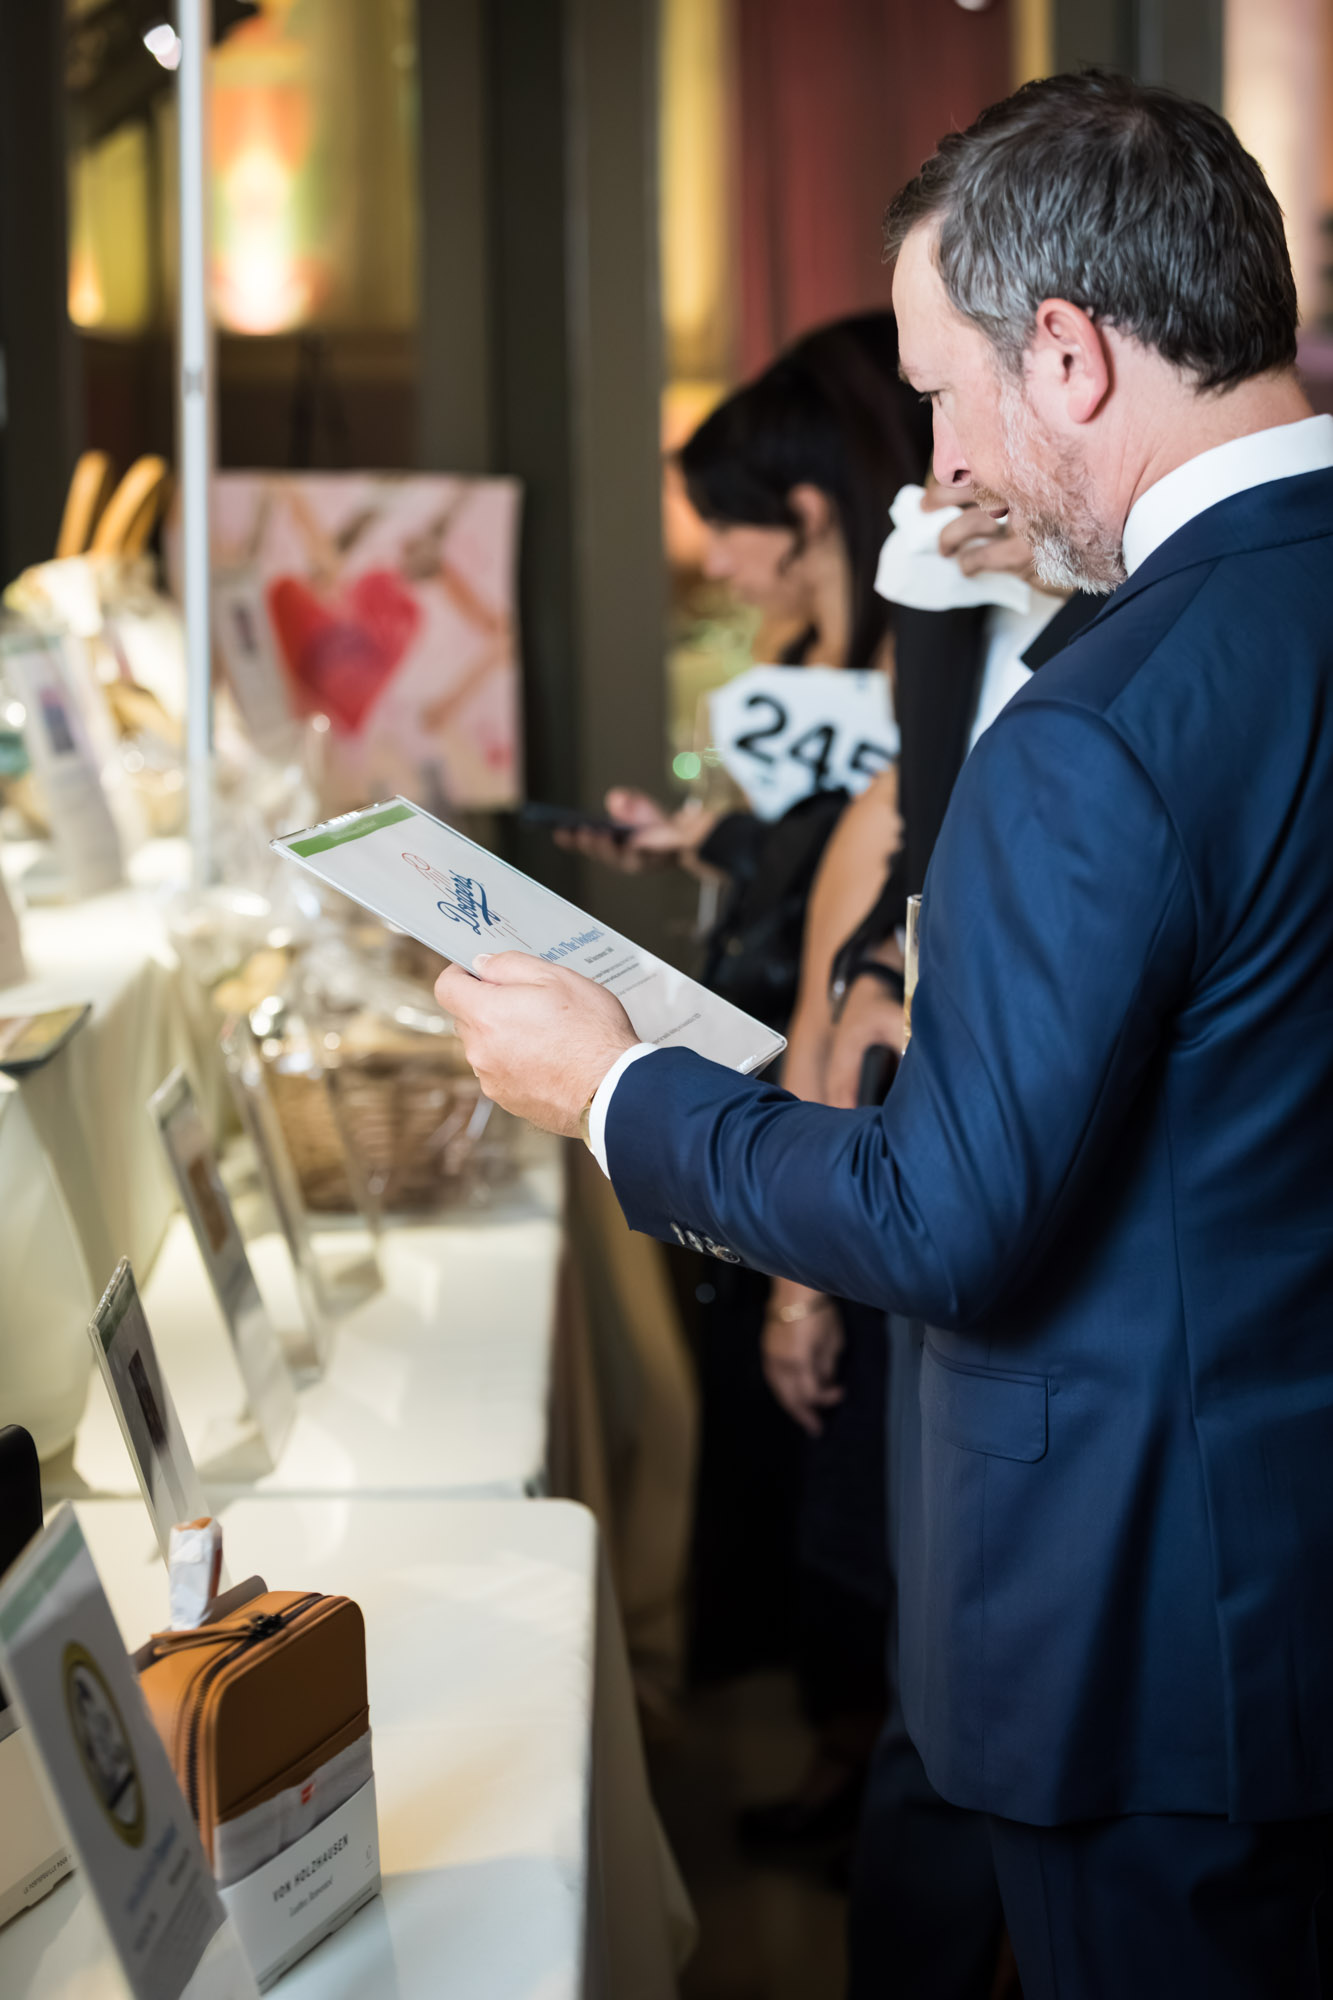
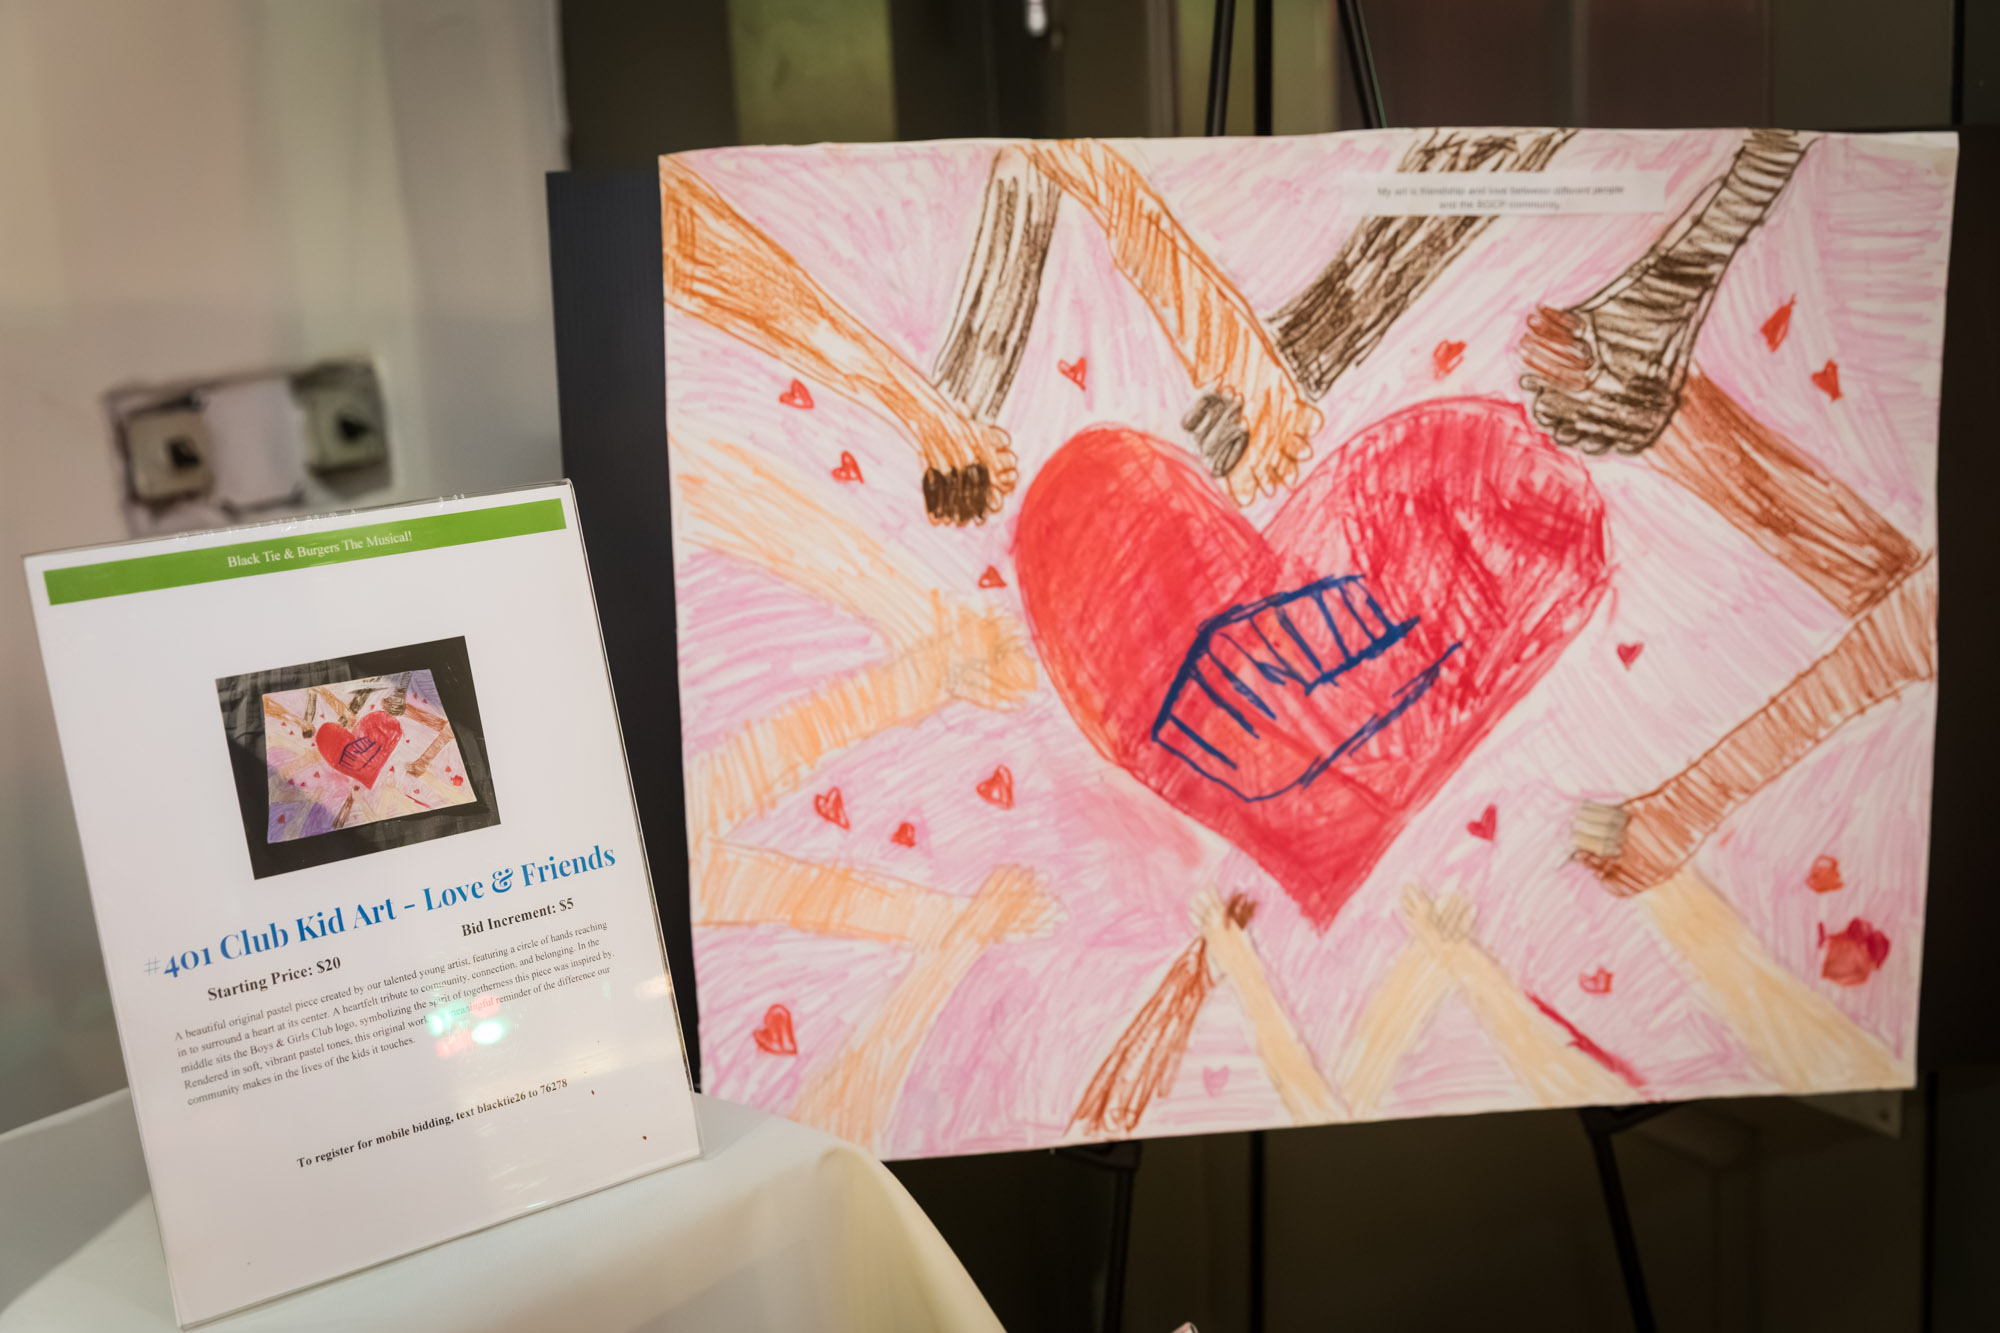
Photographing the auction items
I should note at this time my use of flash was not an issue at all. (I use flash during the preparation time and cocktail hour, but not during the stage presentations.) Due to the chaos of the room still being set up, it was not possible to use any additional lights on stands, so on-camera flash was the only means of lighting available. My camera was set at f/4, 1/250, with my ISO bouncing from 3200 to 5000. The room where the auction items were placed had four white walls, making it easy to light and bounce my on-camera flash off of the white ceiling.
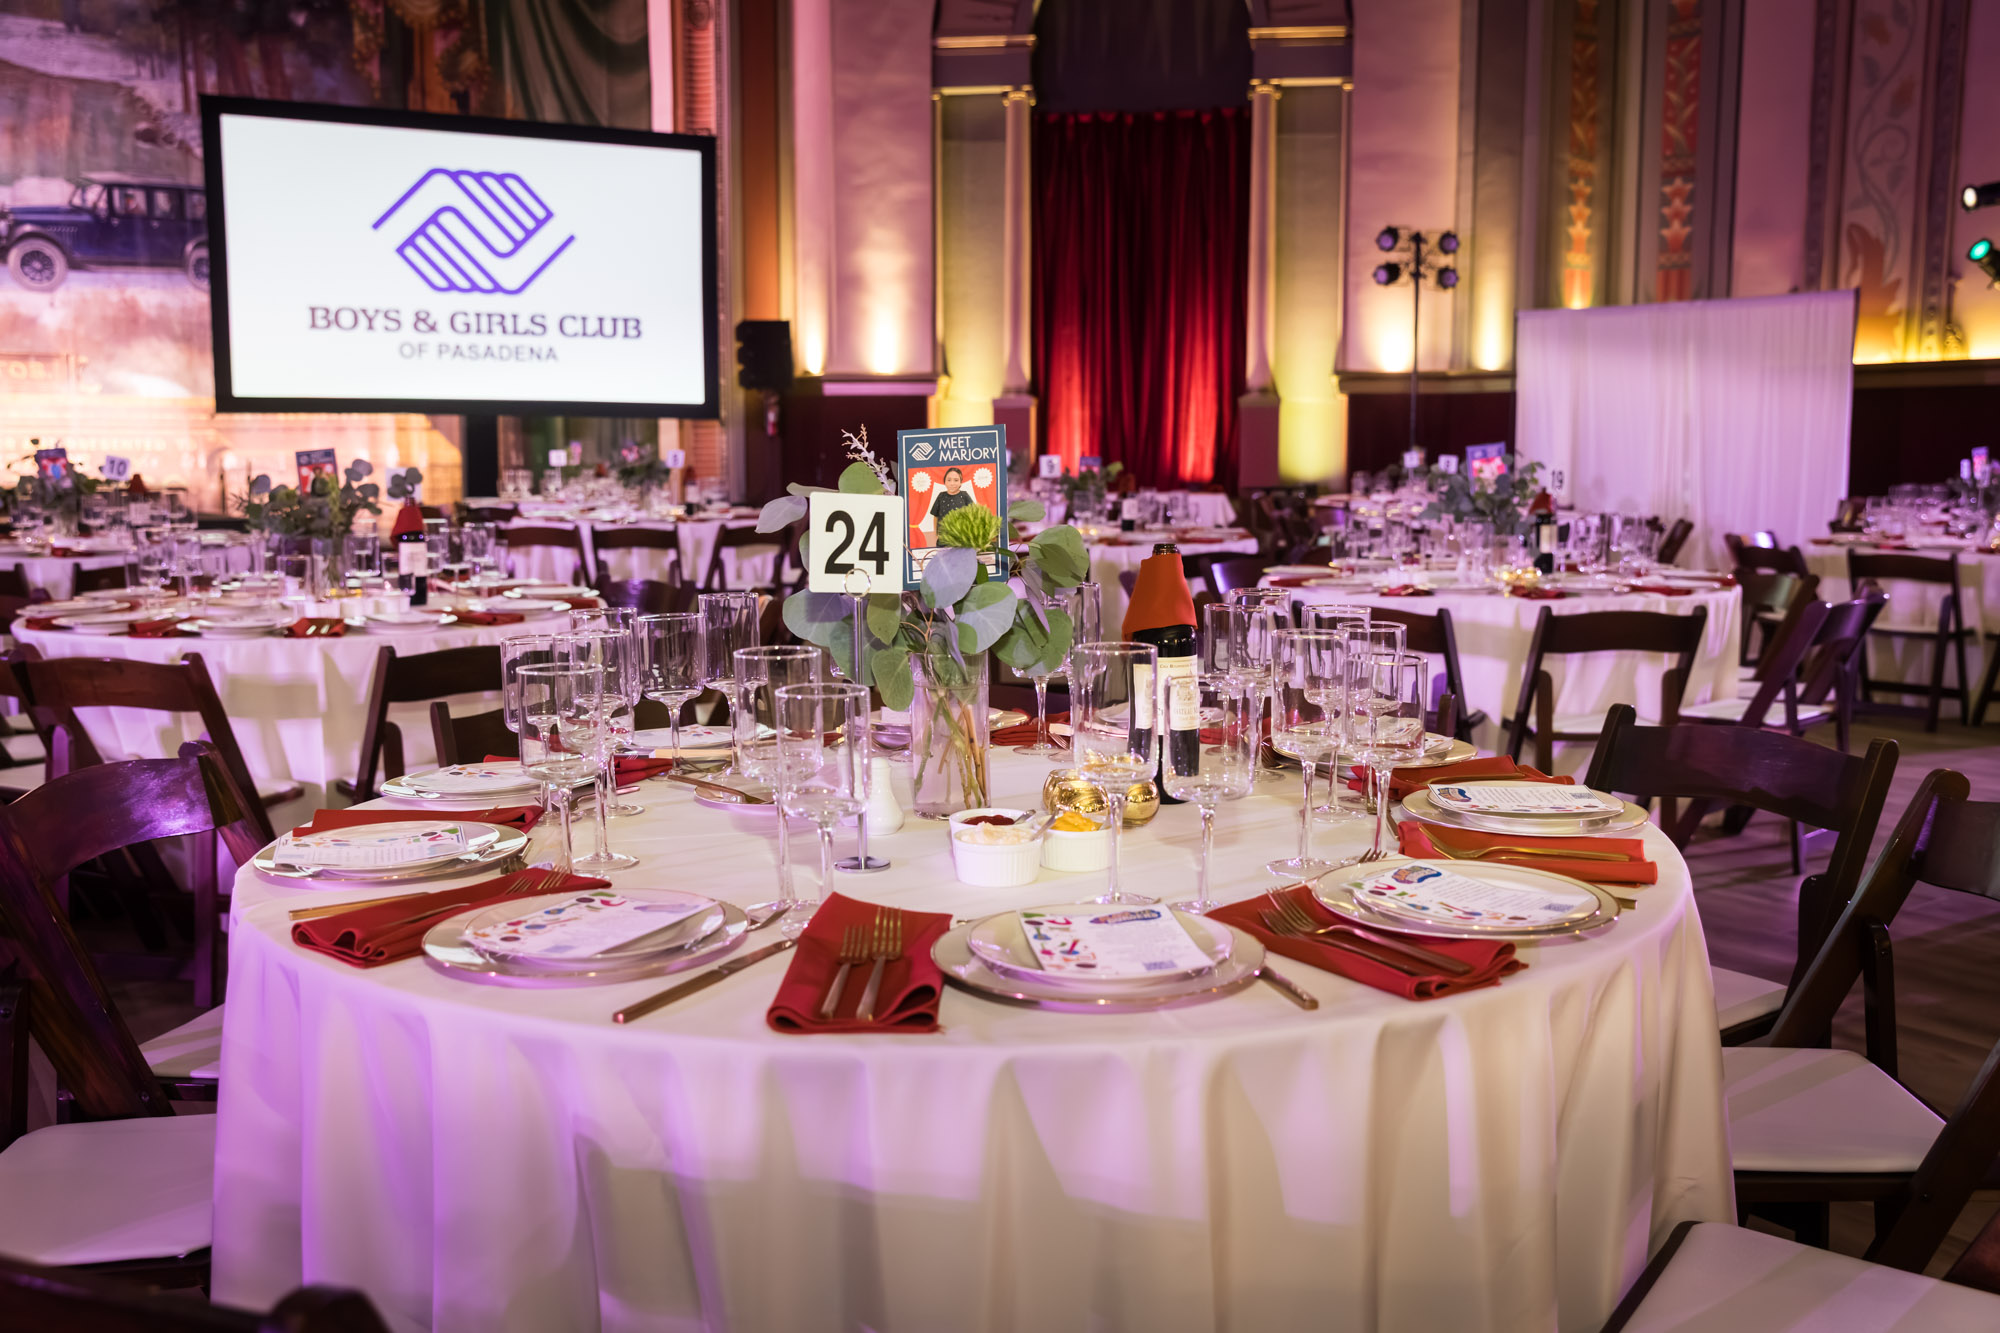
Photographing the table settings
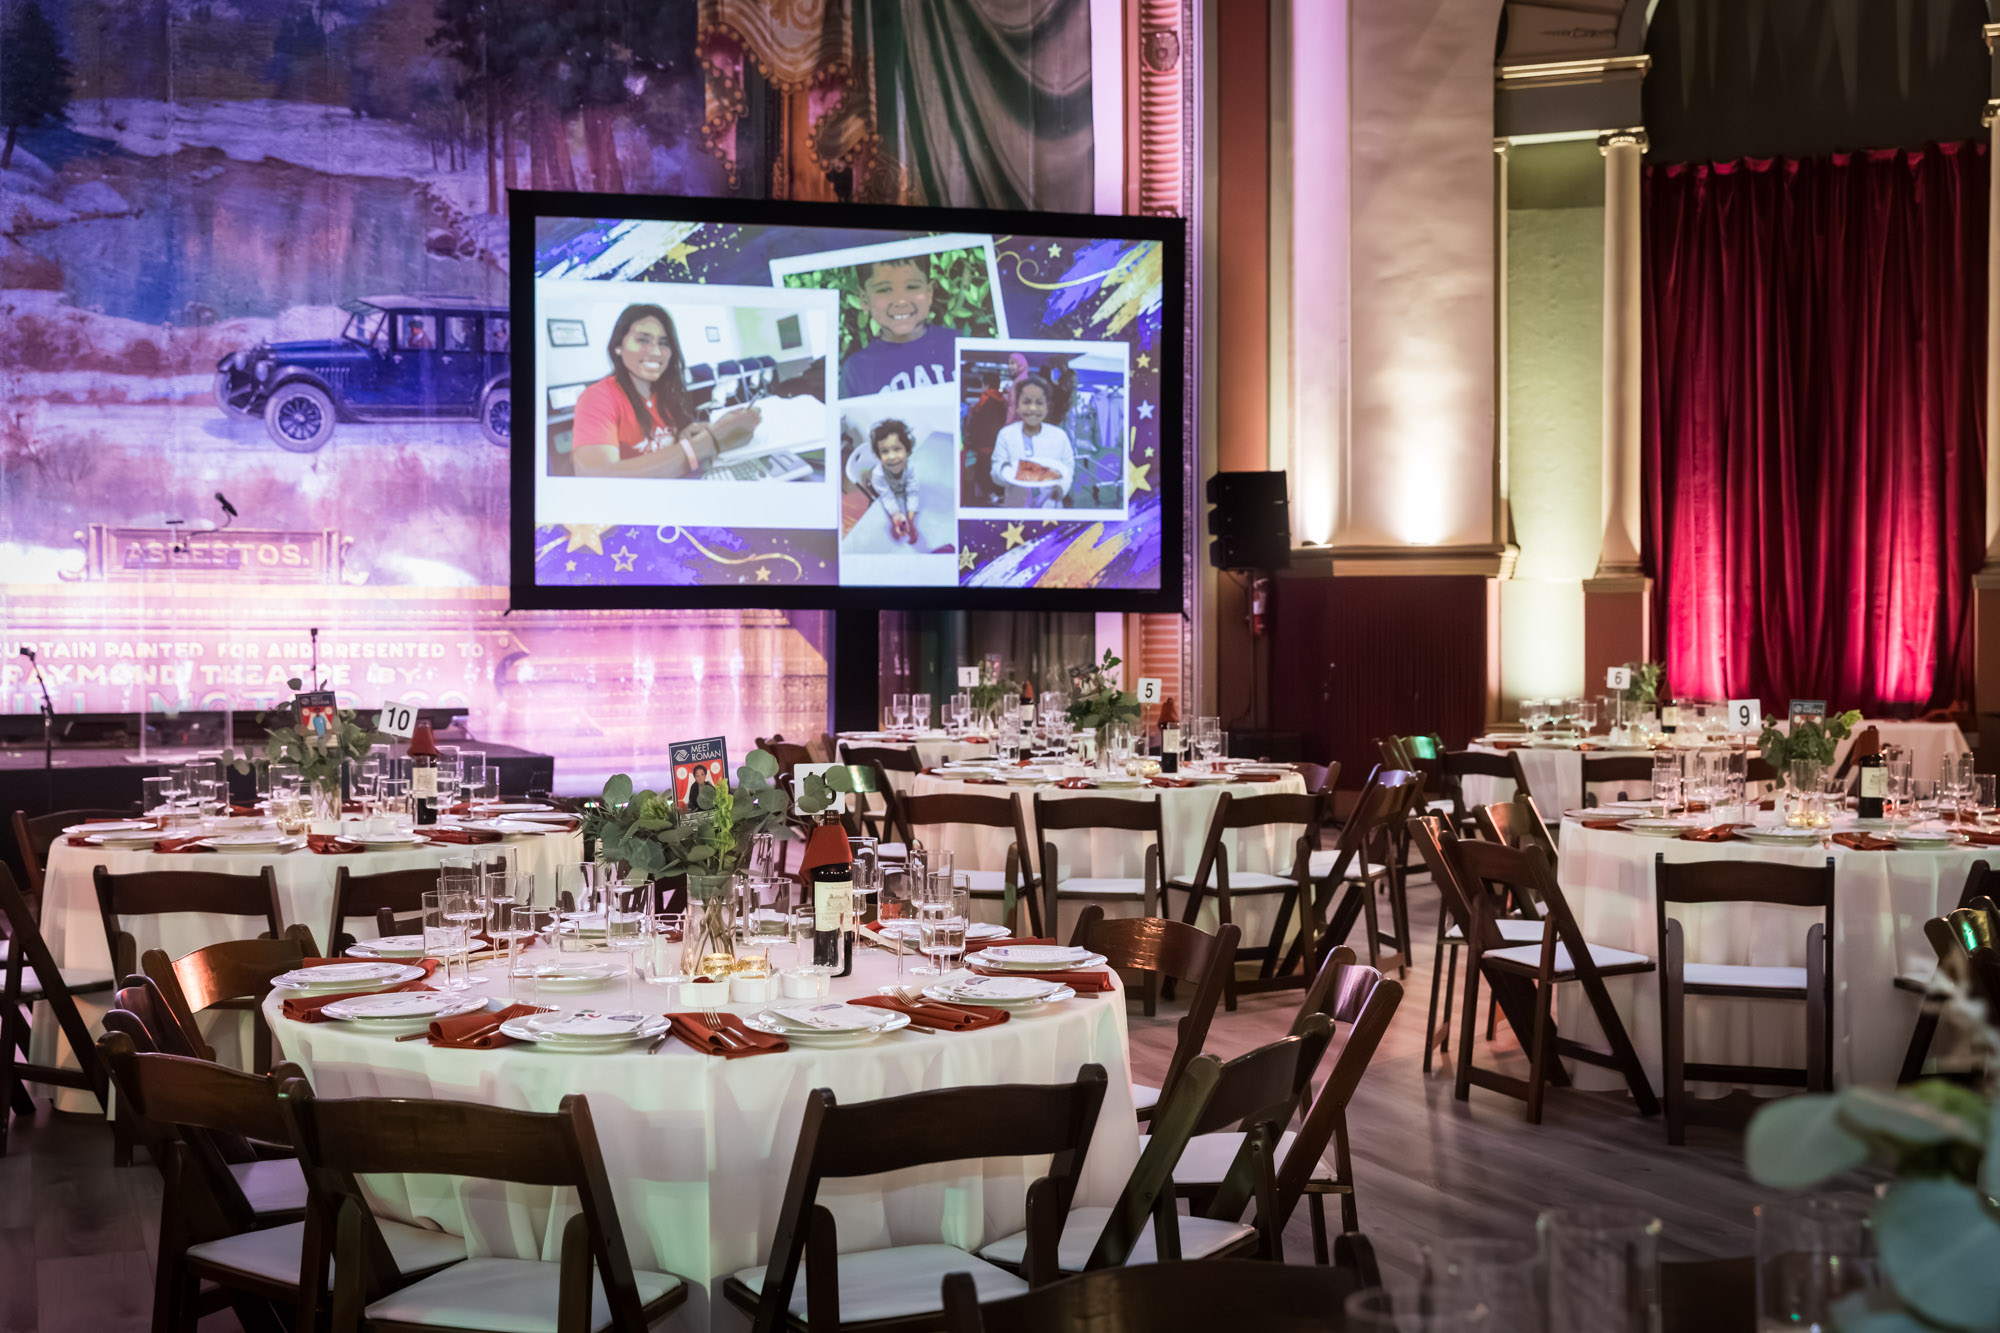
While you might think that the table settings required an inordinate amount of light, the truth is that my settings were roughly the same: f/4, 1/250, ISO 5000. Through the magic of editing, I simply added a Lightroom exposure mask to bring up the exposure of the tables. Again, extra lights on stands would have been helpful here, but when weighed against the danger of tripping a passing waiter, I opted to stick with on-camera flash.
Photographing the Event: Focus on the Podium
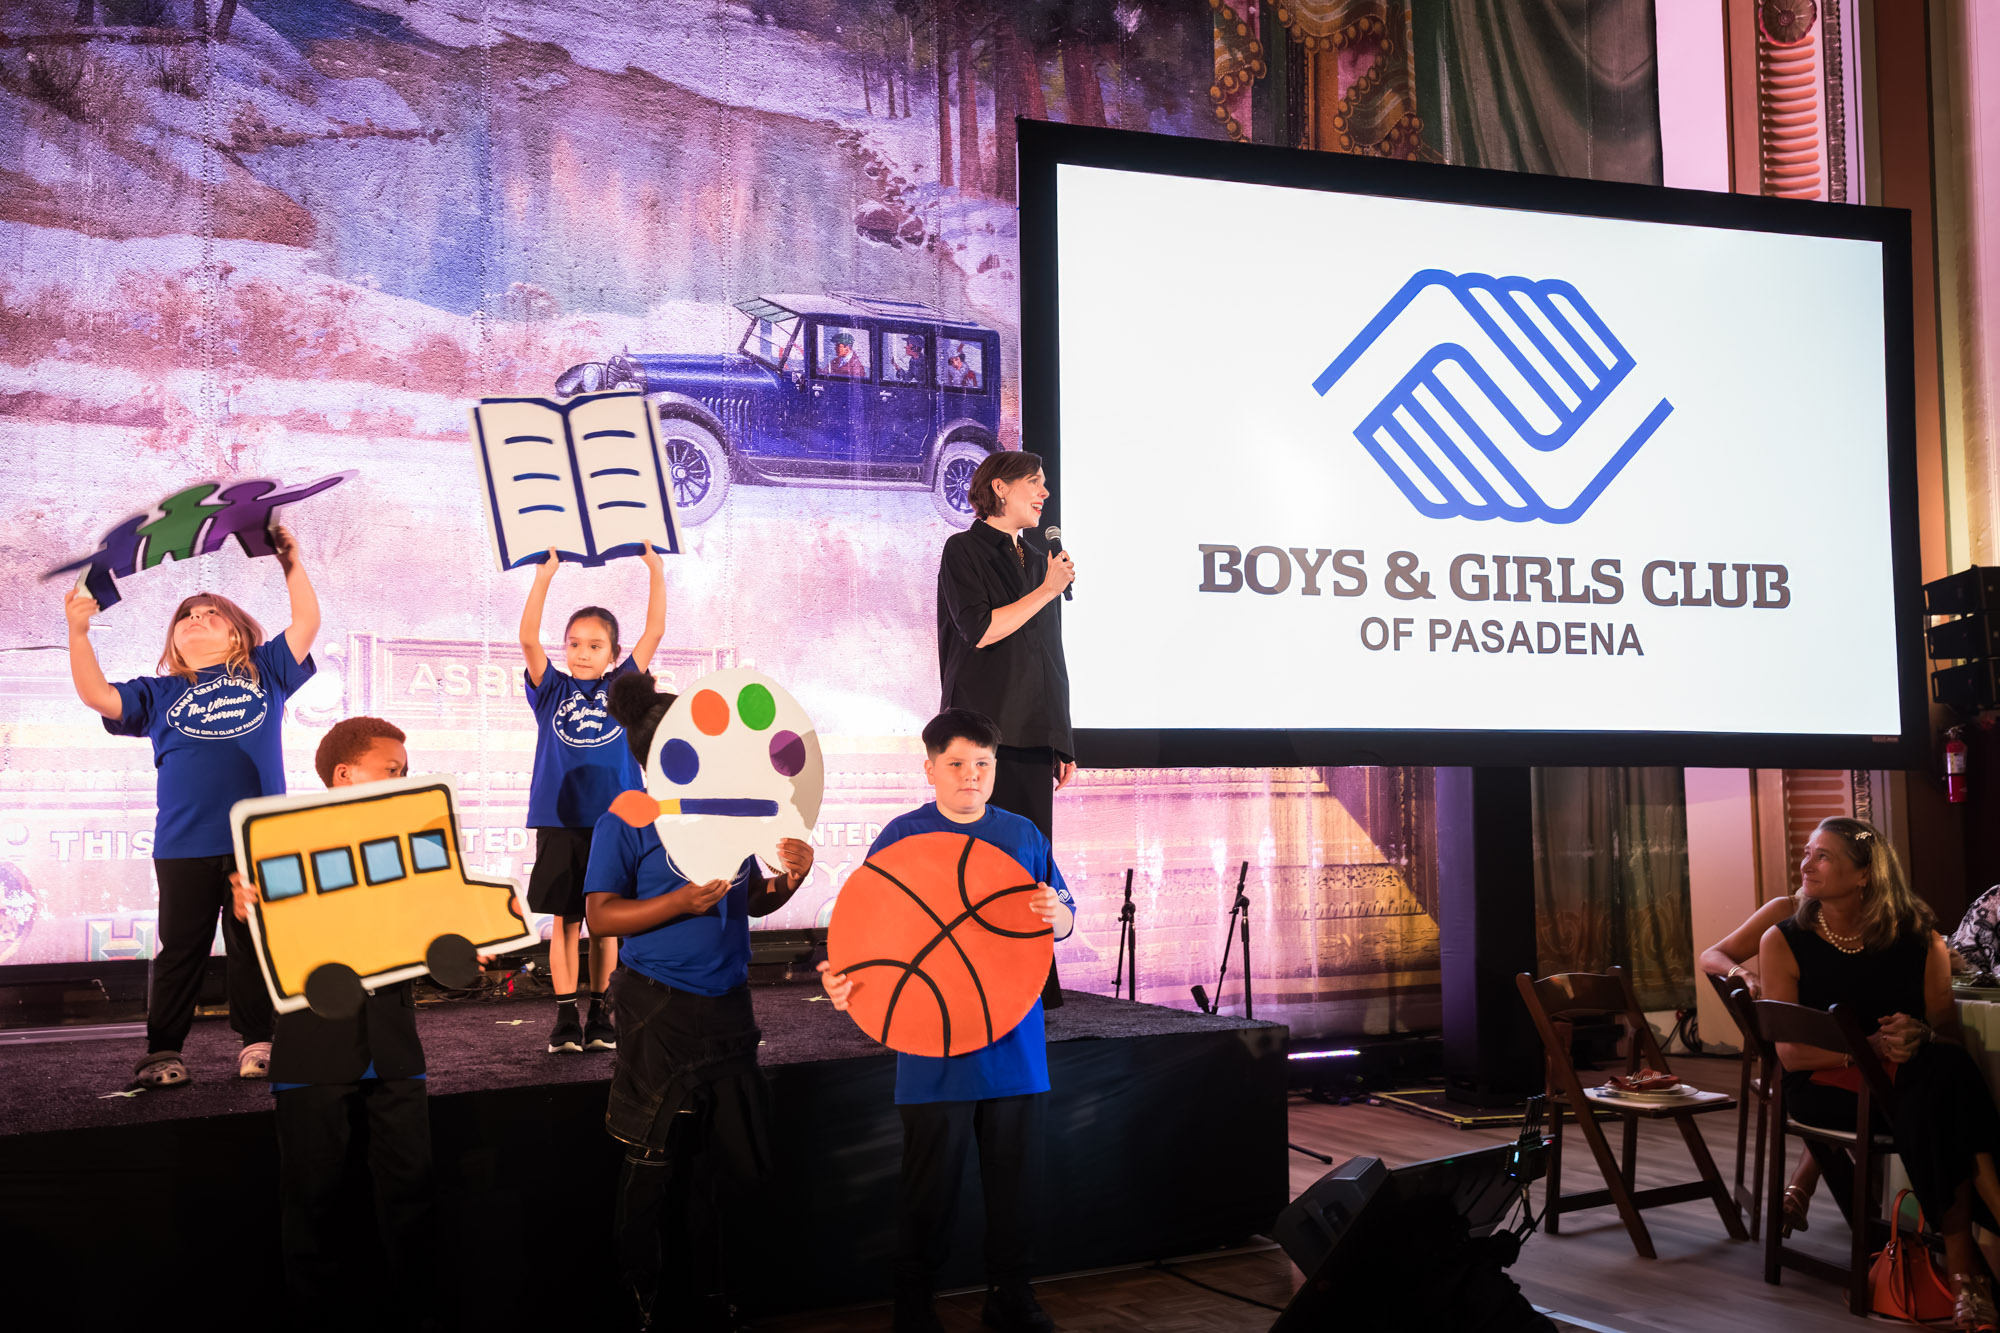
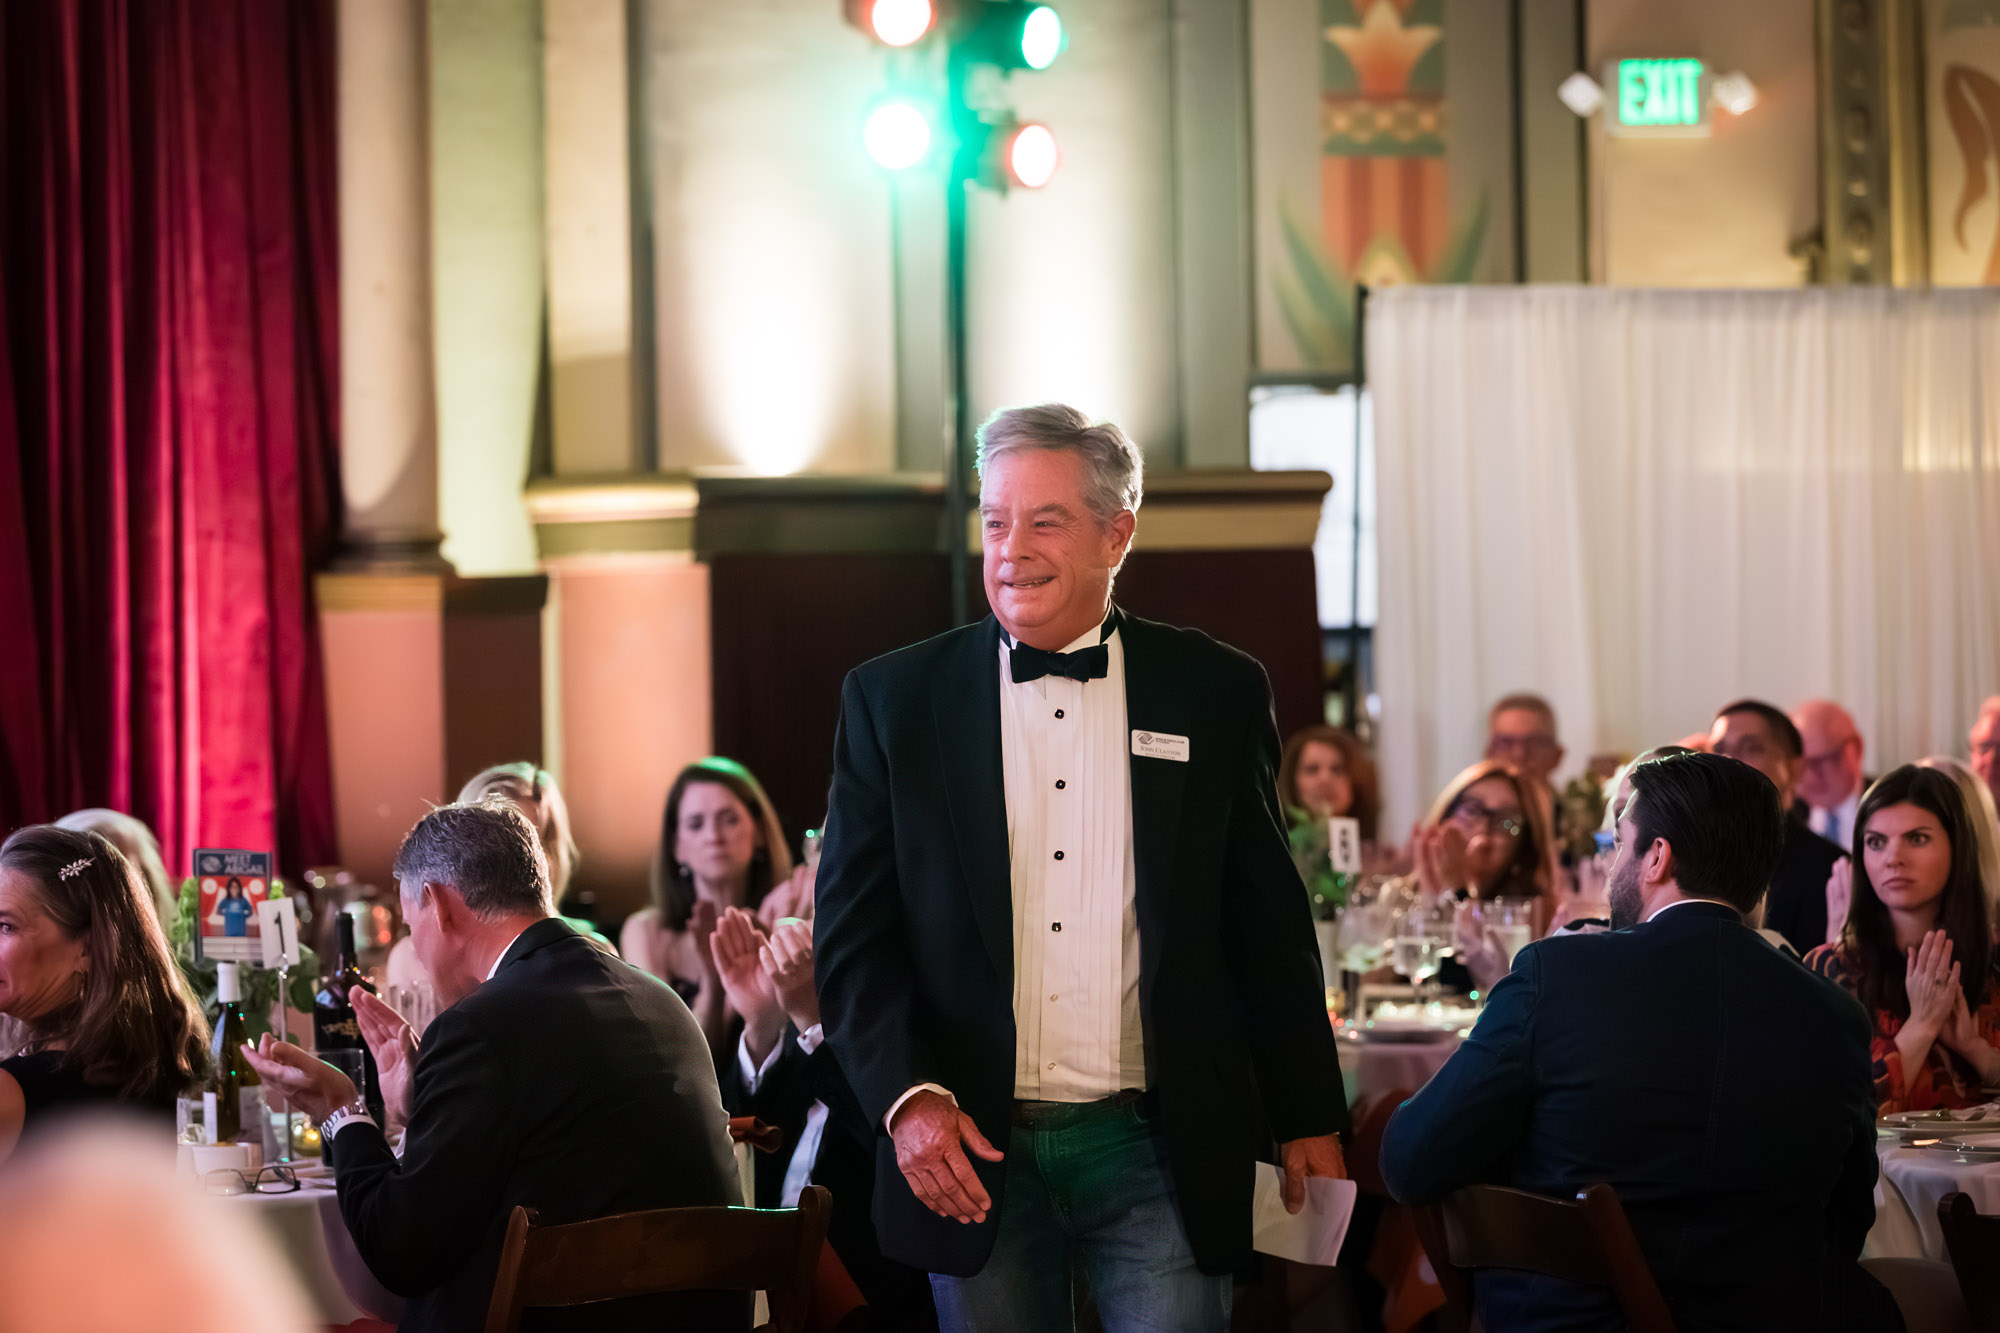
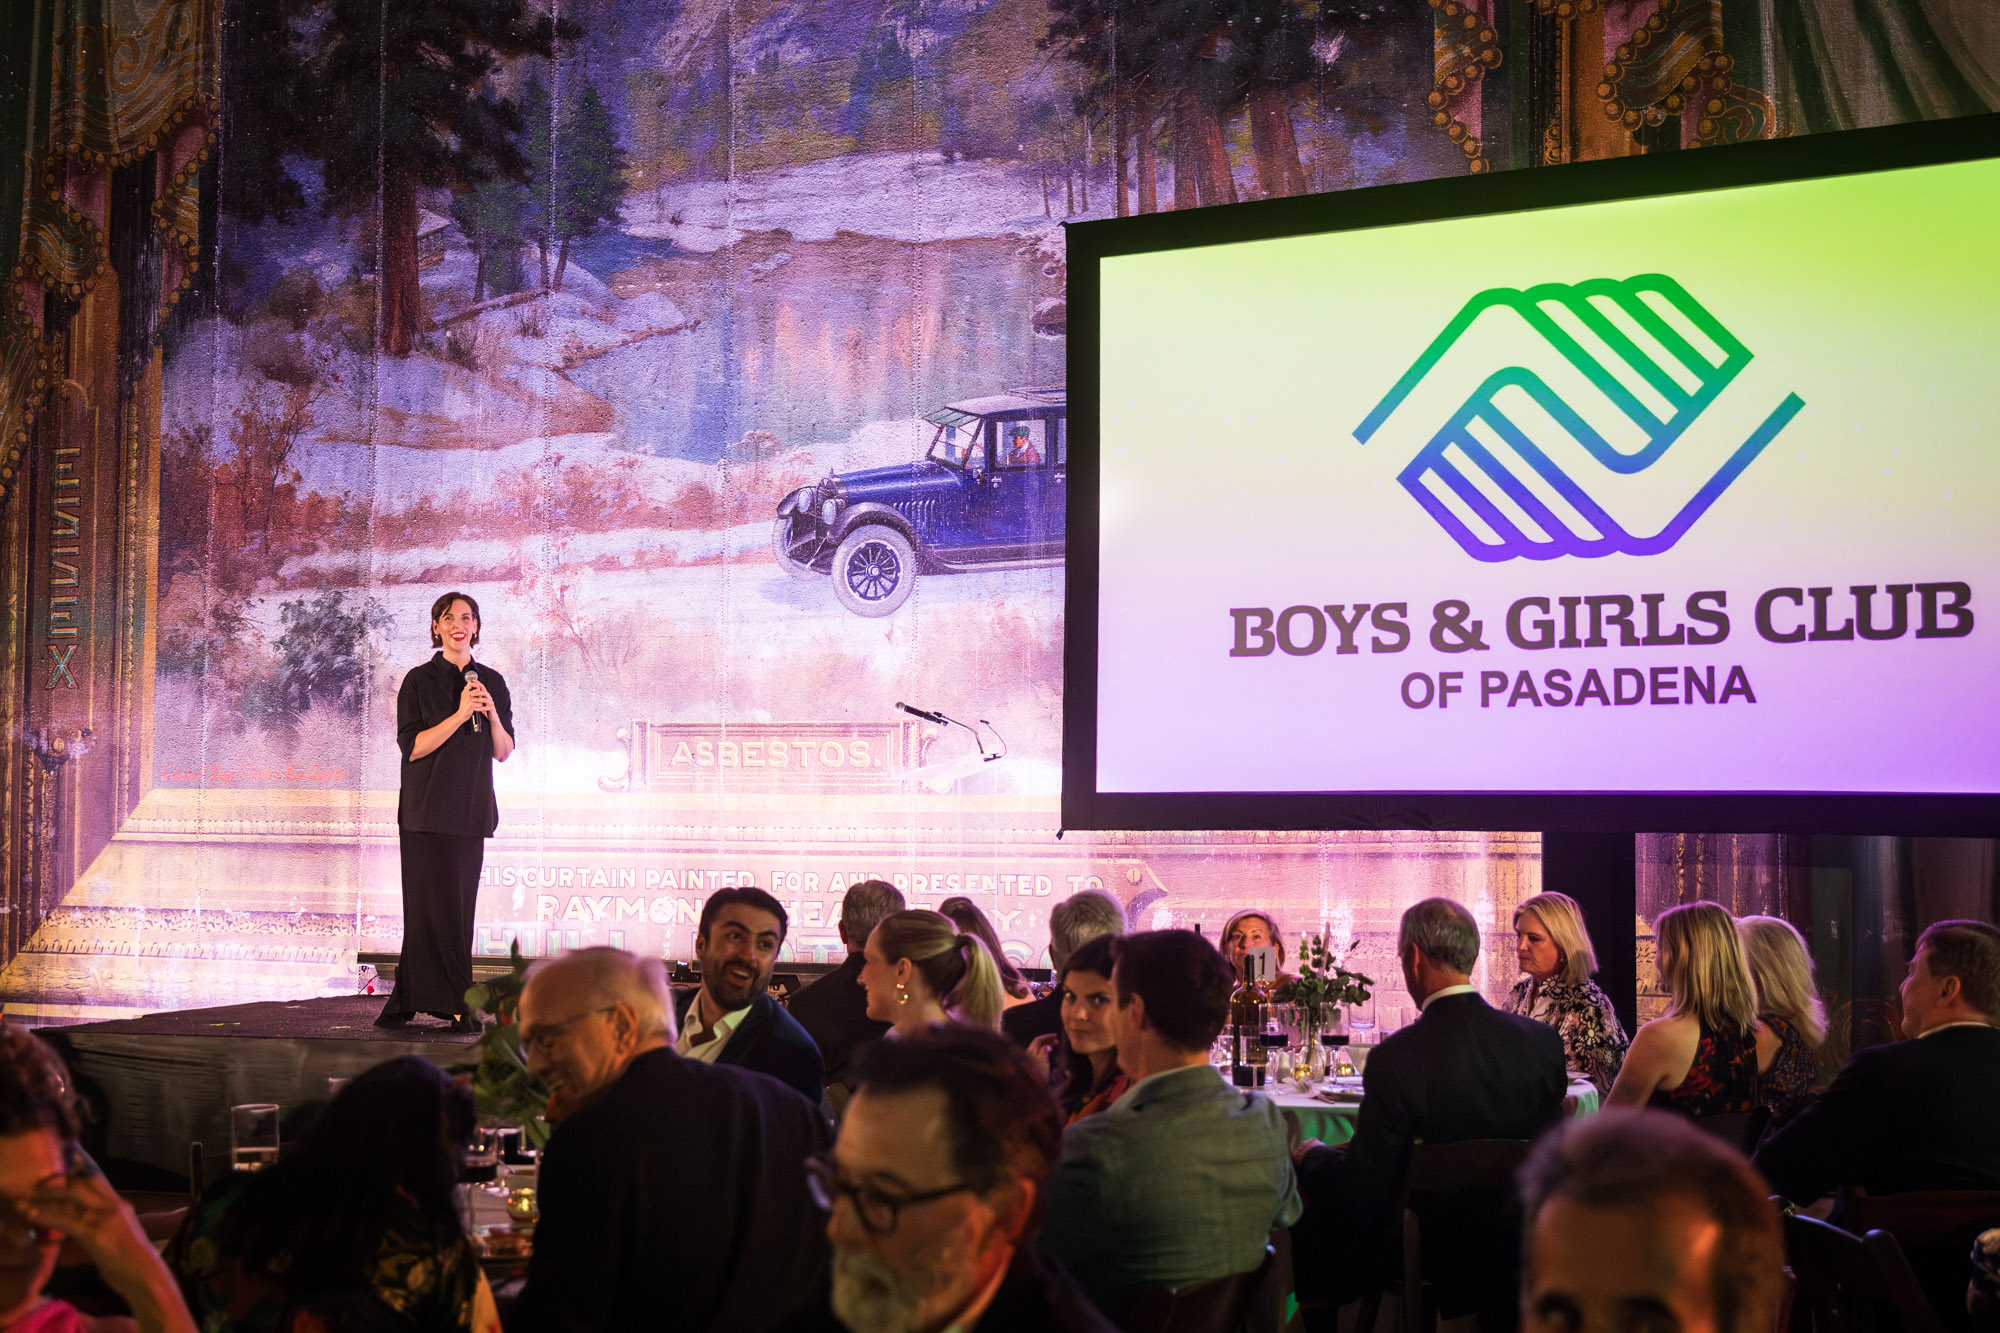
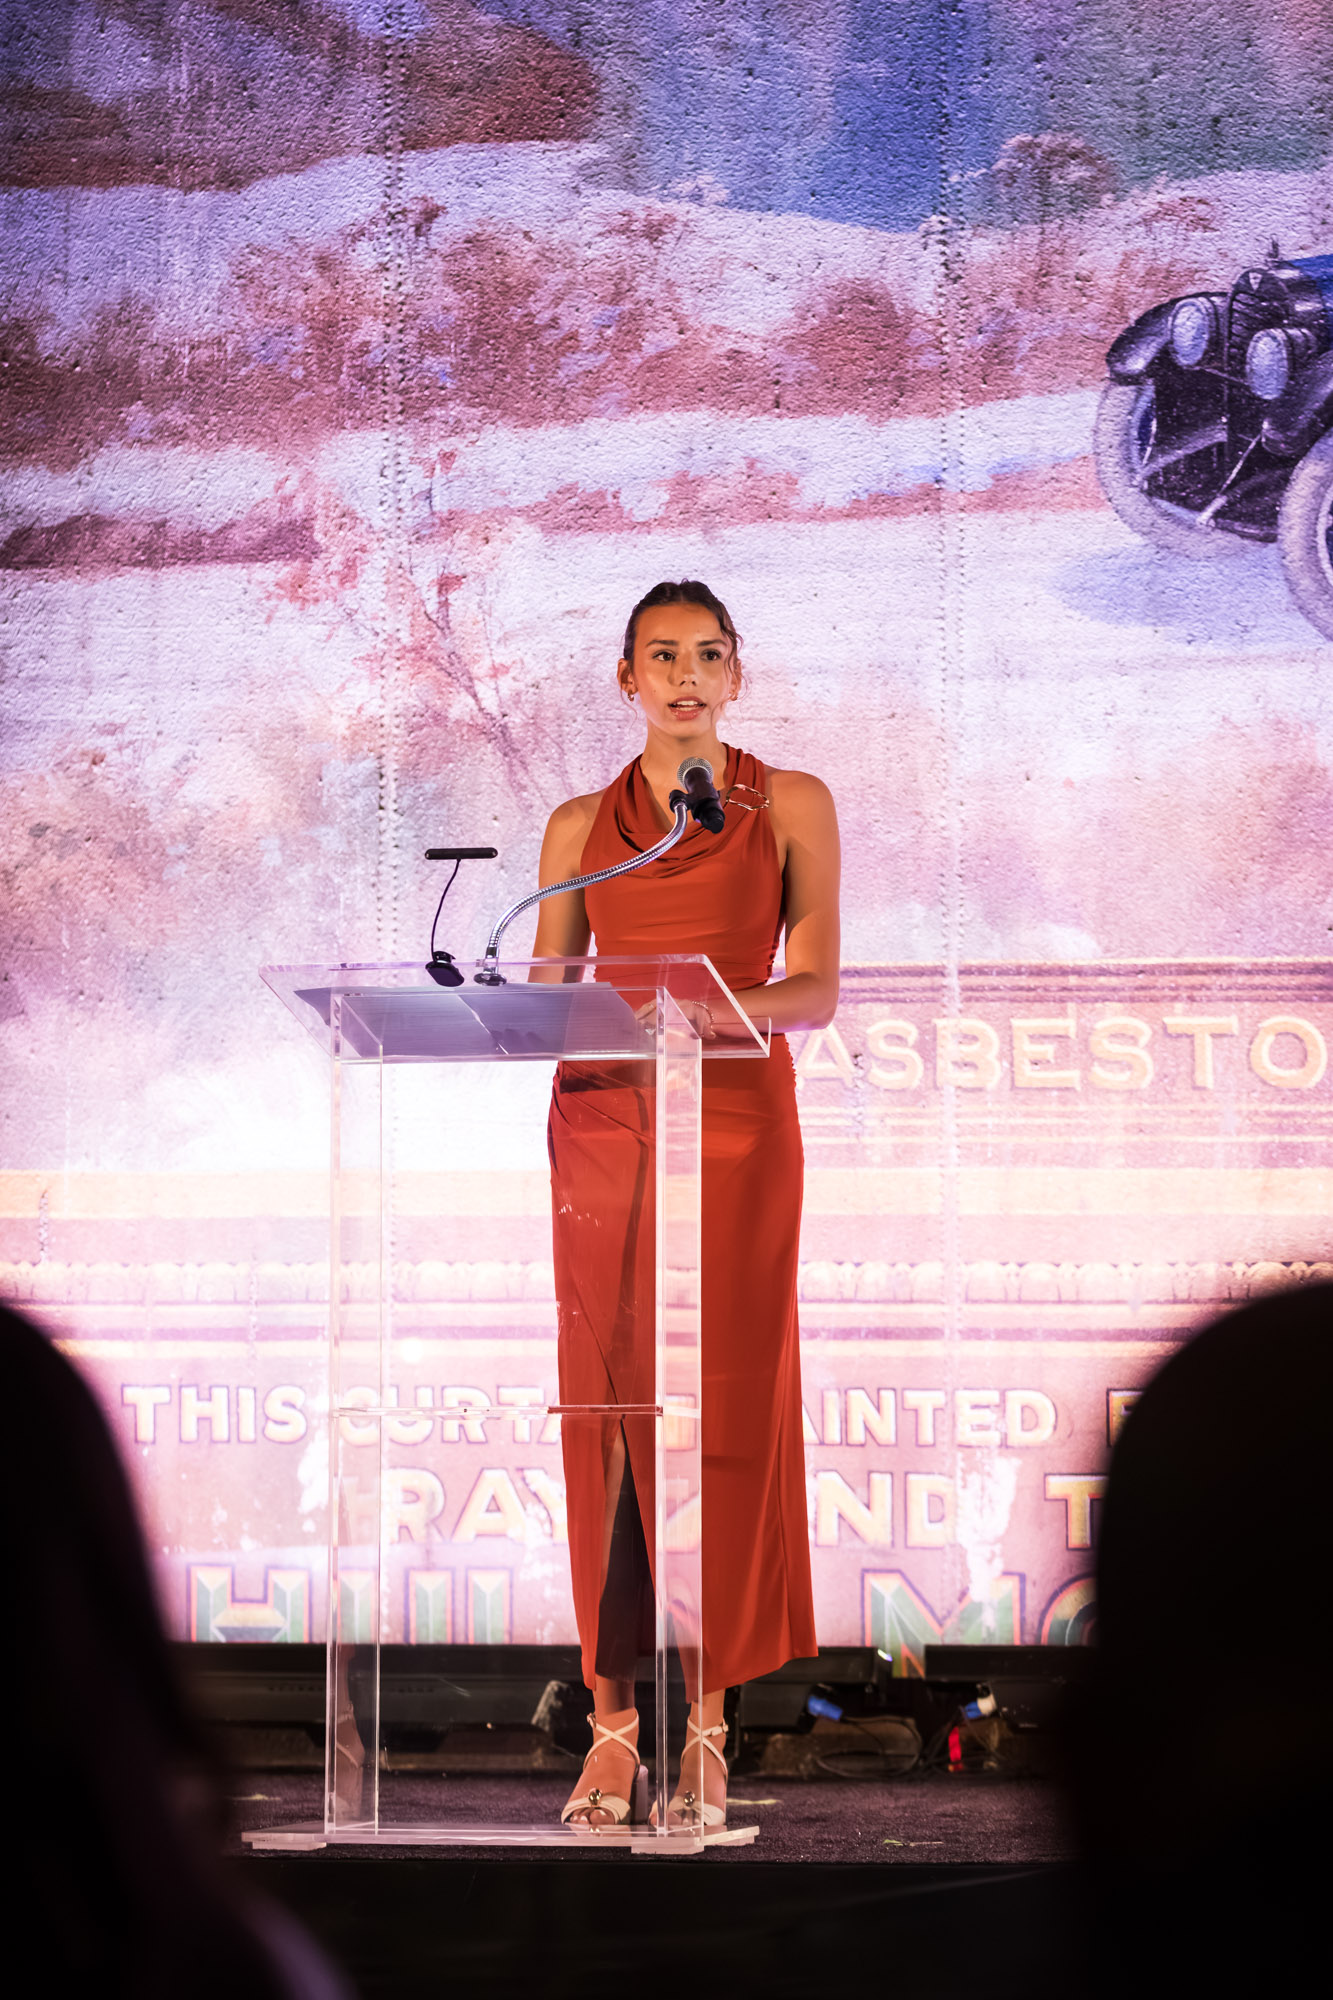
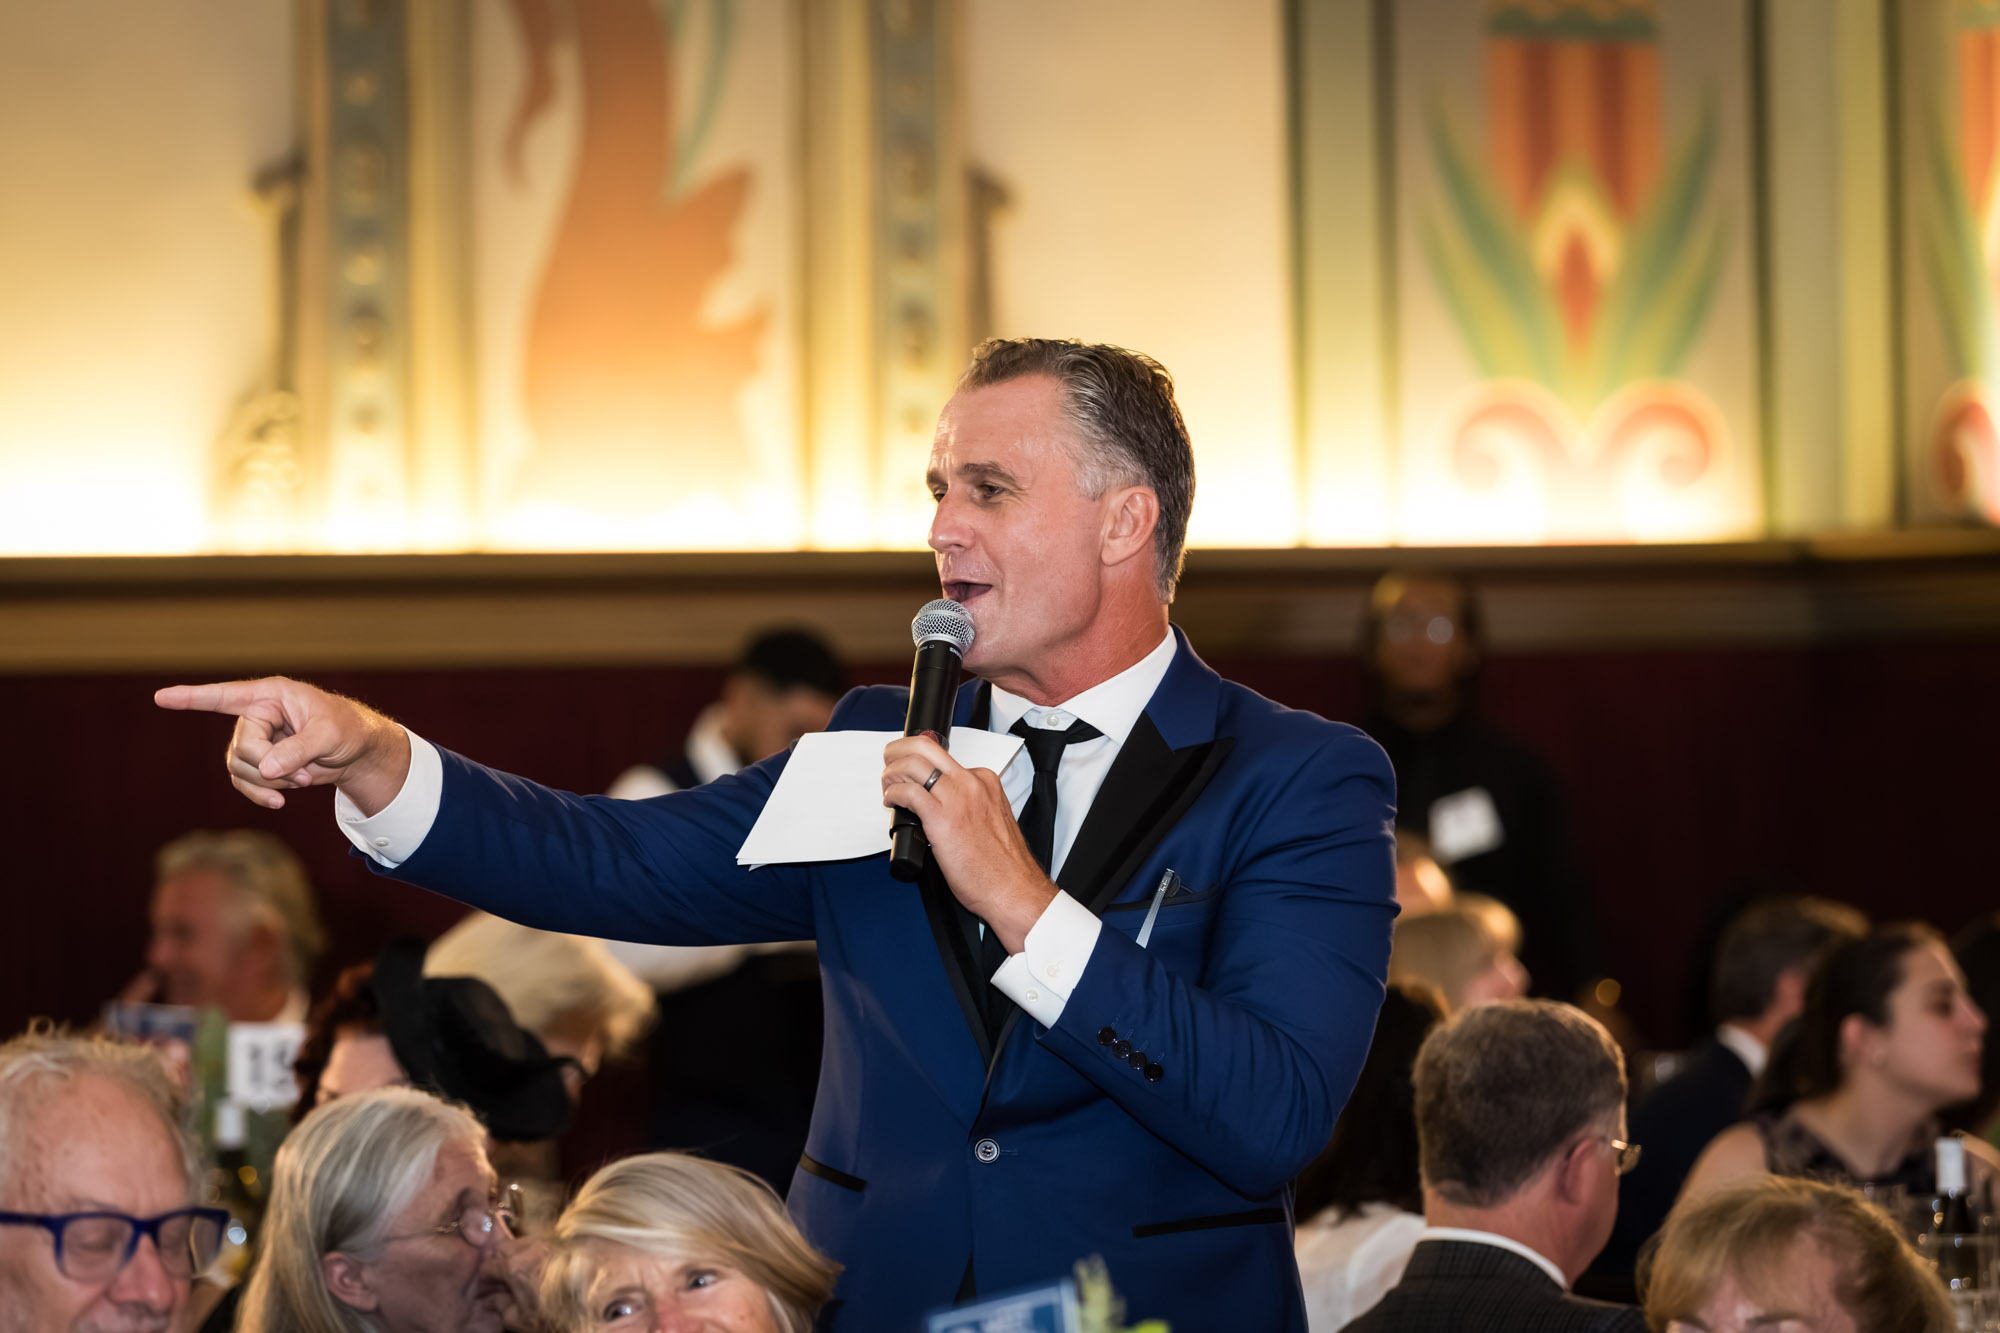
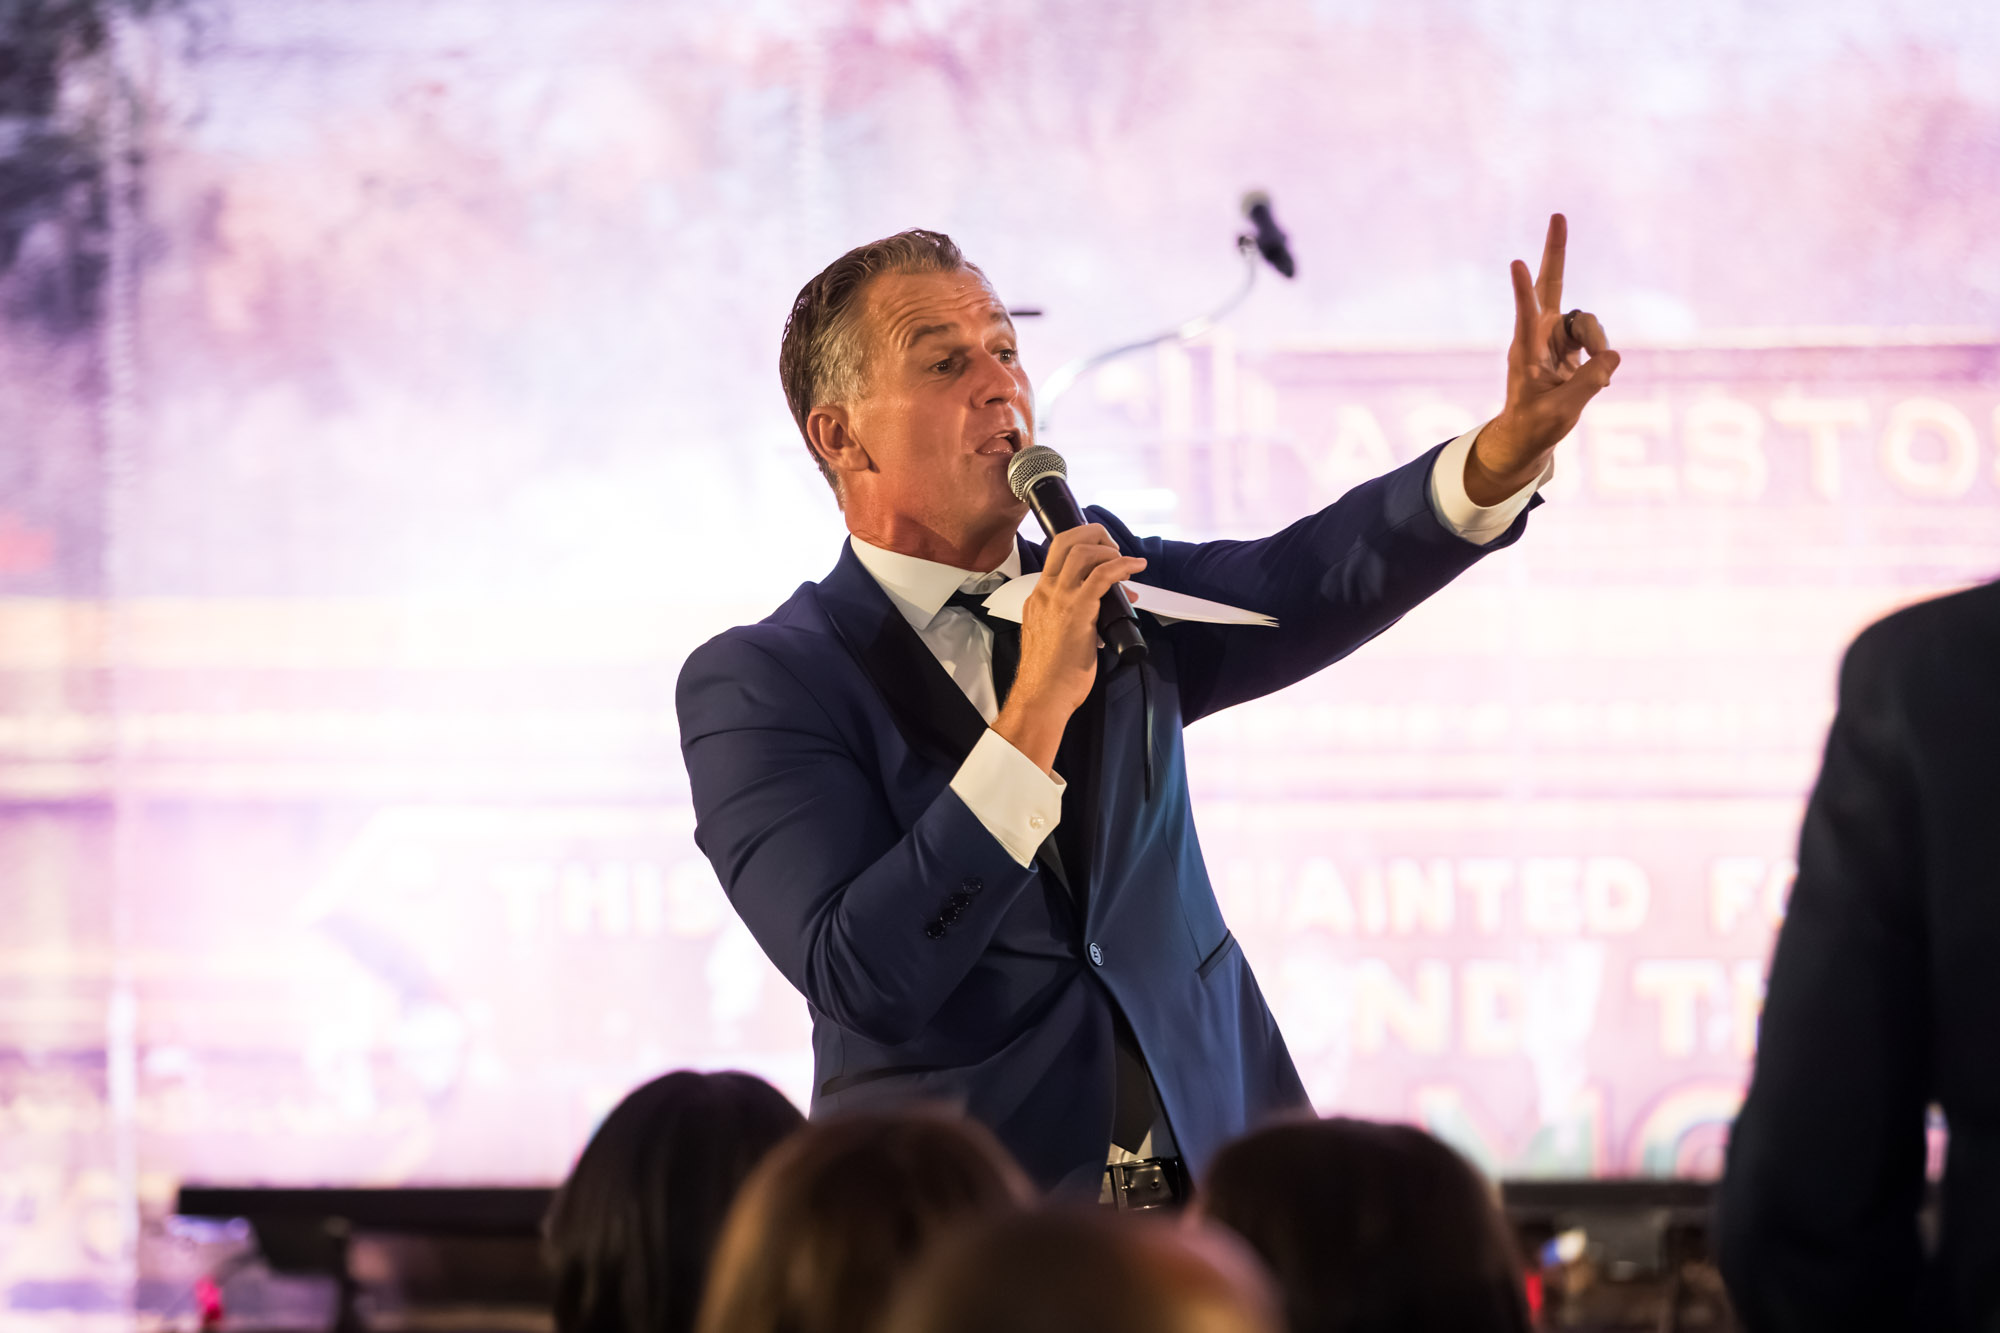
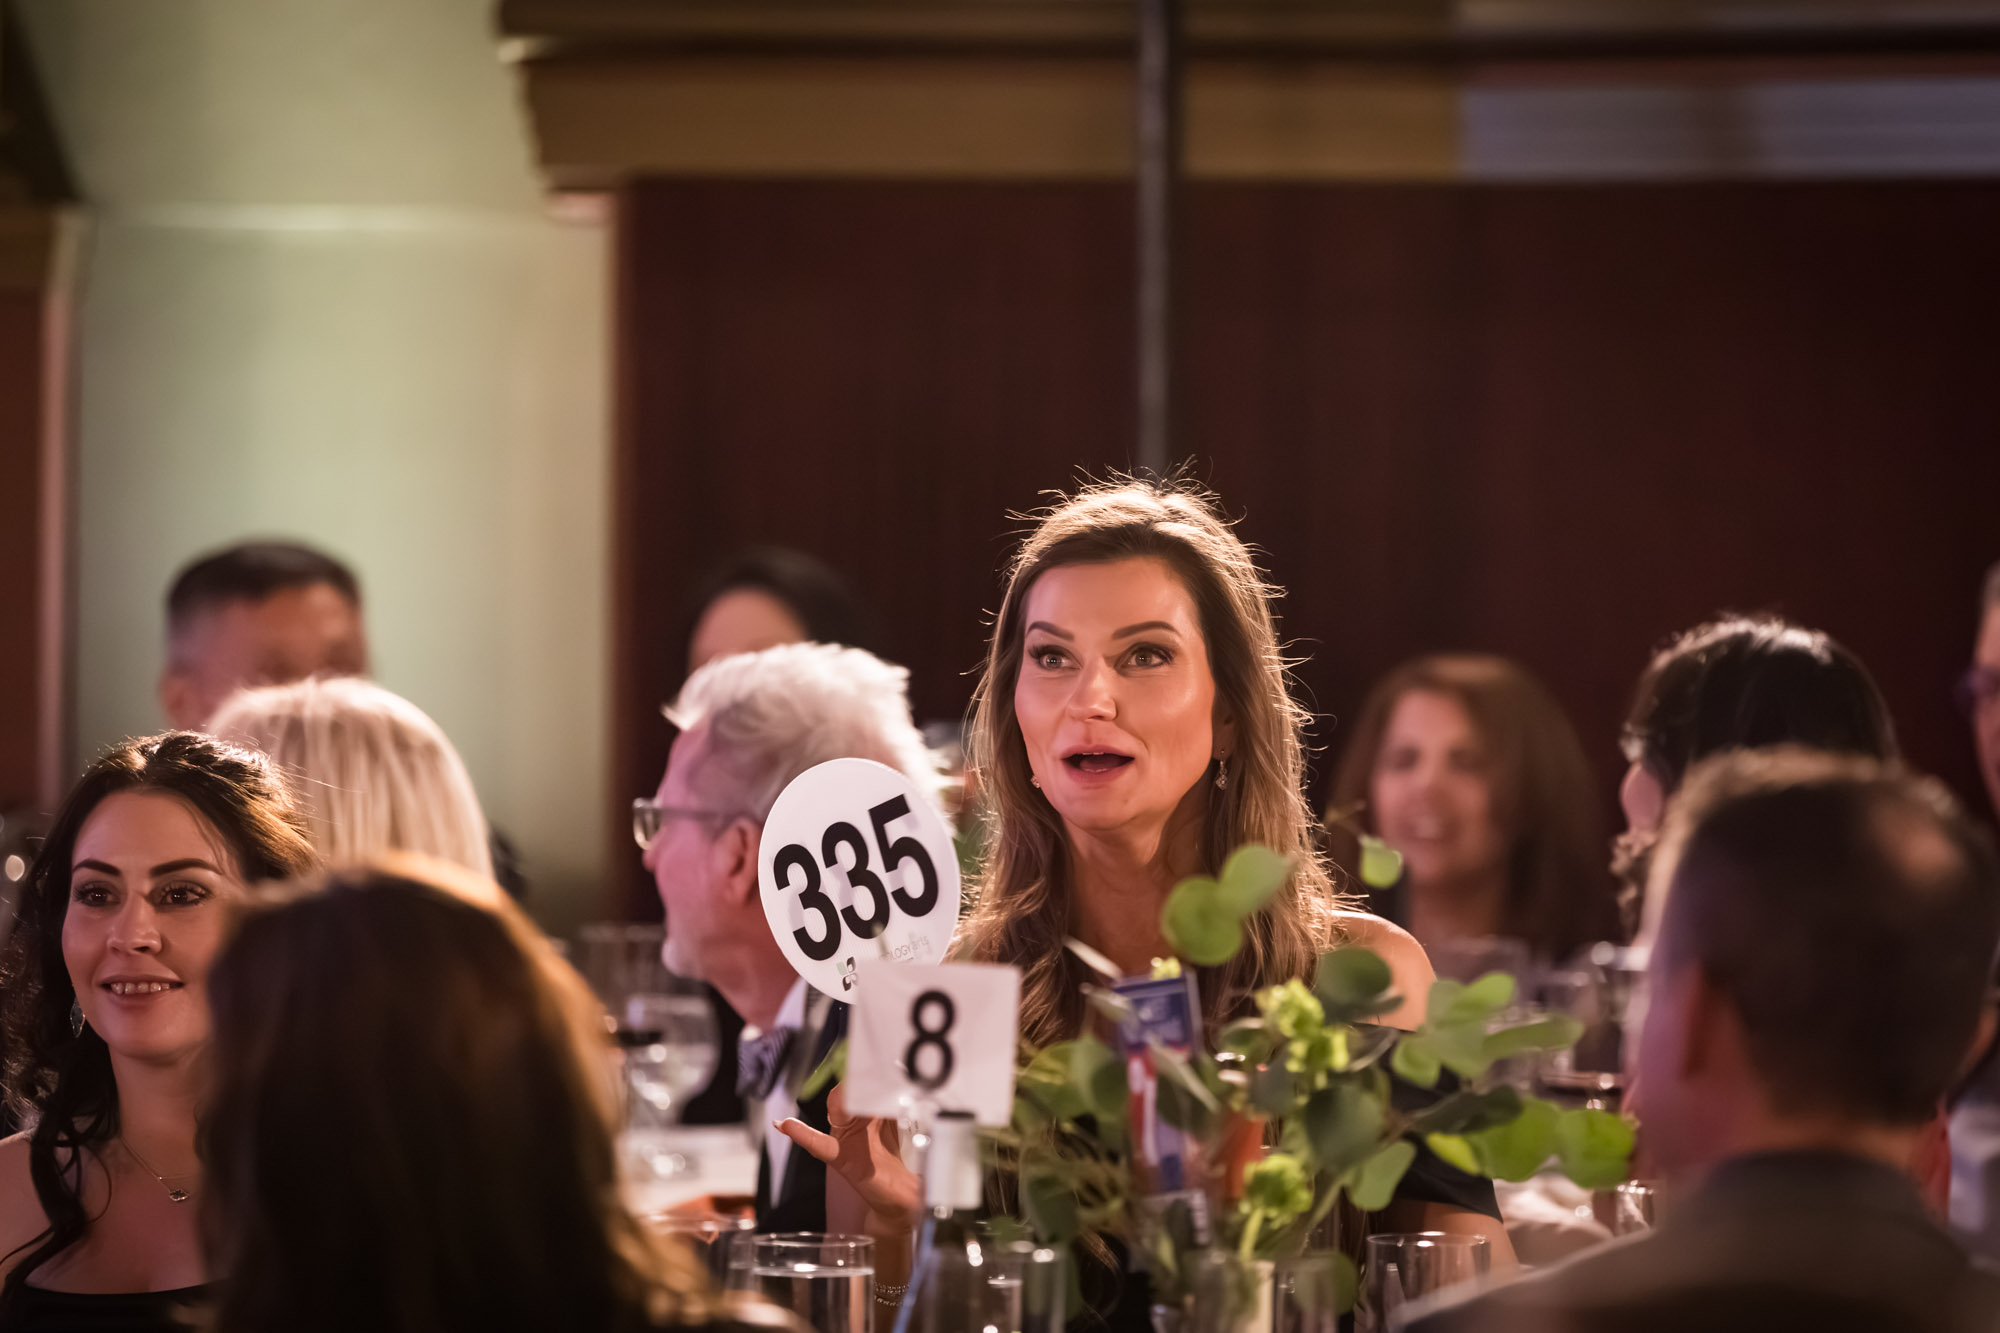
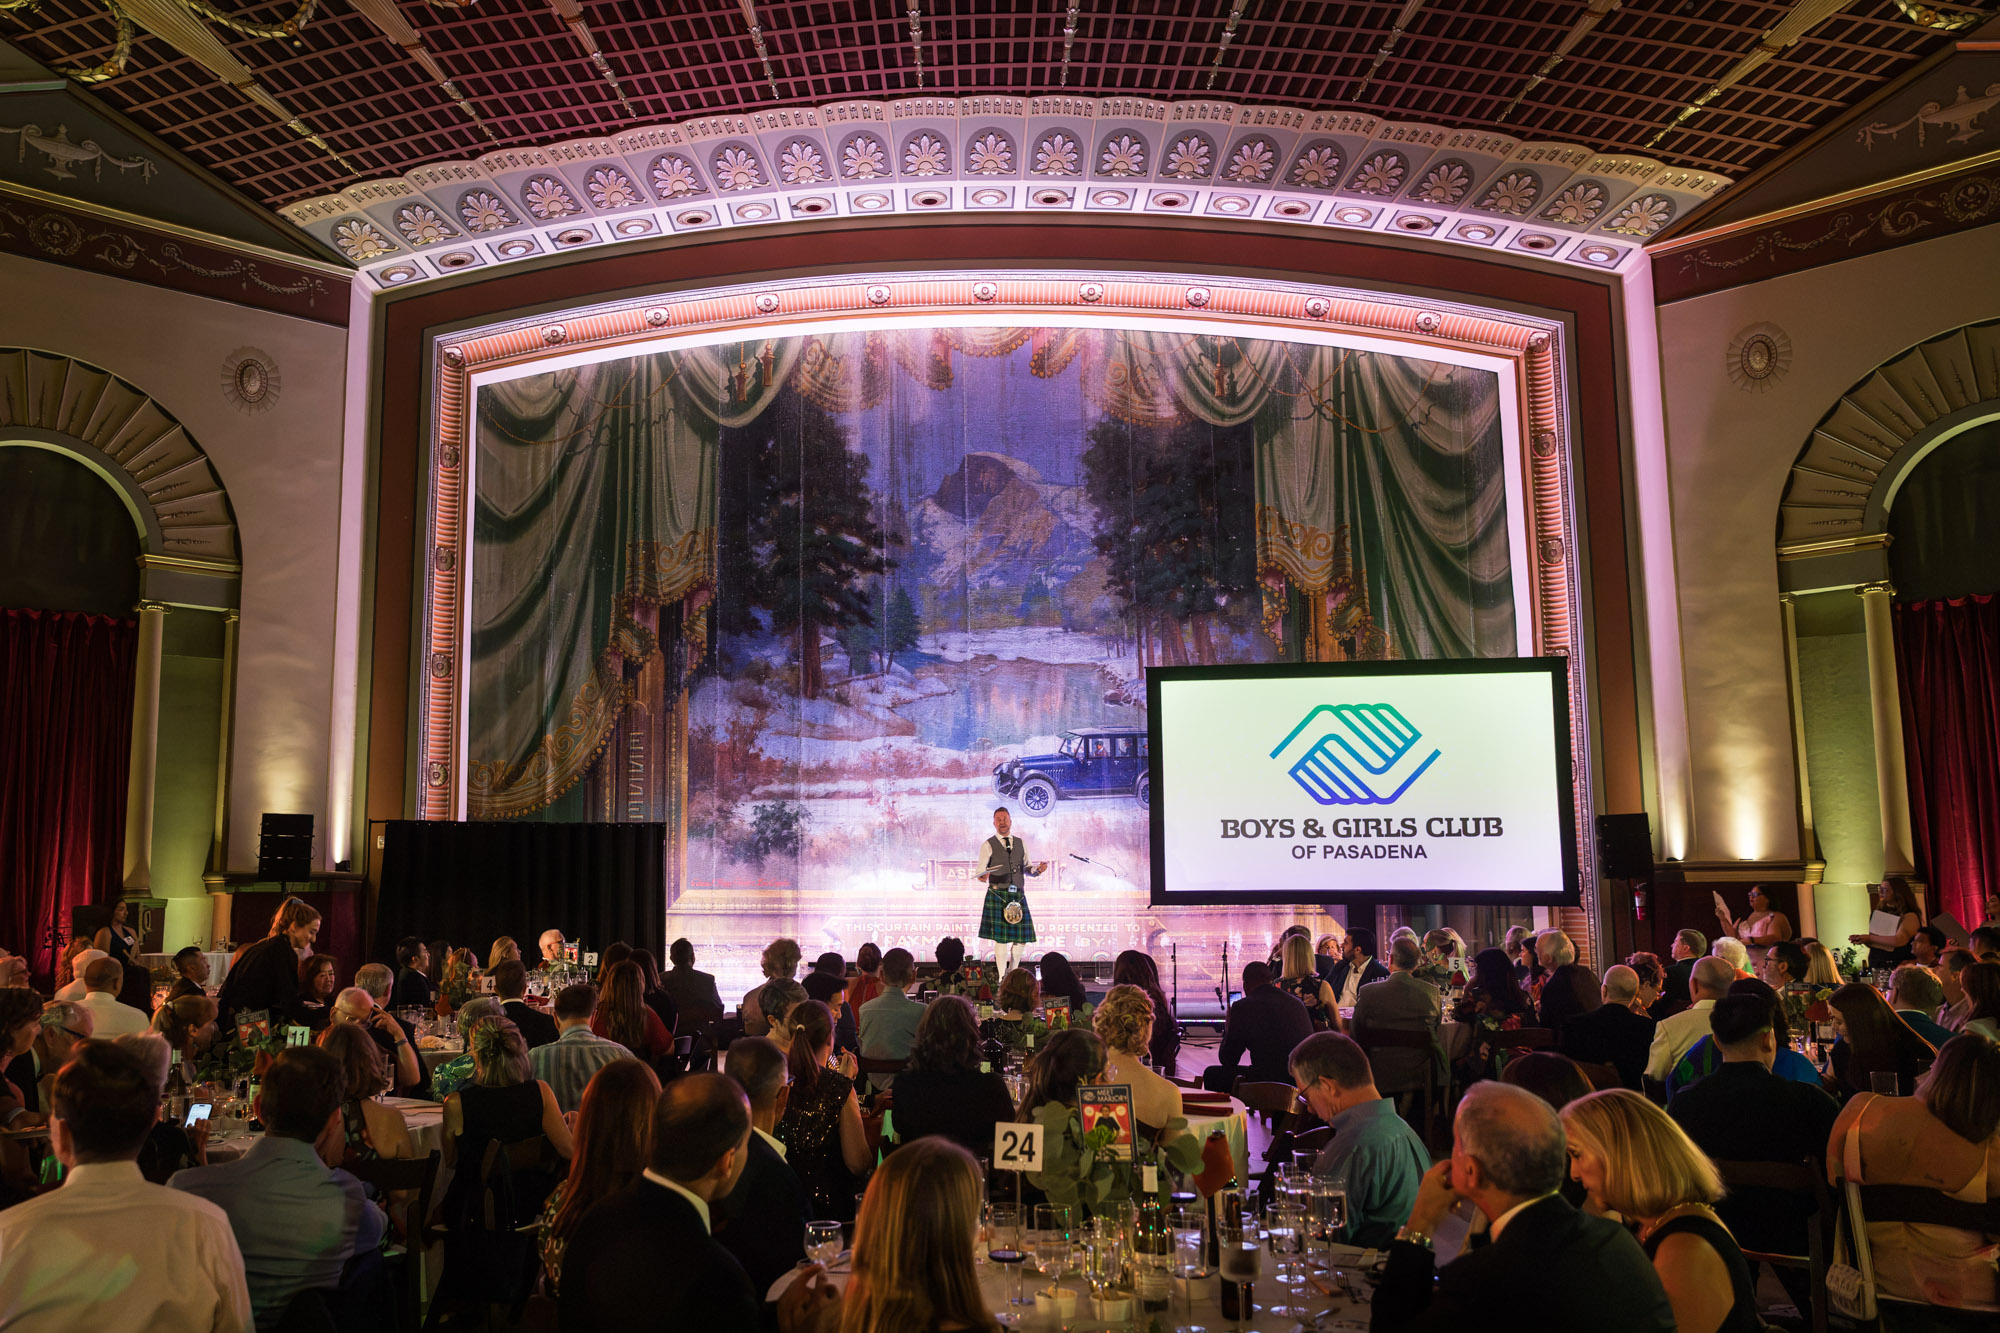
When it was game time, this was when the lights really dimmed. The main focus for any event is what is happening on the podium. While audience reaction shots are nice to have, these are always going to be secondary. Also, the audience is going to have the worst lighting, so these photos are not my top priority.
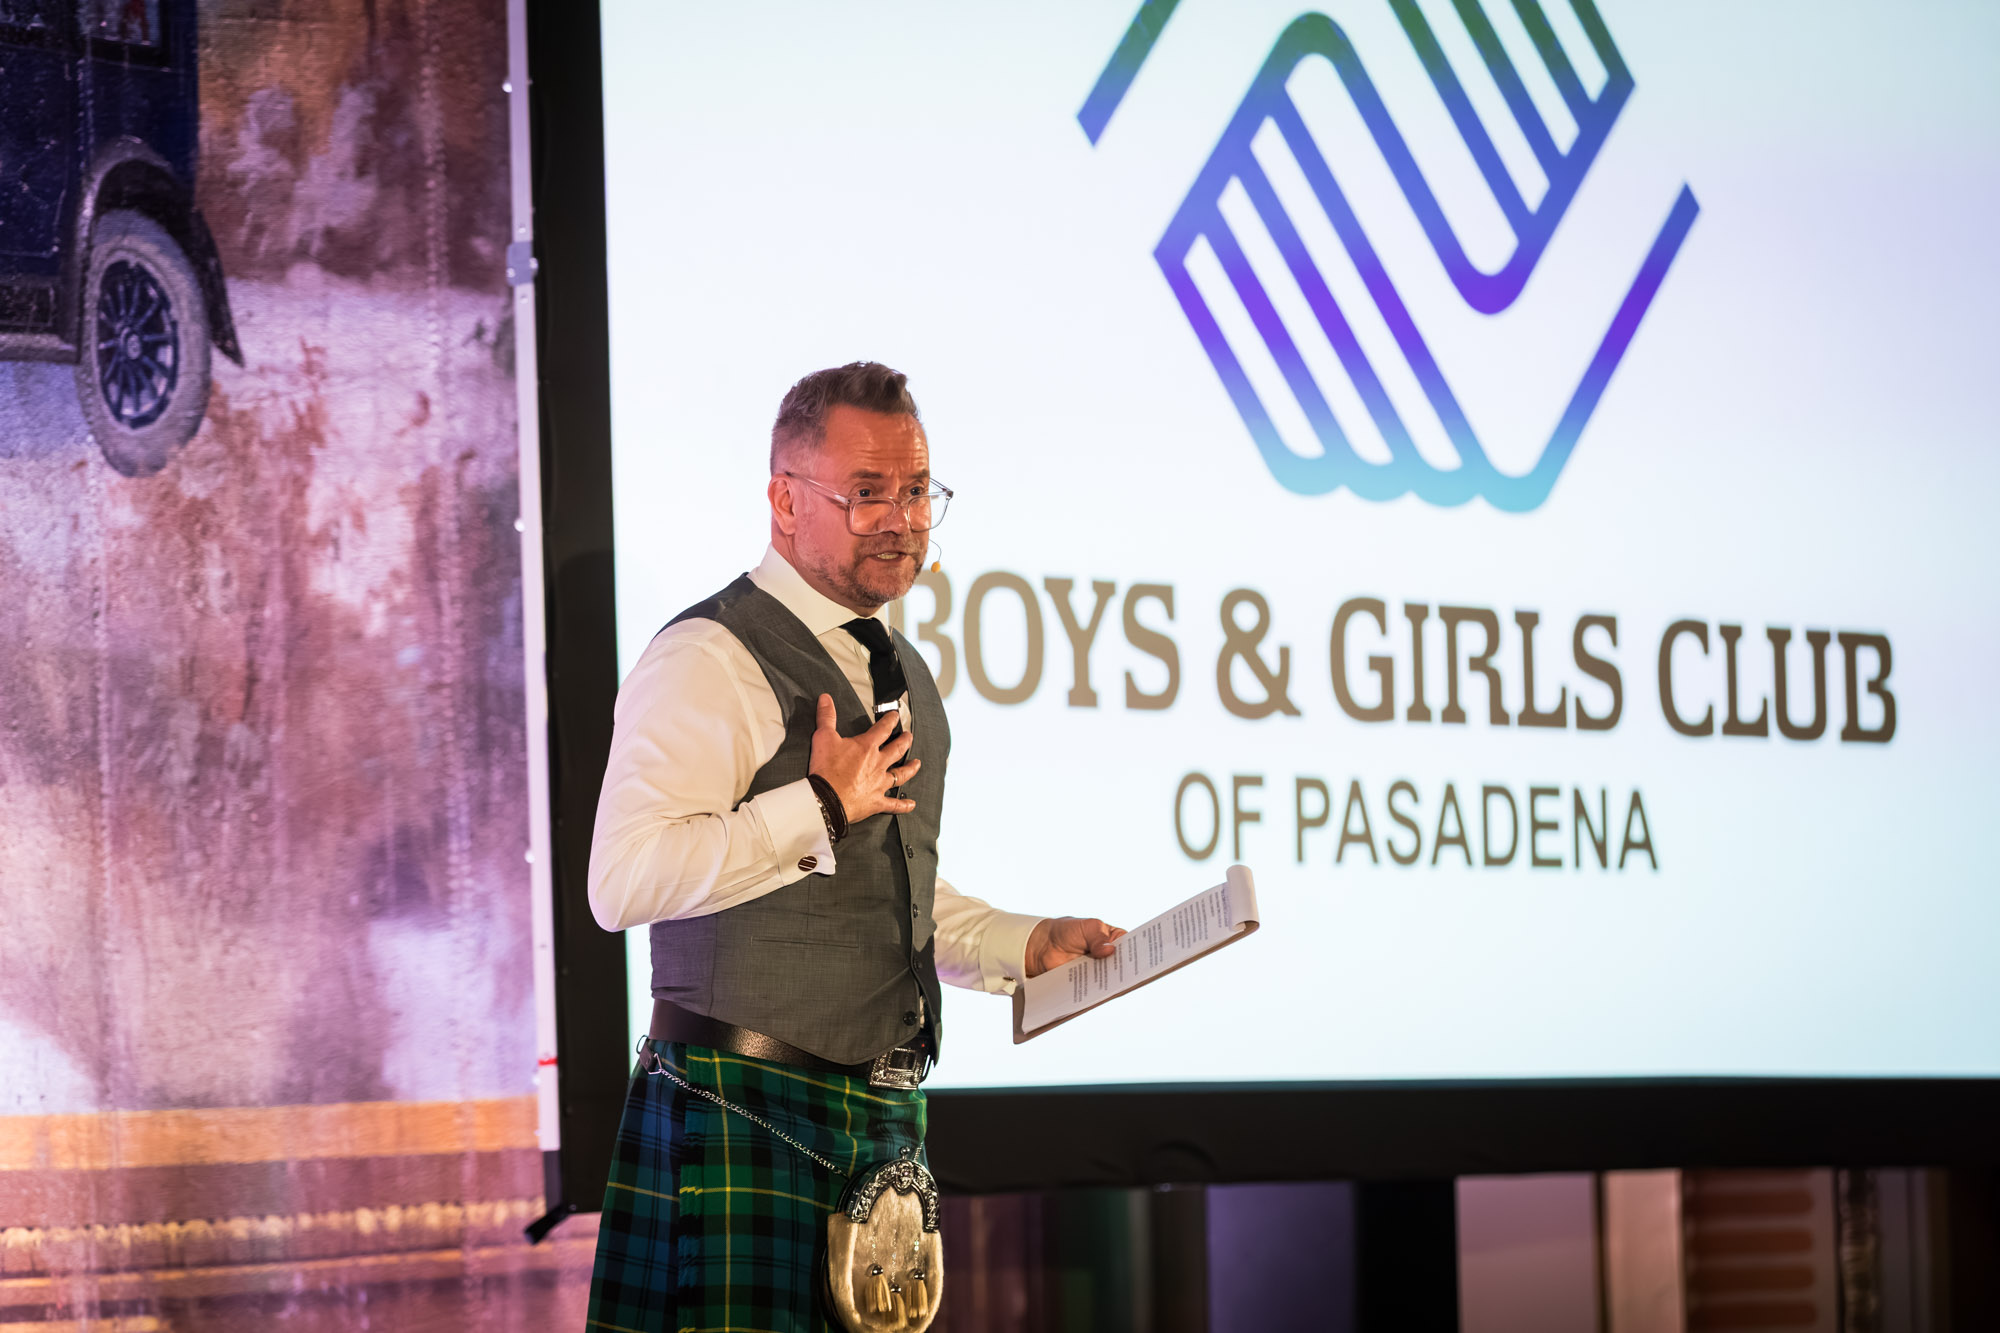
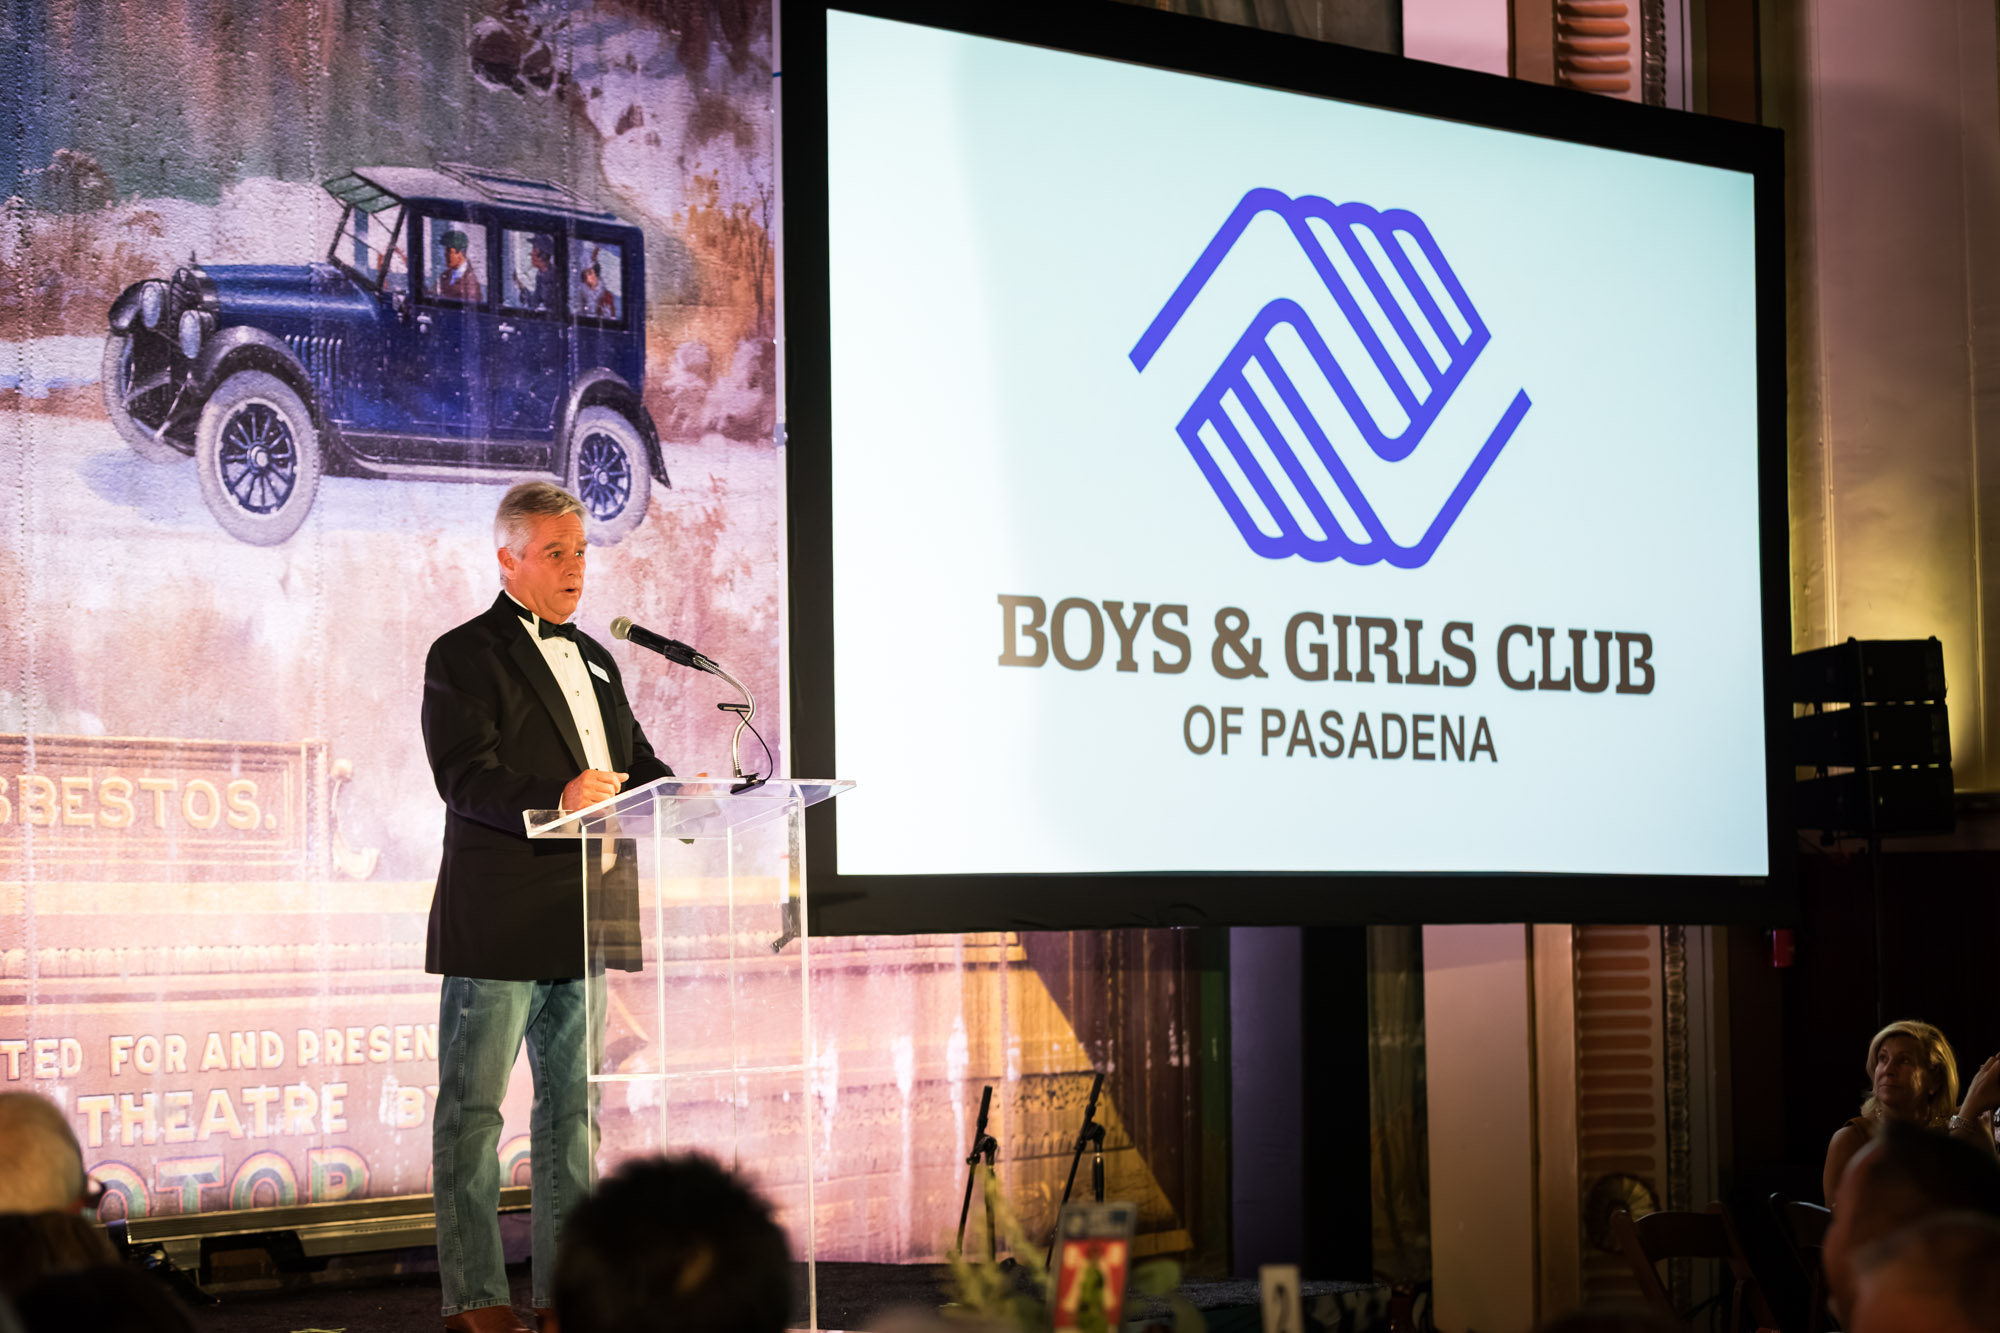
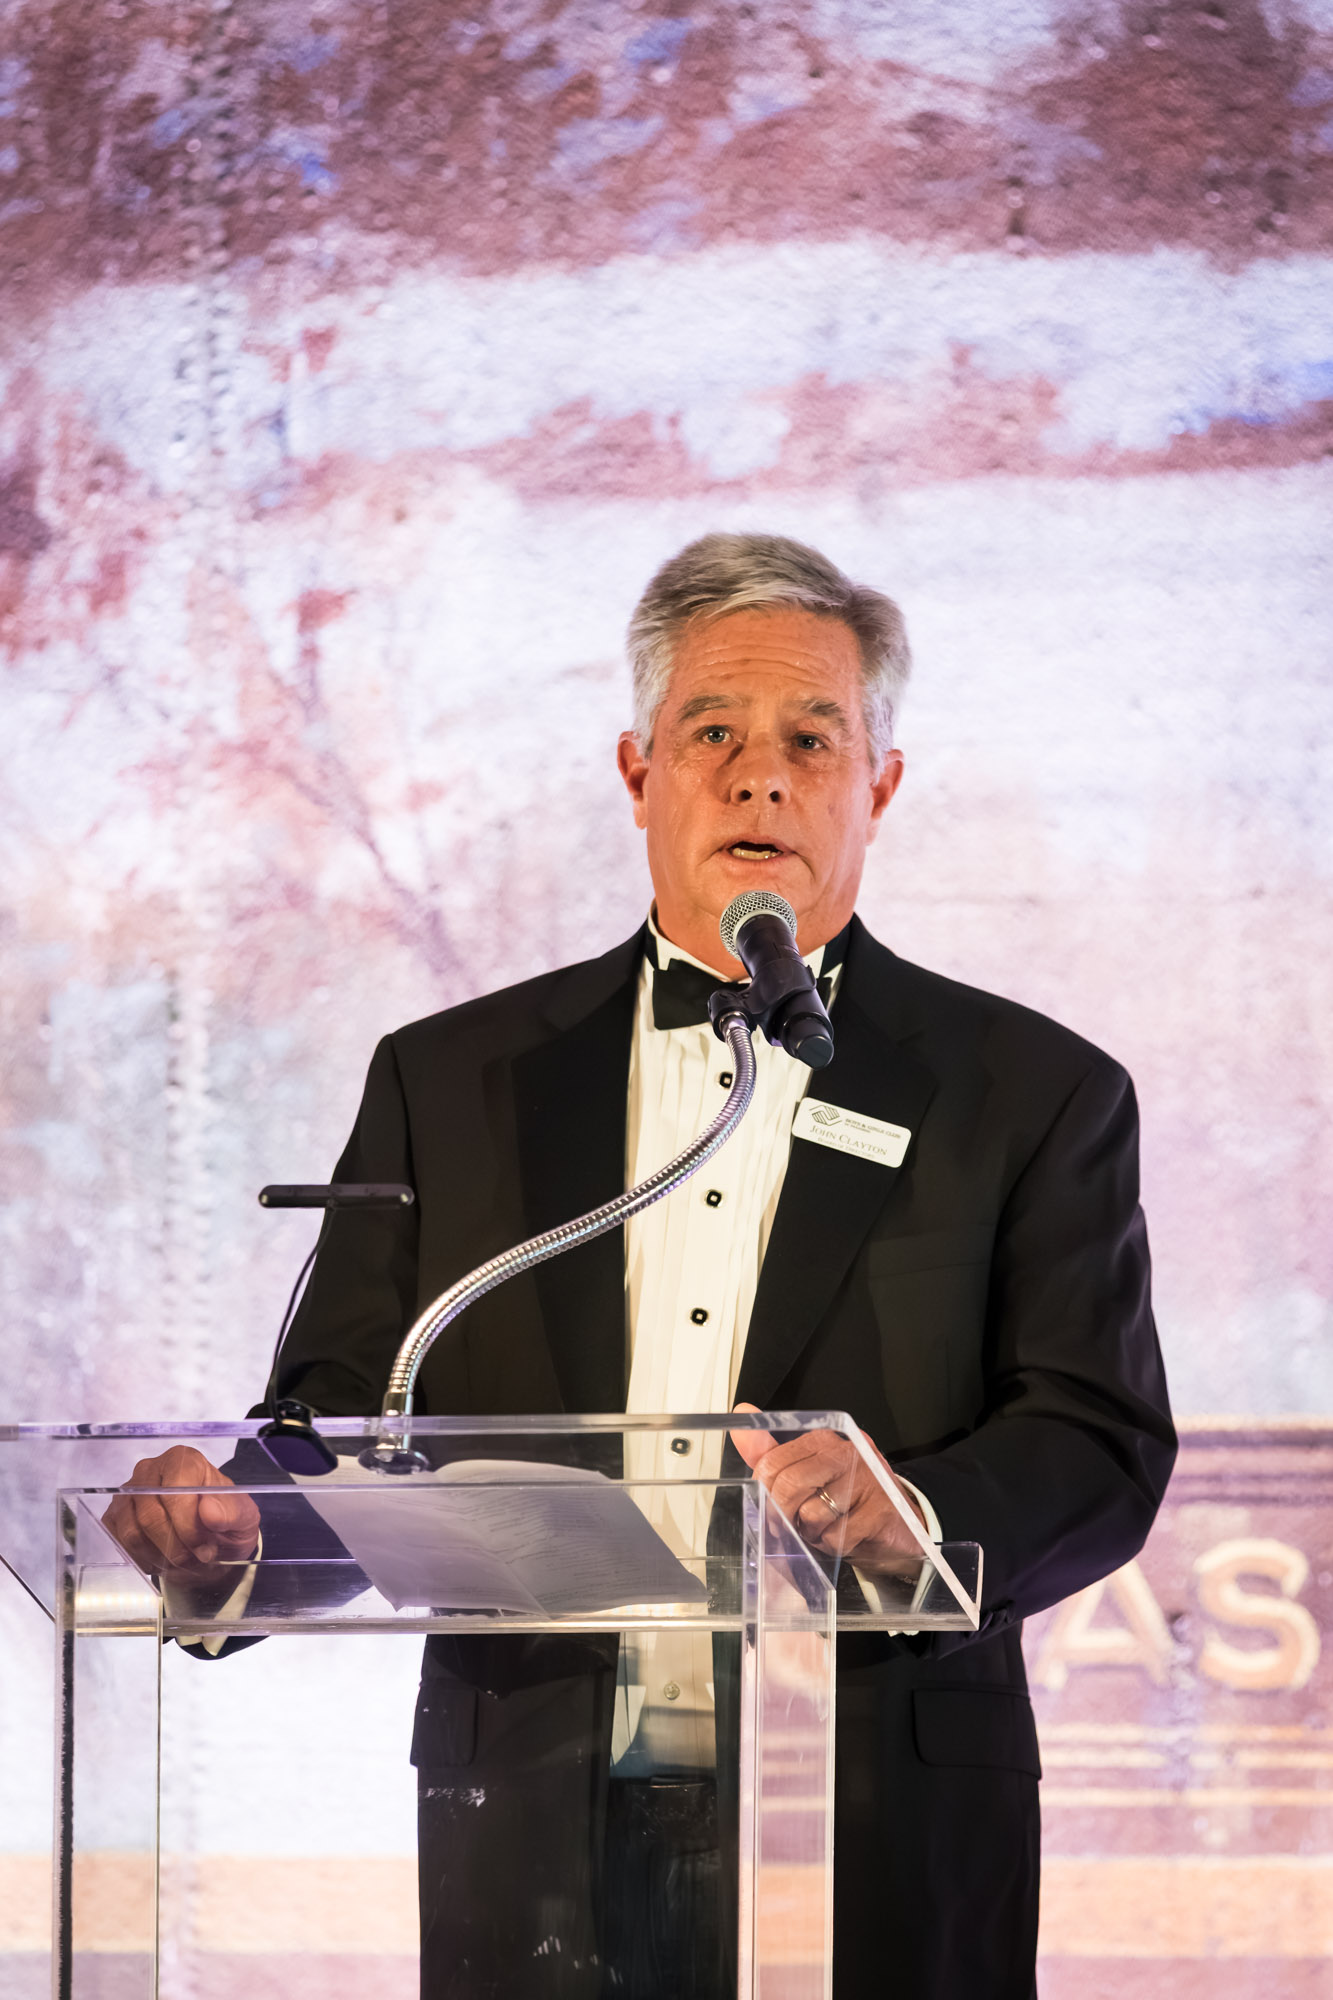
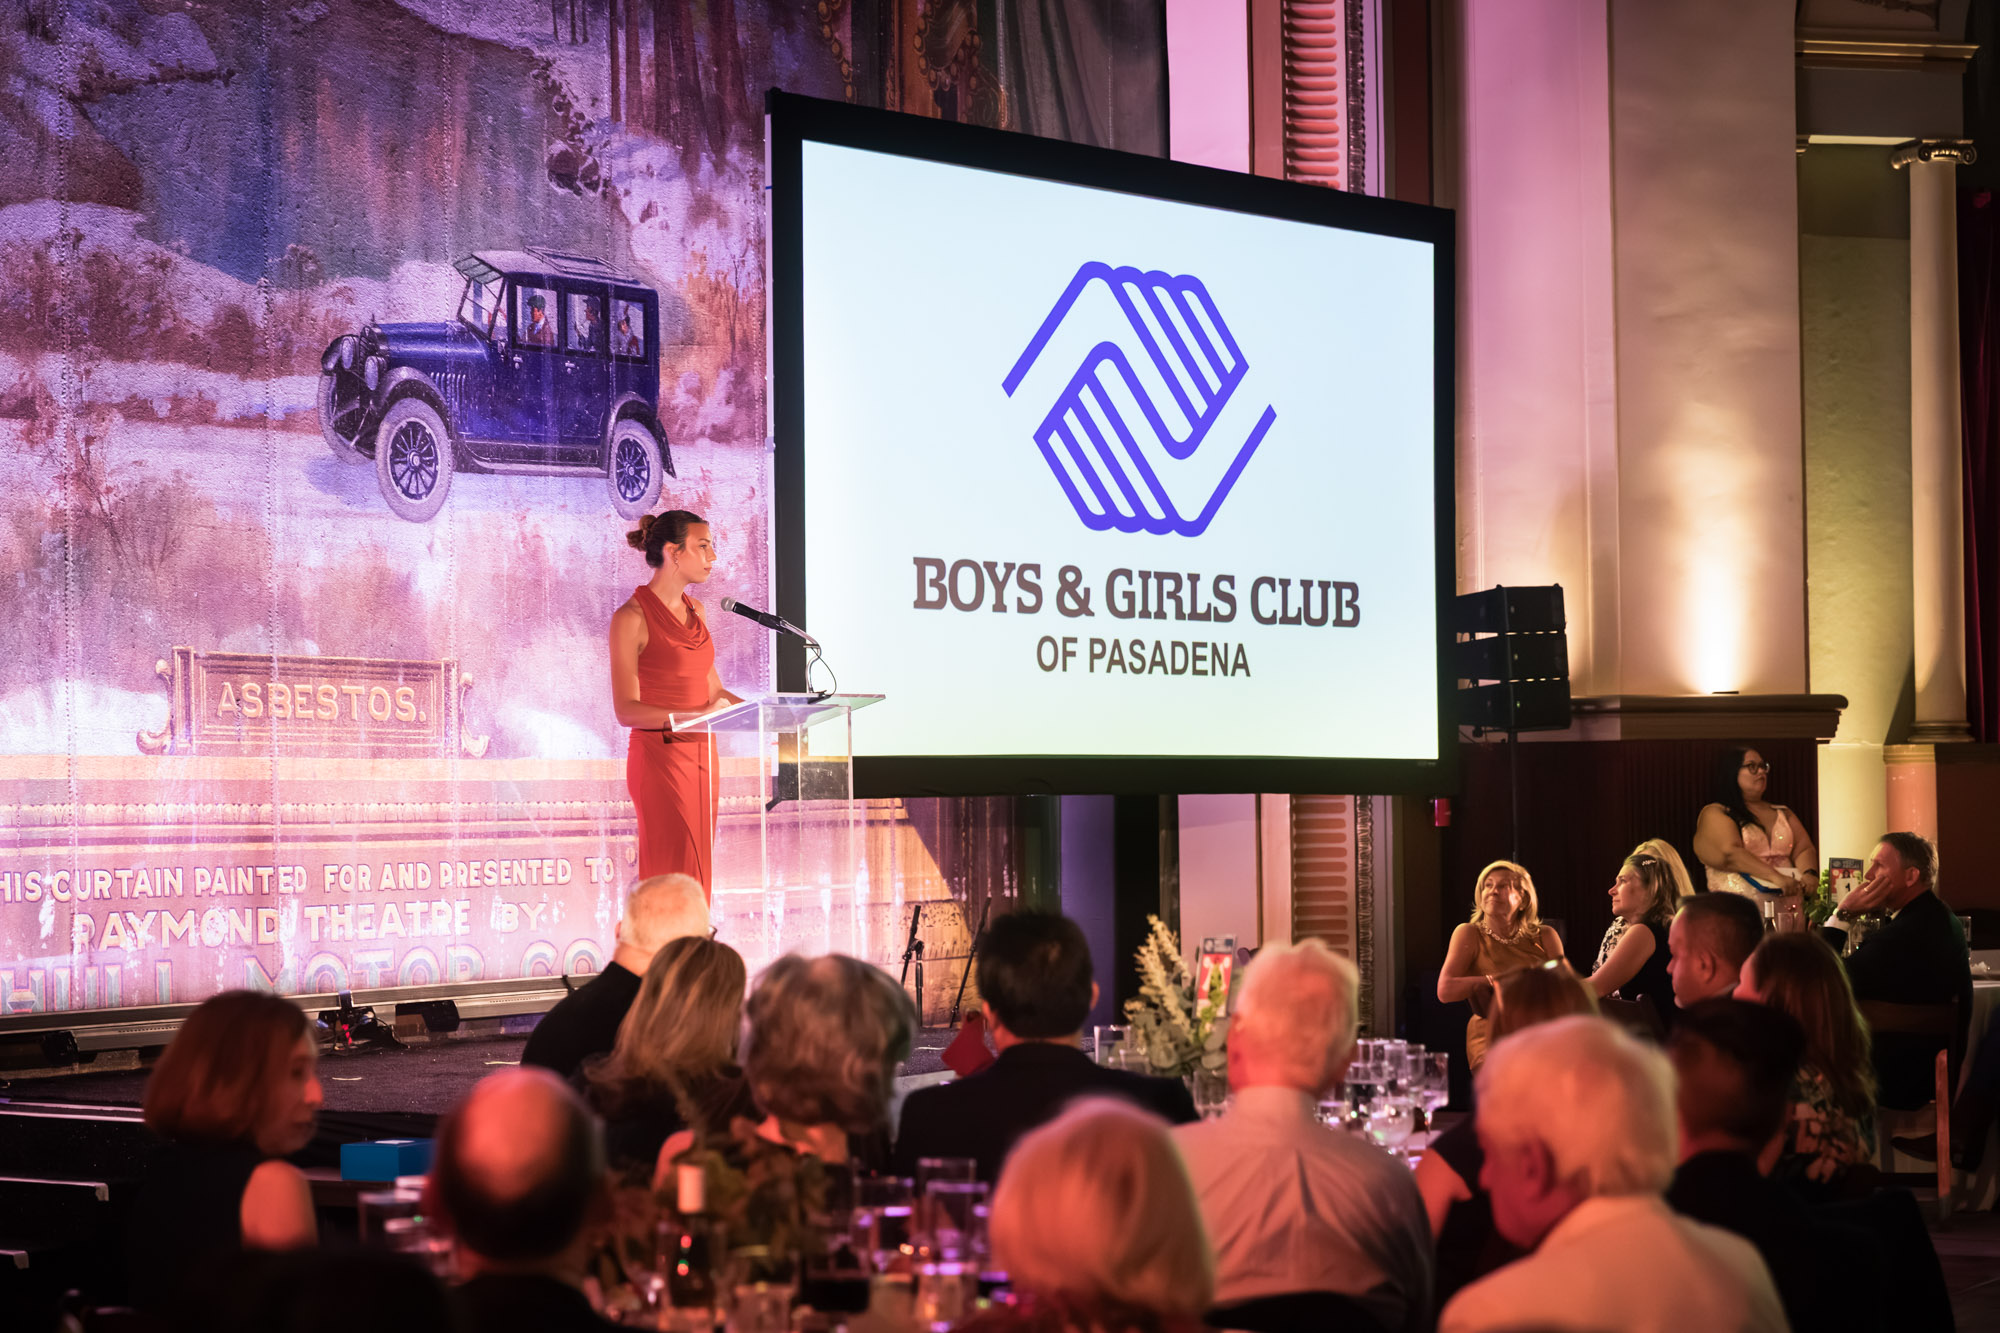
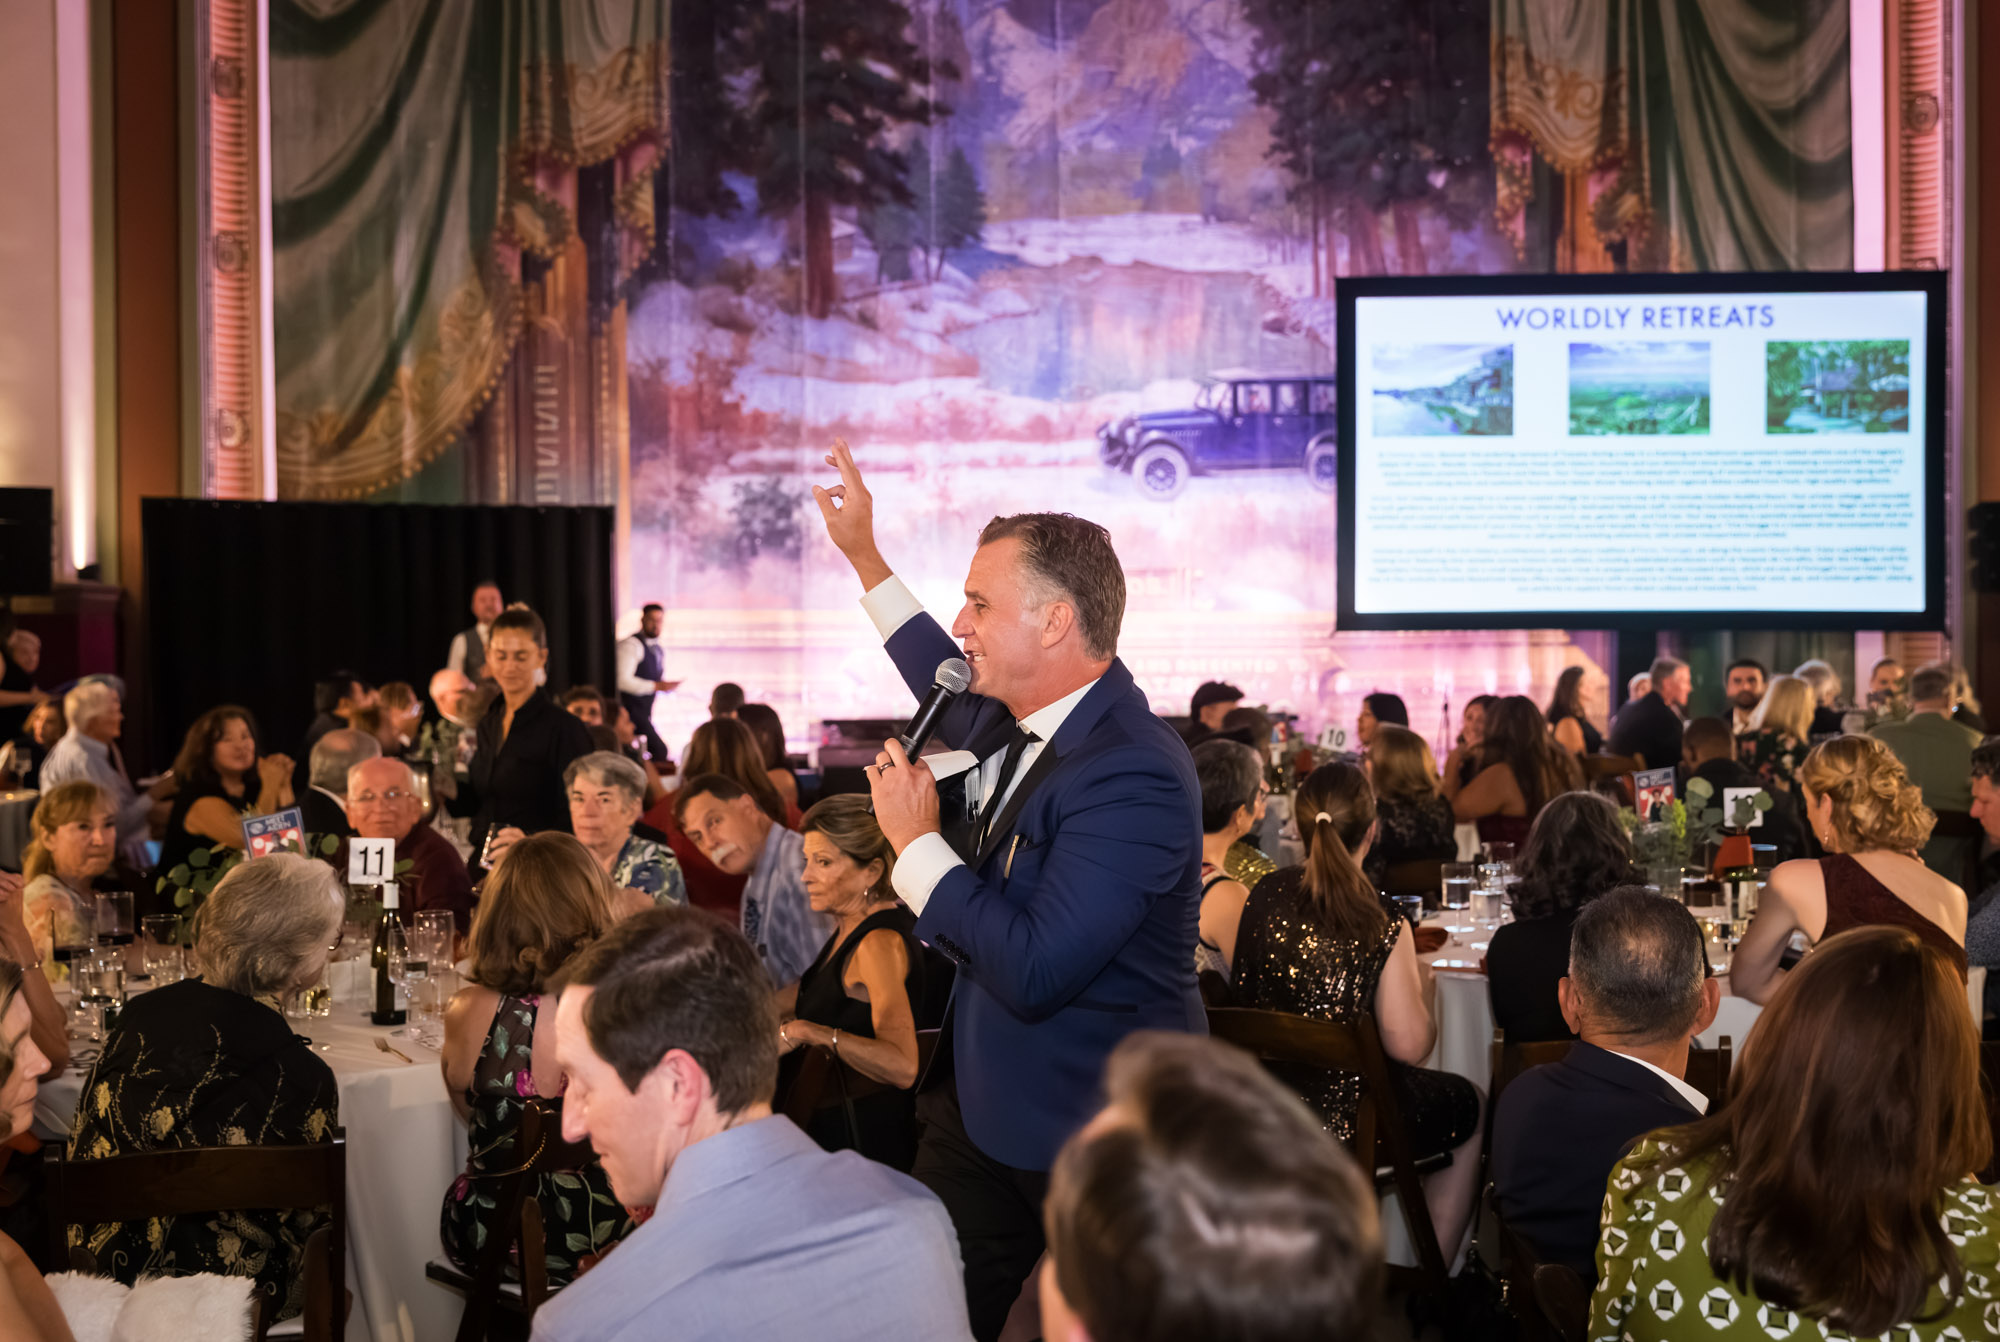
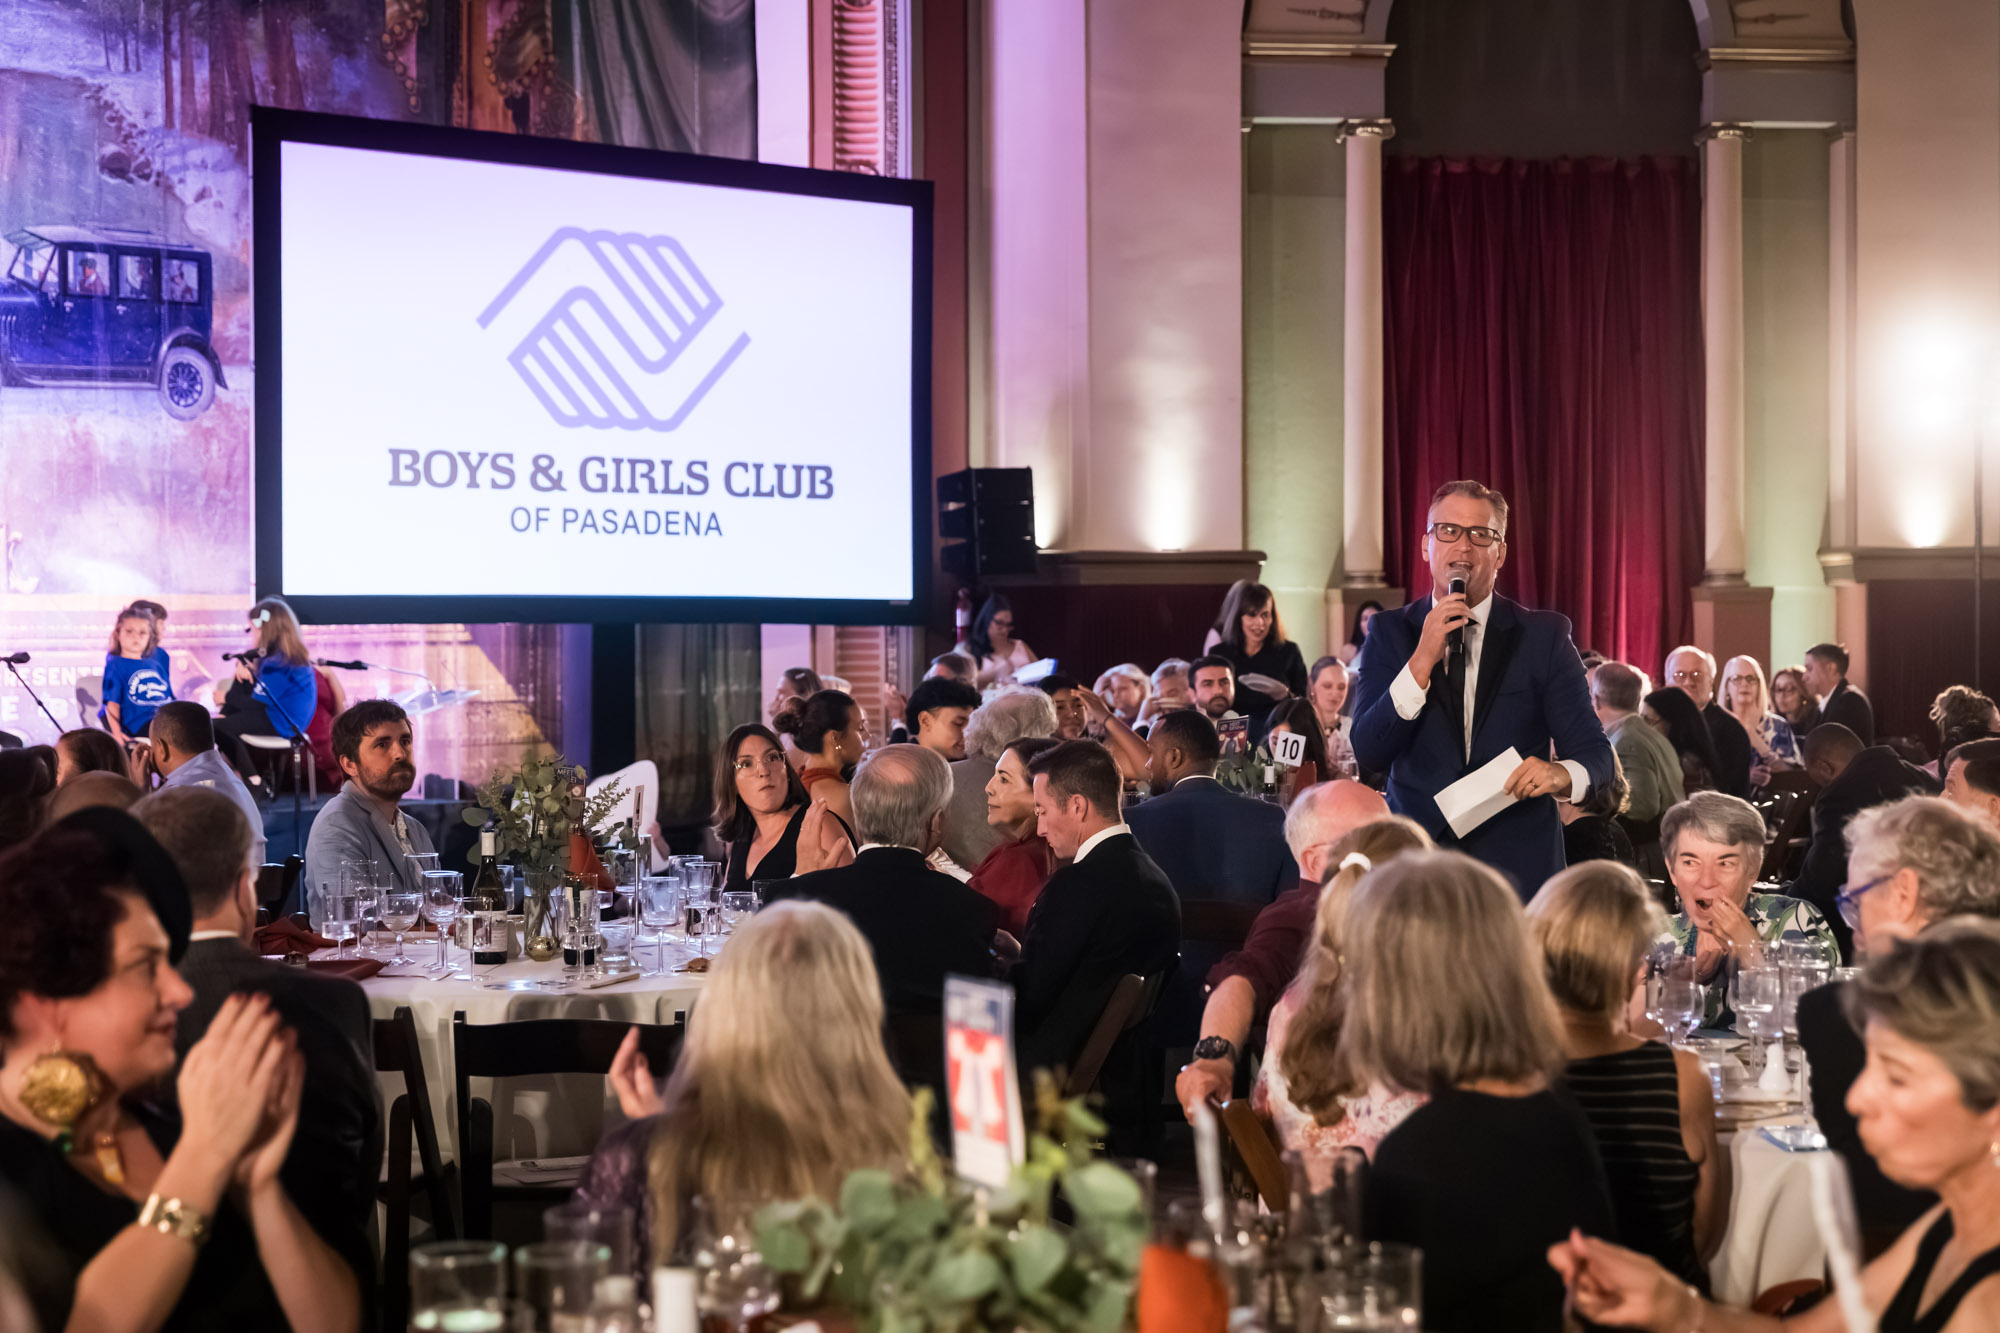
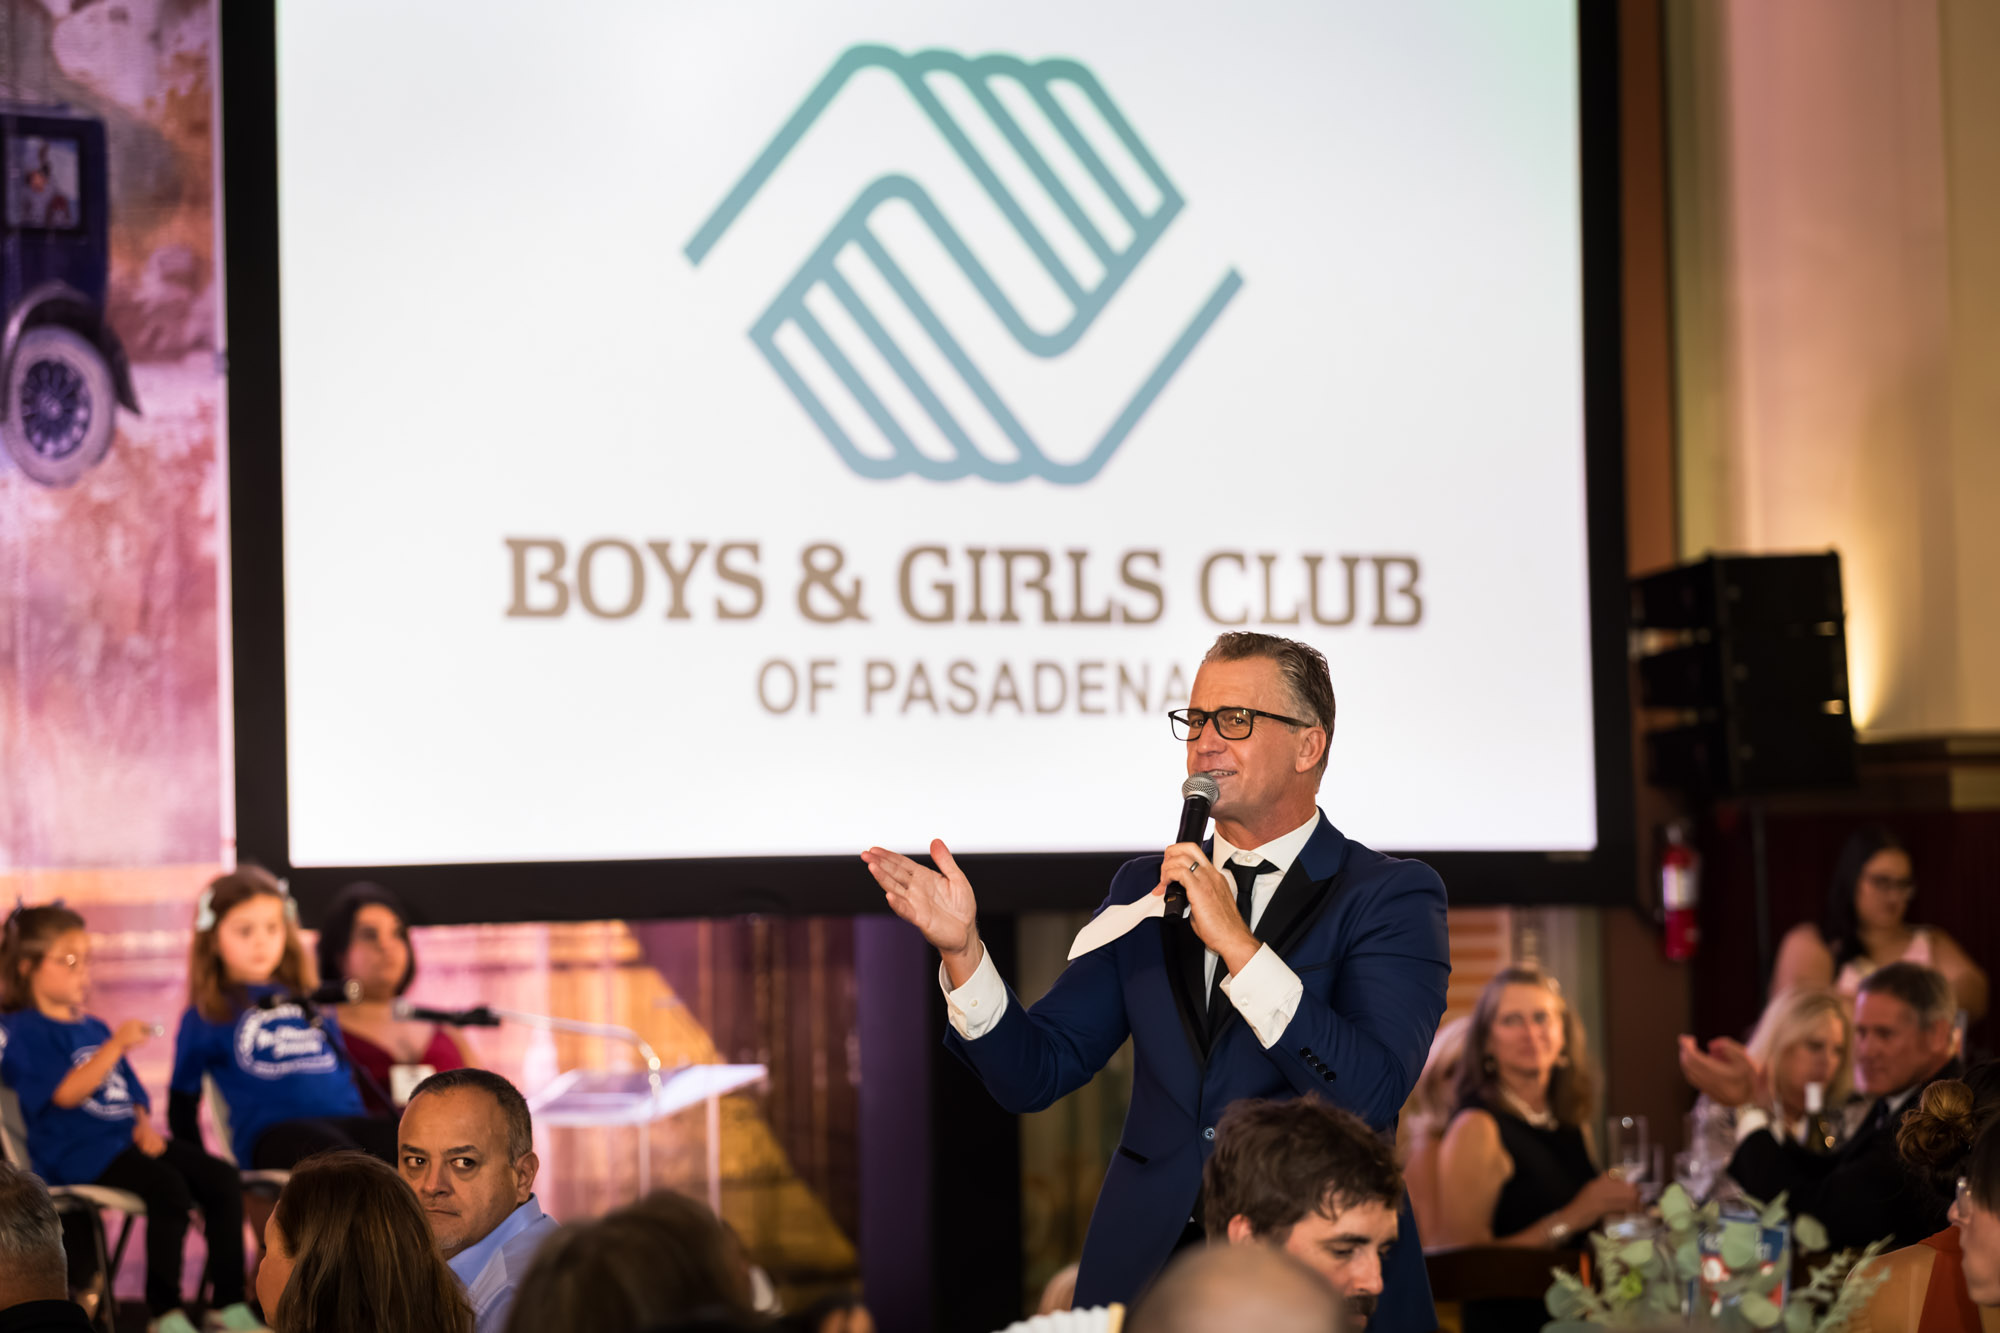
Instead, I focus my attention and exposure settings on the podium. With any luck, the podium is not overly lit with blown-out highlights. All too often the podium lights will be far too harsh in comparison with the rest of the venue. In the case of the Raymond Theatre, the light was well balanced, and my camera was able to pick up audience members as well.
Raymond Theatre Photos: My Camera Settings
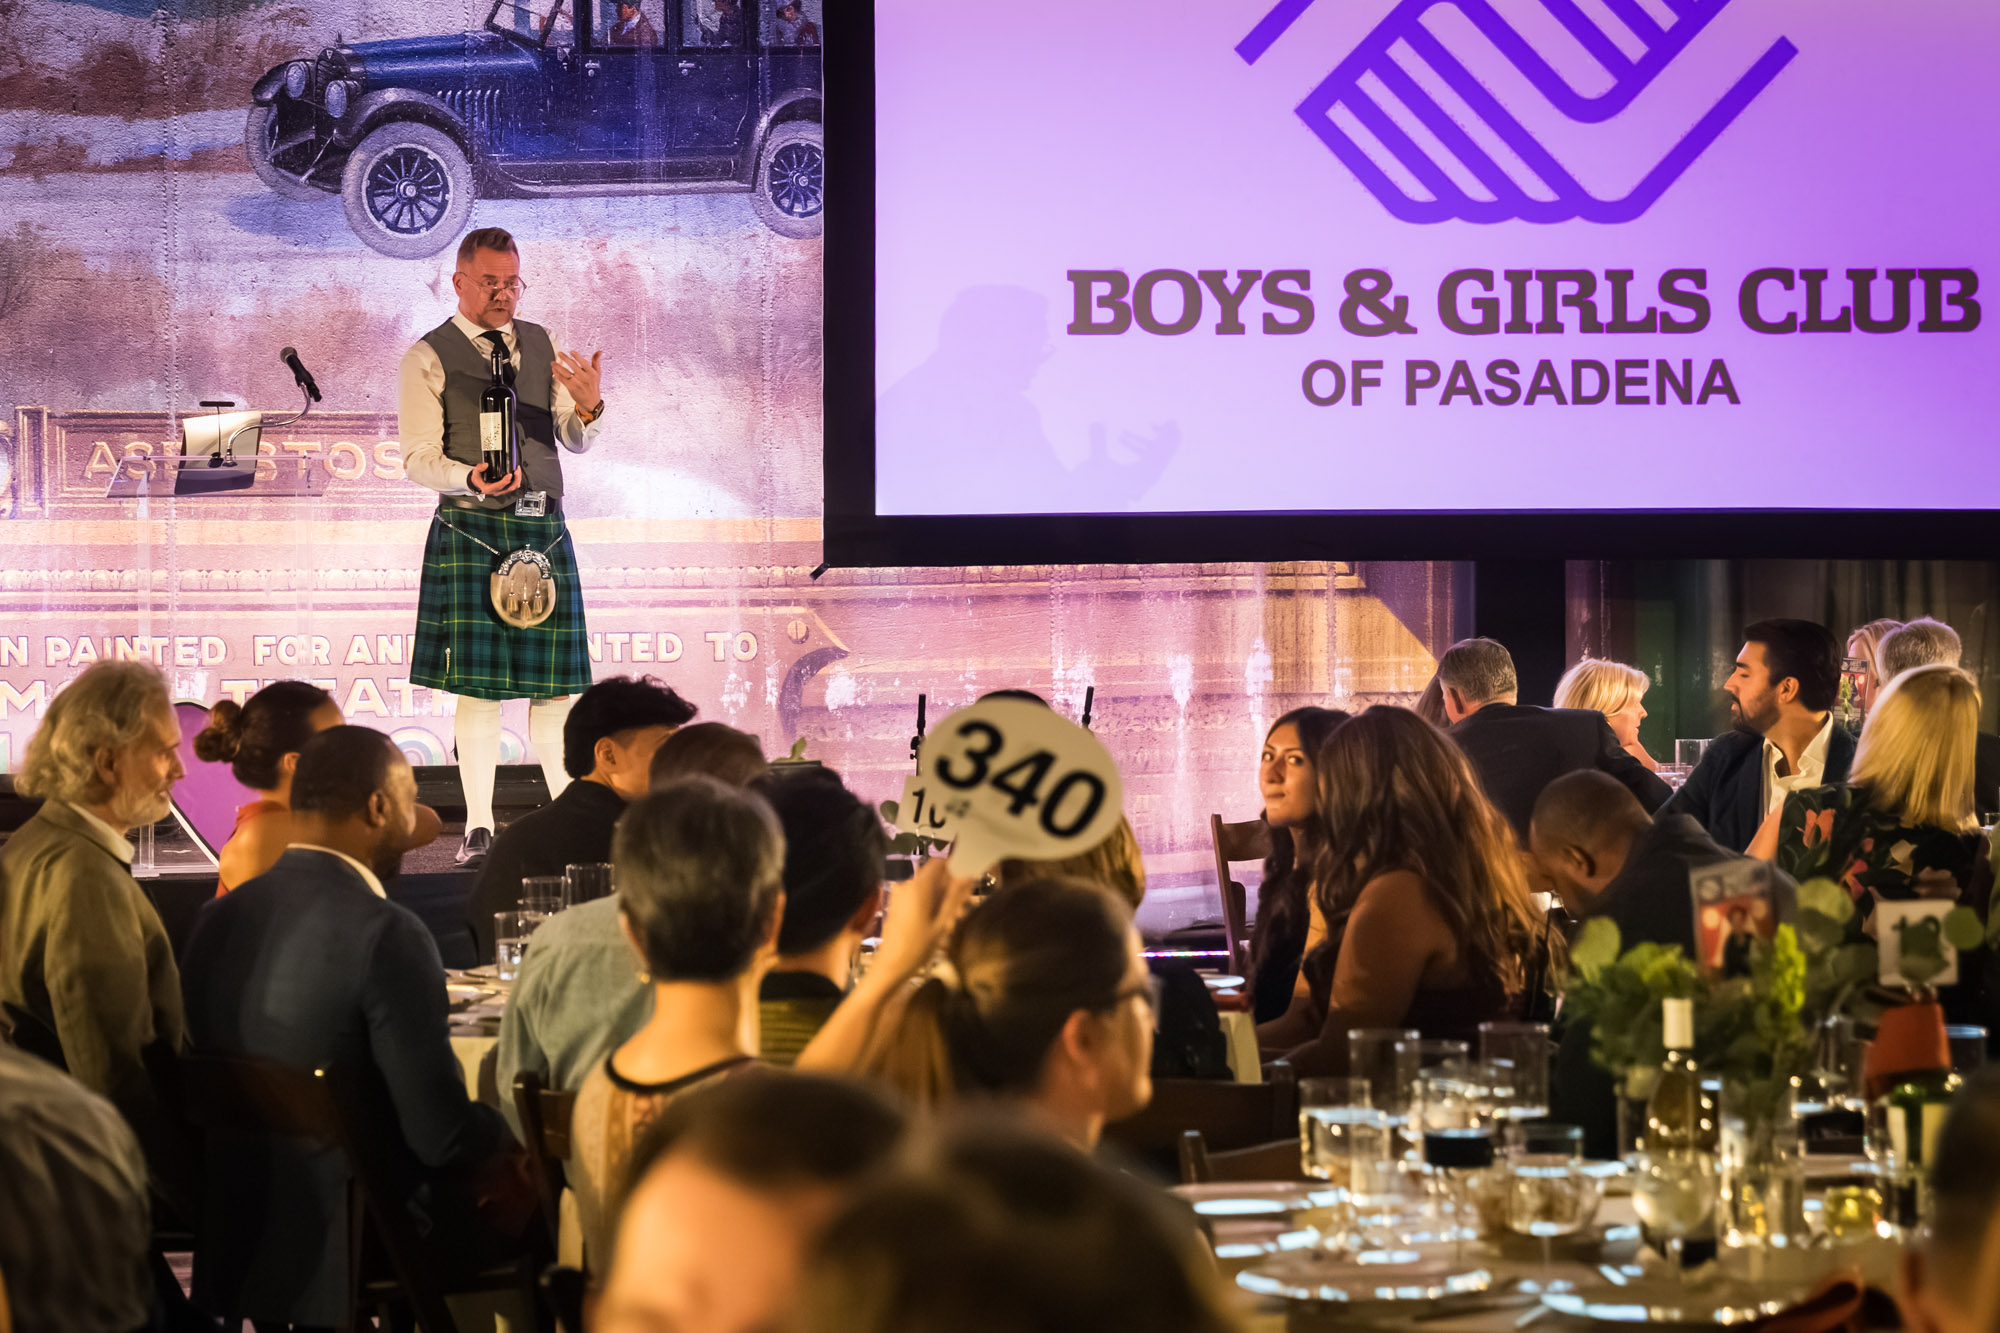
I use back button focus, and shoot in manual mode. In general, my settings for low-light events are always f/3.2, 1/320 at ISO 3200. This is a good general set of settings to make sure the speaker is in focus yet softening the background for a stylistic depth of field. Keep in mind that any performance shots may require a higher shutter speed. Furthermore, you can go to a higher ISO if need be, though I would not recommend anything over 6400 even though modern cameras can handle the noise.
A Word About White Balance
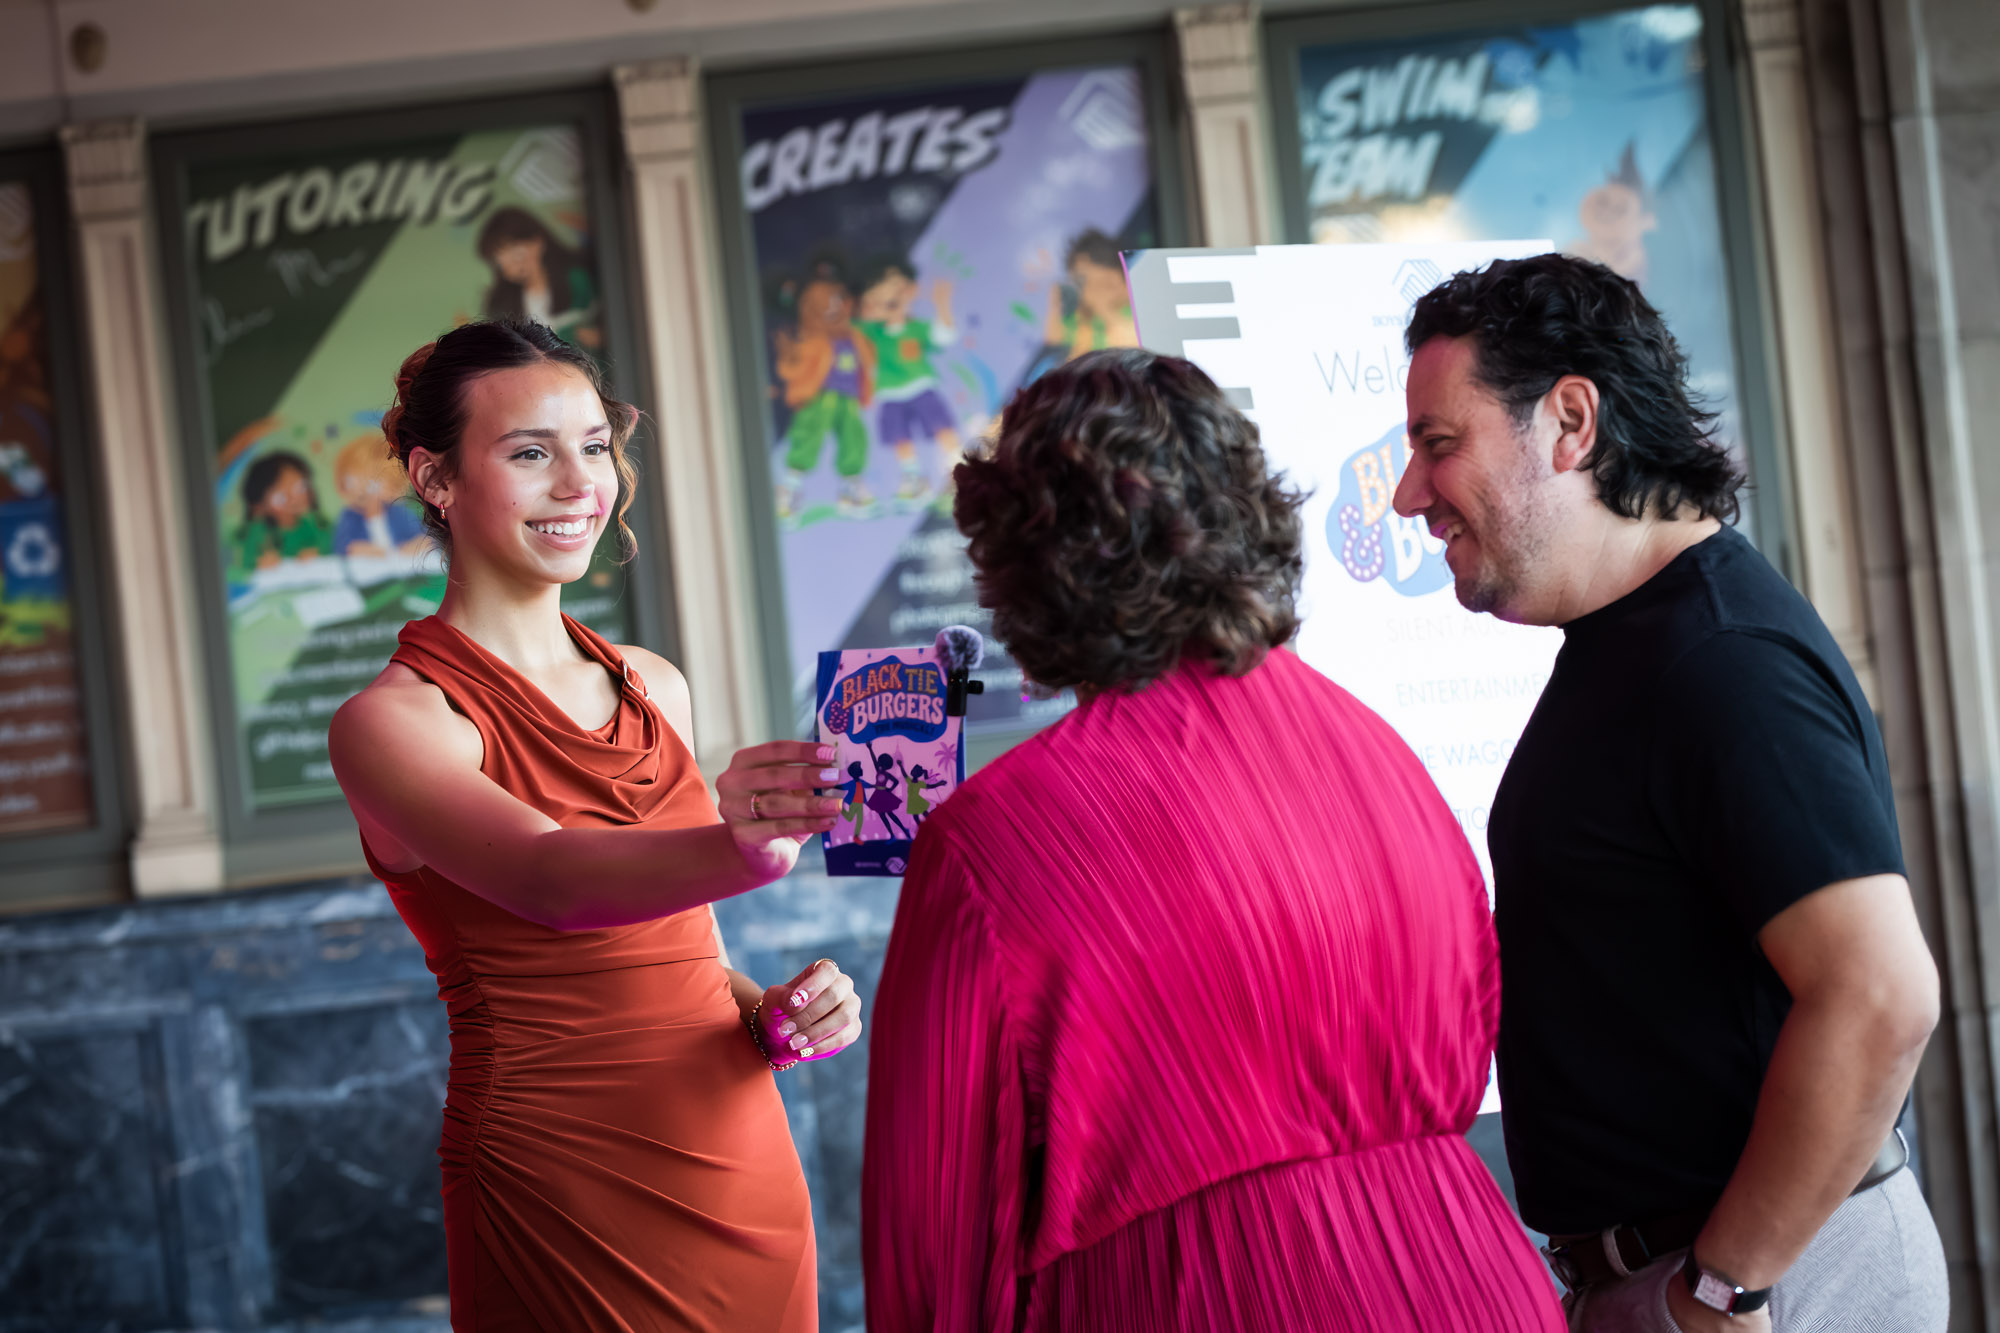
I always use the Canon auto white balance setting. I find that it is easy to make any white balance corrections using Lightroom afterwards. As always, shooting in RAW will give you much more leverage to make the changes necessary in the editing room. However, from my own personal experience, beware that if you are choosing a specific white balance, then know that it may be more difficult to change your white balance in editing. Again, this is just my experience as a Canon shooter.
When to Use Flash and When Not to Use Flash
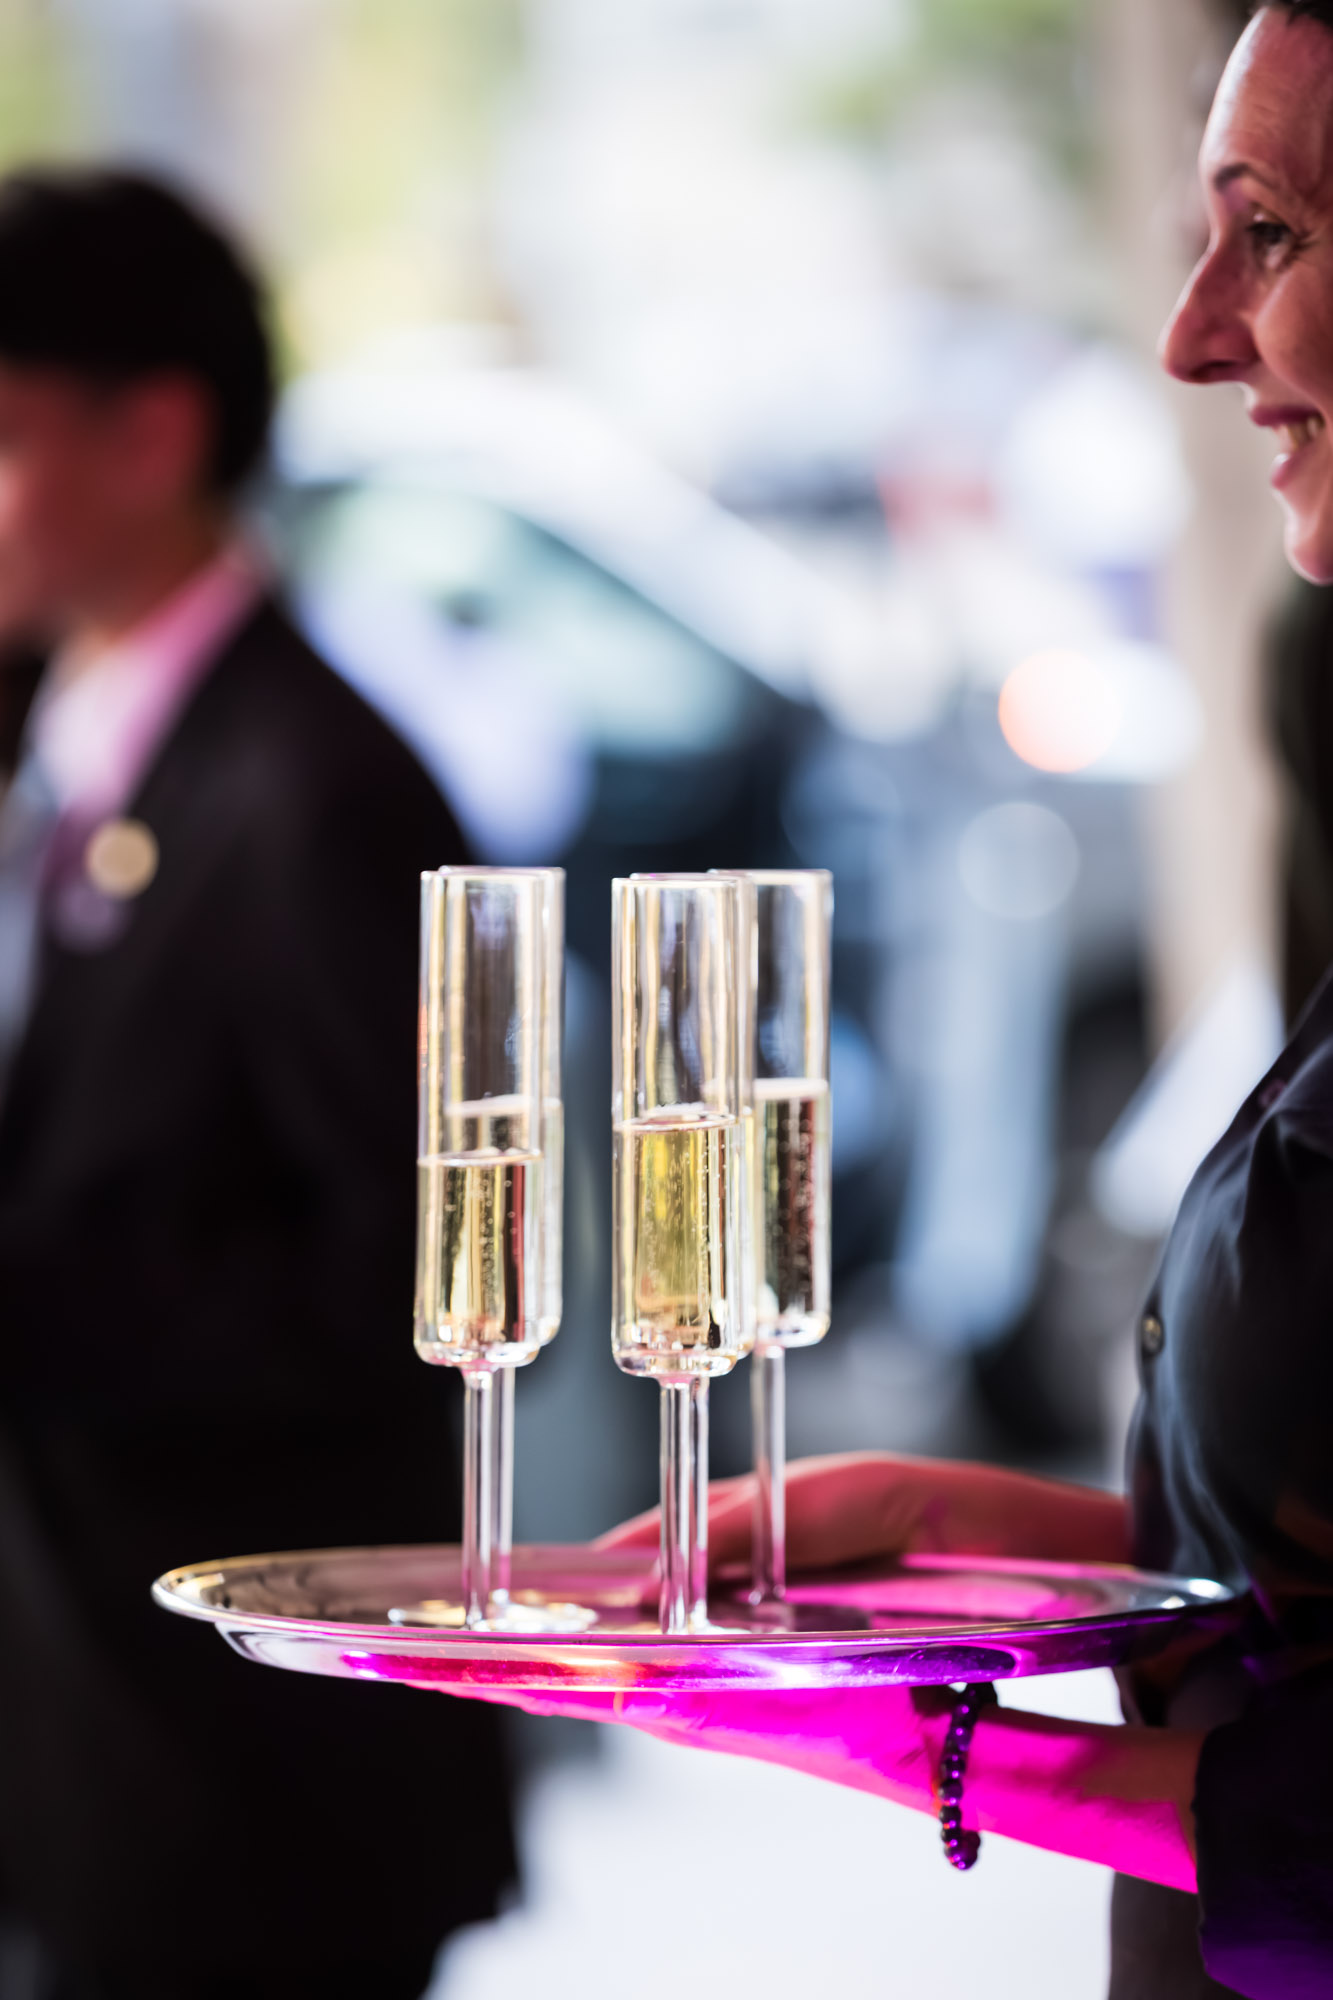
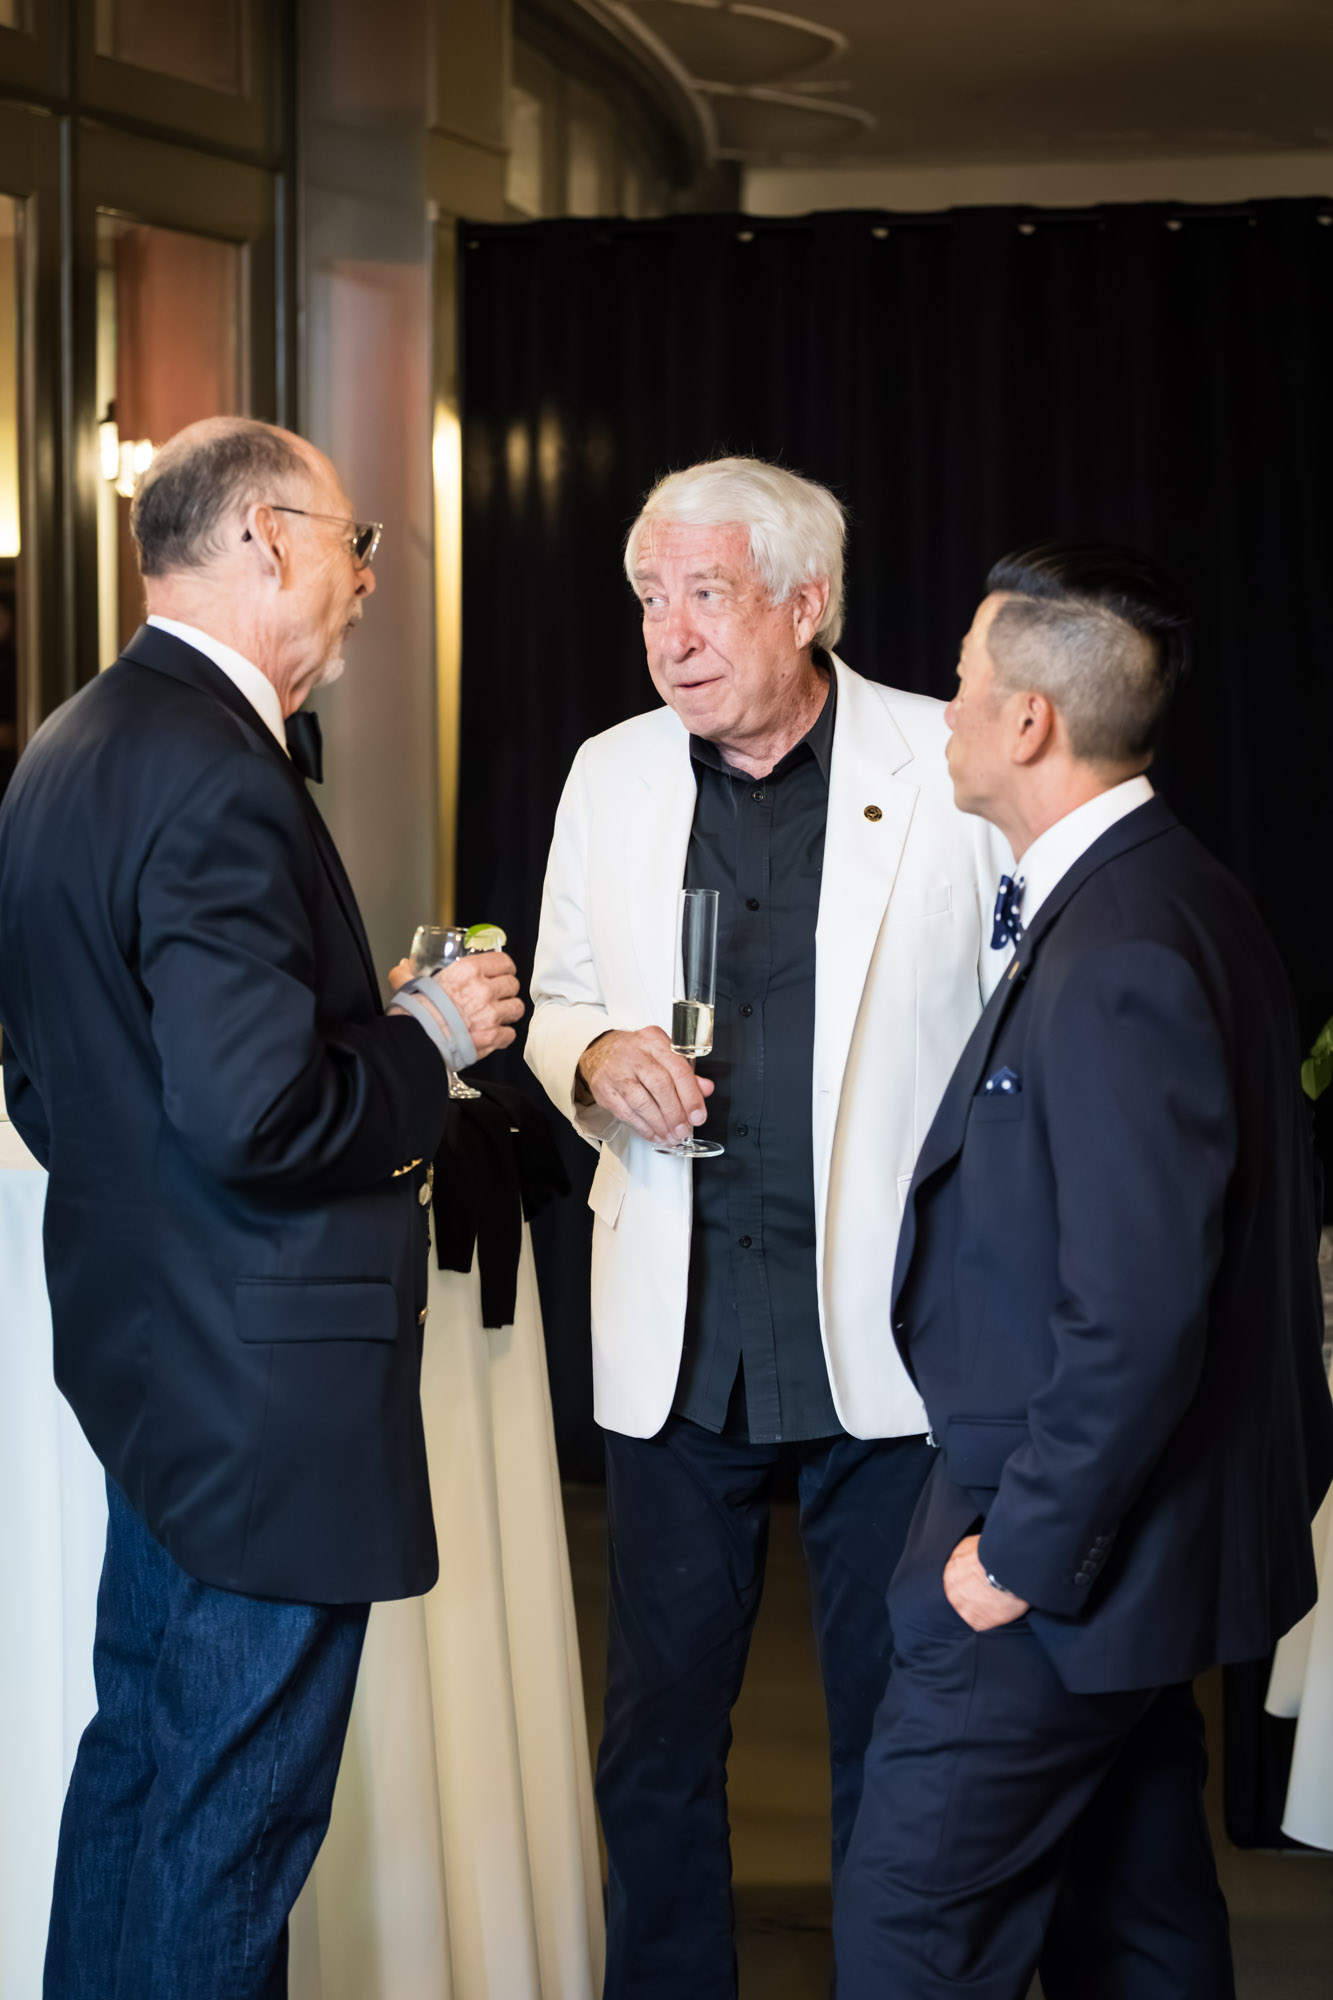
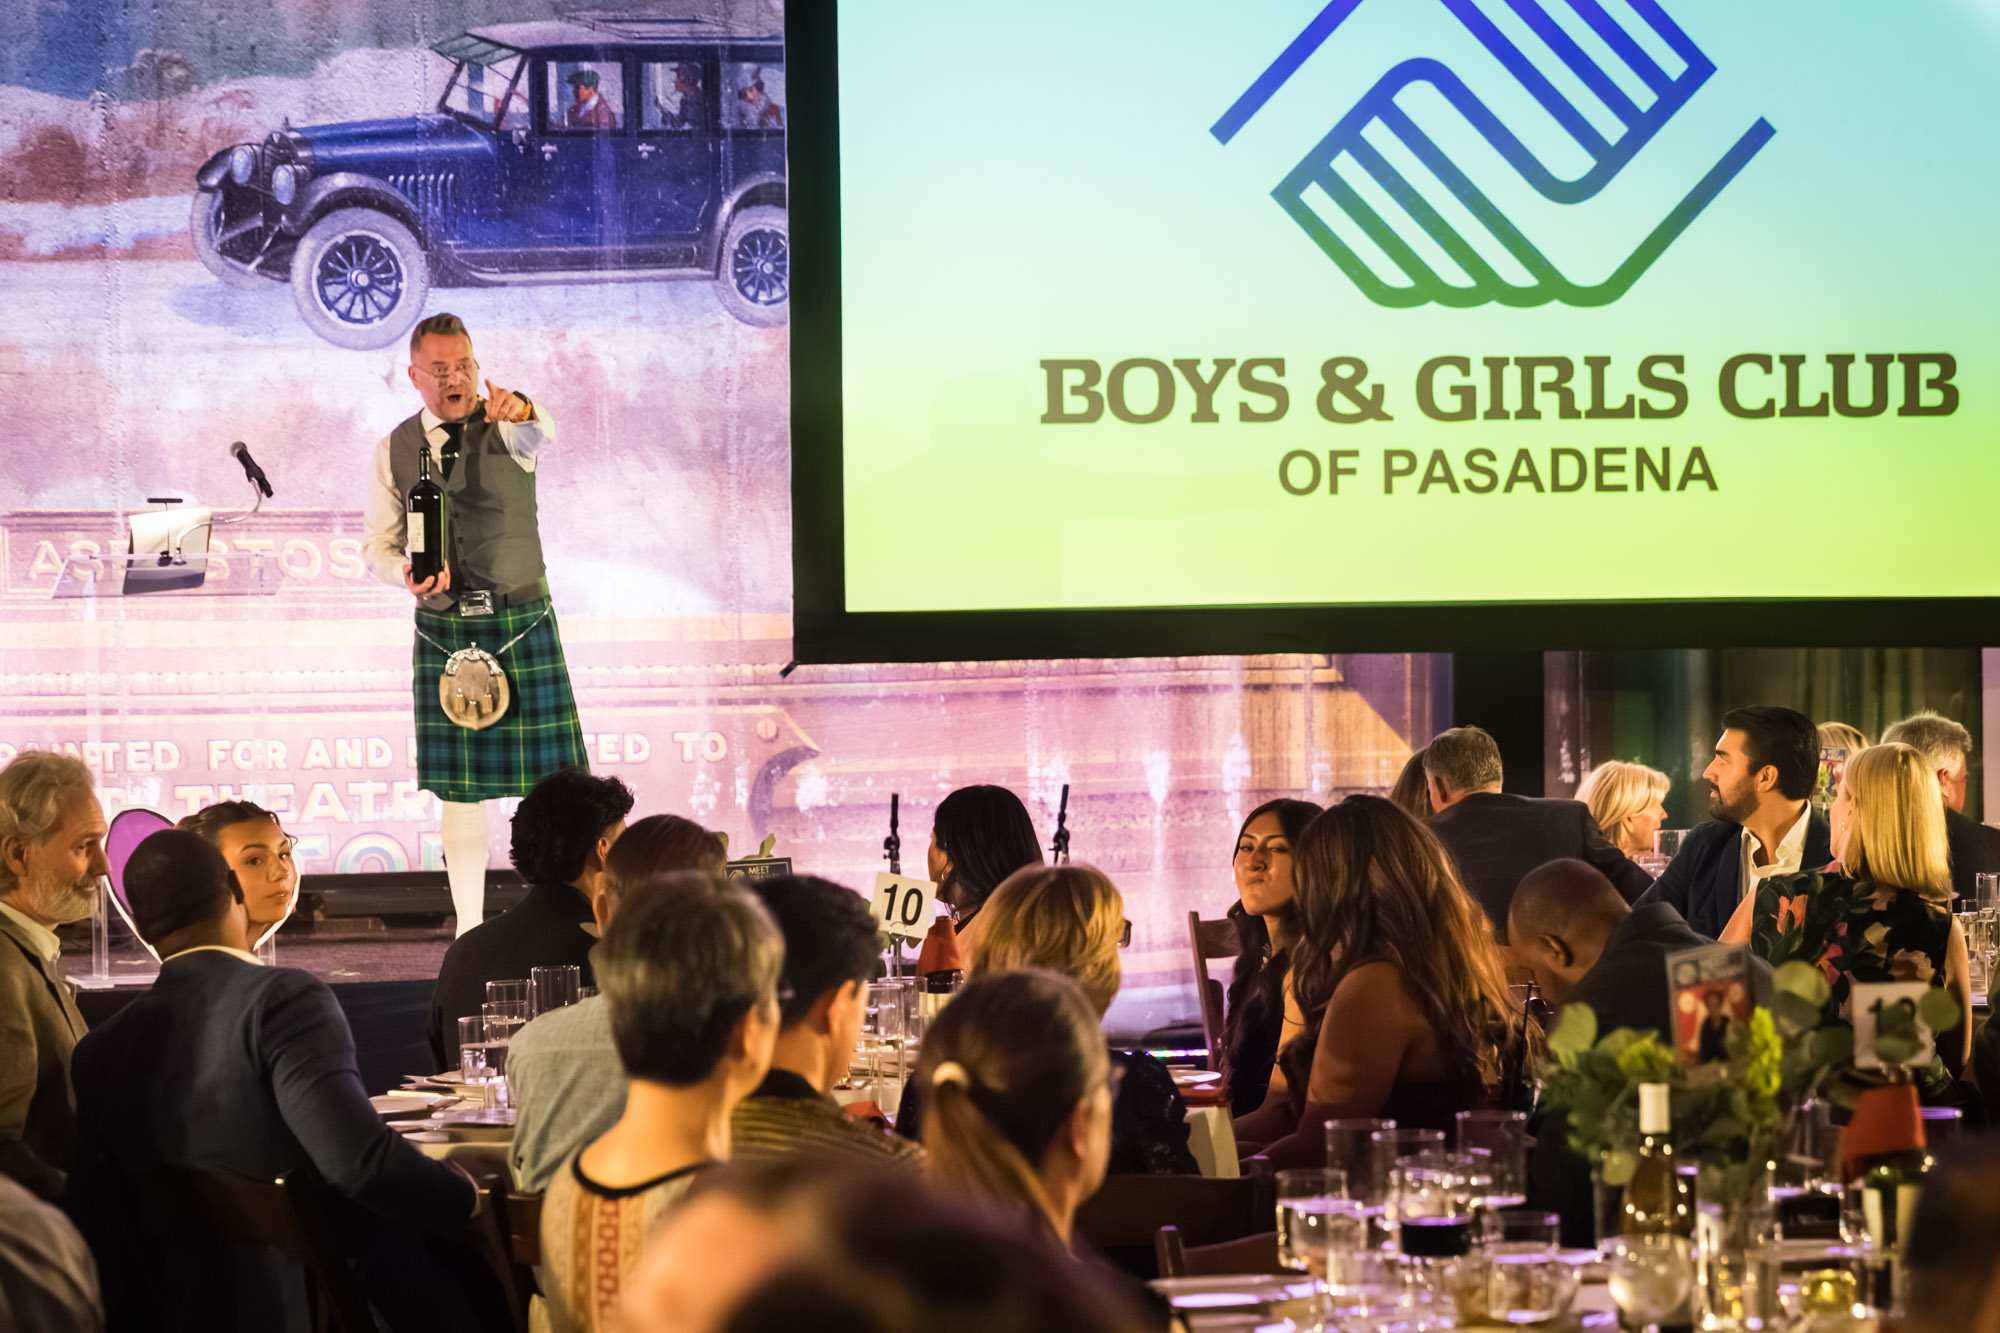
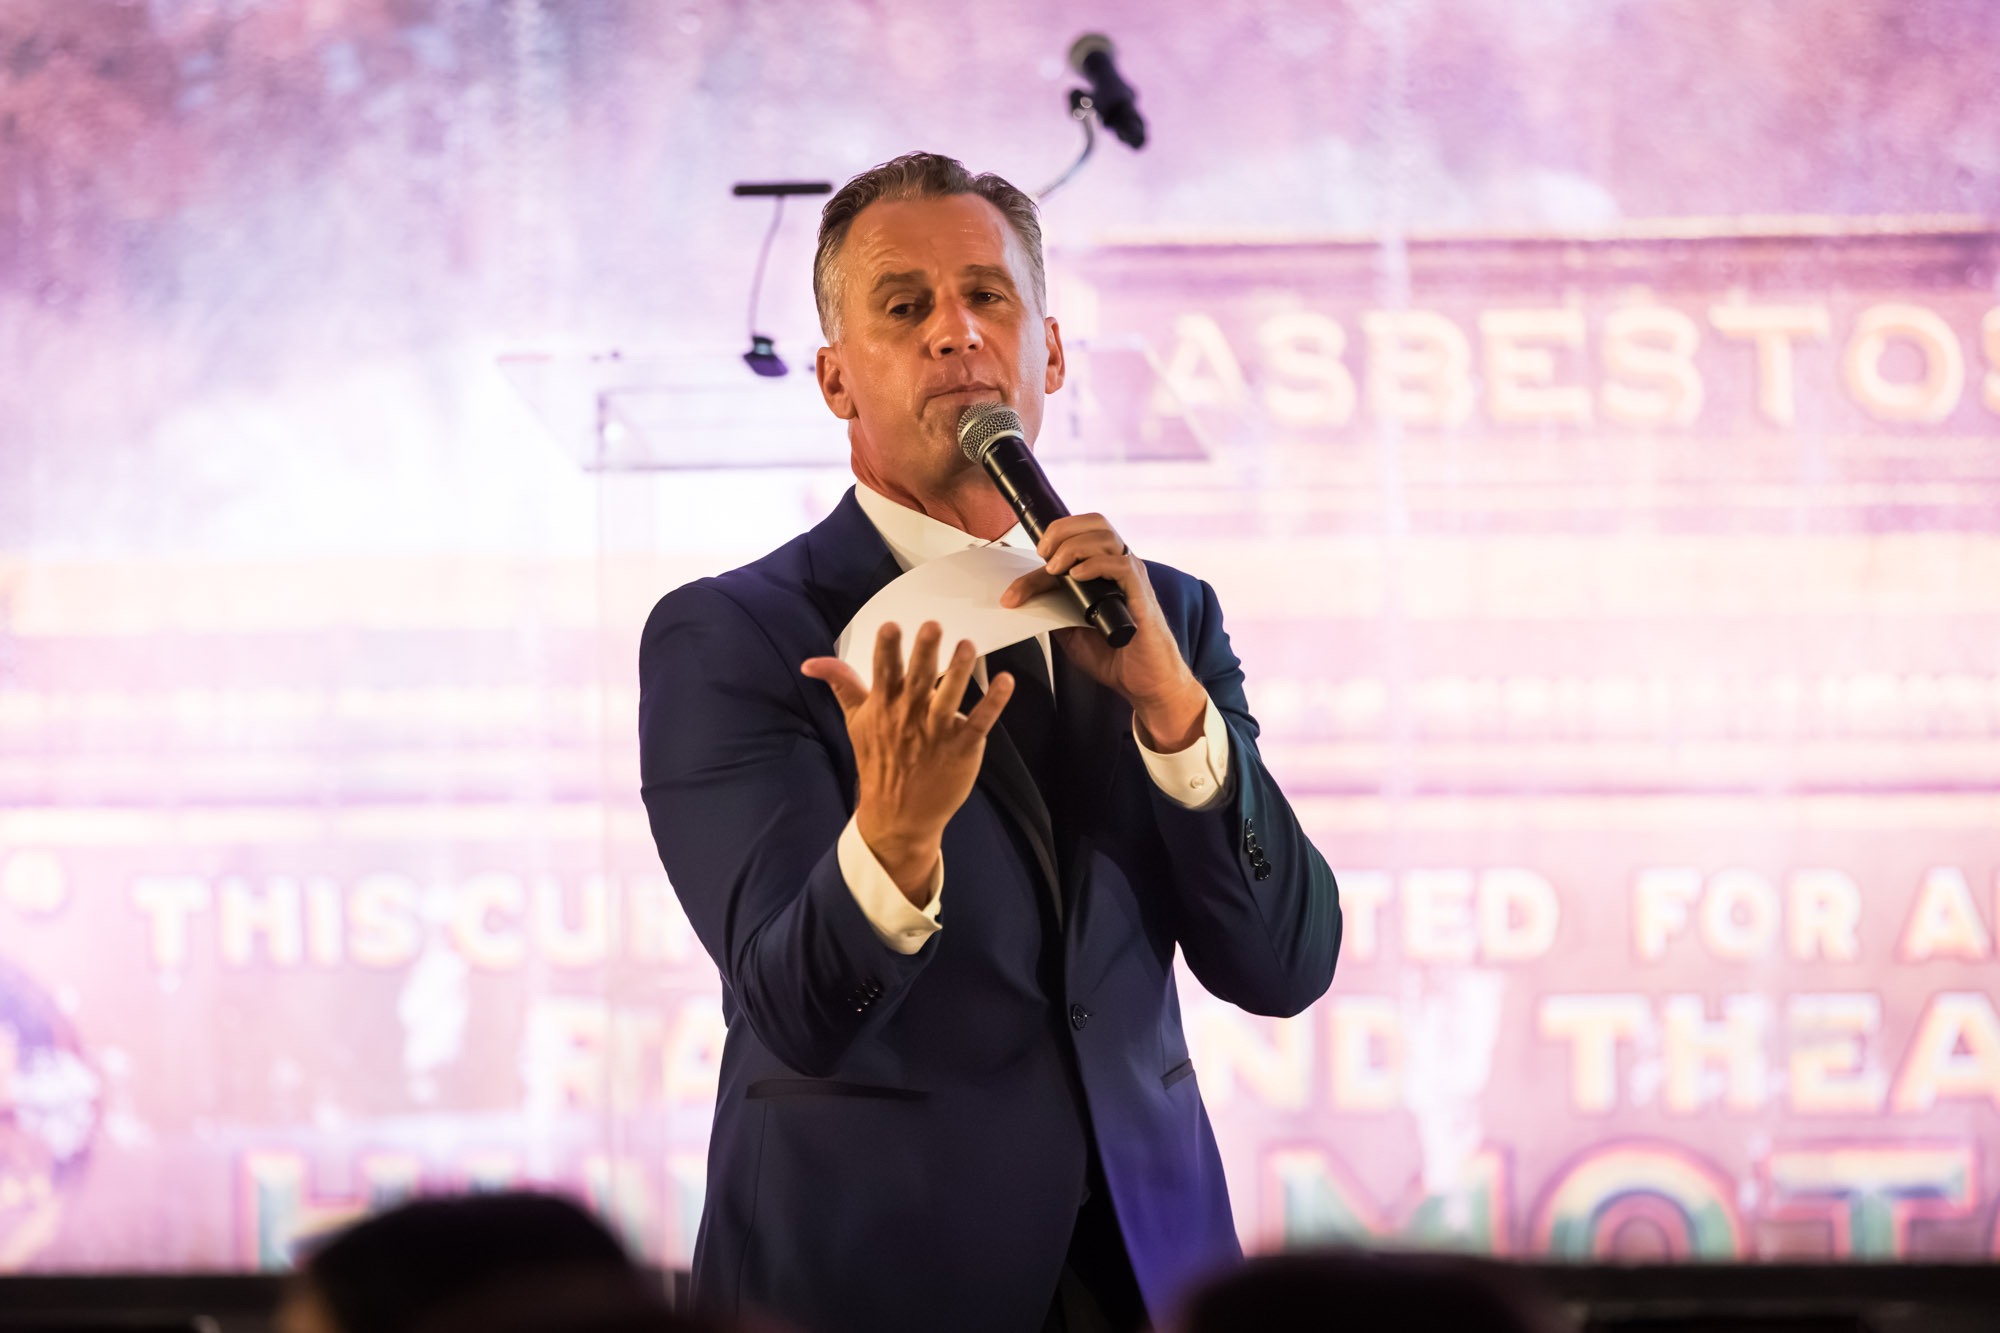
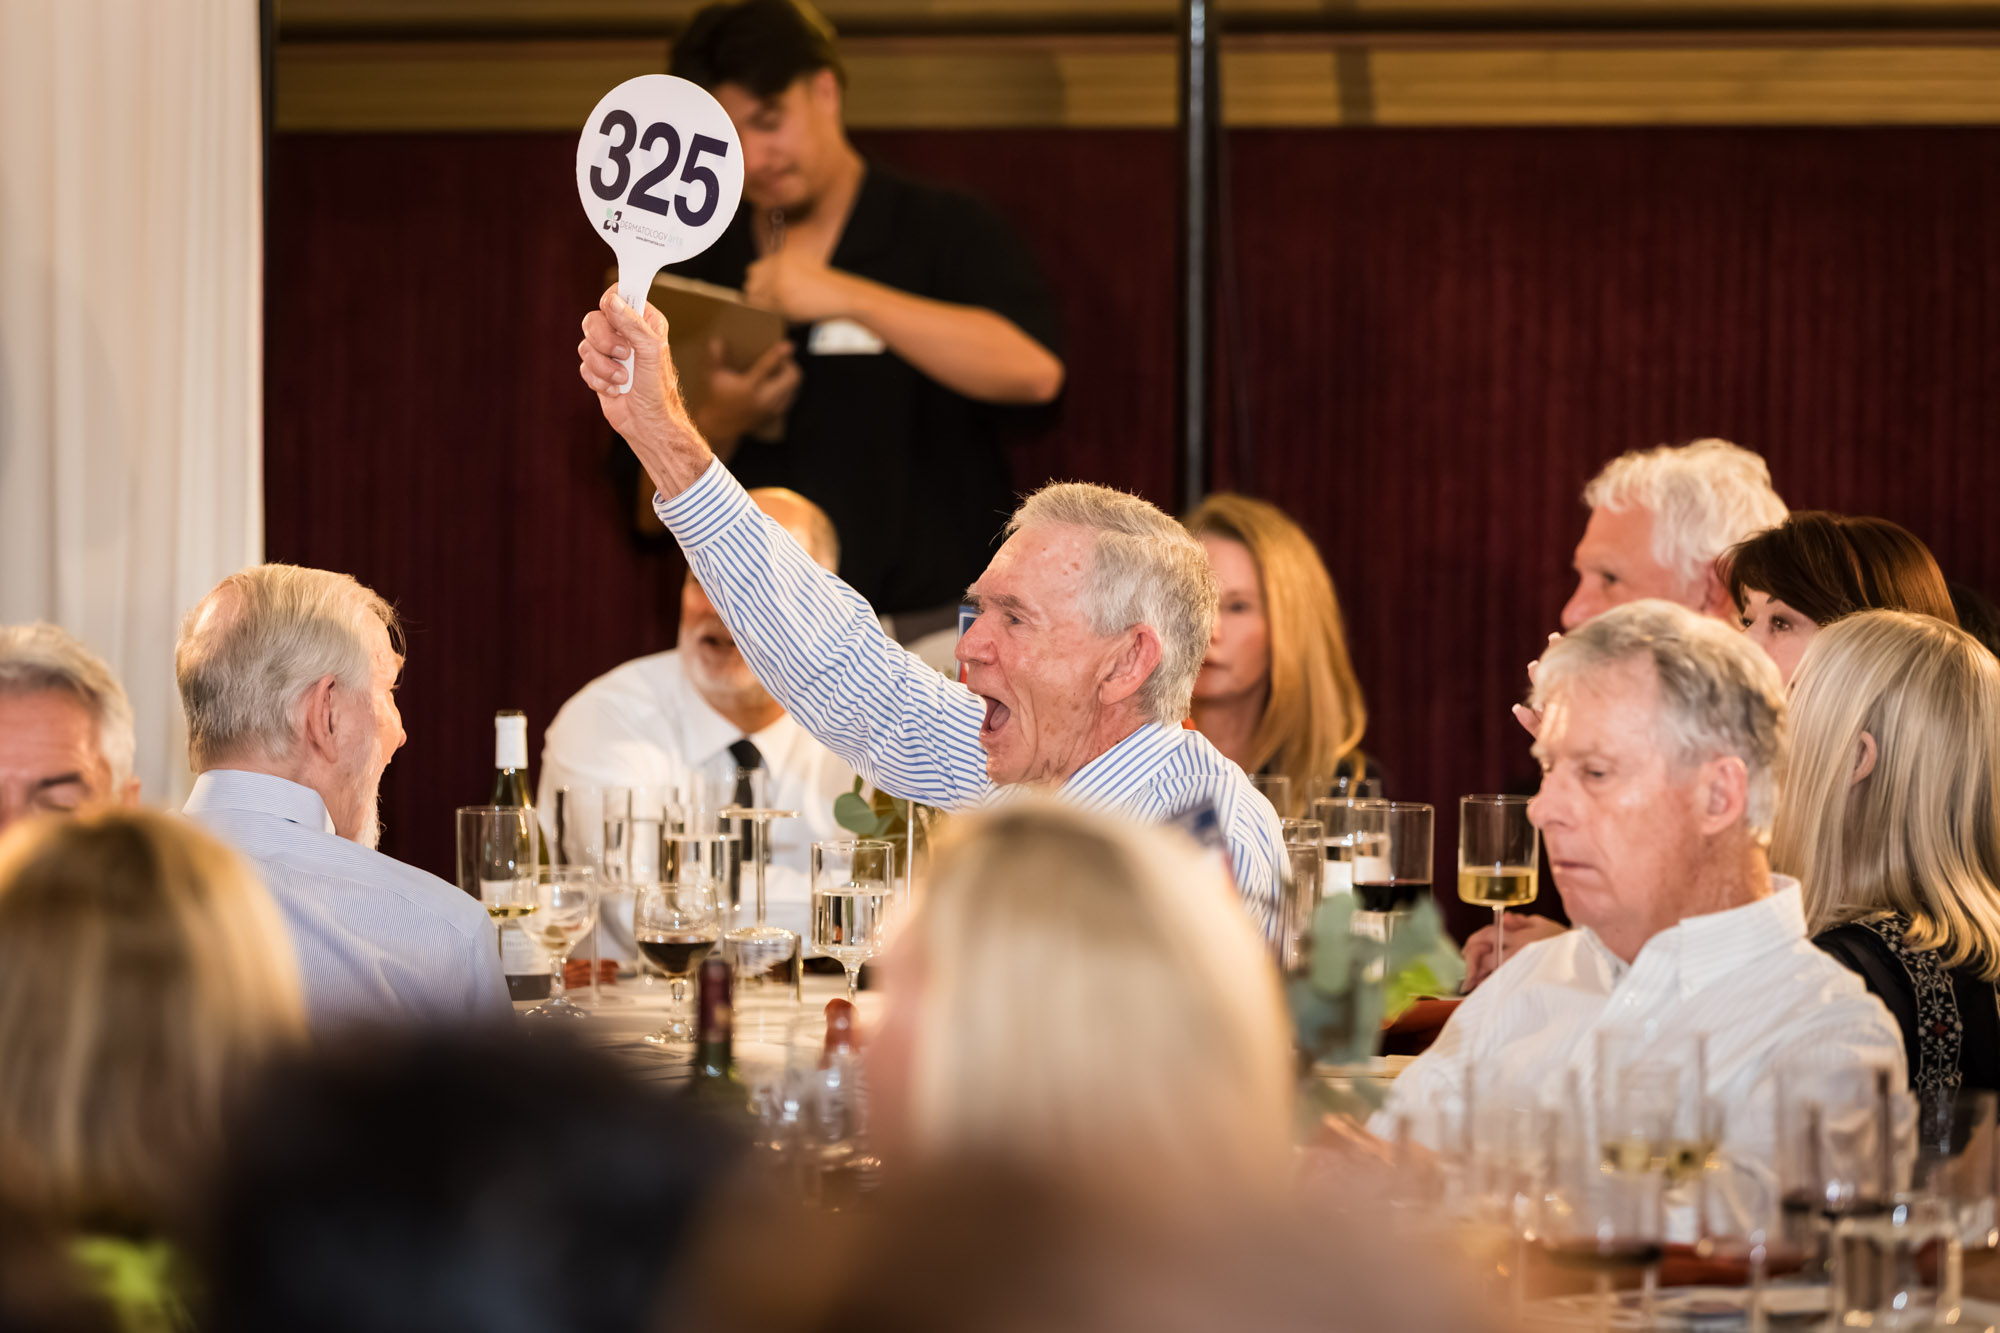
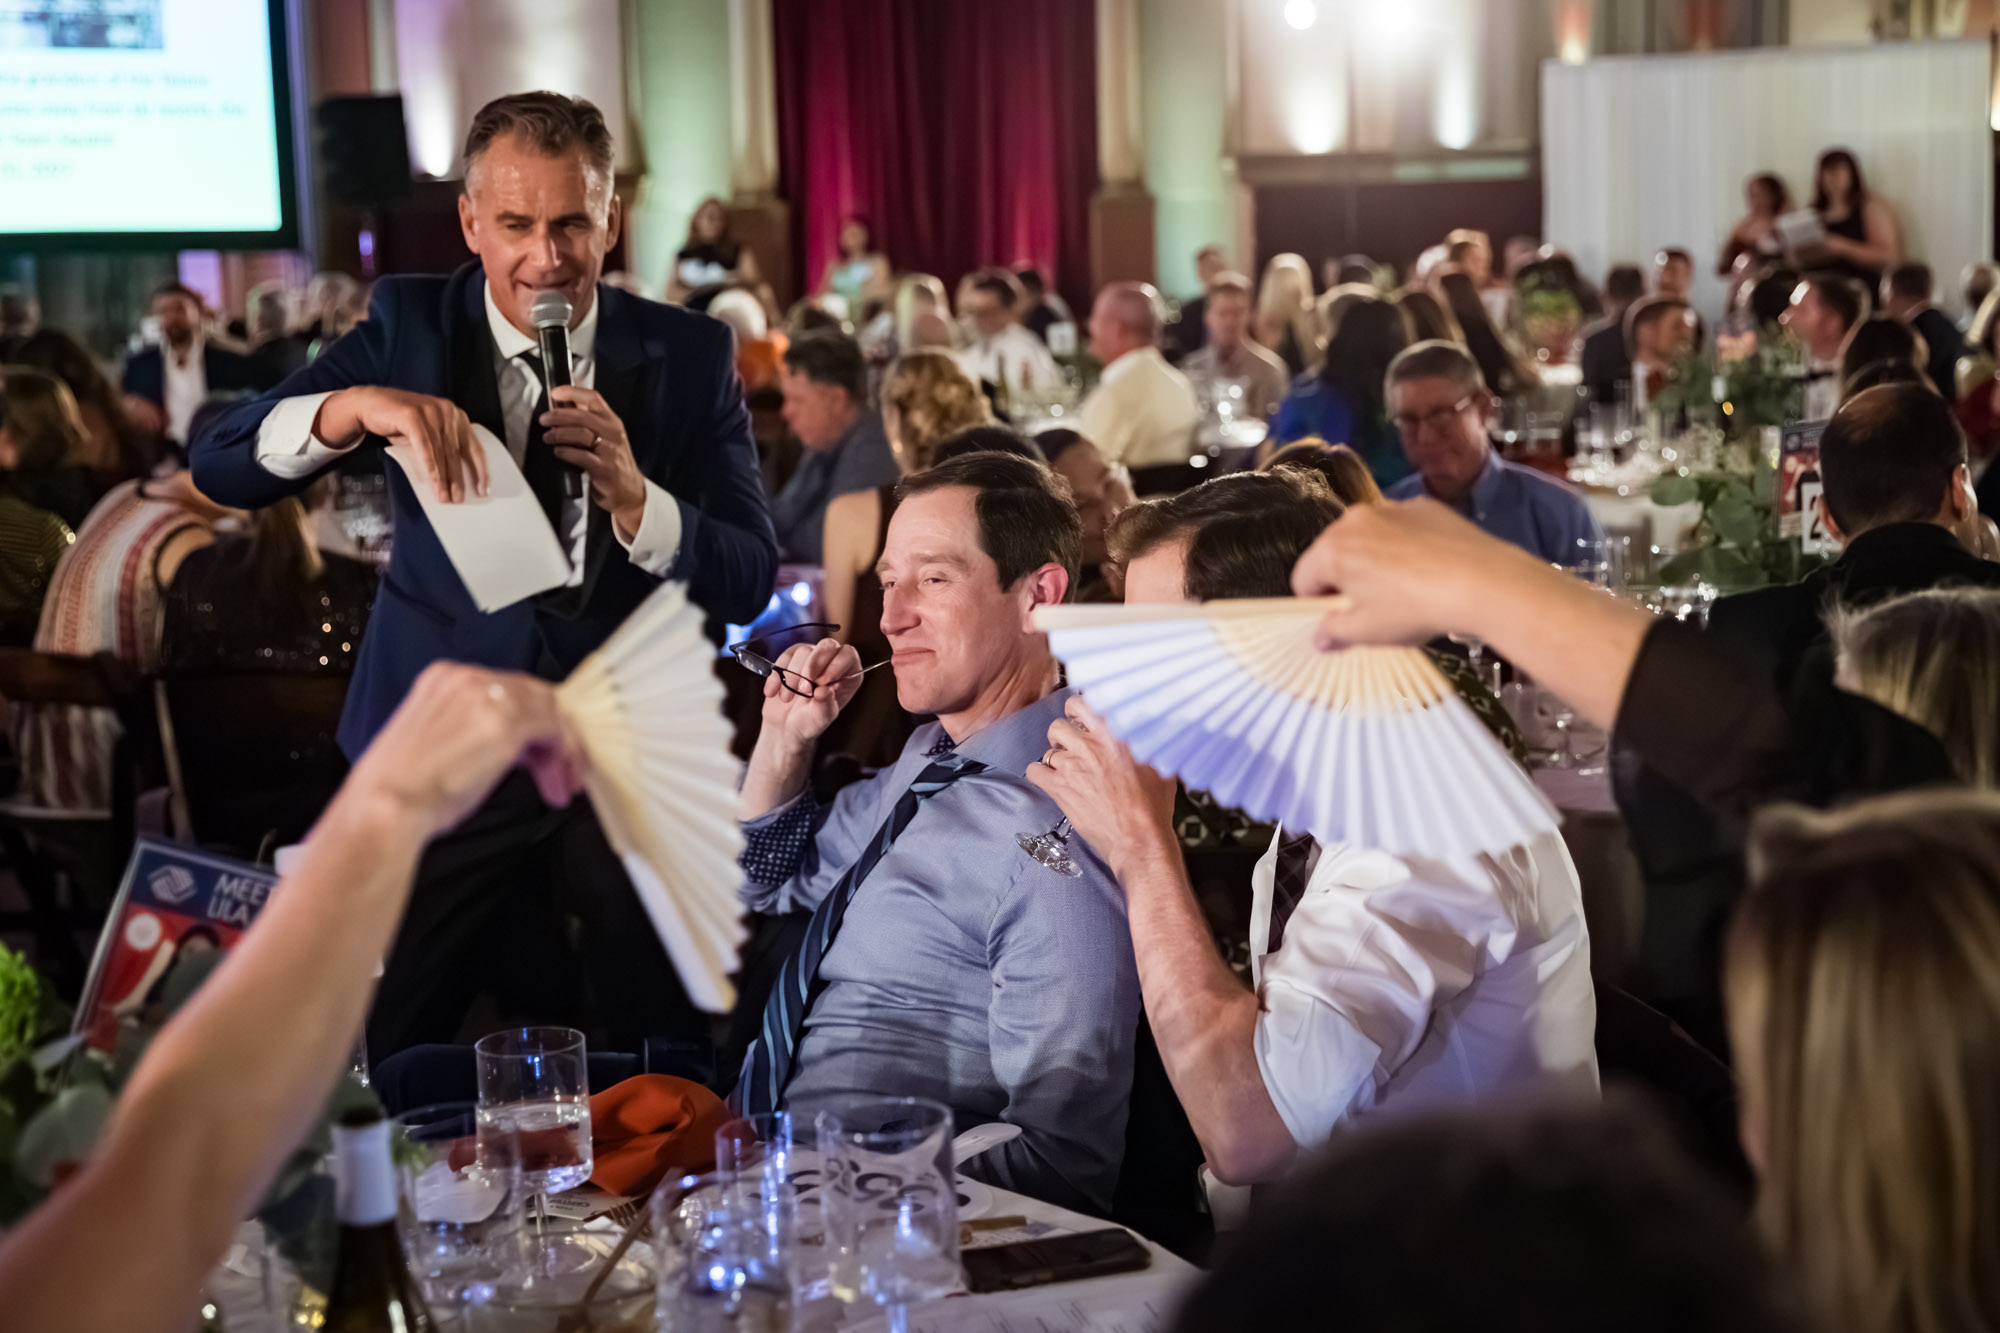
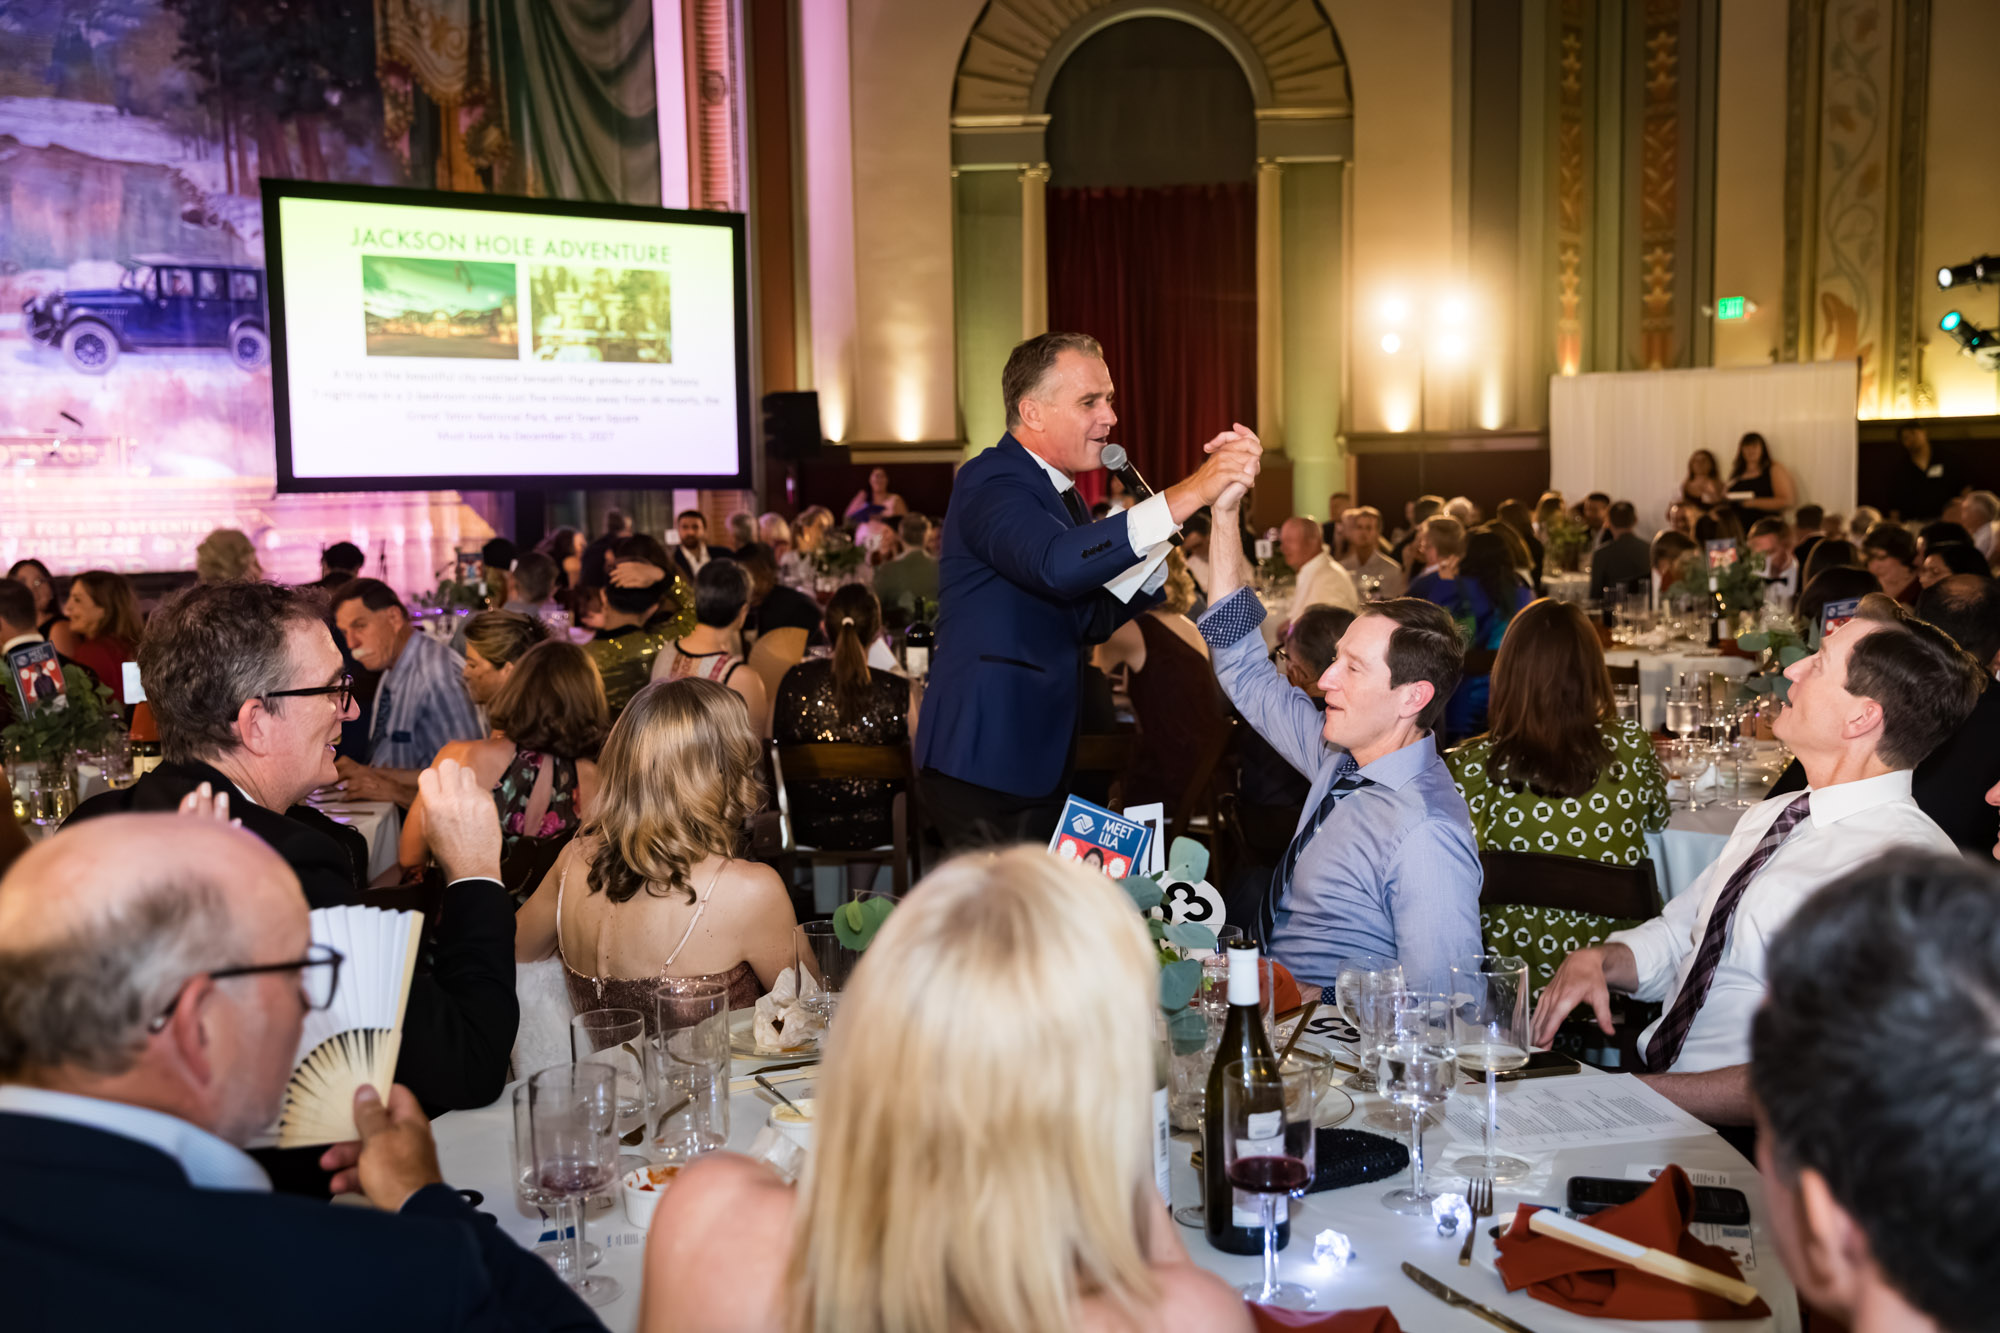
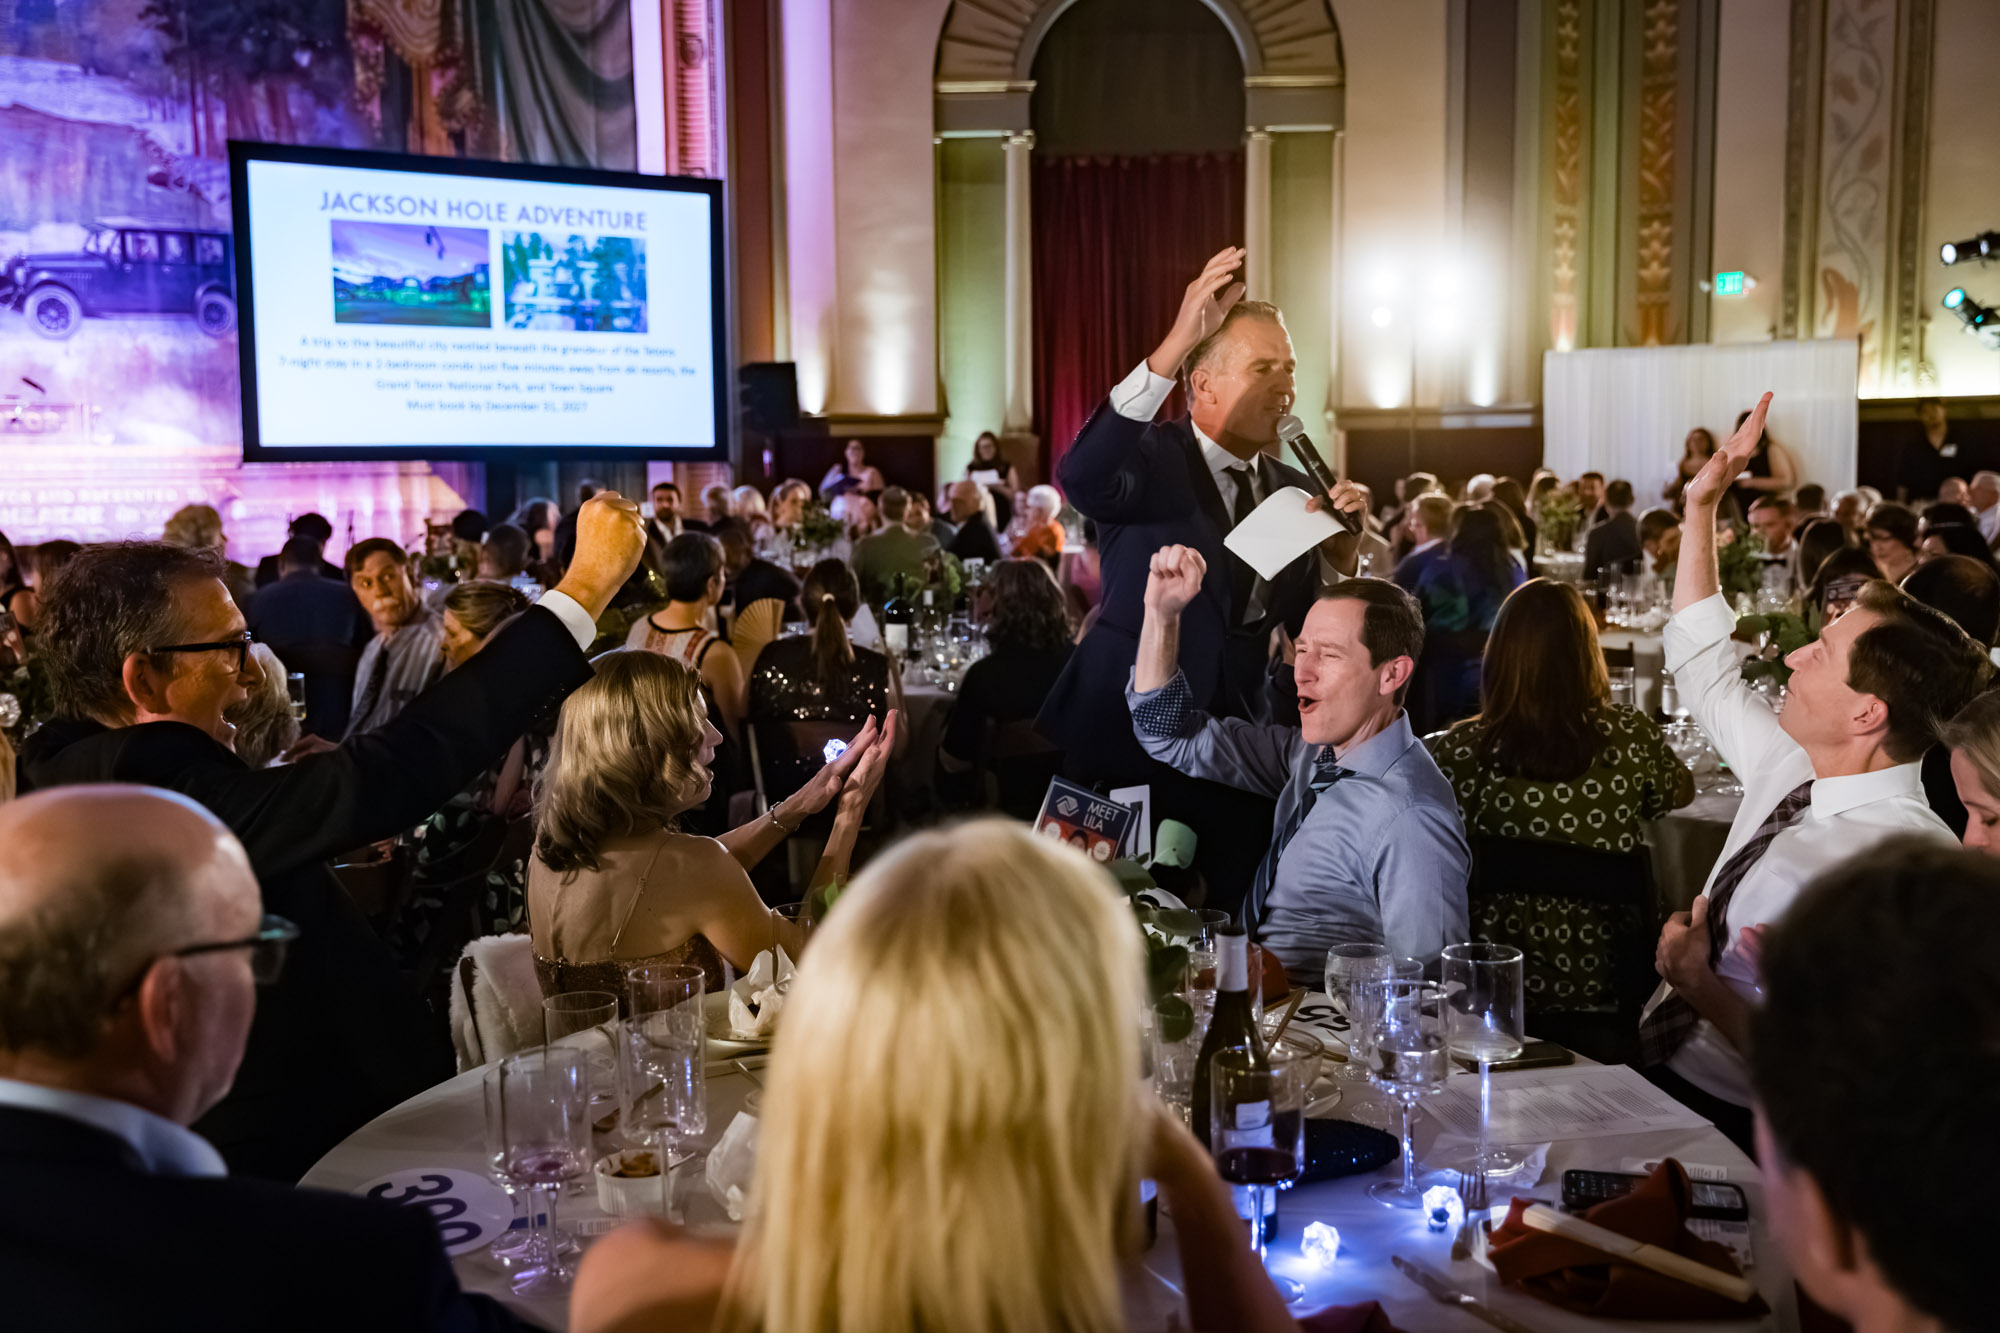
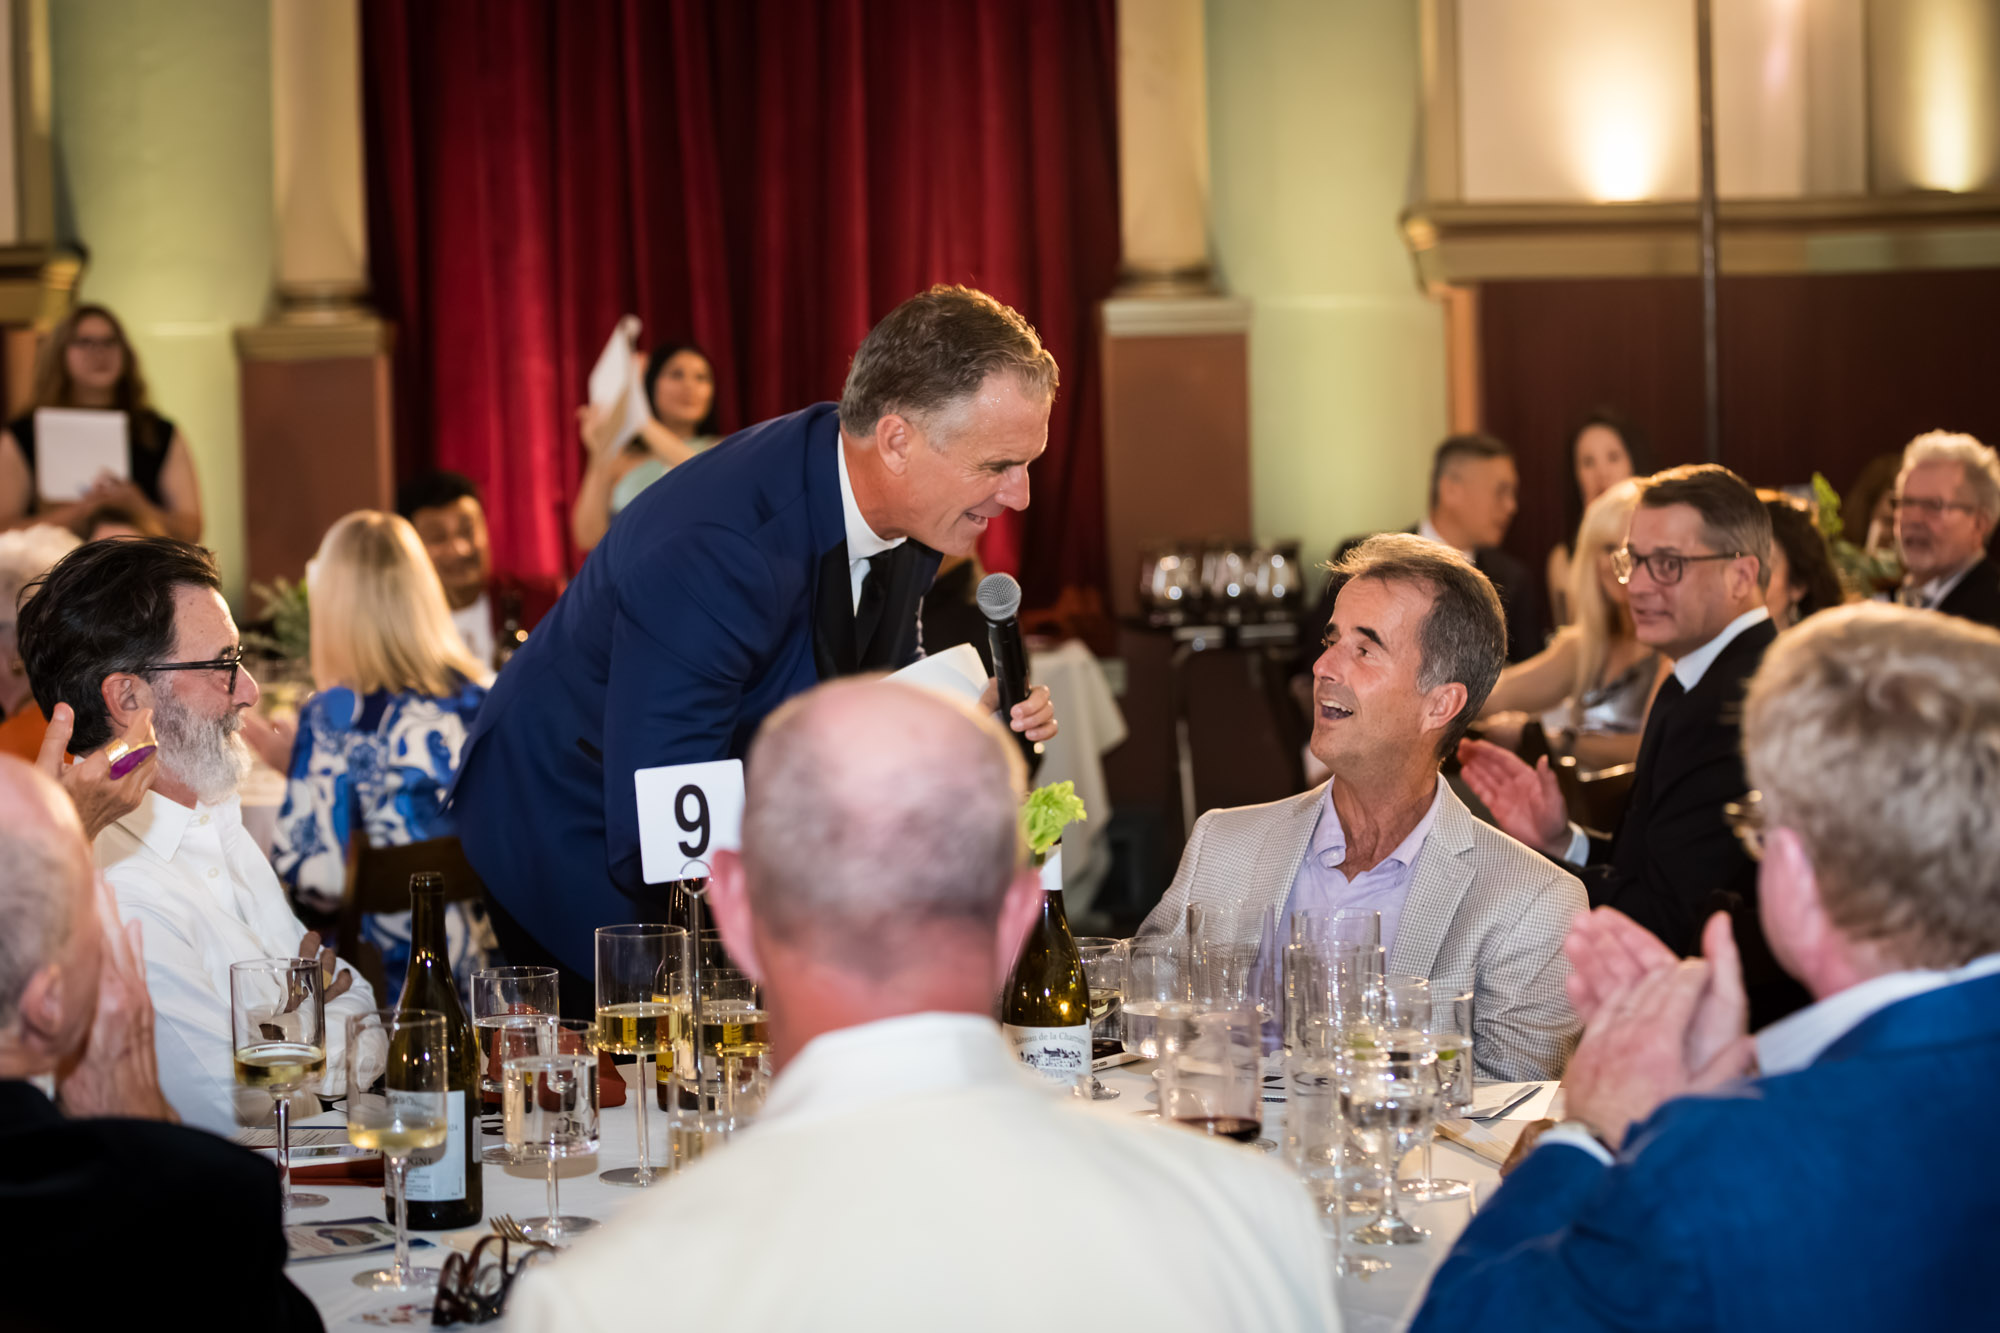
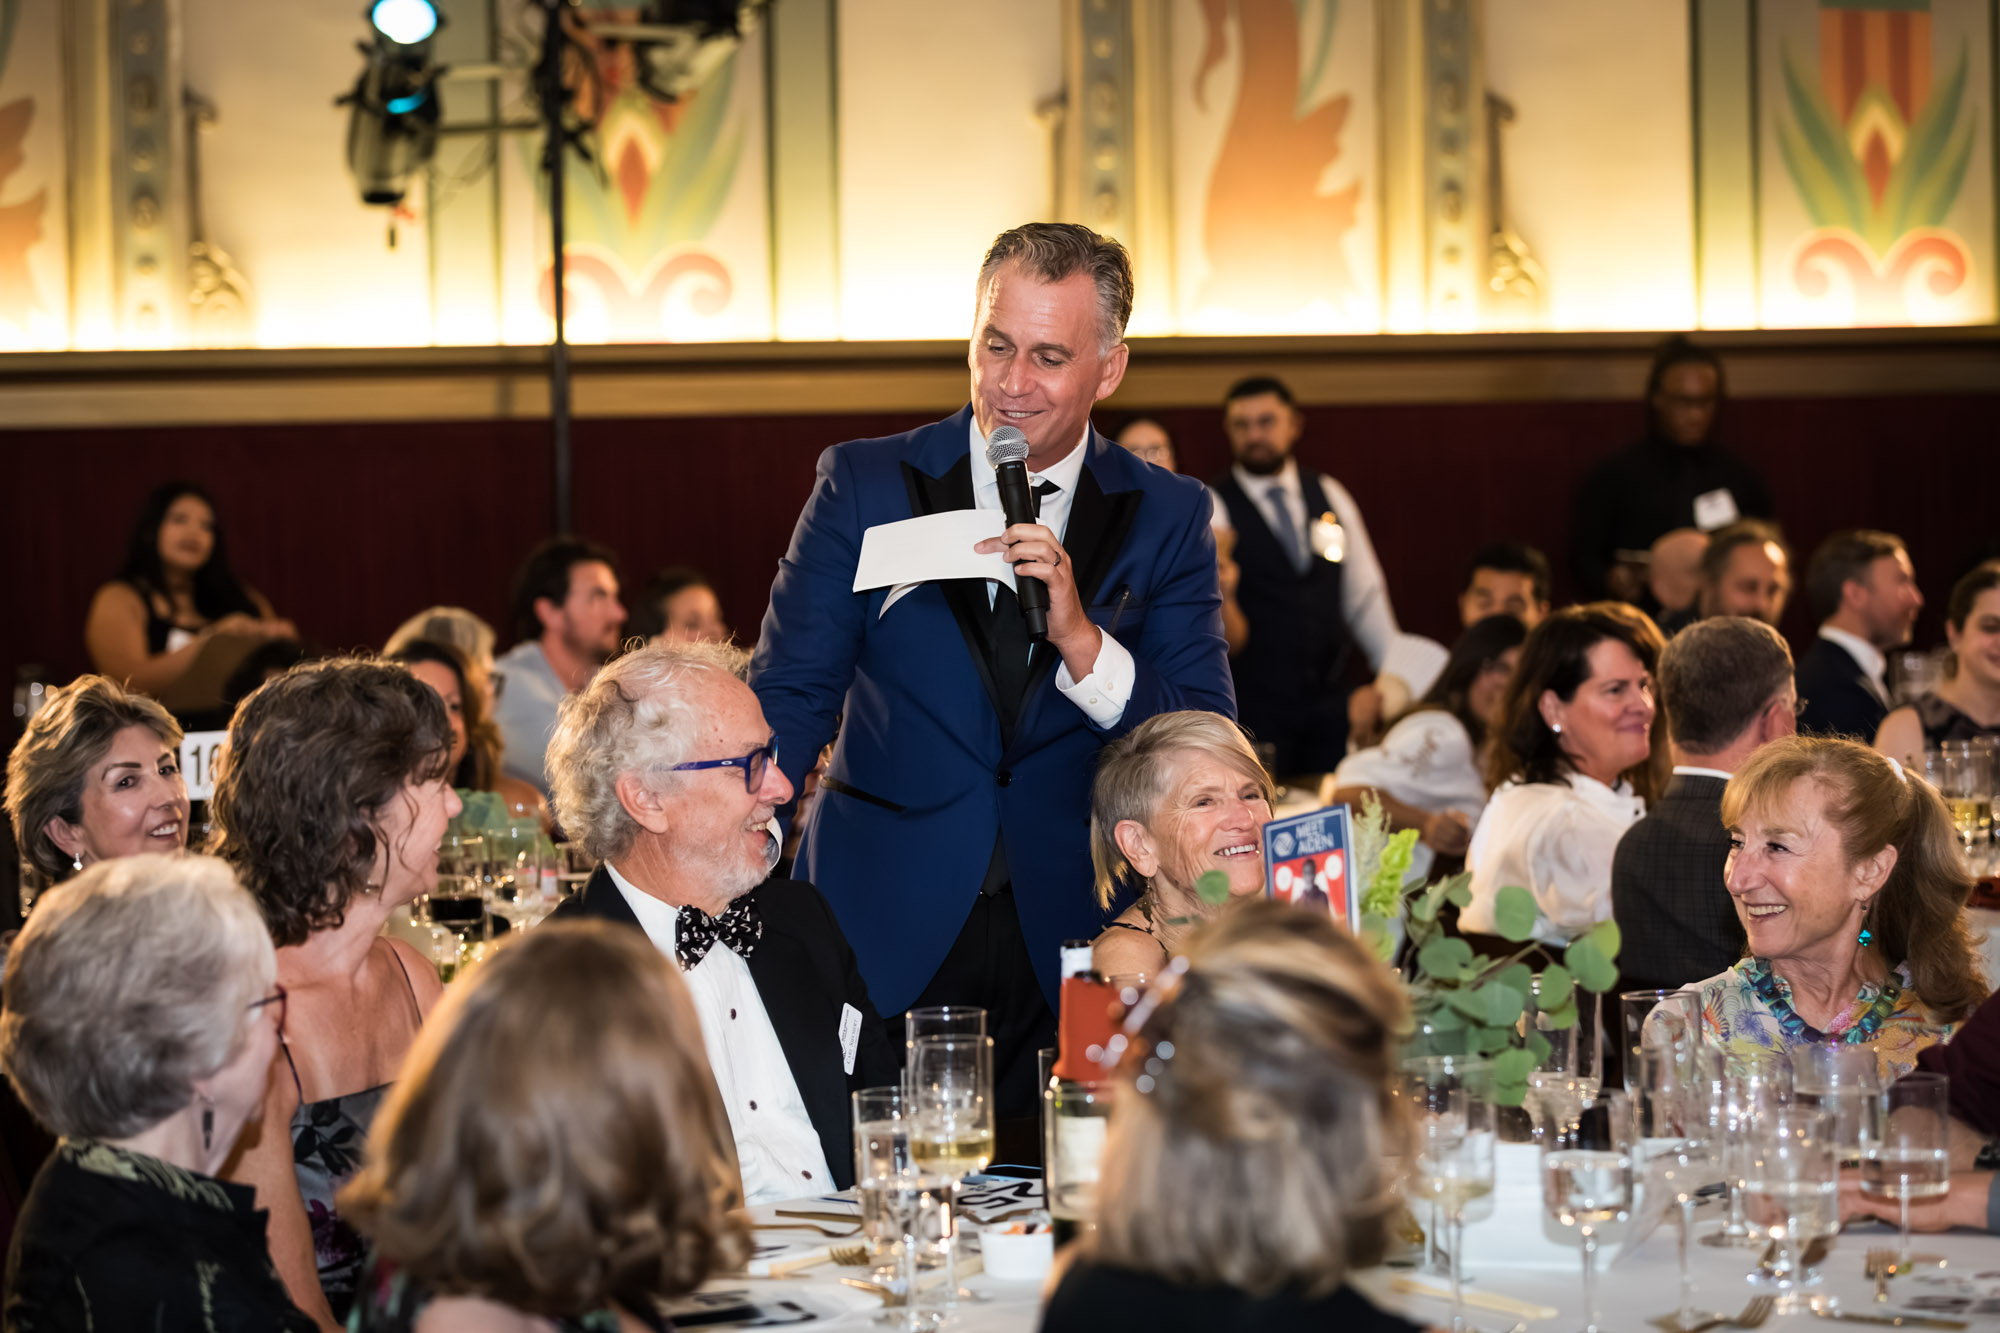
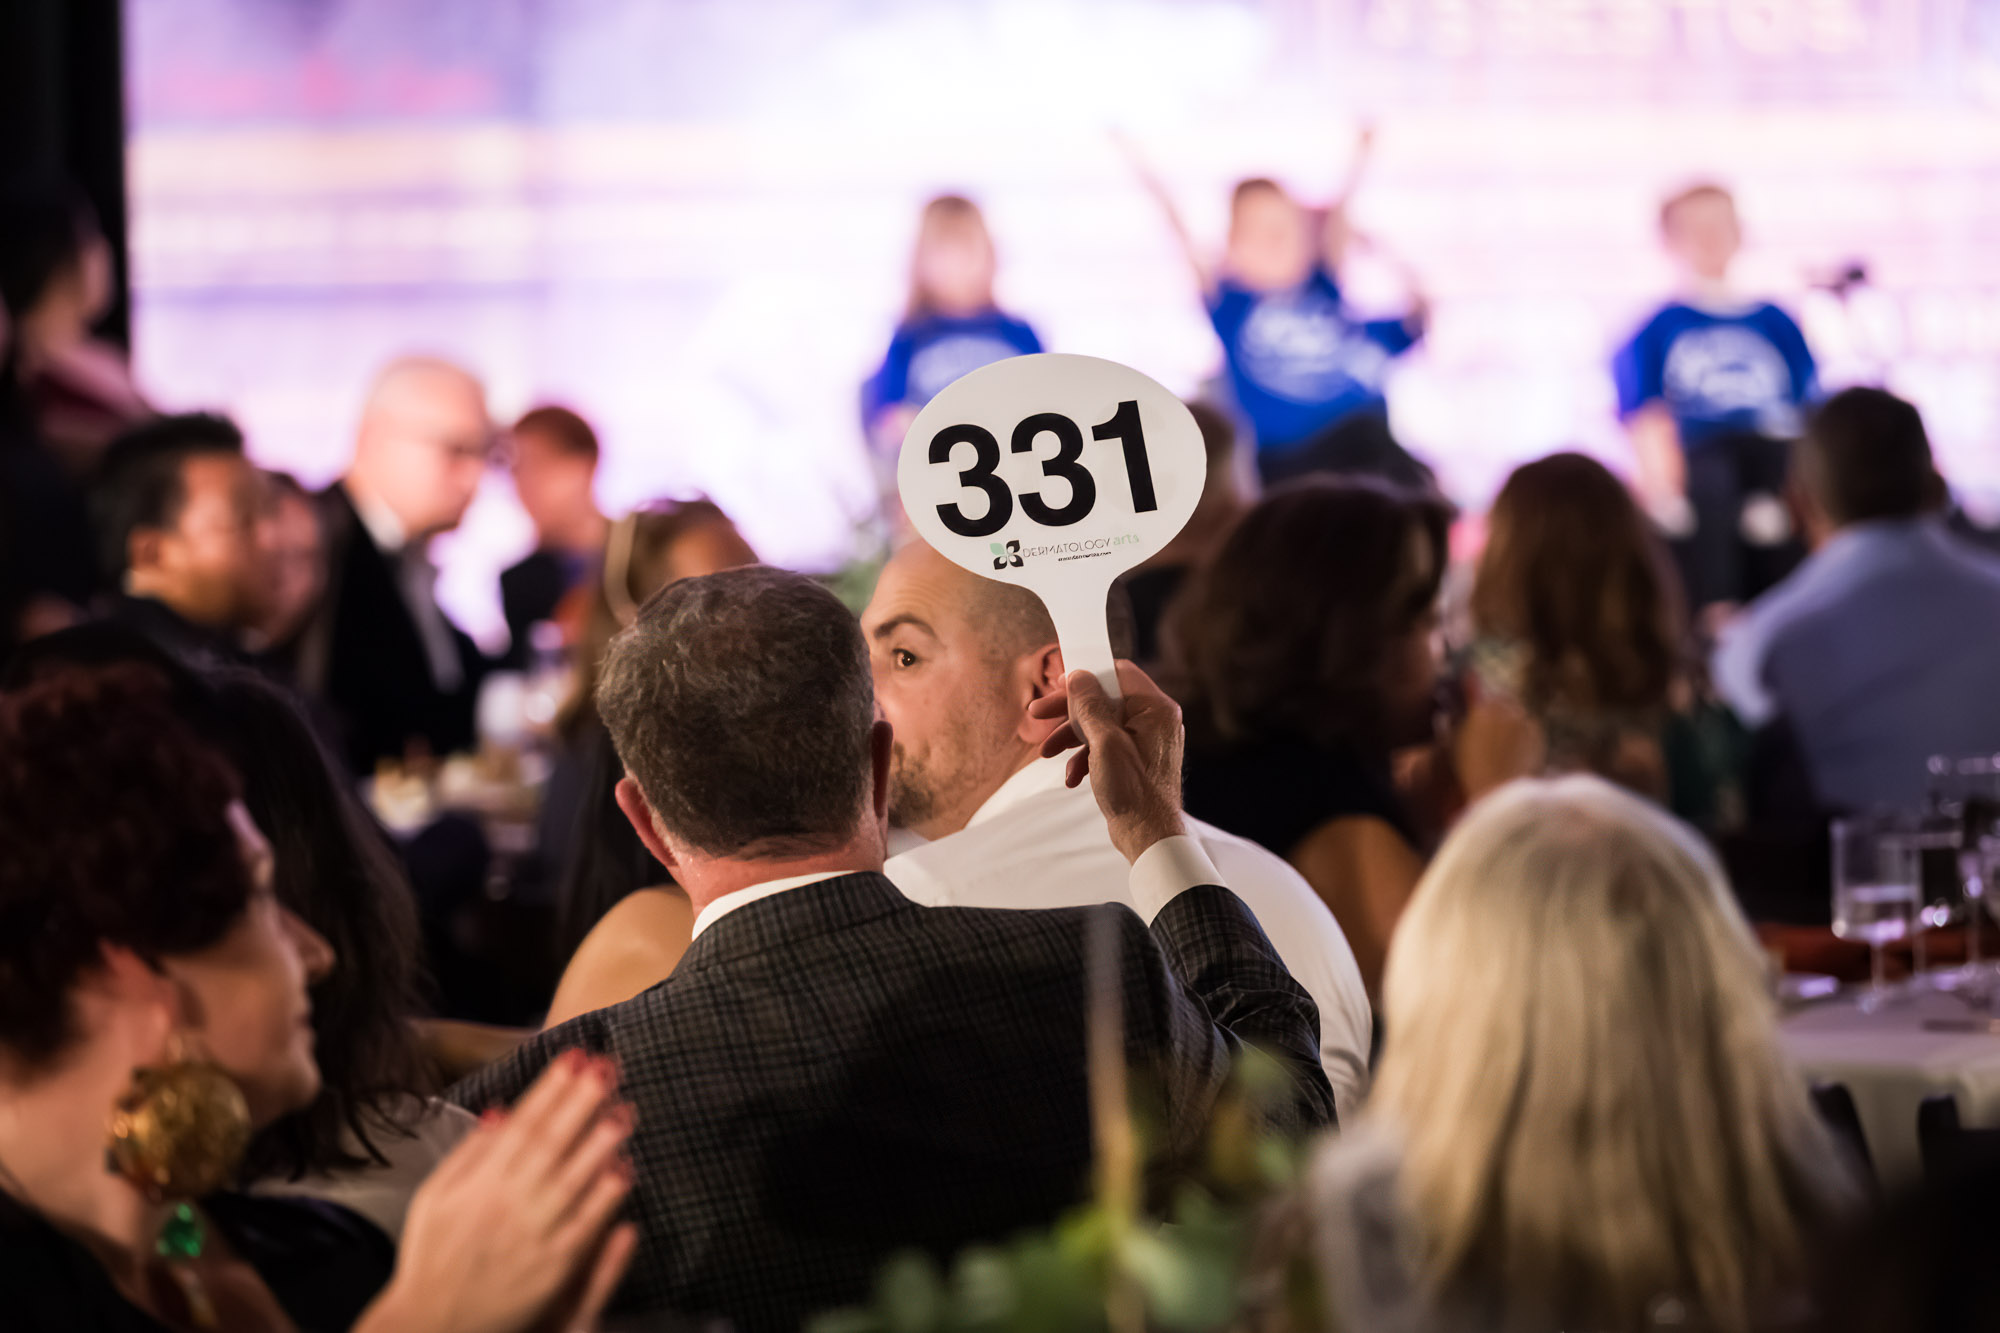
To me, it’s all about reading the room. If I think that my flash is going to be the least bit disruptive, such as during a speaker’s presentation or a video, then I rely on ambient light. But if guests are moving about the room and would not be bothered by an occasional pop of flash, then I do not hesitate to add extra light where necessary. For instance, during the paddle raise the emcee was moving quickly throughout the room, and people were excitedly getting up out of their seats to better see what was going on. It seemed like a good time to use flash to capture guests’ reactions. The paparazzi effect of my flash went unnoticed amid all the action. In contrast, I used no flash during any of the speeches.
My Camera Set Up
Finally, for those of you who are curious, I should let you know my camera set up. I currently shoot with two Canon 5D Mark IV bodies. I use all L-series lenses, and have a 24-70mm f/2.8 lens on one camera body for wide to close-up shots, and a 70-200mm f/2.8 lens on one camera body for telephoto images. Using two camera bodies allows me to quickly move between focal lengths and deftly capture shots without having to manually switch lenses. I also carry a 16-35mm f/2.8 lens for extremely wide shots. The flashes I use are Canon 600EX-RT II speedlites.
Event Photography Tips
Shooting in low light can be a tricky situation, but there is no need to show fear when faced with shadows. For any event photographers out there, here are my top tips:
Preparation:
- Always visit a venue before an event if you can. I try and make a venue check for every shoot. First, it always looks good to the client. In this case, it allowed me to personally meet with the manager of the Raymond Theatre. Second, you discover unexpected lighting surprises ahead of time. Always be on the lookout for black ceilings, tray ceilings, or any points in the schedule where lighting will be extremely low.
- Bring extra batteries. Sometimes your flash will simply chew through batteries for no reason other than it is particularly hungry that night. The worst thing in the world is running out of batteries (for your flash or for your camera), so always bring extras.
- Always arrive early. Case in point: when I arrived at the Raymond Theatre, there was mayhem going on around me as the fundraiser was still being set up. It took longer than usual to get my detail shots, and I am glad I got there when I did.
Shooting:
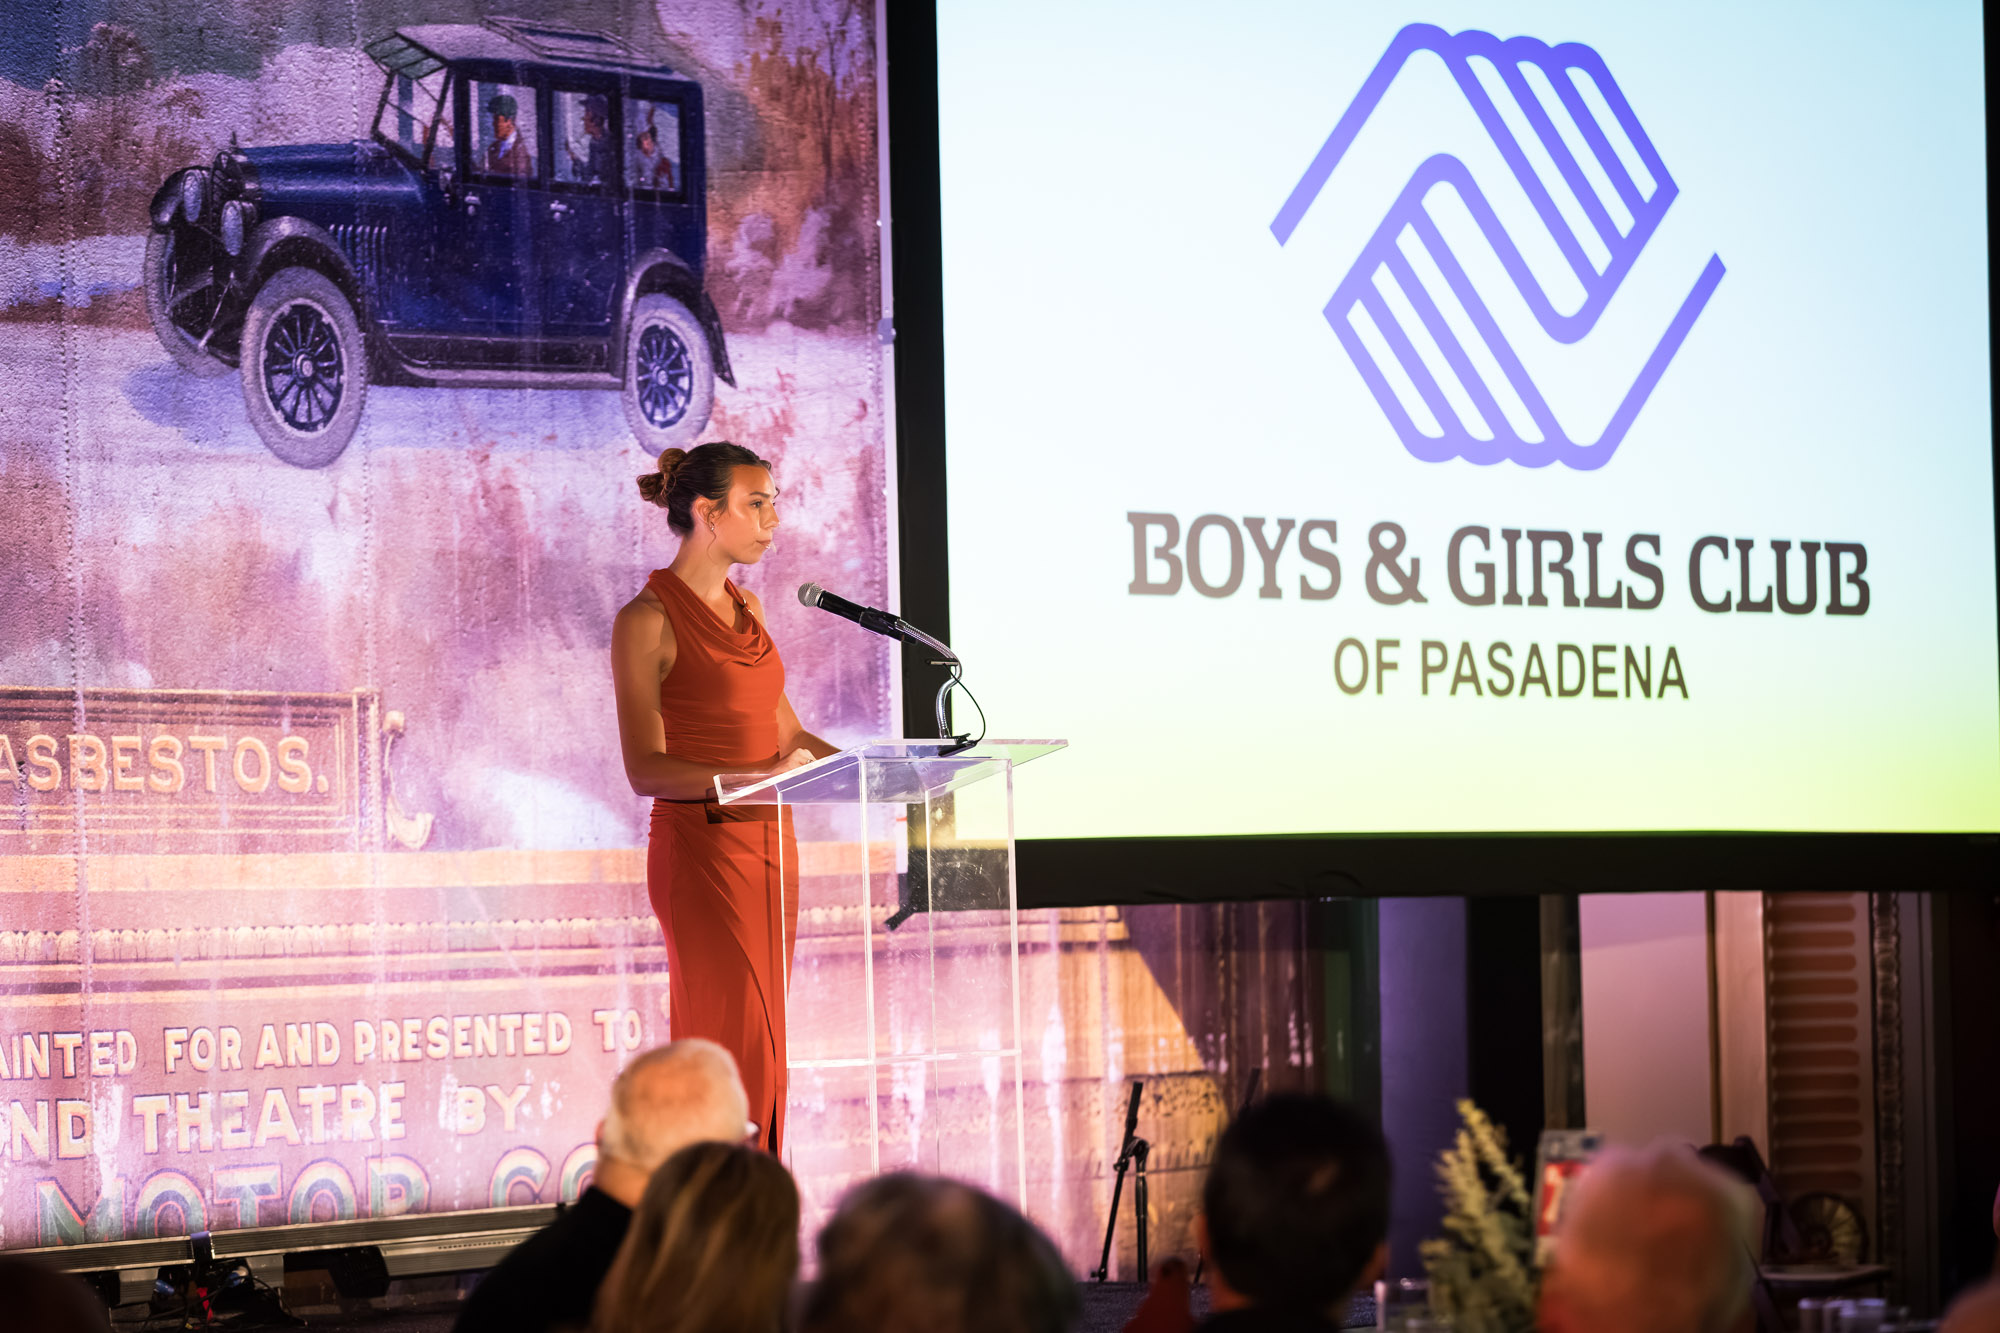
- Take three shots for every room: wide, medium, and close up. I try to get three different perspectives in every room: a wide shot, a close up (either of the podium action or of specific guests), and a medium shot. The point is that you do not want every shot to be of the same perspective or from the same point of view.
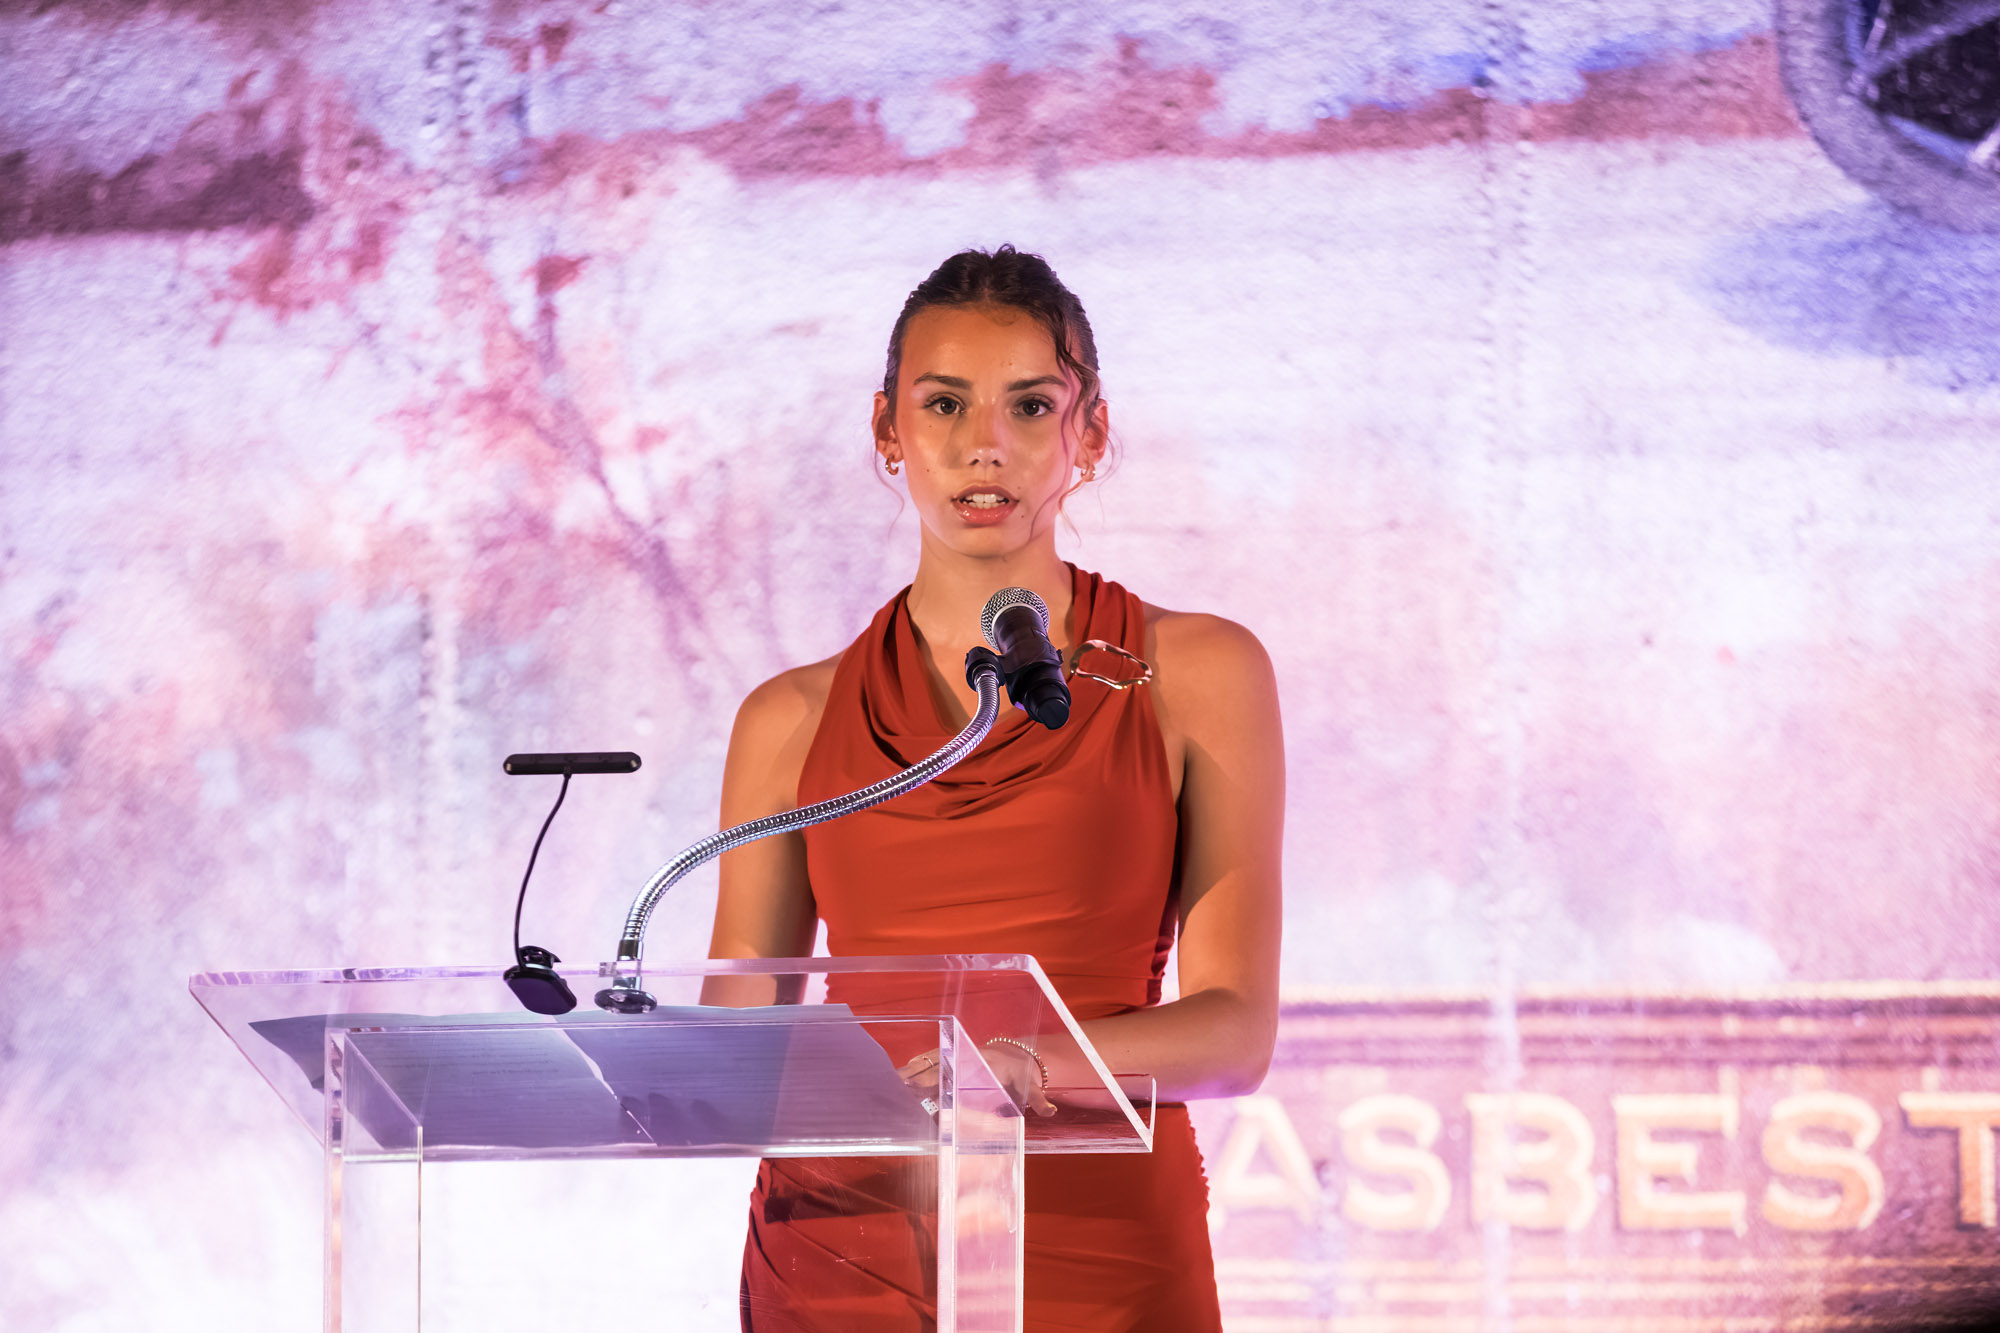
- Move your feet. No client wants the same photo over and over again. You need to physically move – without being disruptive to the event – and take photos from every side of the event. Photograph the speaker from the back of the room, from the side of the podium, close up under the podium, etc.
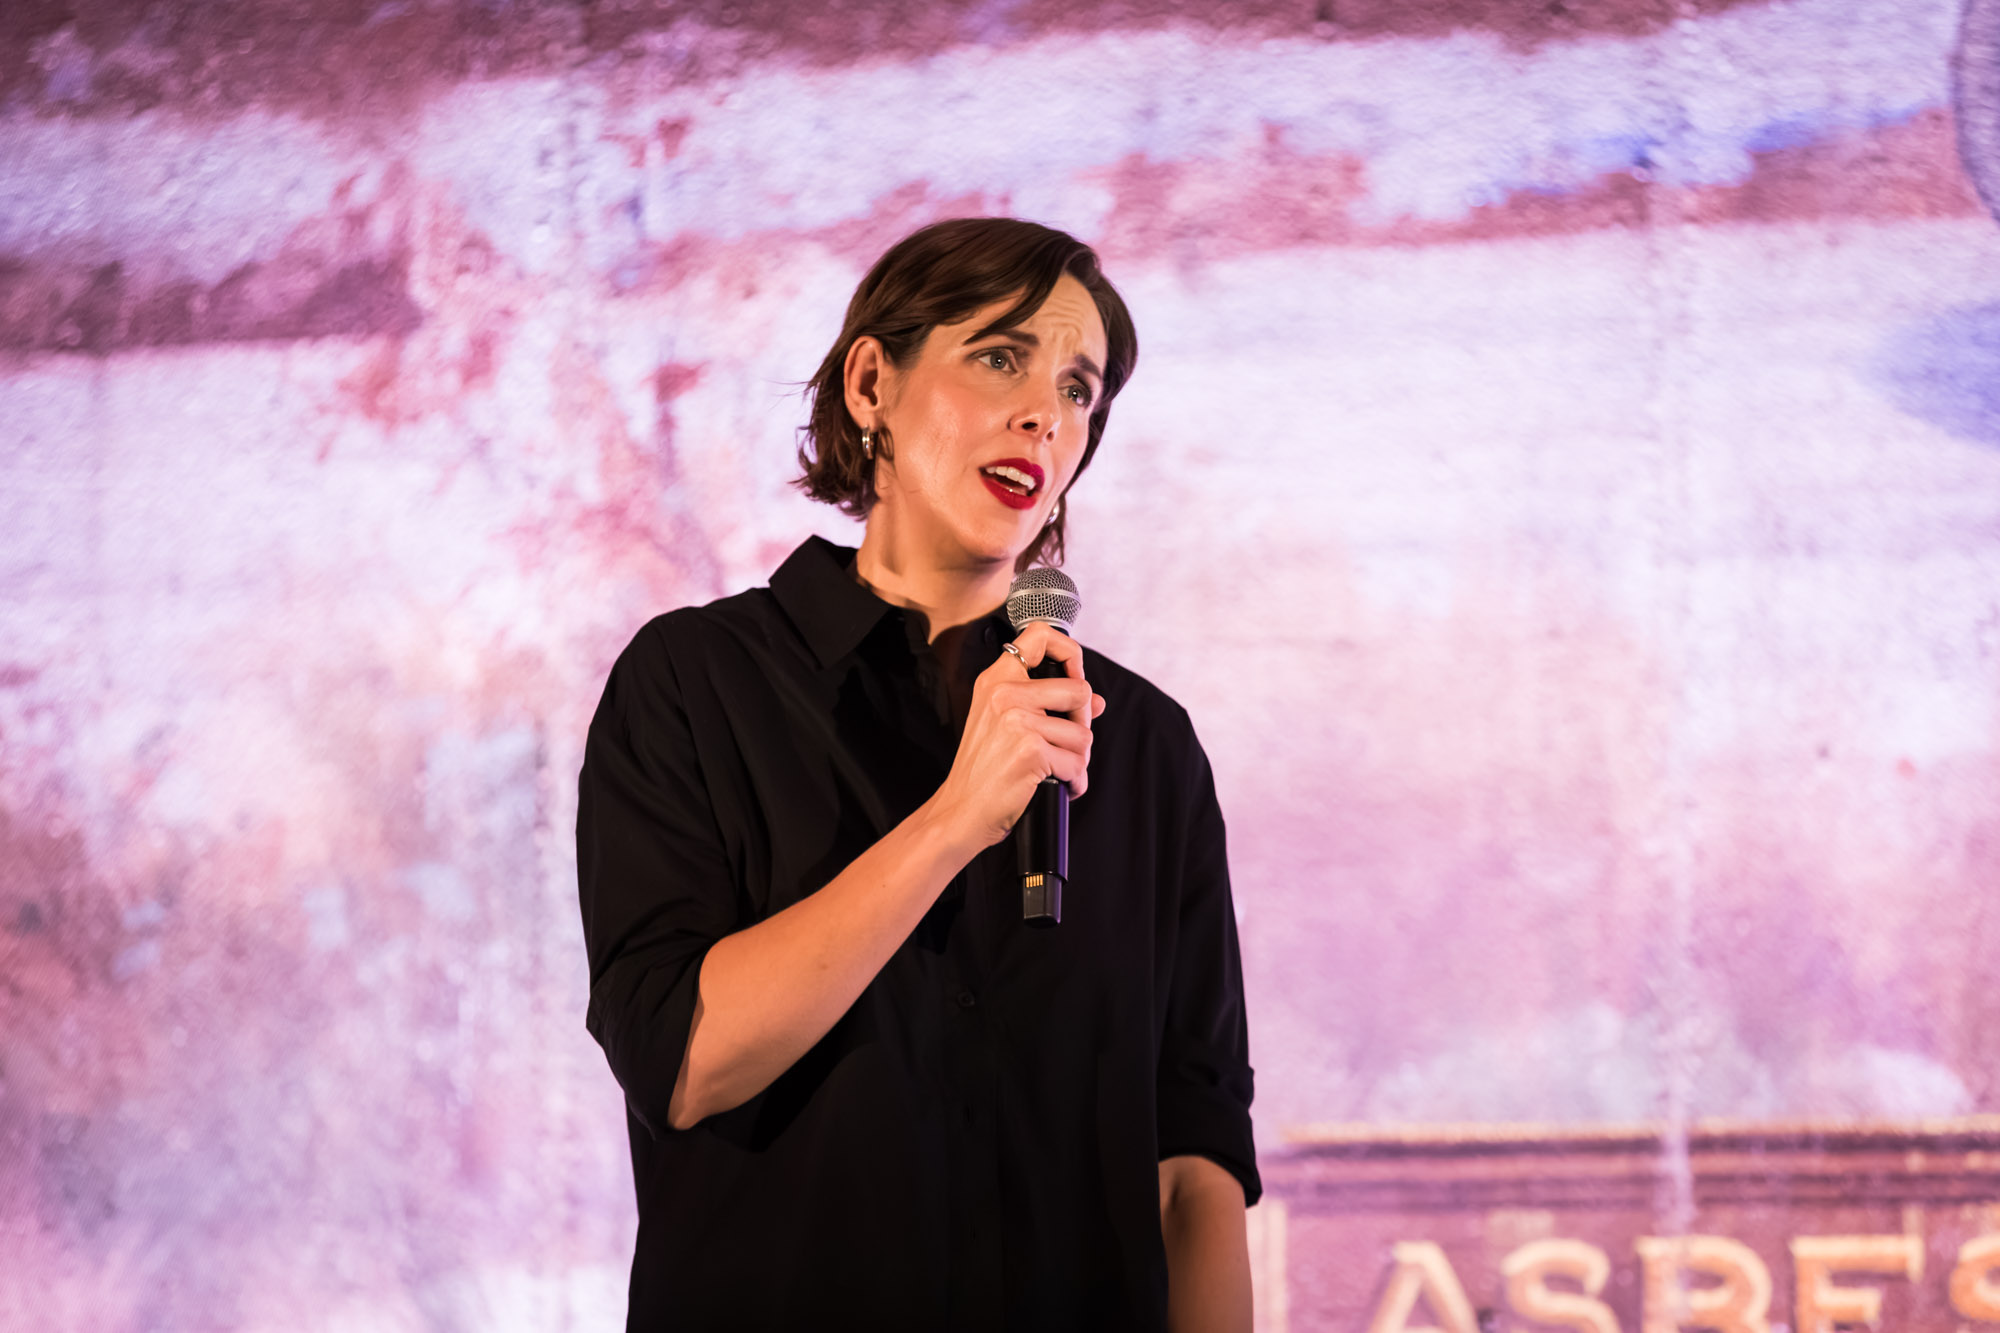
- Always take more photos than you think you will need. This is especially true when people are speaking: you may think you nailed the shot, but there will always be something wrong with it. Trust me, you need lots and lots of options to choose from when you are selecting the image of someone with their mouth perfectly open.
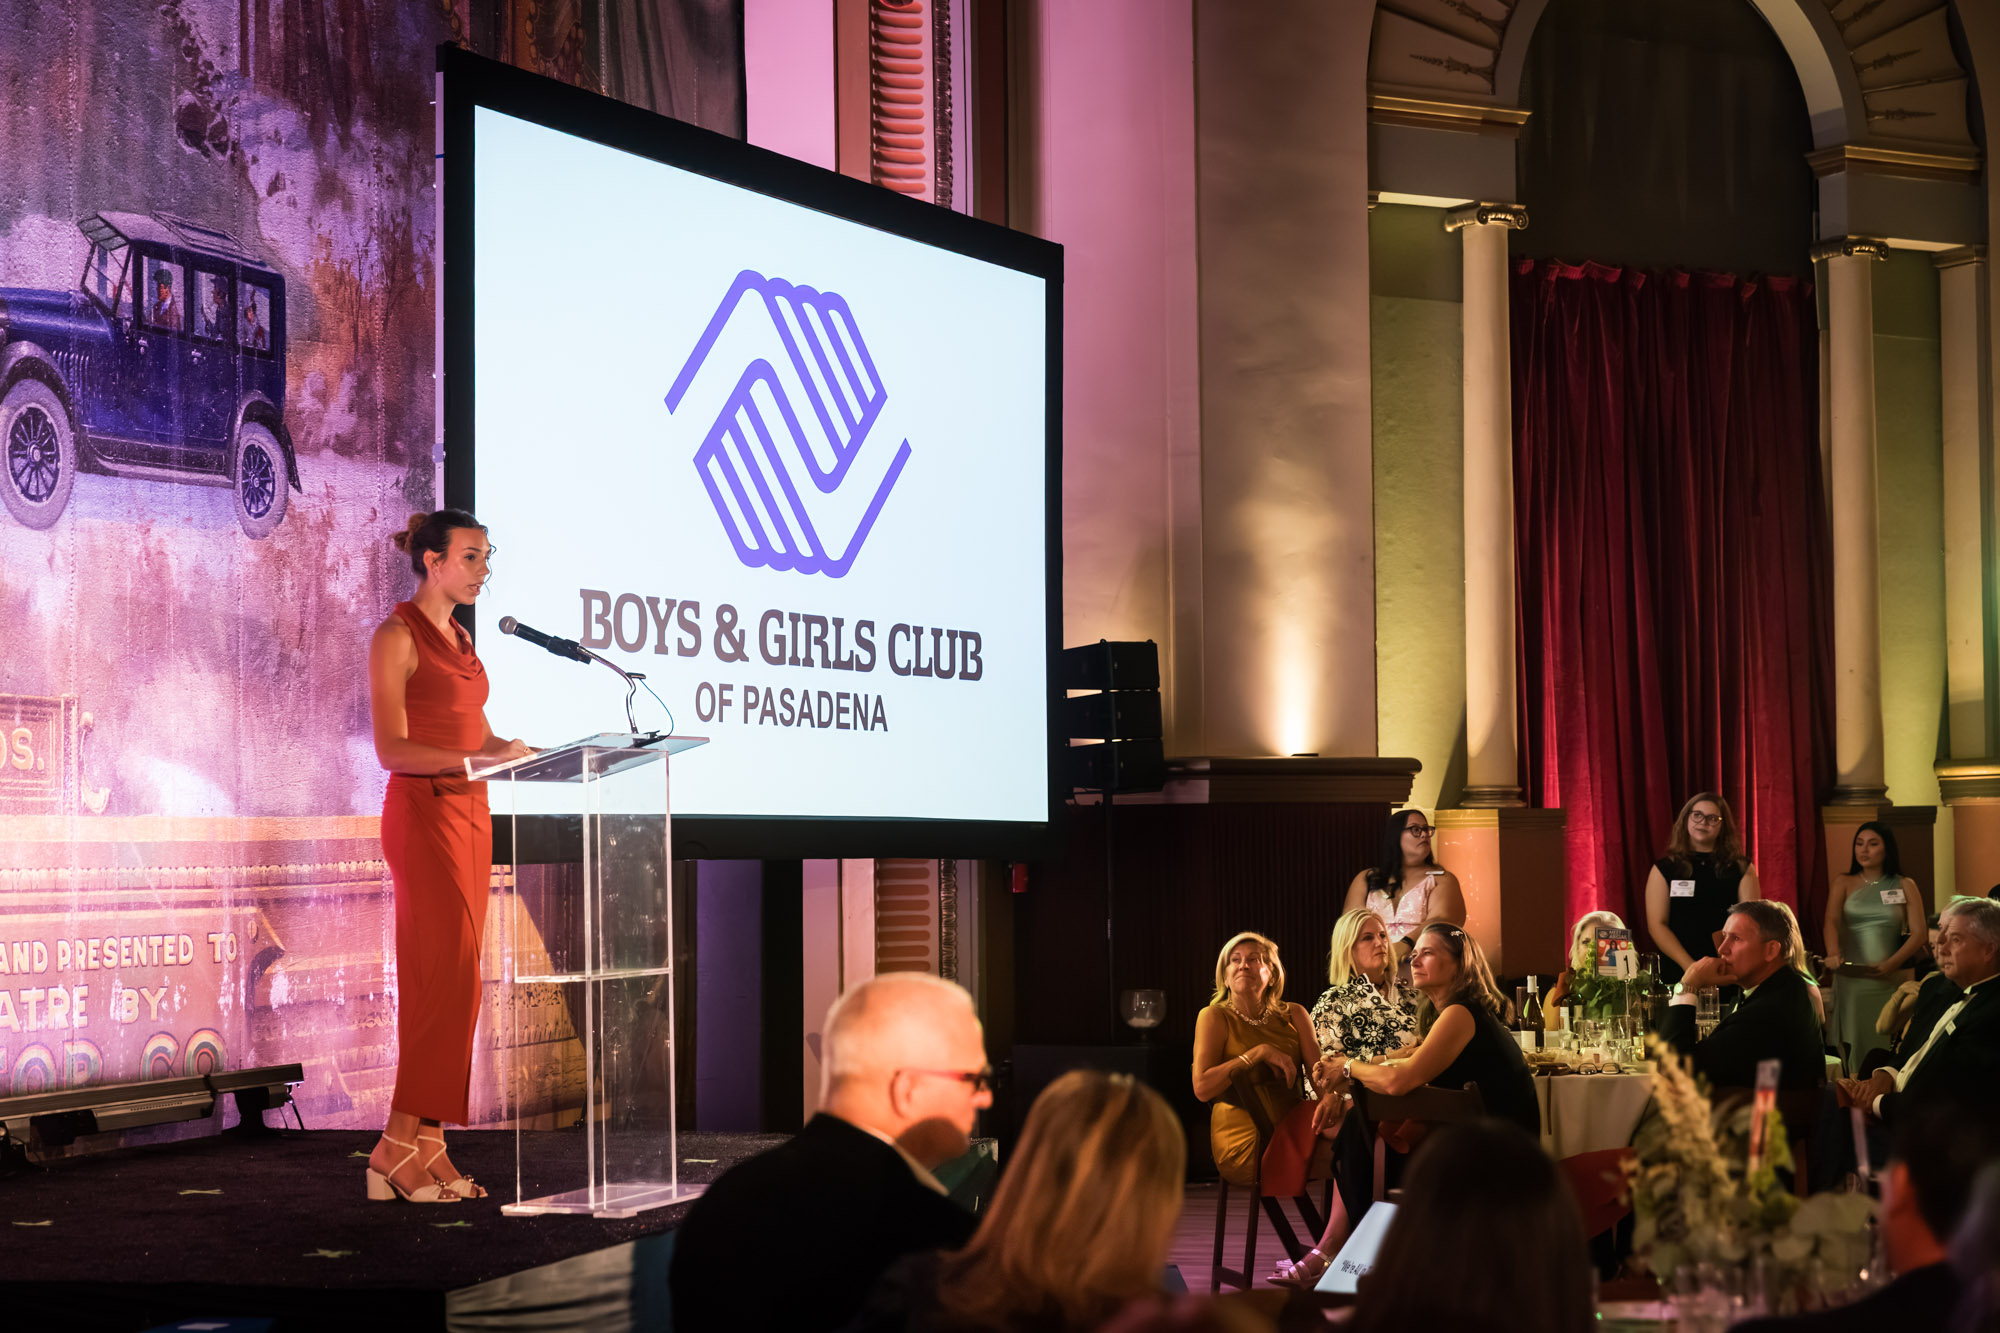
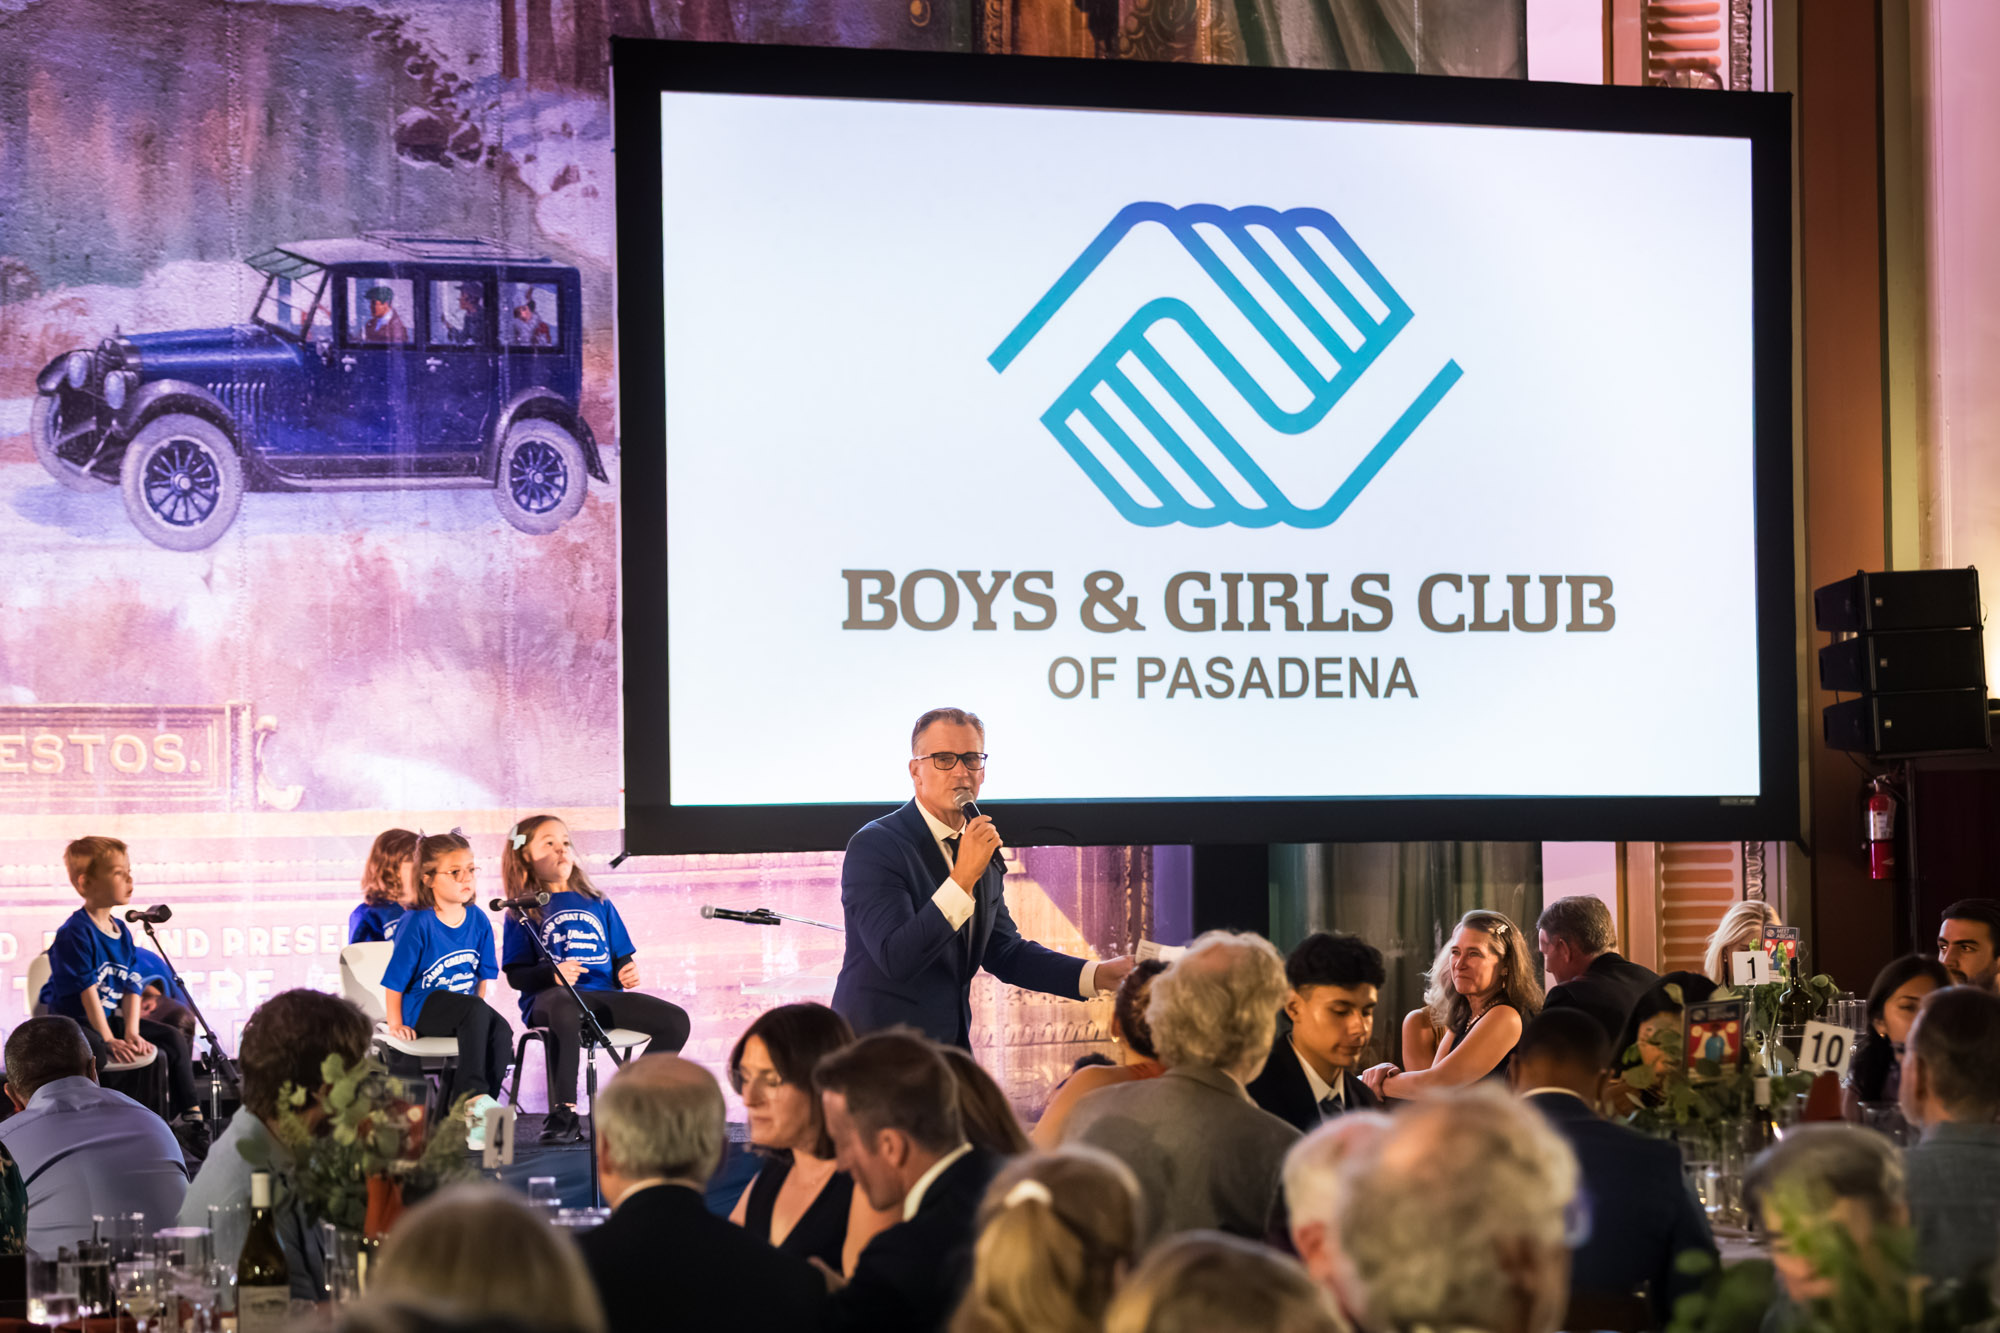
- Try to get as much of the logo in the shot as possible. The logo shot is the money shot. Try to get a photo of the speaker with the logo in the shot.
Final Thoughts
Photographing a fundraiser at the Raymond Theatre came down to a few simple habits: arrive early, photograph the details before the guests arrive, expose for the podium, and shoot in RAW so that editing can rescue whatever the lighting does not. A dim theater is not a reason to panic; it is a reason to plan. With a venue visit, a reliable set of starting settings, and a willingness to move your feet, you can deliver sharp, natural images that show off the event without disrupting it. And if you need a photographer who is comfortable in the dark, I would be glad to help with your next gala or fundraiser.
Enjoy the images, and I will have more photo adventures for you next week!
__________________________________________________________
If you found this article on Raymond Theatre photos useful, then check out these related posts:
- Austin Book Launch Party Photos
- Hotel Van Zandt Corporate Event
- A James Bond-Themed, St. Anthony Hotel Corporate Event
Looking for a Los Angeles event photographer for your corporate or non-profit event? Drop me a line and let’s chat about your vision.
To view more images from my portfolio, please visit my website – KellyWilliamsPhotographer.com