A Peek Behind the Curtain: How I Edit Photos
I’ve been asked countless numbers of time to ‘just take a few quick photos and send them to me.’ Not such a quick request, as it turns out. For every hour spent shooting, I have to spend at least three hours editing and processing the images. Want to know what takes so damn long? Go behind the scenes with me as I reveal the mysteries of photo editing…
Let’s start with the number of photos initially taken. For a 10-hour wedding with 100+ guests, I shoot roughly 4,000 photos. That’s a lot of images, but you have to account for the ‘double tap’ effect: that is, double tapping the shutter button to insure that I get a photo of every person with their eyes open. I’ve been shooting weddings since 2008, and yes, sometimes I end up with a lot of duplicate photos. But most of the time, double-tapping saves me by getting the exact photo I want.
So with that in mind, this brings me to the first stage in the editing process: the initial culling. After I get back from any shoot, I download every card and save each image with the client name, event, and location details in the metadata. After every card is uploaded, I then save all of the images to a separate hard drive for security. The cards won’t be erased until after the shoot is fully edited thereby insuring that no images are lost. Once everything is in, it is then time to painstakingly go through all of the images. I score my images from one to five, and at this stage, any photo where a guest’s eyes are closed, a hand is blurry, or the image just doesn’t meet my standards is given a zero score and forgotten. Any redeemable image is saved. This process generally takes the longest as it is the first time I am looking at all of the images at once. The initial culling cuts the number of photos by roughly half, and for a full wedding, can take an entire day.
Next, I make basic image corrections for all of the photos in one batch edit. I use Adobe’s Lightroom software to edit all of my images, and I use the same recipe to get my signature look:
- Contrast = +30
- Clarity = +20
- Vibrance = +15
- Basic adjustments to both sharpening and noise levels
- Enable lens profile corrections
- Remove chromatic aberrations
- Post-crop vignetting = -23
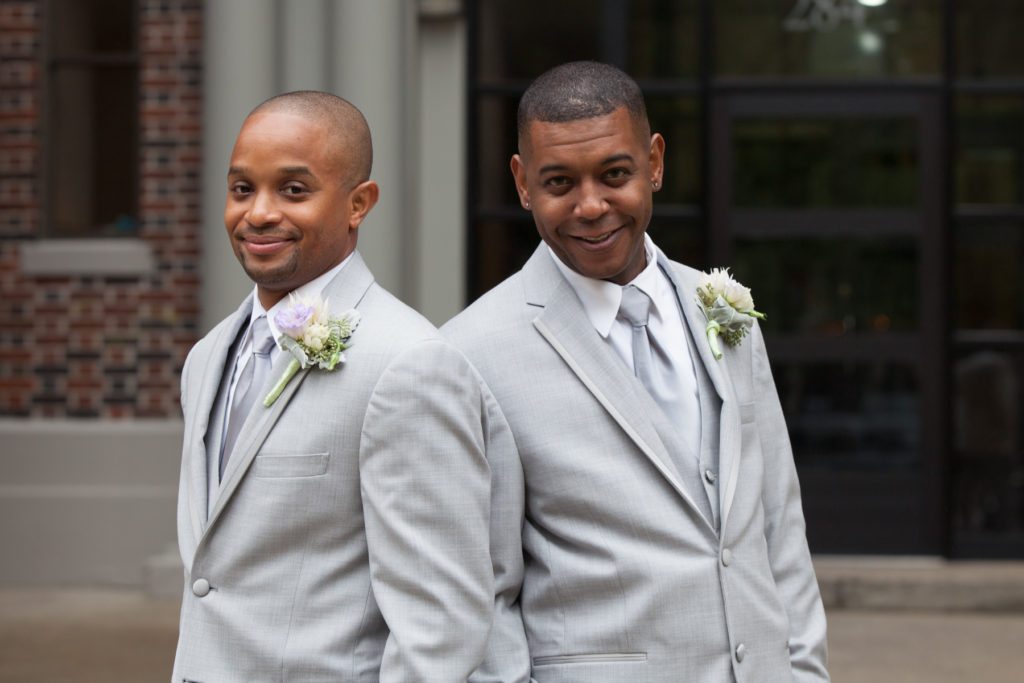
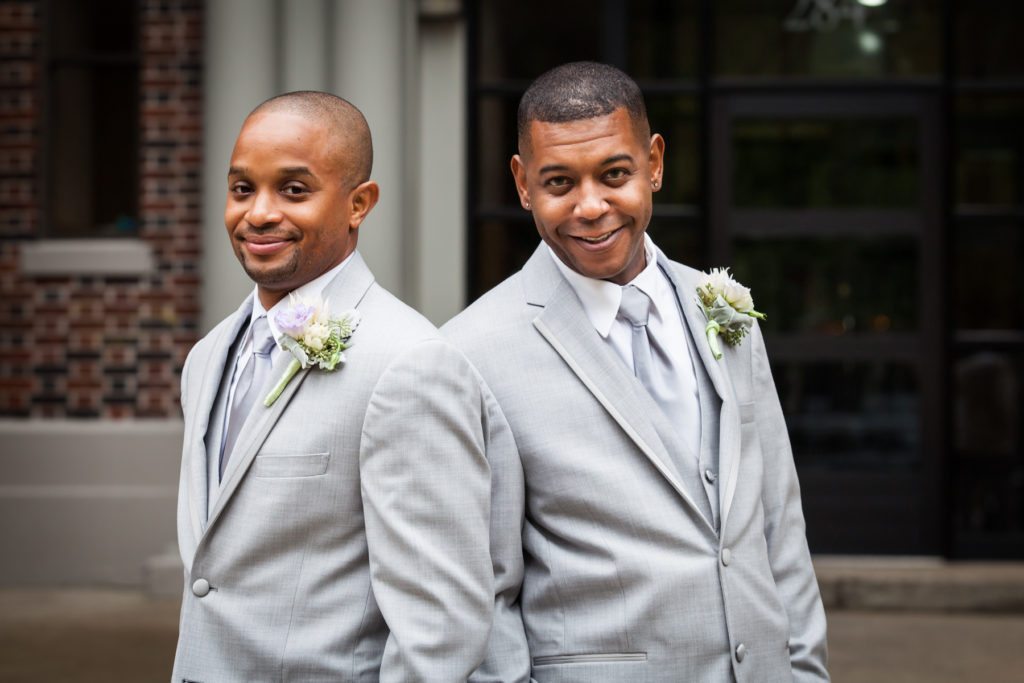
Once I have dialed in these settings, I then get to work on the individual images to make sure the exposure and color balance is correct for each photo. It is easiest to edit images according to their respective light source. In other words, all of the images in the church will have the same lighting, and thus are easiest to edit together. As such, I have found it most convenient to first fill in more detailed metadata information so that the images are divided according to event: getting ready, ceremony, cocktail hour, cake cutting, etc. This breaks down the job of editing into bite-sized segments by event and makes the job much more manageable. Editing can be a soul-draining experience since you are tied to the computer screen all day. As such, I try to limit my editing to 300 images a day, which means a week of work for 2,000 photos.
Once the individual editing is over, then the final descent begins. I now do my final culling of the entire batch of images to make sure that I have the tightest edit possible. I want my clients to think that each photo is a masterpiece, not ‘meh.’ Anything that doesn’t meet with my approval or looks too similar to another image is trashed. In general, this cuts out about 200 images and can take half a day.
With my culling done, it is now time to add the final polish from Photohop. I personally can’t stand it when there are distracting elements in a photo that draw the eye away from the subject. Blaring red exit signs and light switches are personal pet peeves of mine and they must be banished. If it annoys me while looking at the photo, it will certainly annoy my client. This process can take anywhere from one to two days, depending upon the amount of work that needs to be done.
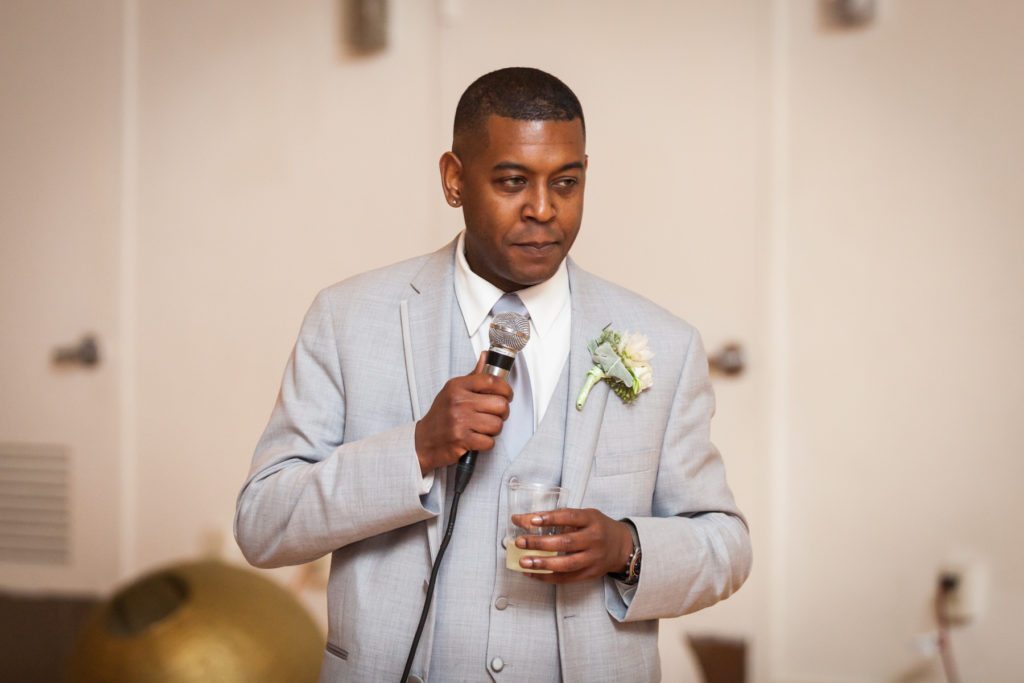
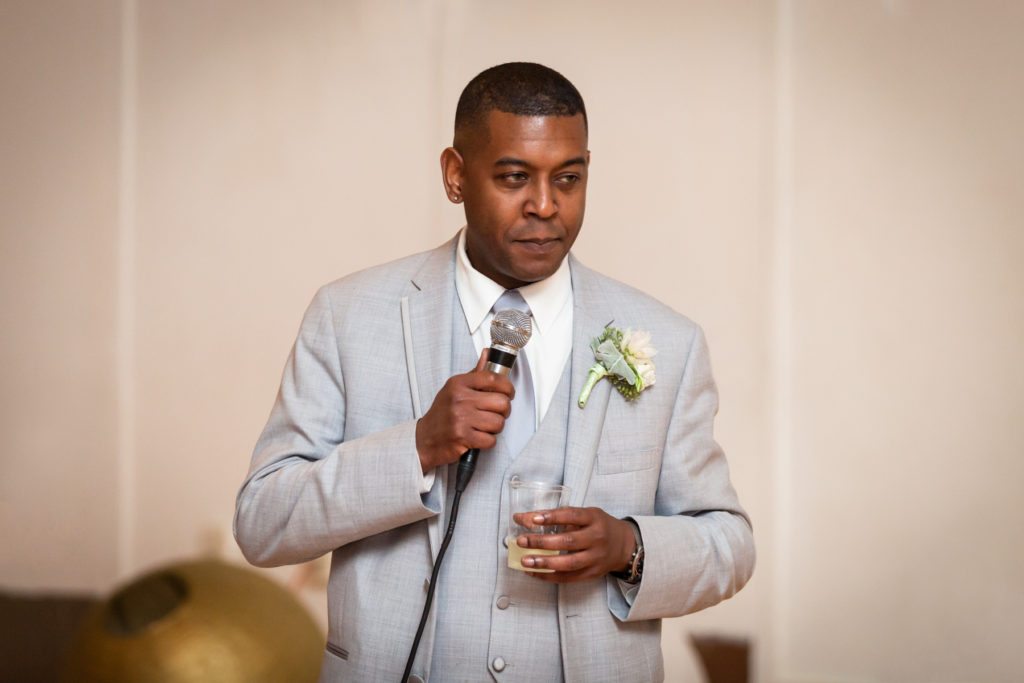
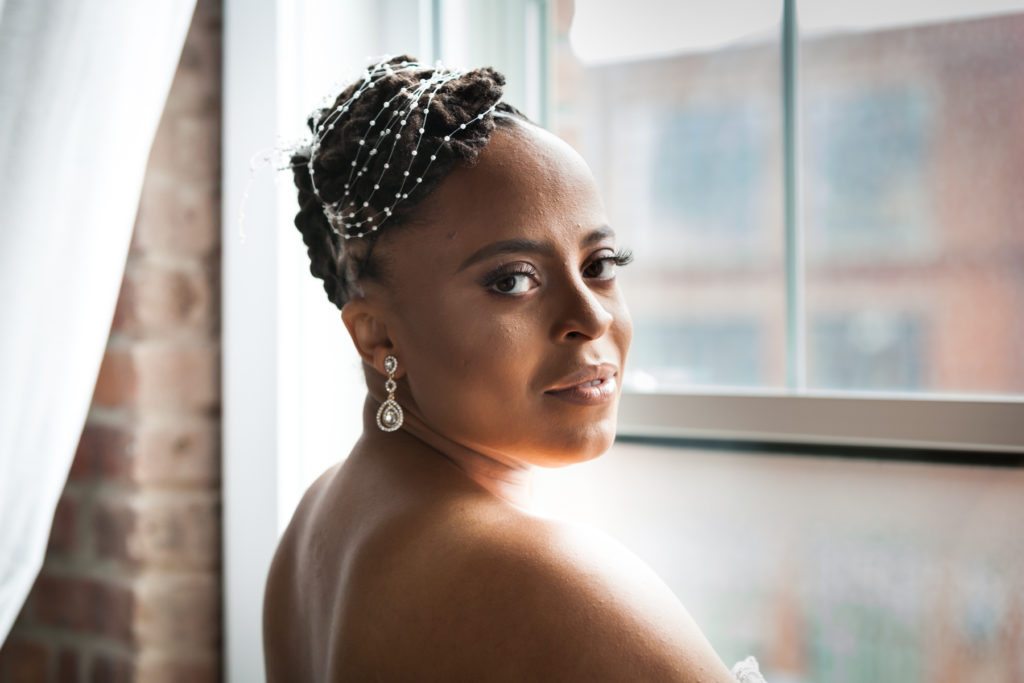
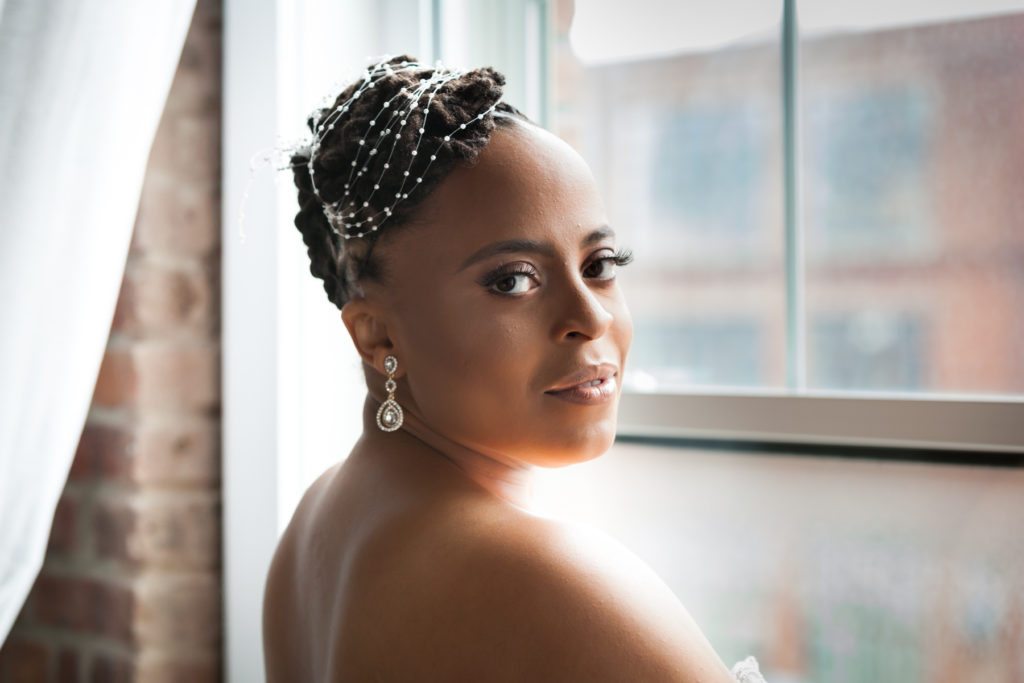
Next up is portrait skin smoothing. I am not a fan of making my brides look like porcelain dolls. A little bit of work from the clarity brush in Lightroom is all that most brides ever need. I pay special attention to the bridal portraits so that these images really shine. In case you are wondering, skin smoothing is never done for men because you want to keep a more manly, rugged appearance, but if there are any special skin issues I will certainly take care of this for any portrait, regardless of gender. Again, this is a time-consuming process and usually takes half a day.
With all of my images ready to go, it’s time to finally reveal them to the client. First, I save the images again to a hard drive so that the Photoshopped images are saved. Next, I make low-resolution JPG files and upload these to a private client gallery on my website. After uploading all of the images, I double check the images online. Often the photos will look slightly different either in color cast or exposure when published online. I’m not sure the exact reason for this, but I correct any images so that they look as good on the client’s screen as they do on mine. Uploading (thanks to the slowness of Time Warner Cable) takes much longer than it should, and can end up taking a half day.
The low-resolution JPG files I create are at 72 DPI and 1,800 pixels on the longest side. I also create for clients high-resolution JPG files that are ready to be printed. These images do not contain watermarks and are ready to be printed at 300 DPI and 10 inches on the longest side.
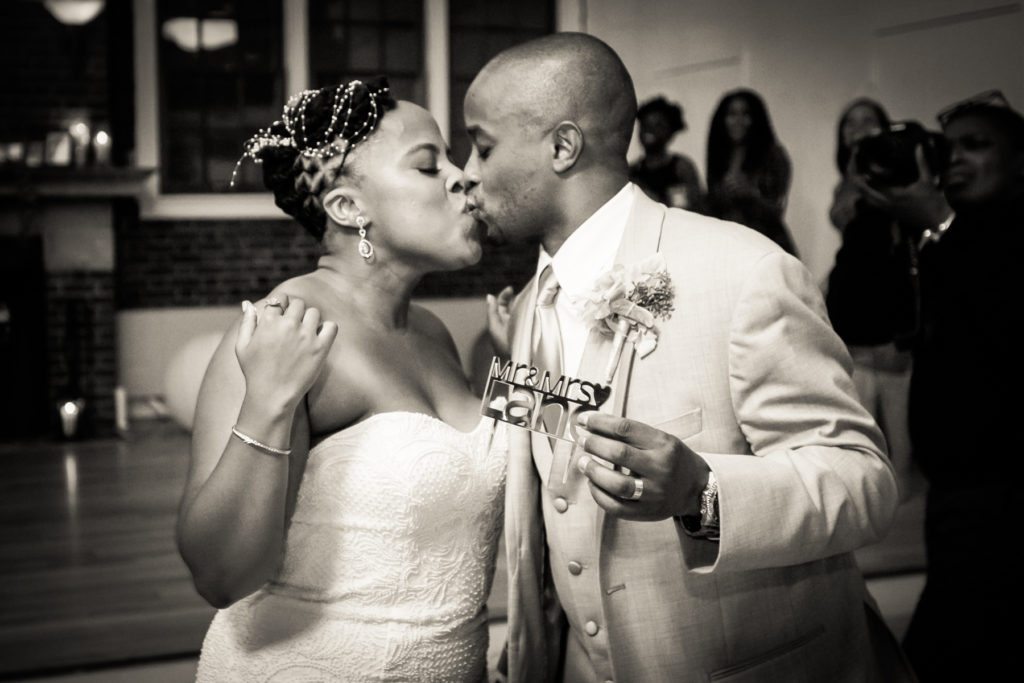
The final item on my to do list is to create black and white versions of each color image. In general, if an image looks good in color then it will look good in black and white. Still, each black and white image has to be checked so that no image comes out too dark or has too strong a highlight. This process can take a few hours.
I send all of my clients their final photos via Dropbox. (Check out my previous blog entry here to read about the process of downloading images via Dropbox.) This is an easy way to send photos via ‘the cloud’ and eliminates the need for a USB key or DVD of images. In addition, by sending photos electronically to clients New York State sees this as a service, not a product, and thus eliminates the need to charge clients sales tax. Winner!
My turnaround time for images is four weeks from the day of your shoot to the day of delivery via Dropbox. And though you can now understand why it takes four weeks to see the final photos, with today’s 24-hour news cycle I feel it’s imperative to send at least a few memories ahead of time. This is why I always send clients an edited ‘best of’ photo selection within 24-hours so that these memories can be shared via social media.
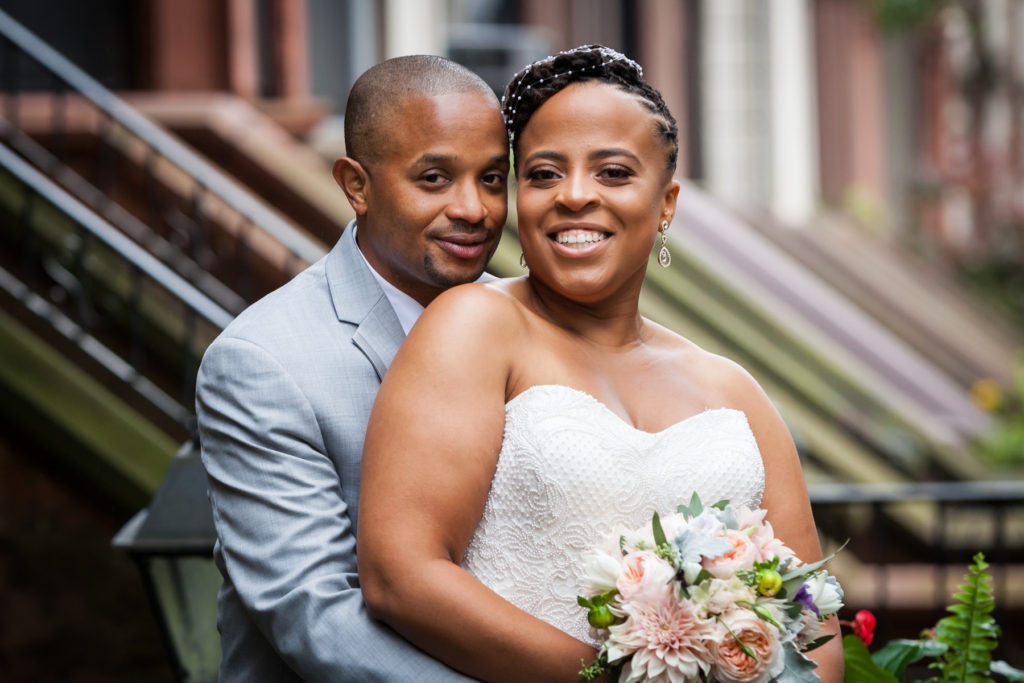
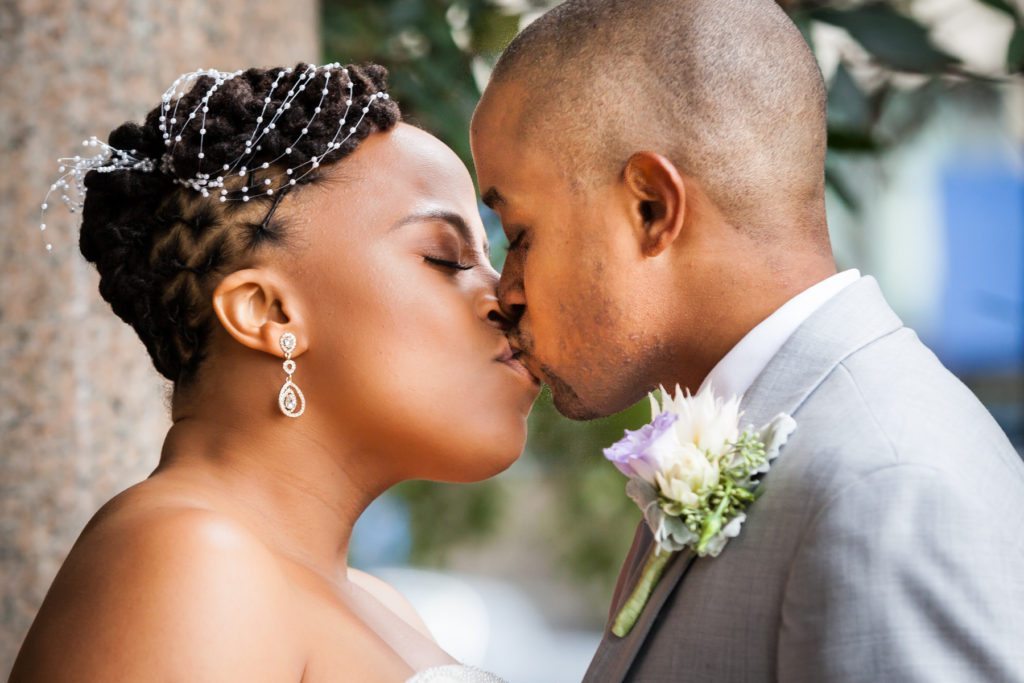
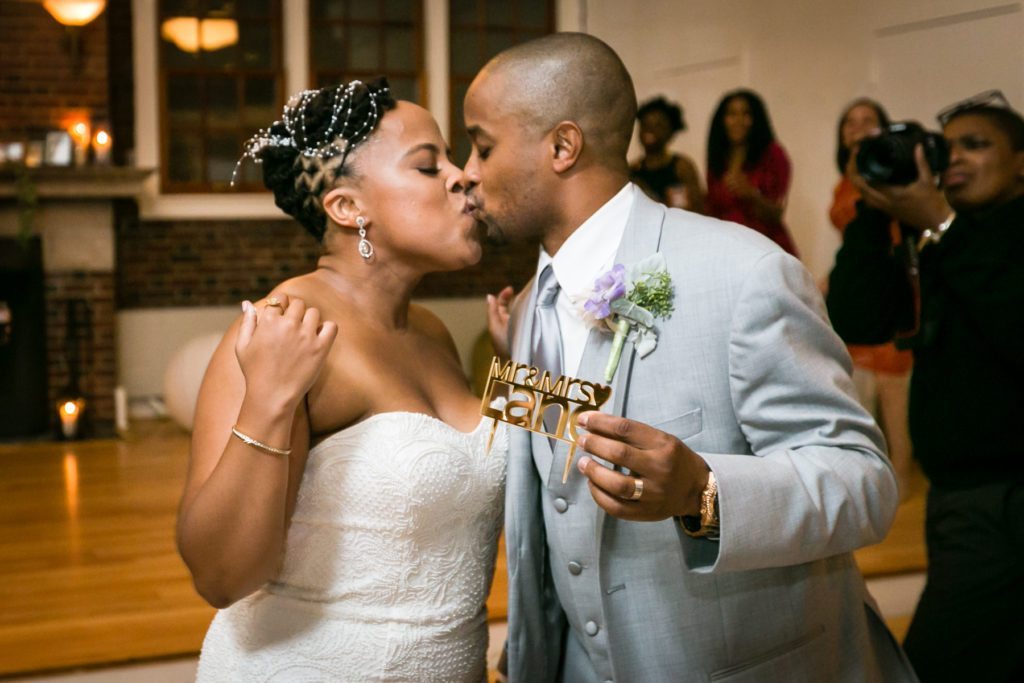
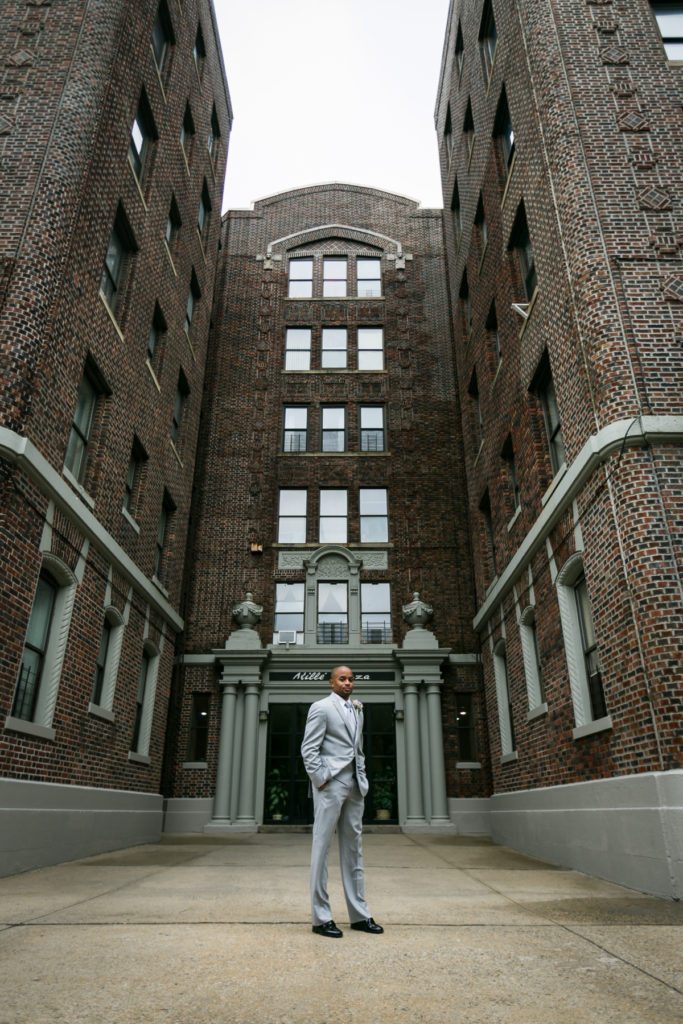
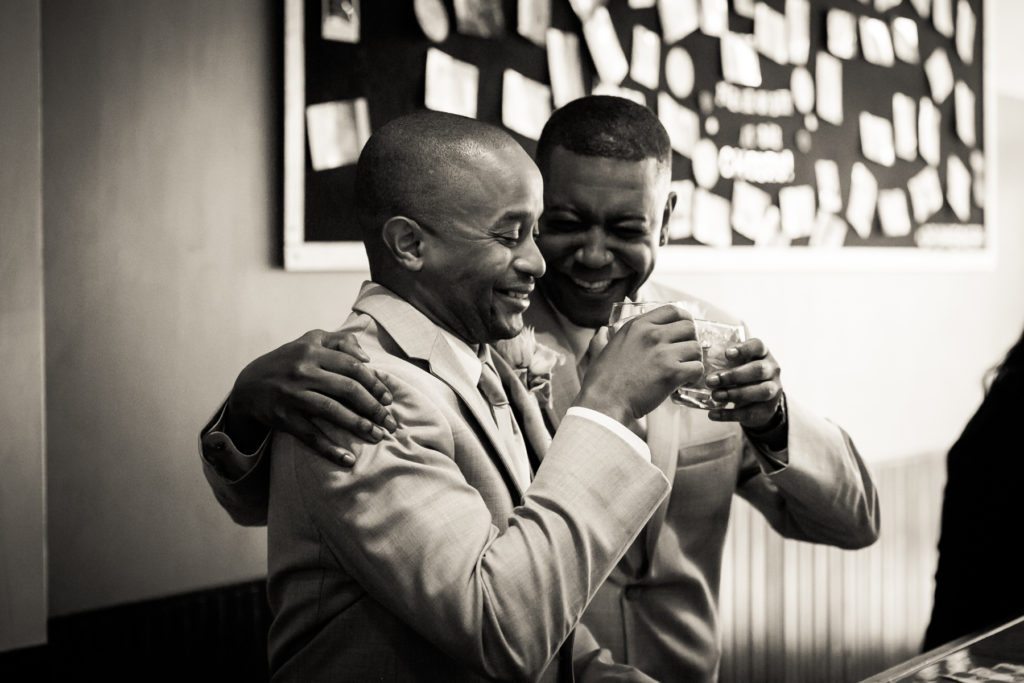
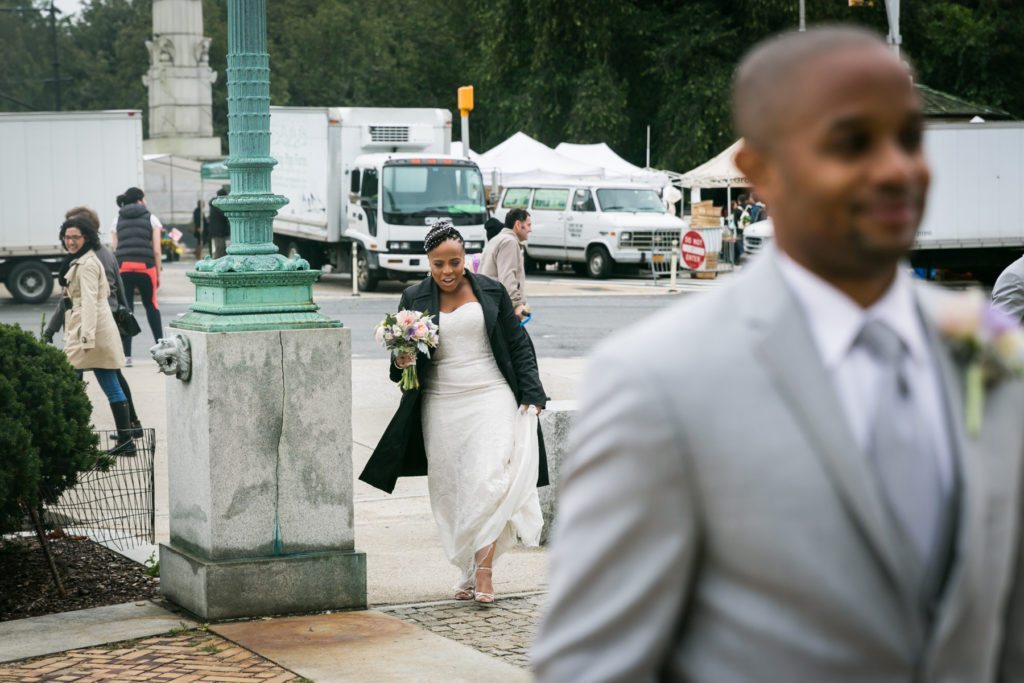
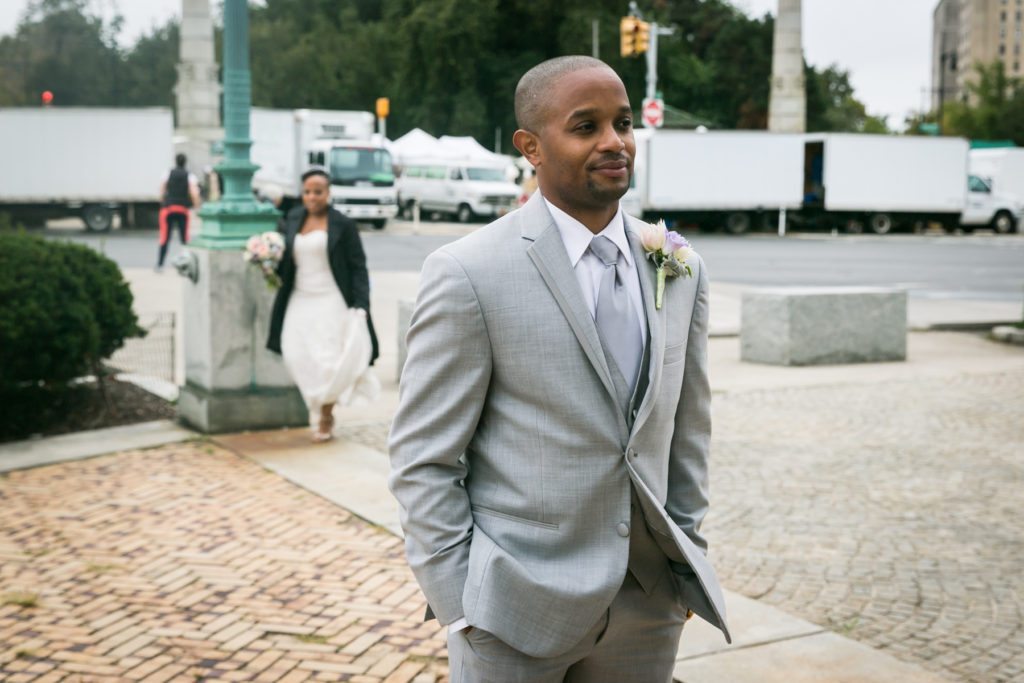
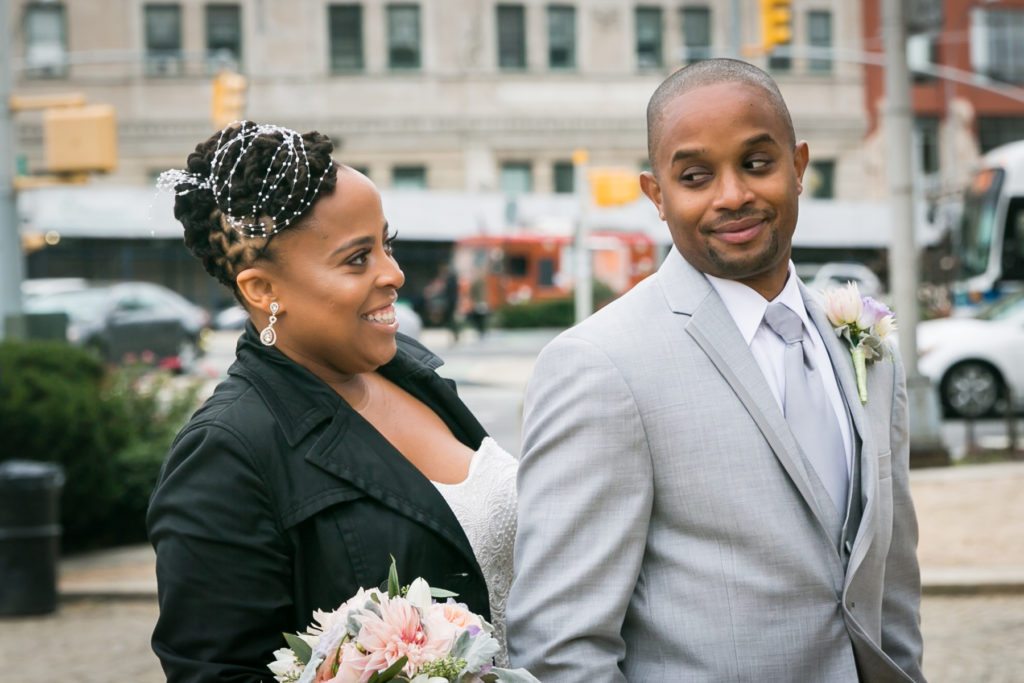
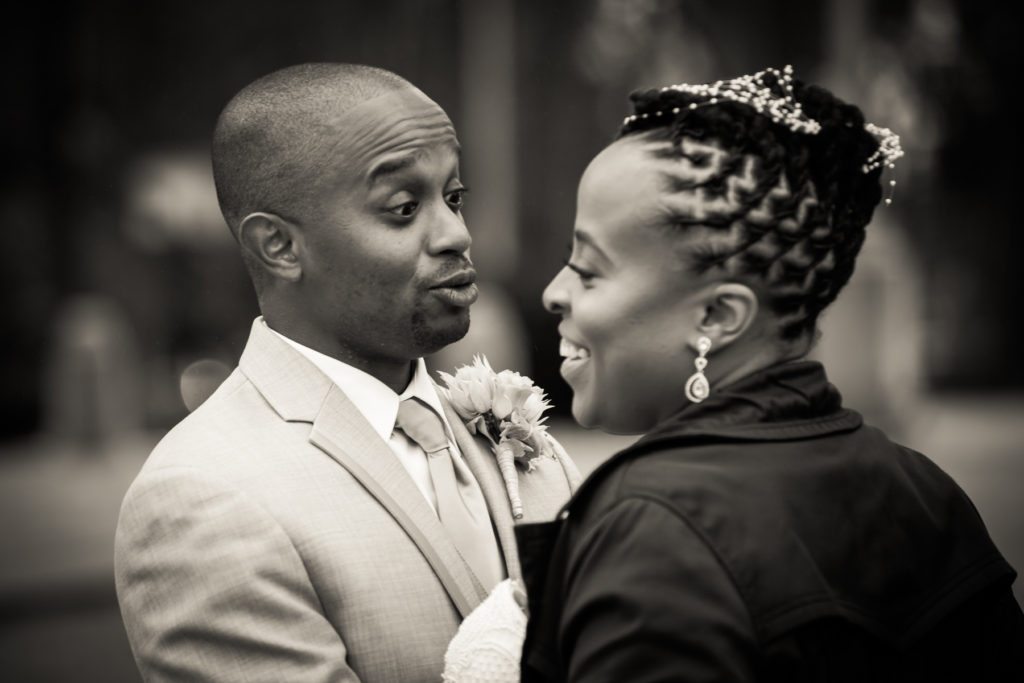
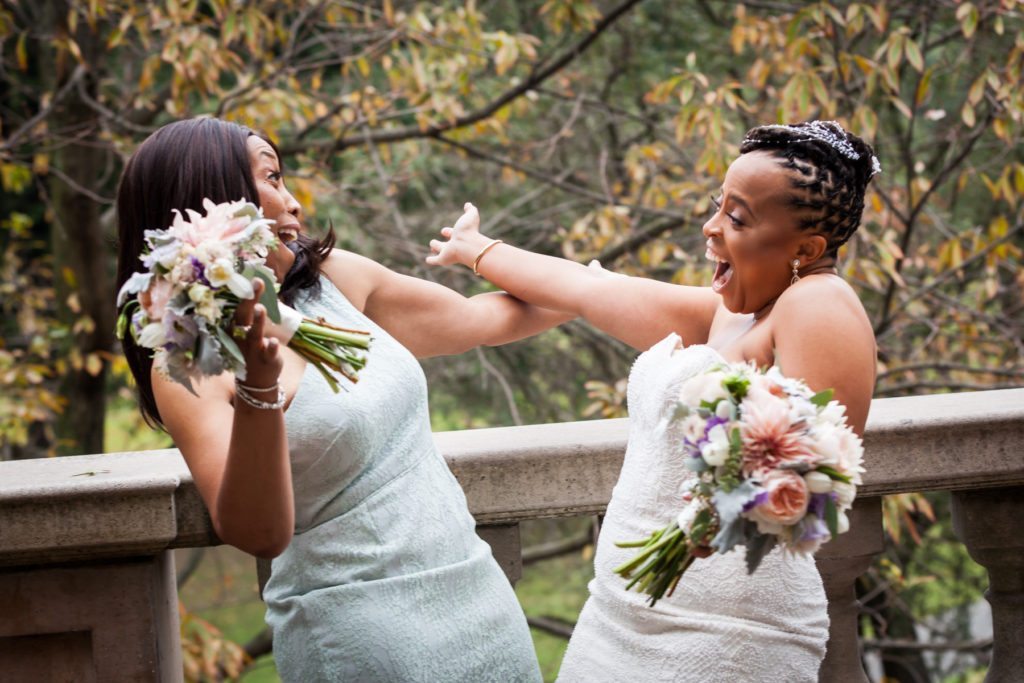
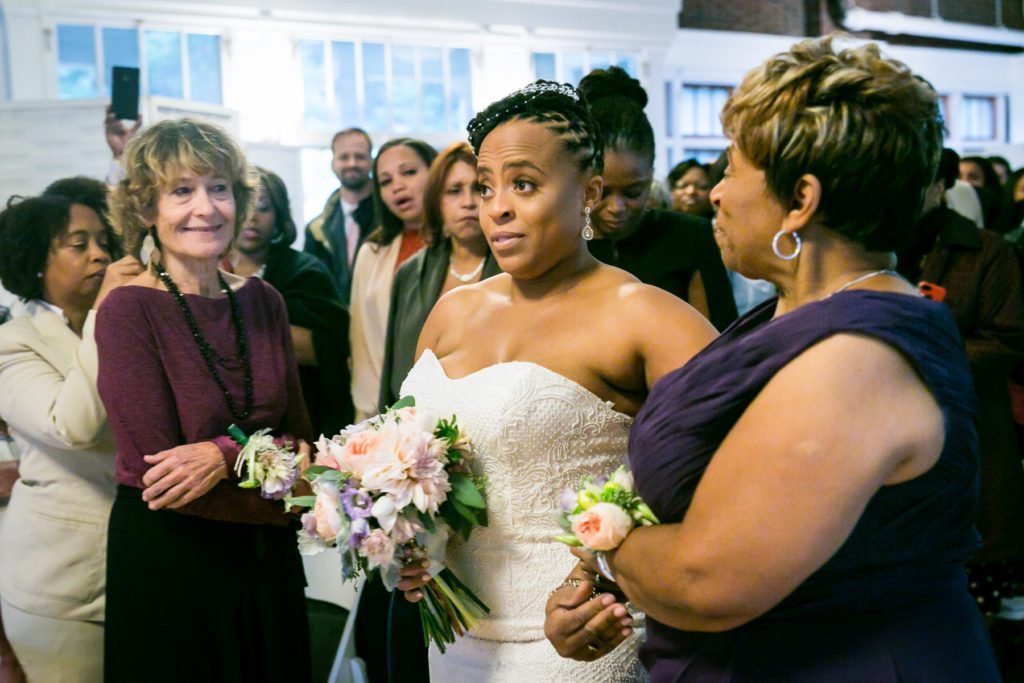
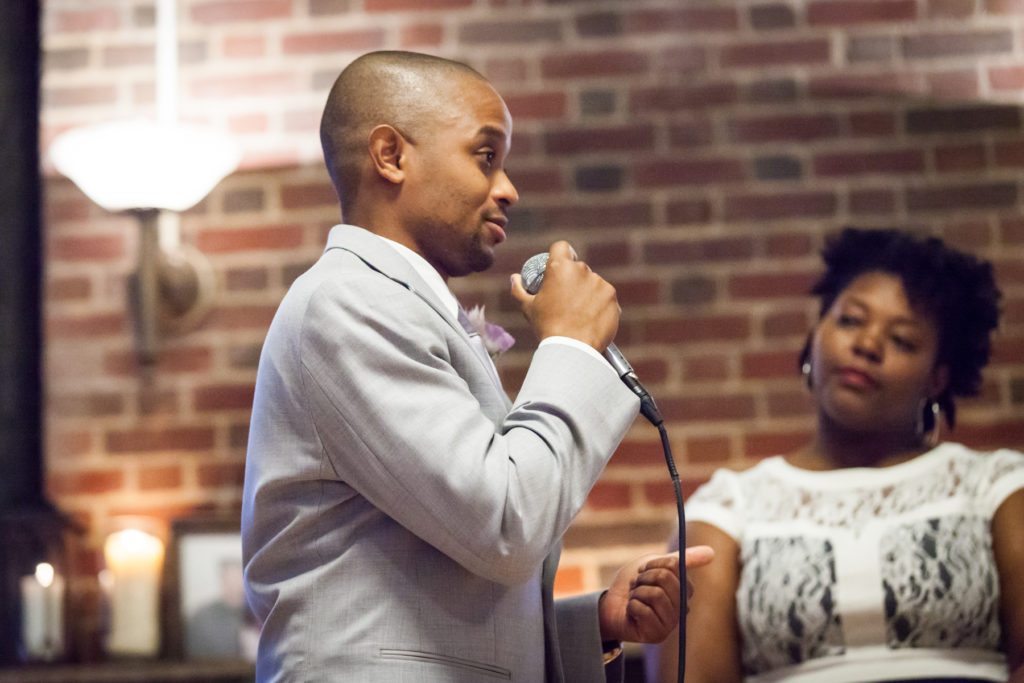
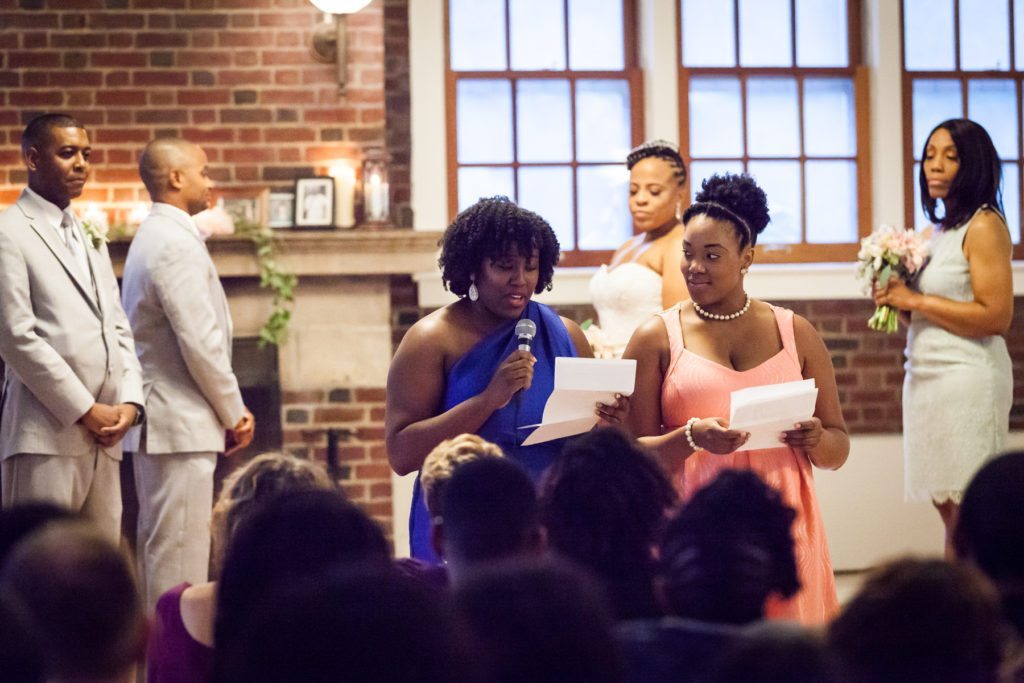
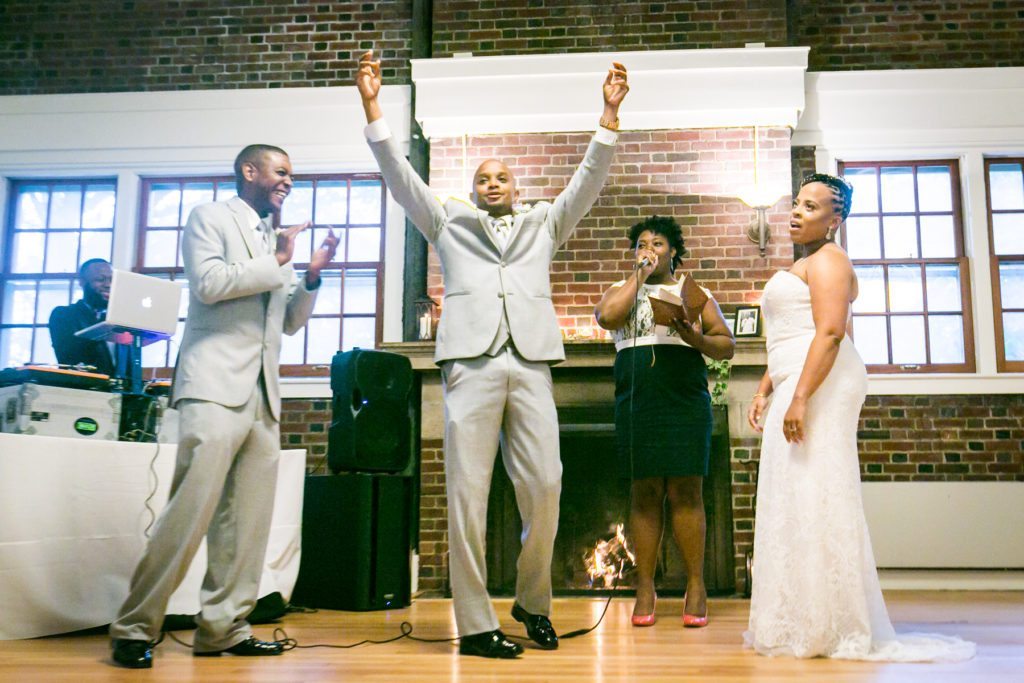
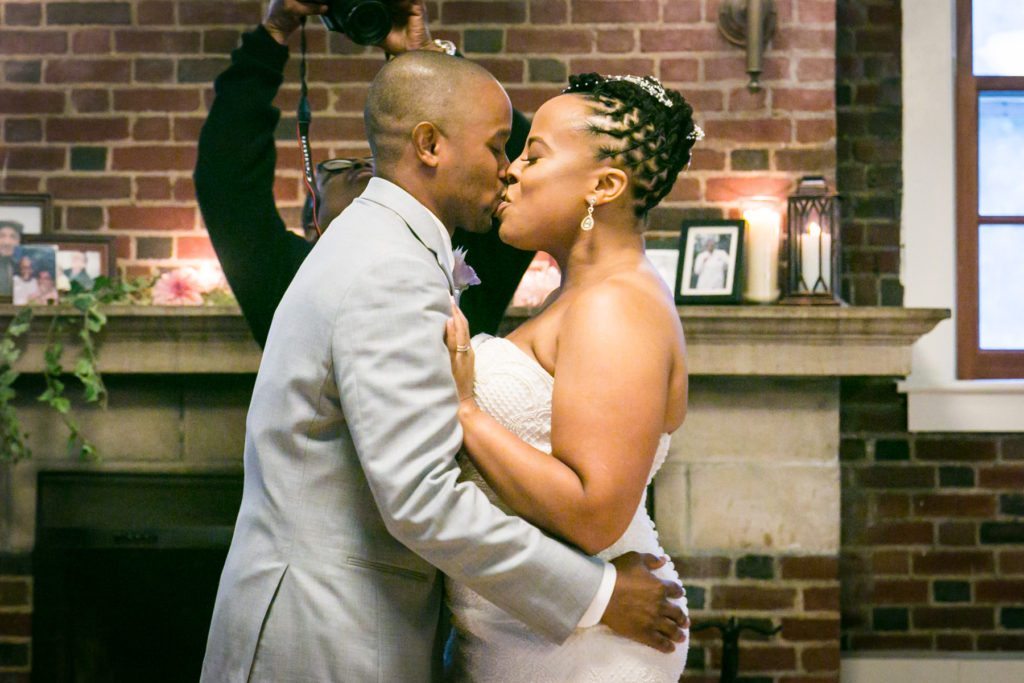
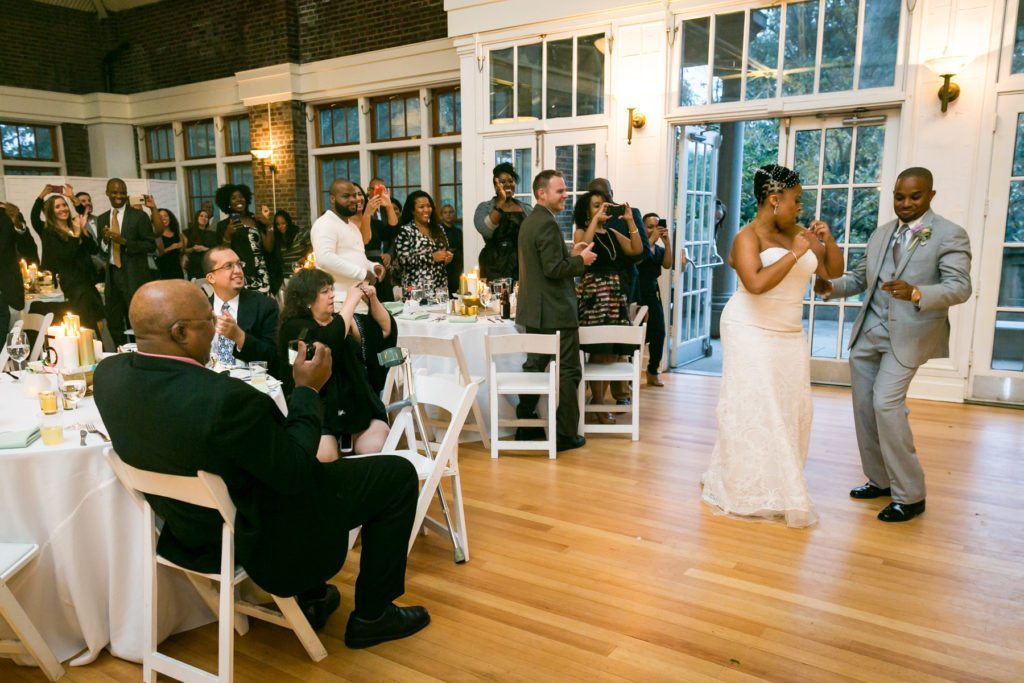
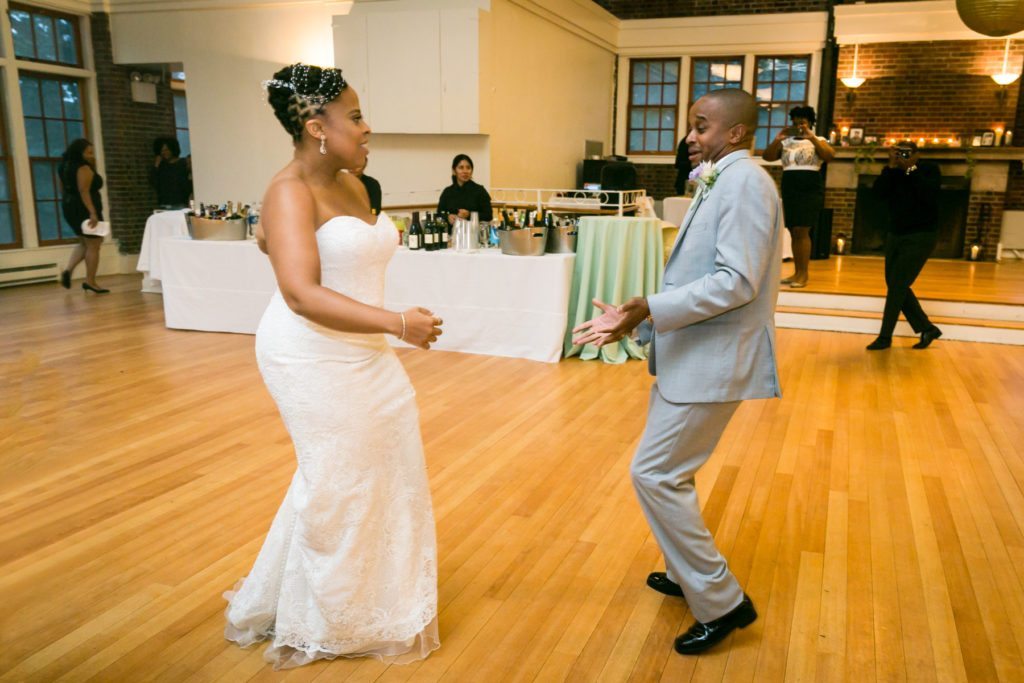
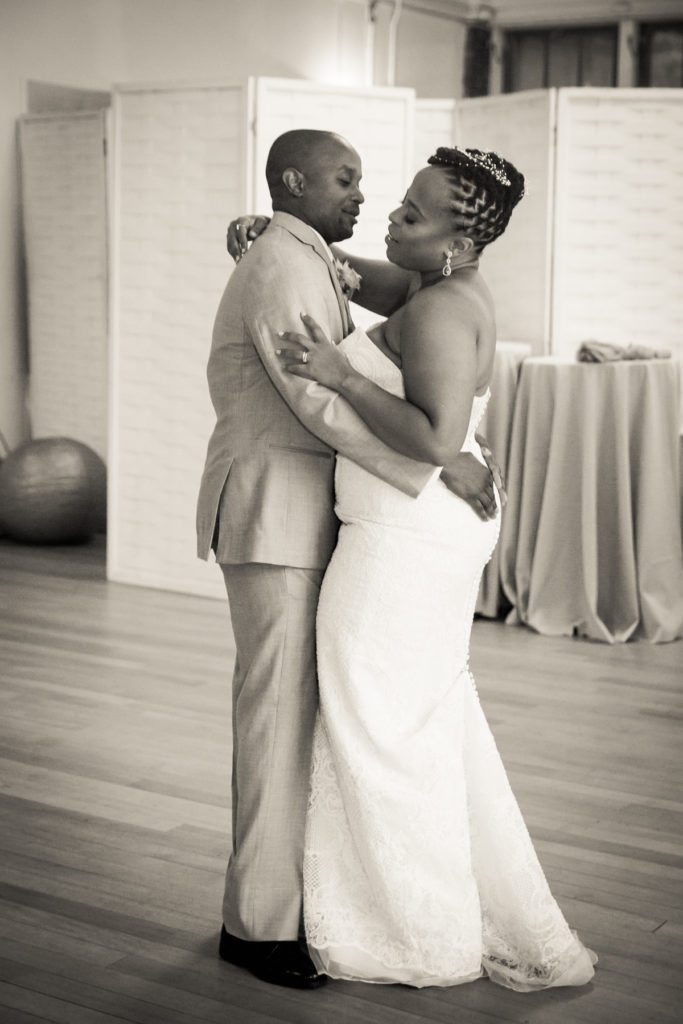
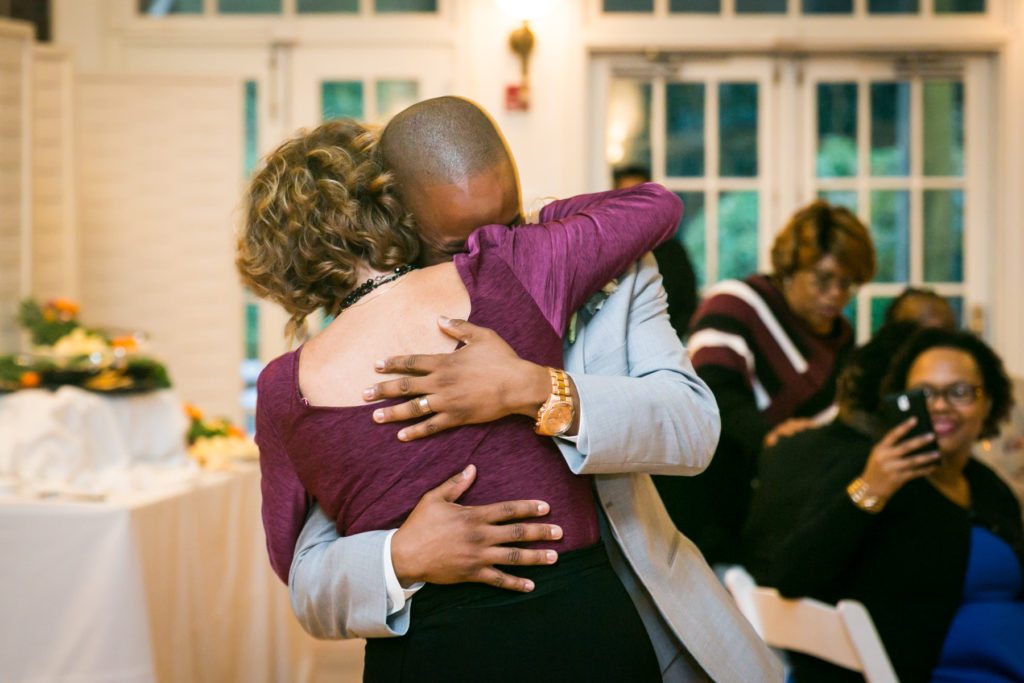
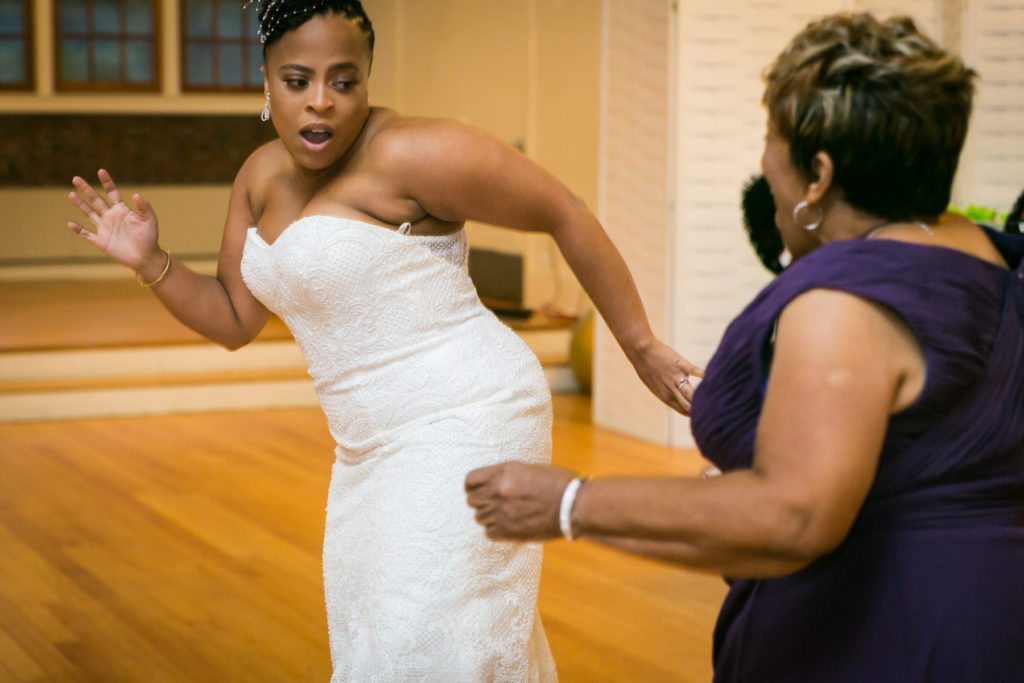
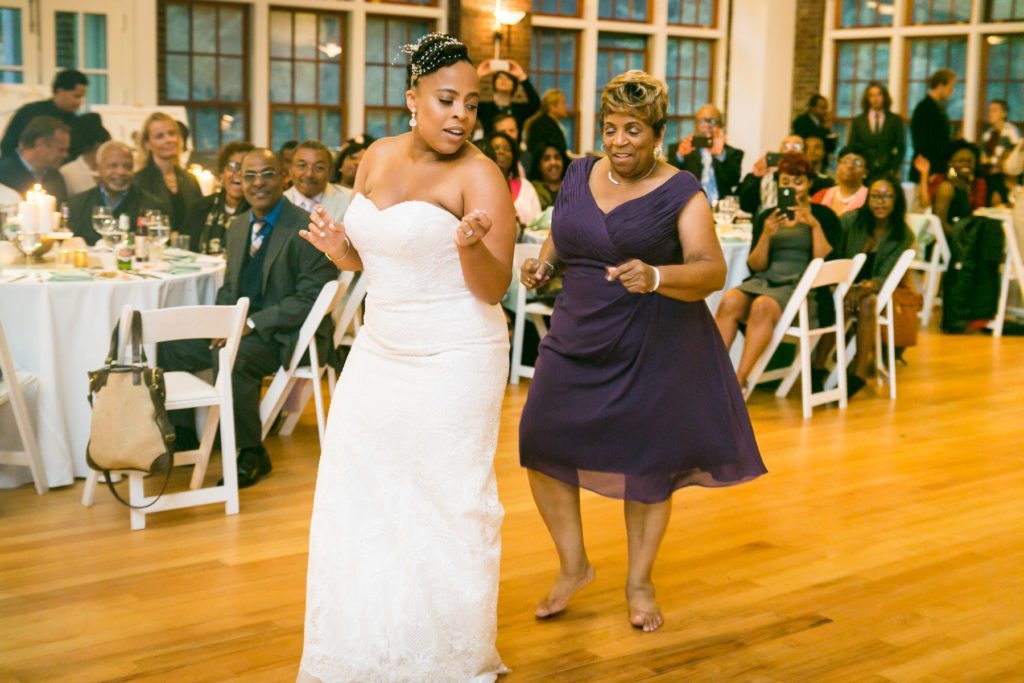
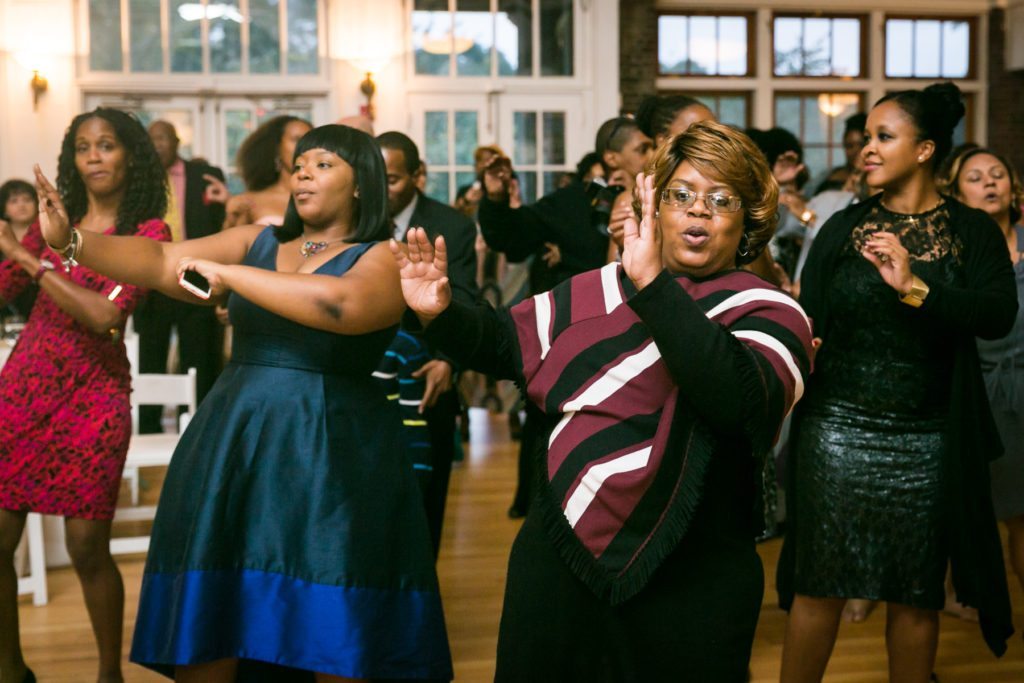
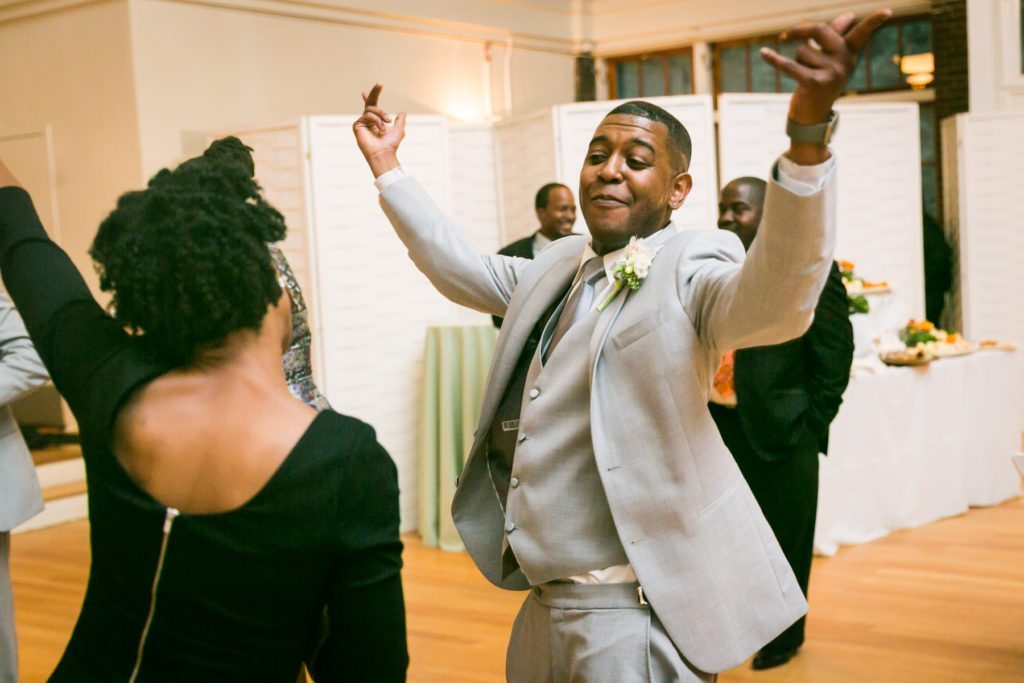
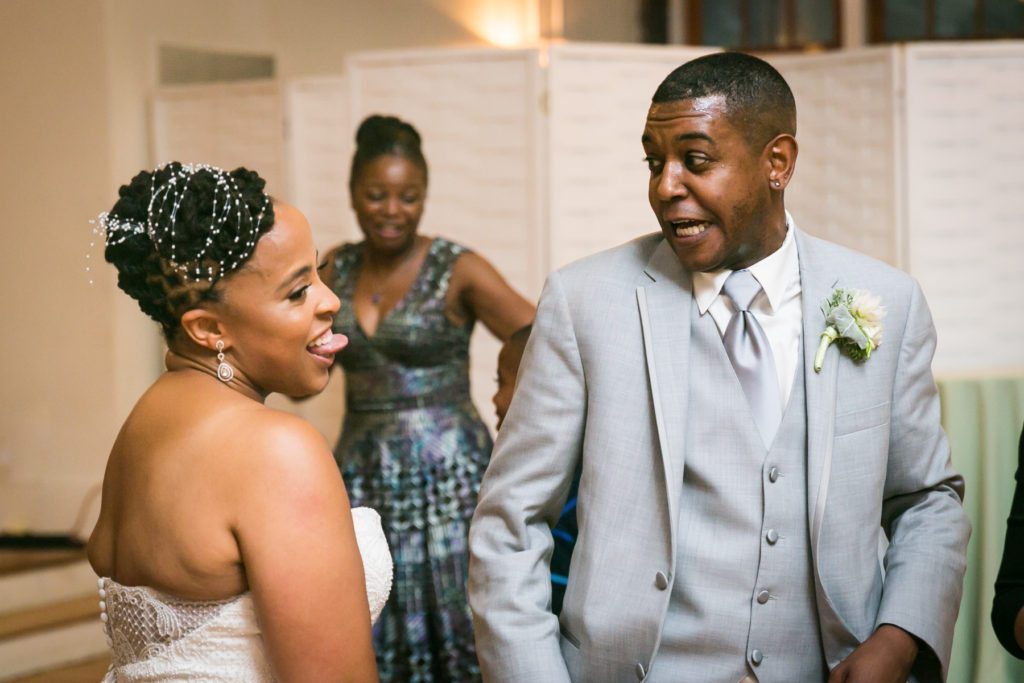
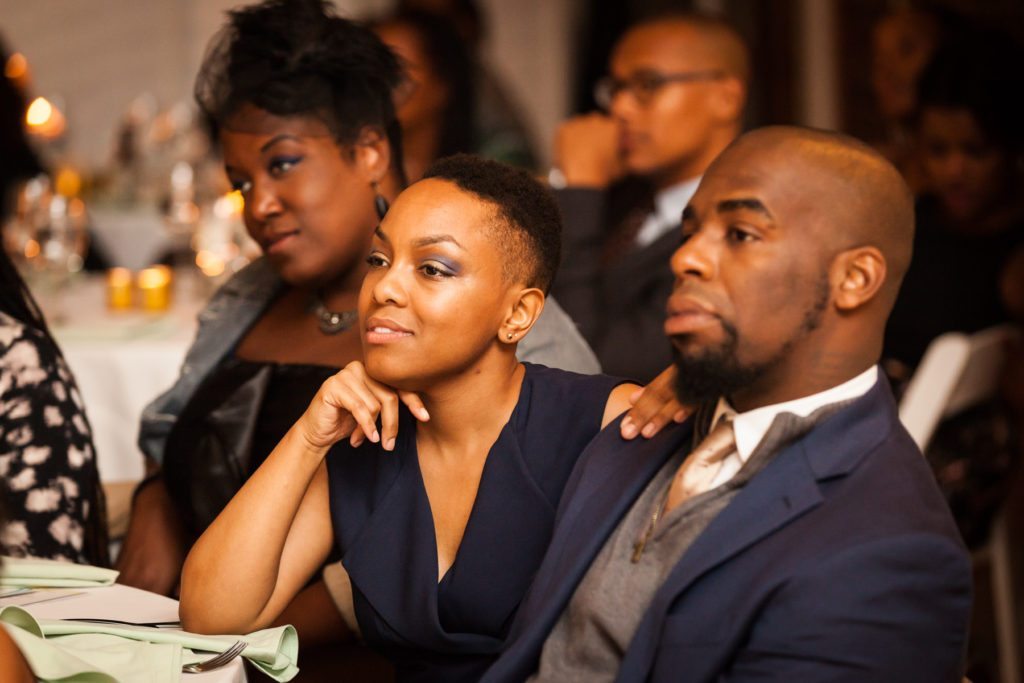
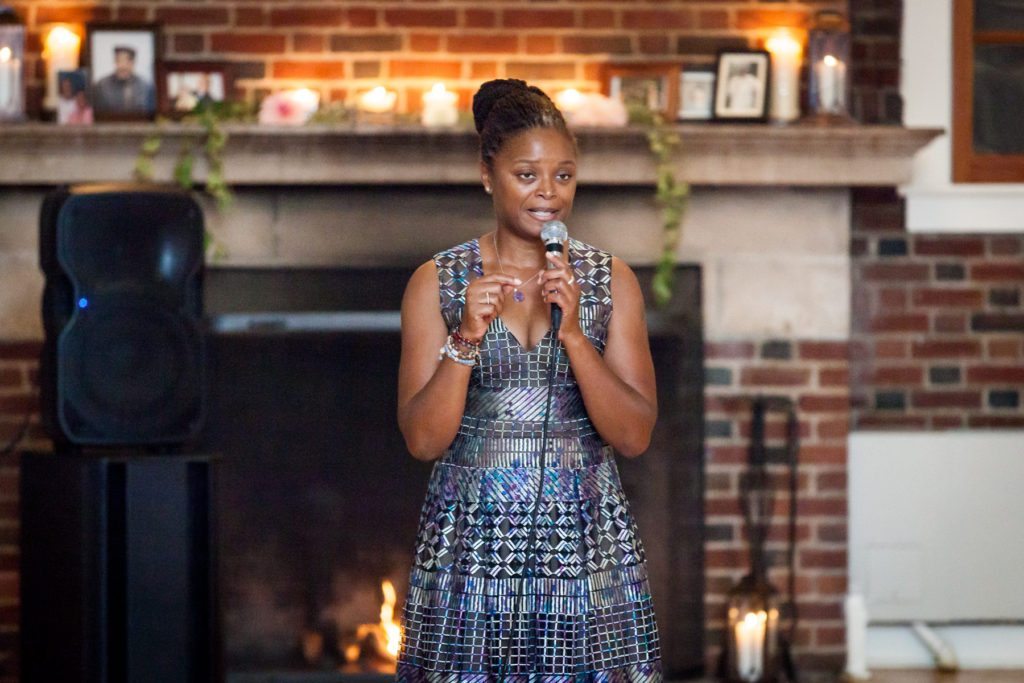
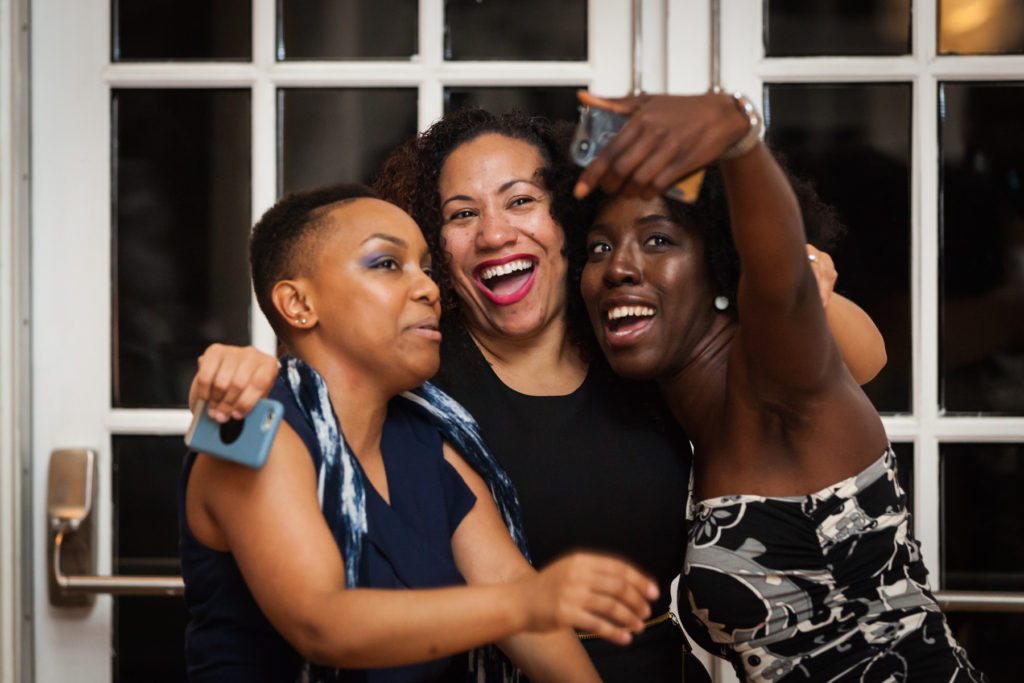
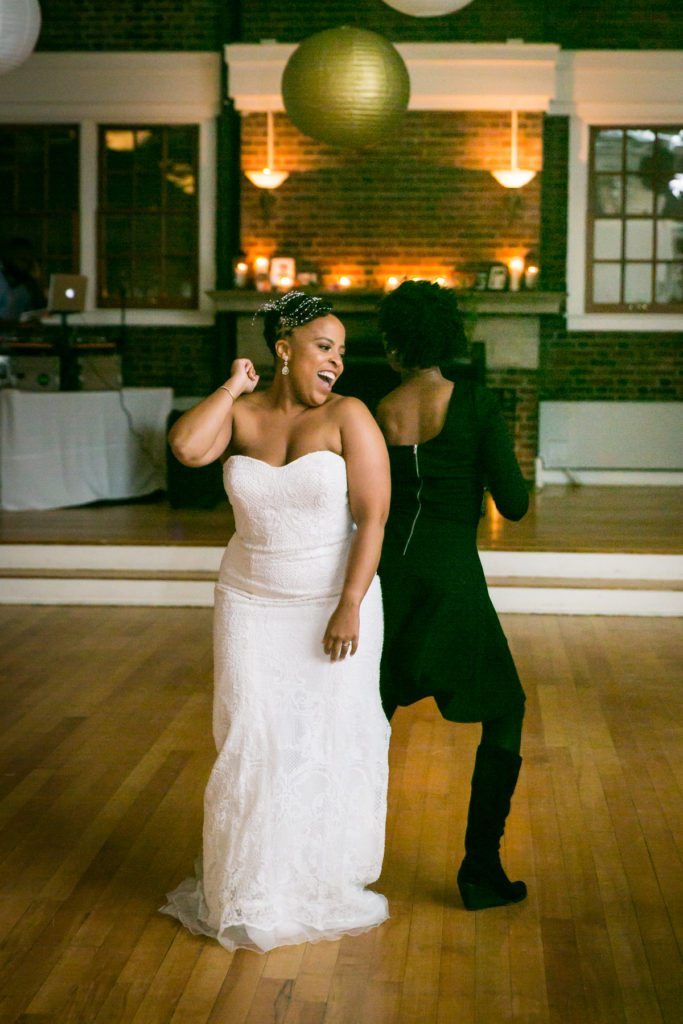
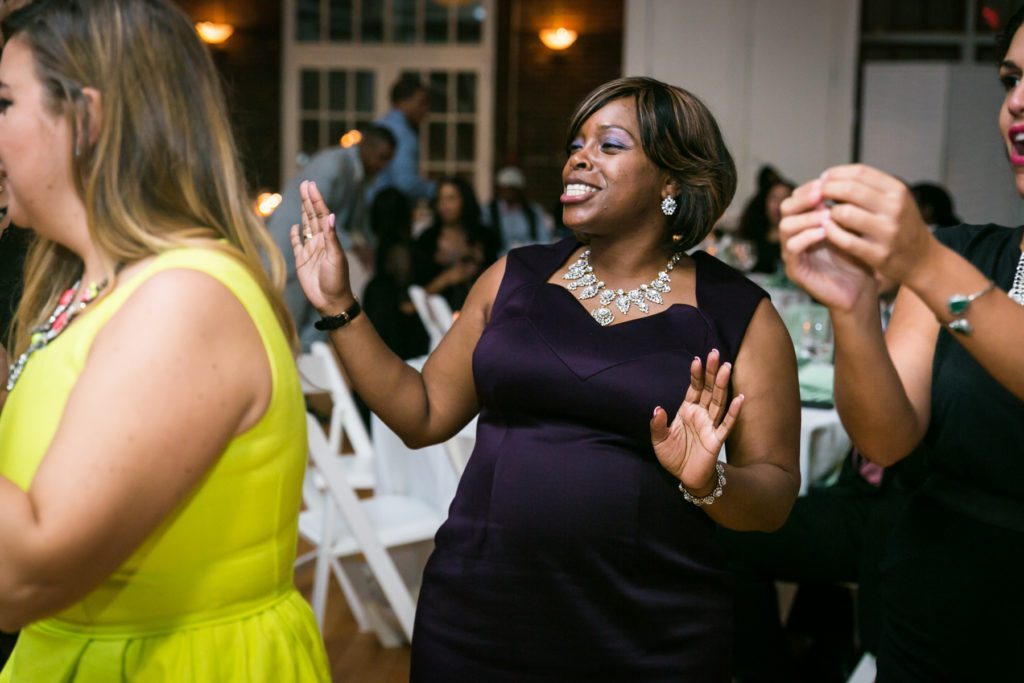
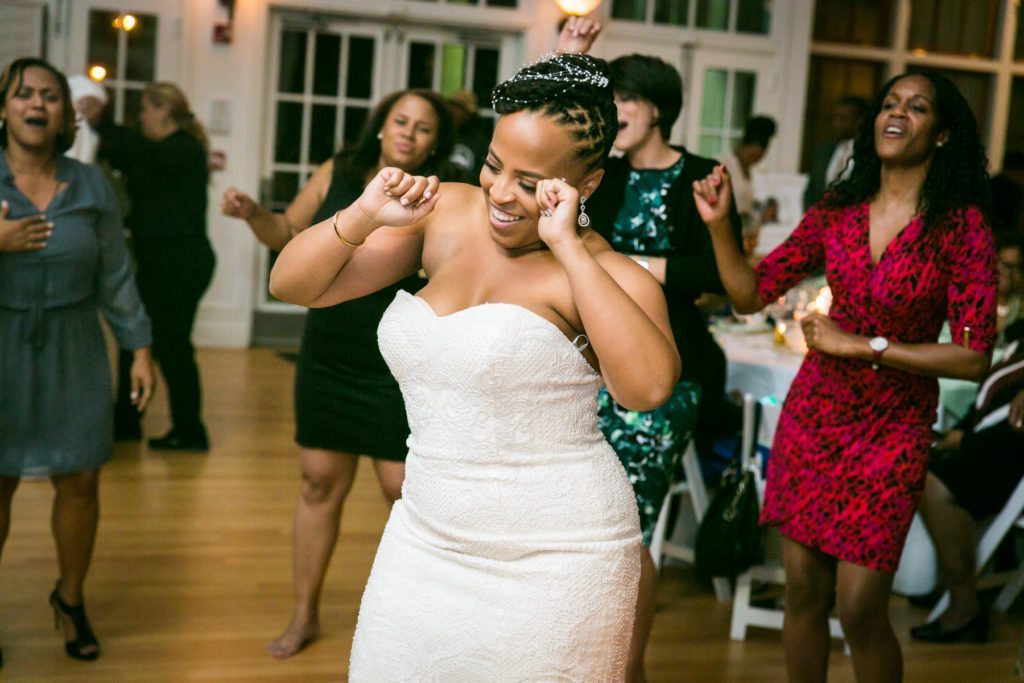
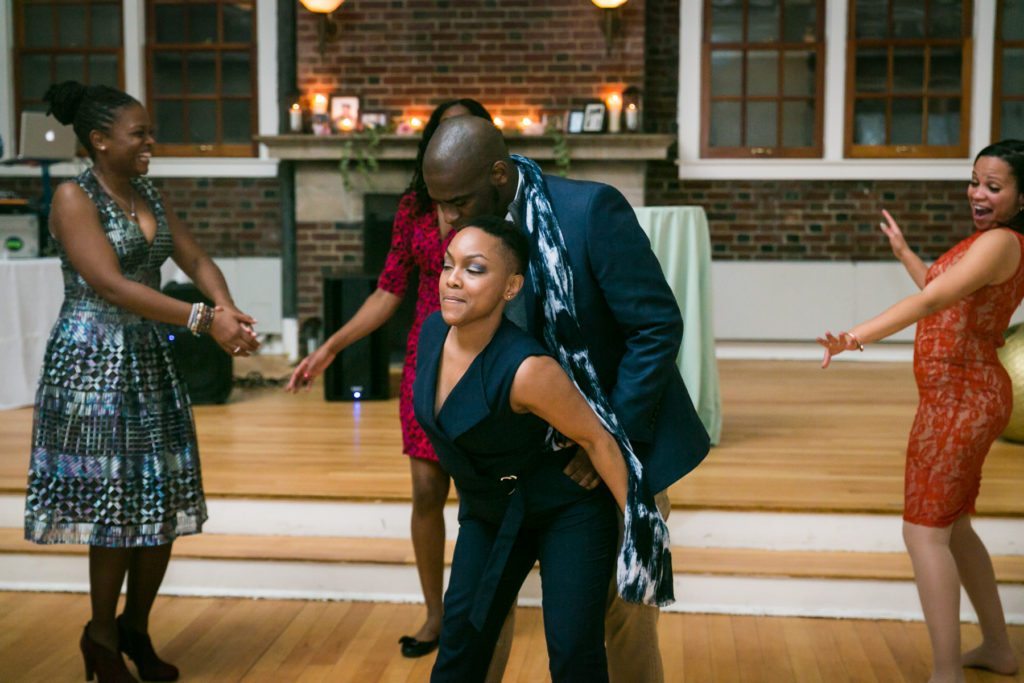
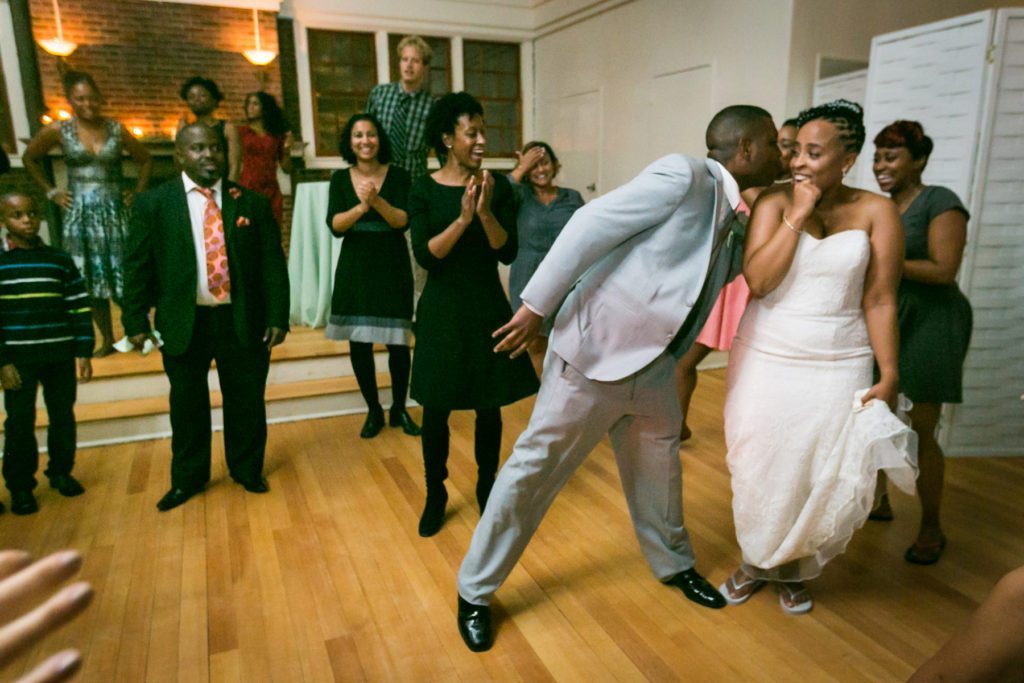
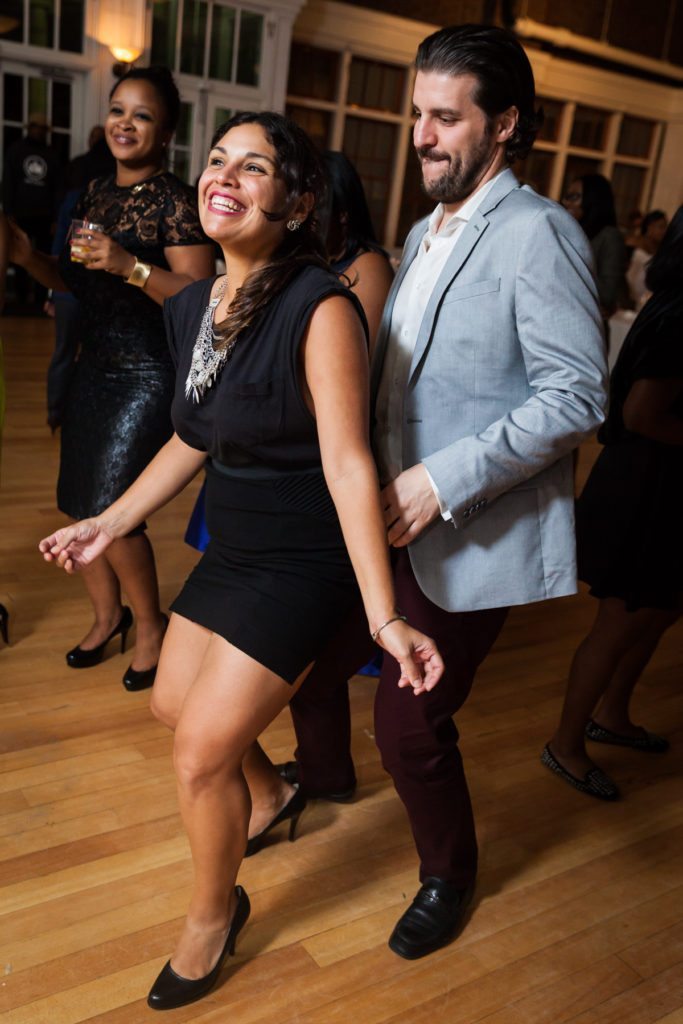
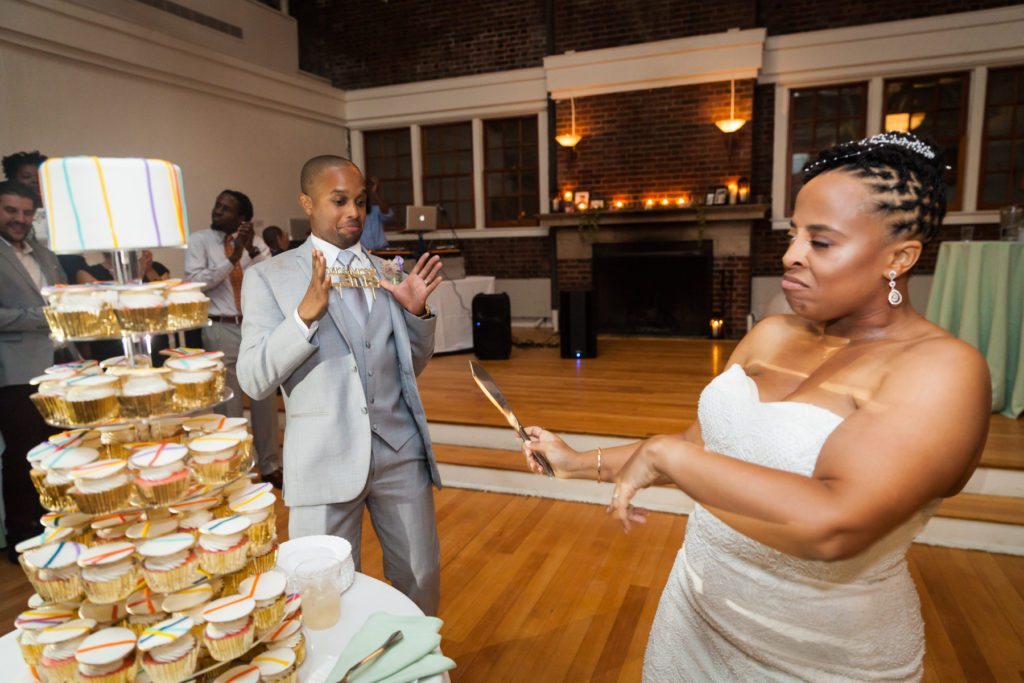
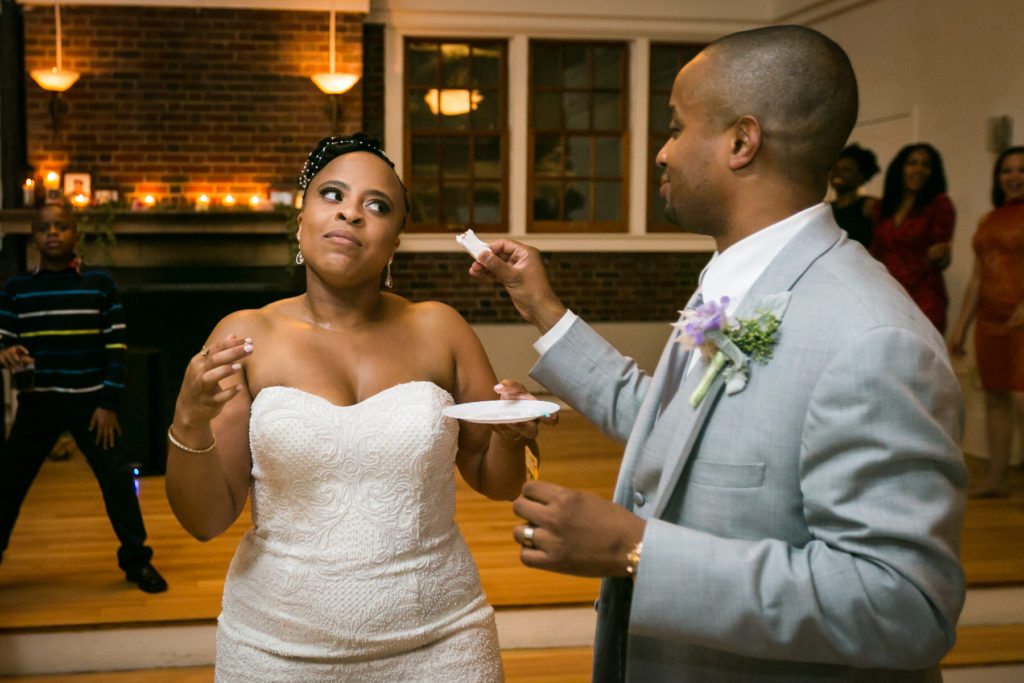
I hope you have enjoyed this little day-in-the-life segment describing what I do when I’m not behind the camera. Accompanying this article are photos from one of my favorite weddings, that of Derrica and Shawn. This lovely couple was married in October at the Picnic House in Prospect Park. I can’t say enough good things about this couple, and am happy to share the photos with you…enjoy!
Ceremony & reception venue: Picnic House, Prospect Park
Event planner: Marisa Flores, House of Flores
Decor: Marisa Flores, House of Flores
Caterer: Bon Soir Caterers
Cupcakes: Sugar Fetish Cakery
Florist: Brooklyn Bloom
DJ: Jive Poetic
Videographer: Sheba Legend
Wedding dress: Oleg Cassini from David’s Bridal
Wedding shoes: Audrey Brooke
Groom’s attire: Men’s Warehouse
Paperie: Noirstyle Invites
If you would like to see more examples of my work, such as these Picnic House wedding photos, please visit my website: www.KellyWilliamsPhotographer.com
