Image File Size and Resolution: Print vs. Web
When I deliver a set of final images to a client, the question always comes up: which files should I use online, and which files should I use to print? Answers to this probing question plus everything you always wanted to know about image file size and resolution (but were afraid to ask) in today’s blog.
First a few definitions:
Image resolution (n.): the number of printed dots (a.k.a., pixels) within an image; image resolution on a screen is measured in PPI, or pixels per inch, while image resolution in print is measured in DPI, or dots per inch
Thus, a high-resolution photo contains many printed dots per inch. High-resolution images have crisp edges and details. These images are perfect for printing because even when enlarged (or ‘blown up’), the number of dots per inch still guarantees a high quality image.
Low-resolution images on the other hand, have fewer dots per inch. These images are not meant to be enlarged or printed. Because of the fewer number of pixels, low-resolution images are much smaller in file size, and thus load faster when used online and are less of a burden when sent via email.
Both low- and high-resolution images will look great on a screen. The test is when you go to print. If you print from a low-resolution image, you are expanding the space between the printed dots, making the pixels blocks obvious to any viewer. With a smaller number of dots per inch, the resulting image is grainy and will look out of focus. It is not possible to either add more pixels to an image or to increase the number of pixels within an image.
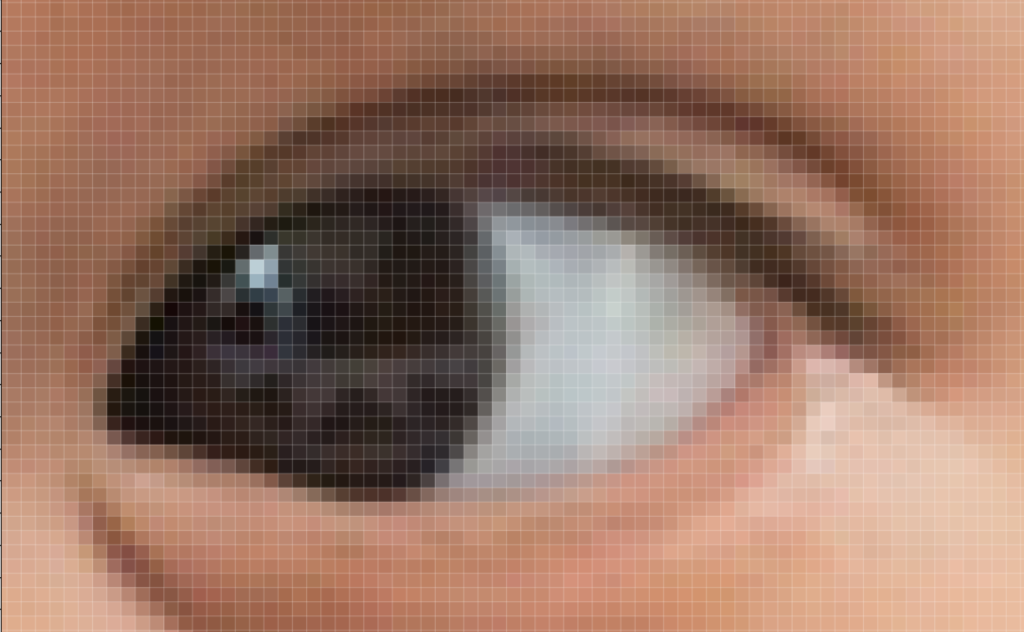
The standard number of dots per inch (or DPI) for a high-quality image is 300 DPI. Any number of dots less than this will result is an image that may look good on the screen, but will be fuzzy when printed. In comparison, online images need only be 72 DPI to appear crisp on screen.
Picture it, if you will: you have just gotten a joyful email from me letting you know that your photos are edited and ready for you to view. Now you know that when you see the files with the ‘-WEB’ extension that these are the images you should use online. All of my ‘-WEB’ photos are 1,100 pixels on the longest side and 72 DPI. For printing, use any file (color or black and white) with a ‘-PRINT’ extension. These files are 10 inches on the longest side and 300 DPI.
In case you were wondering, I send files to my clients either electronically, via Dropbox, or I save the files to a flash drive. The state of New York is a bit particular when it comes to file delivery. If I send you digital images via Dropbox (or Google Drive, or any other cloud delivery method), then our transaction remains in the digital realm, and my work is considered a service – thus, no sales tax charged. If, however, I give you a flash drive (or print, or album, or any other physical item), then my work becomes subject to sales tax.
And finally, what are ‘raw’ files?
Raw File (n.): a file containing the minimally-processed data from a digital camera’s image sensor
Raw files are essentially digital negatives, like film negatives of yore. Raw files require processing using software such as Adobe Lightroom or Photoshop in order to achieve a final image that can be printed. These files are essentially useless to anyone without the proper processing software, and anyway, no image comes out of the camera looking perfect. As the artist and creator of the image, it is up to me to add the final flourish of color correction and contrast so that you get a perfect photo ready to be shared with your loved ones.
So there you have it: the mysteries of image file size and resolution revealed. After you have had a chance to enjoy looking at all of your photos, give me a call and let’s get started creating an album, gallery wrap, or even a metal print (check out all my products on my website). Having your images professional printed is a wonderful way to make sure your memories last a lifetime.
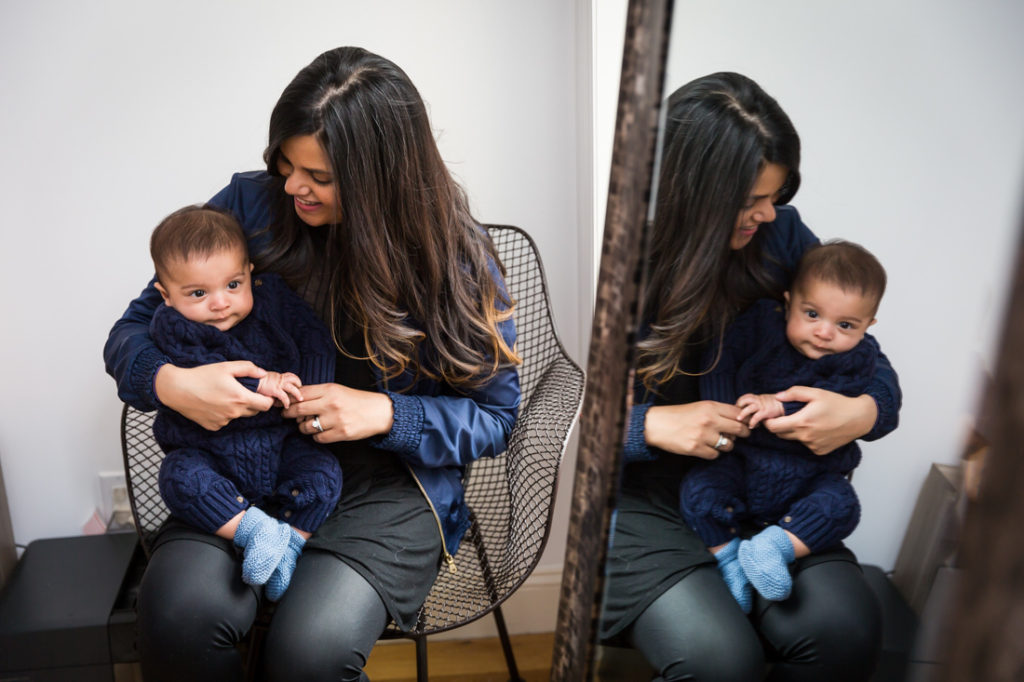
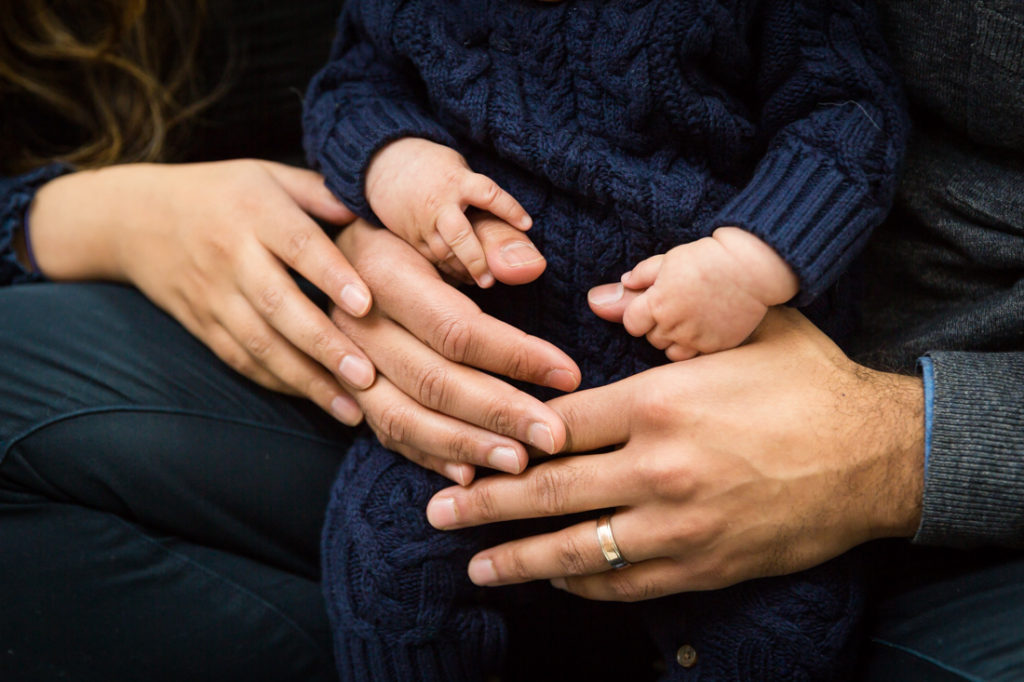
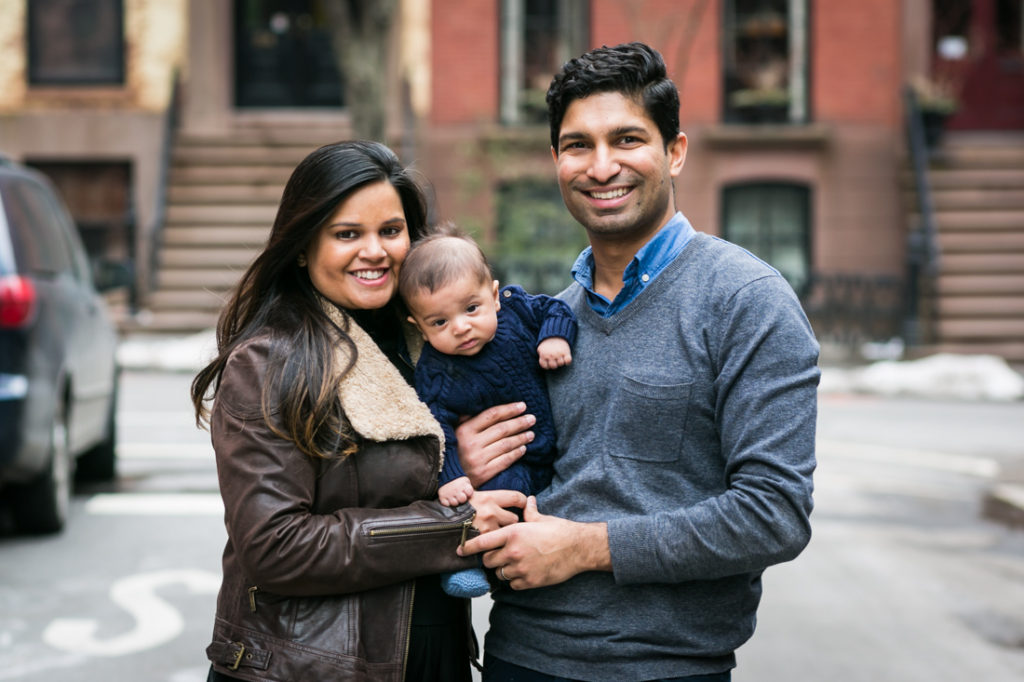
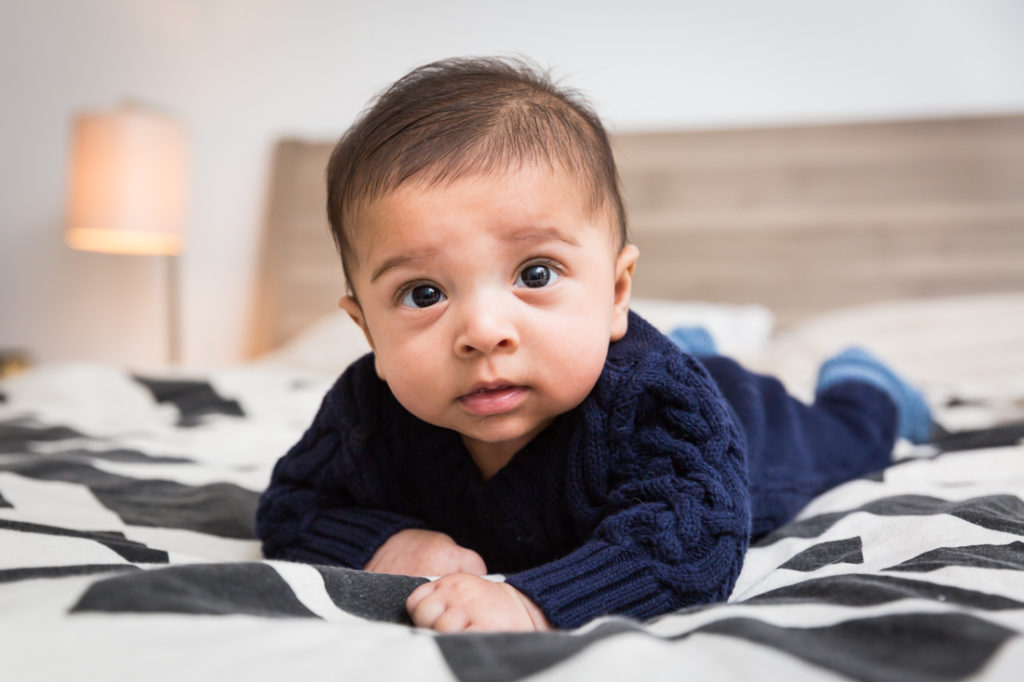
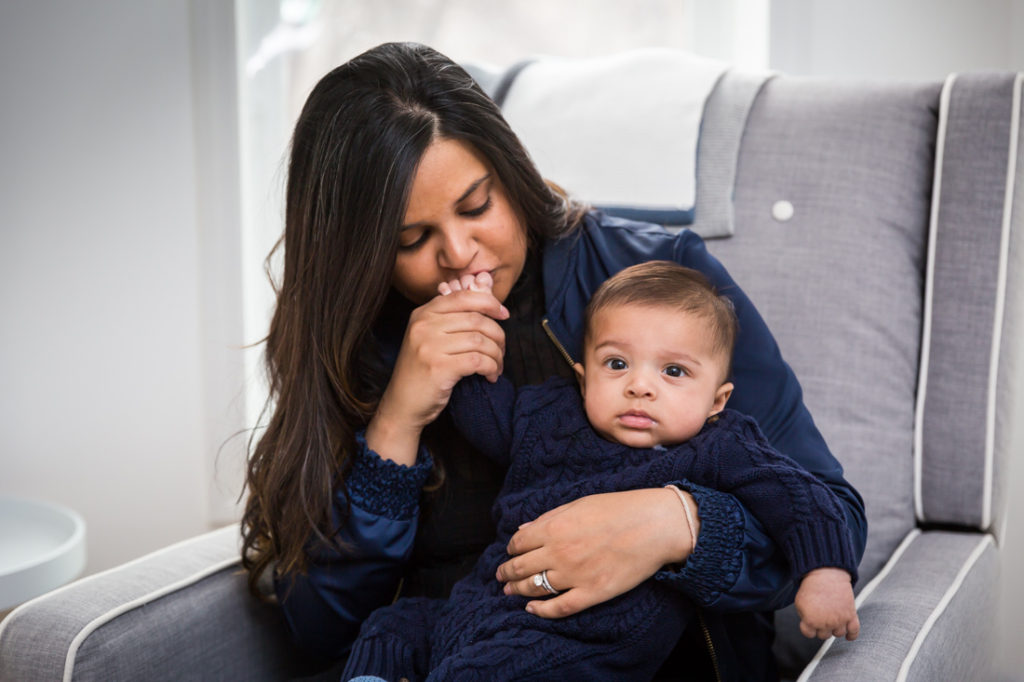
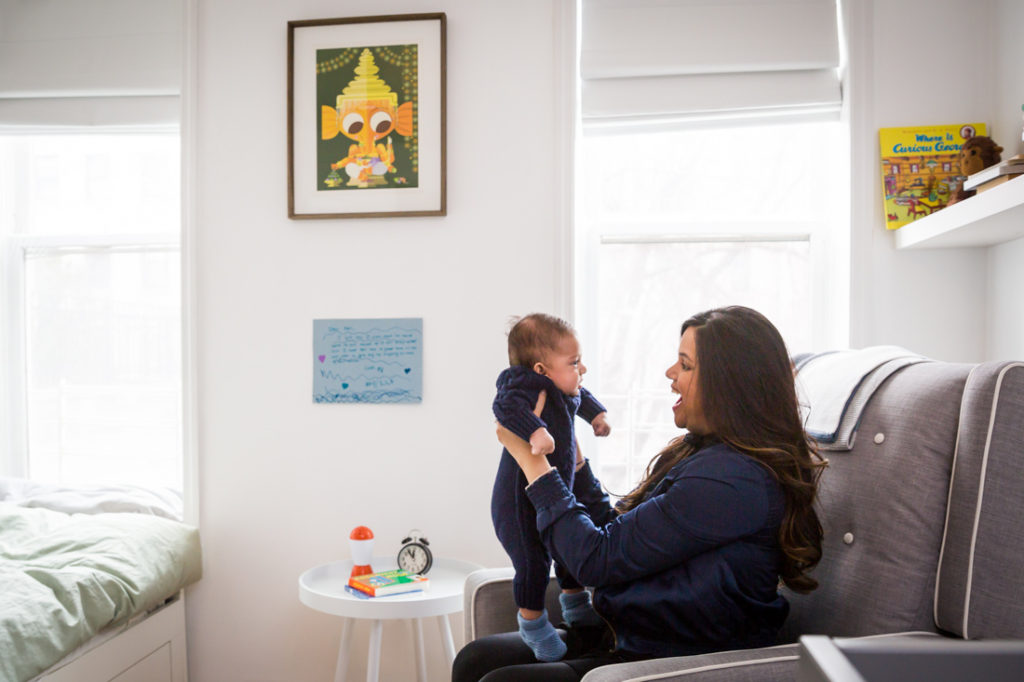
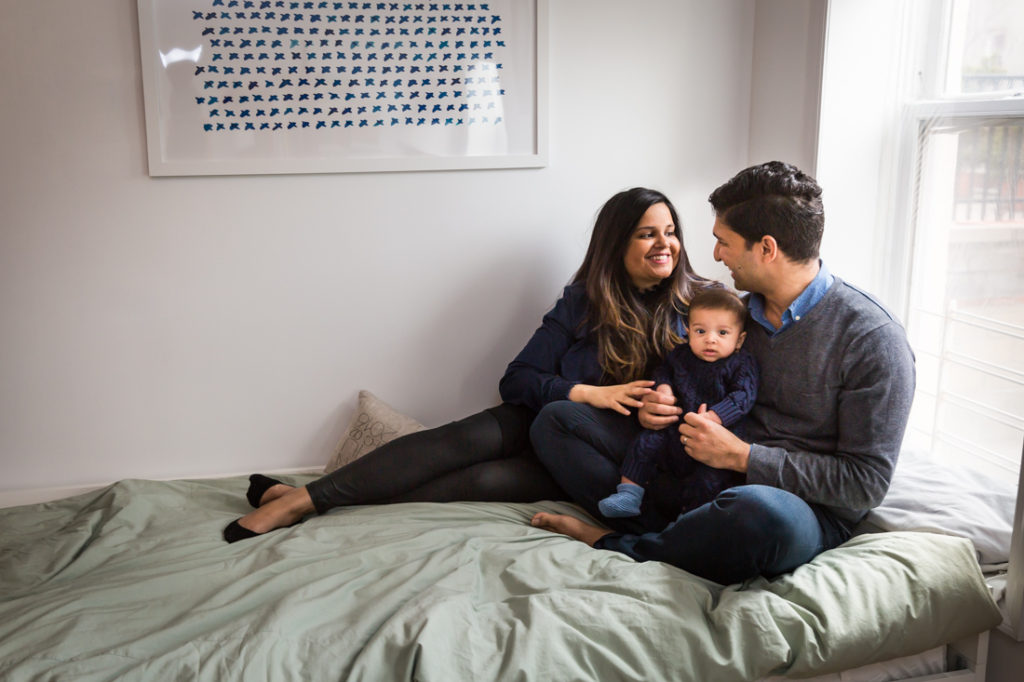
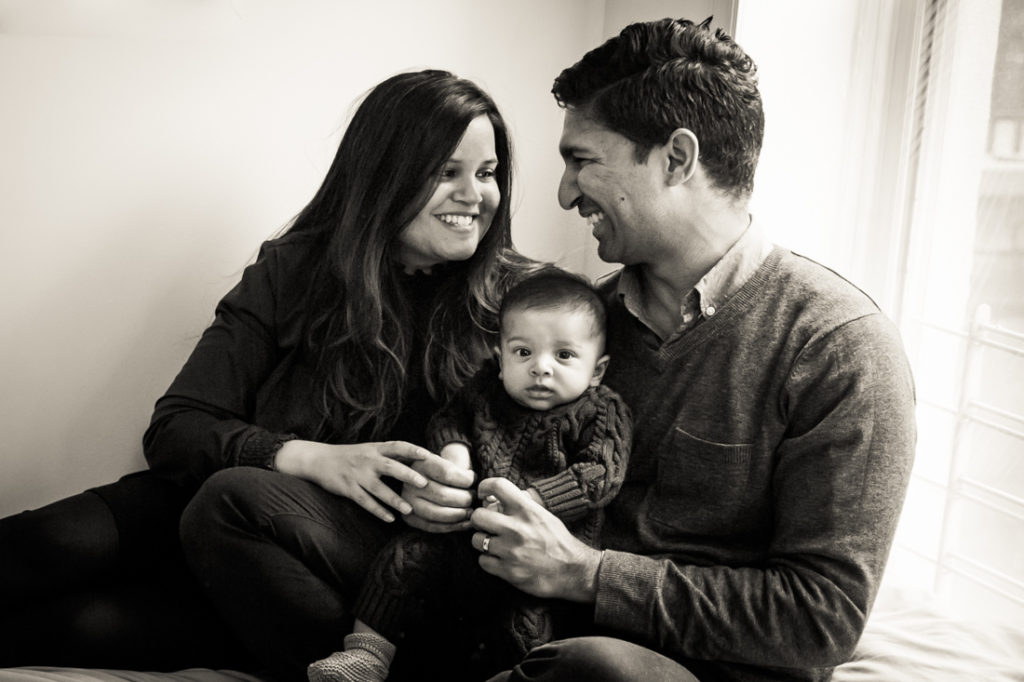
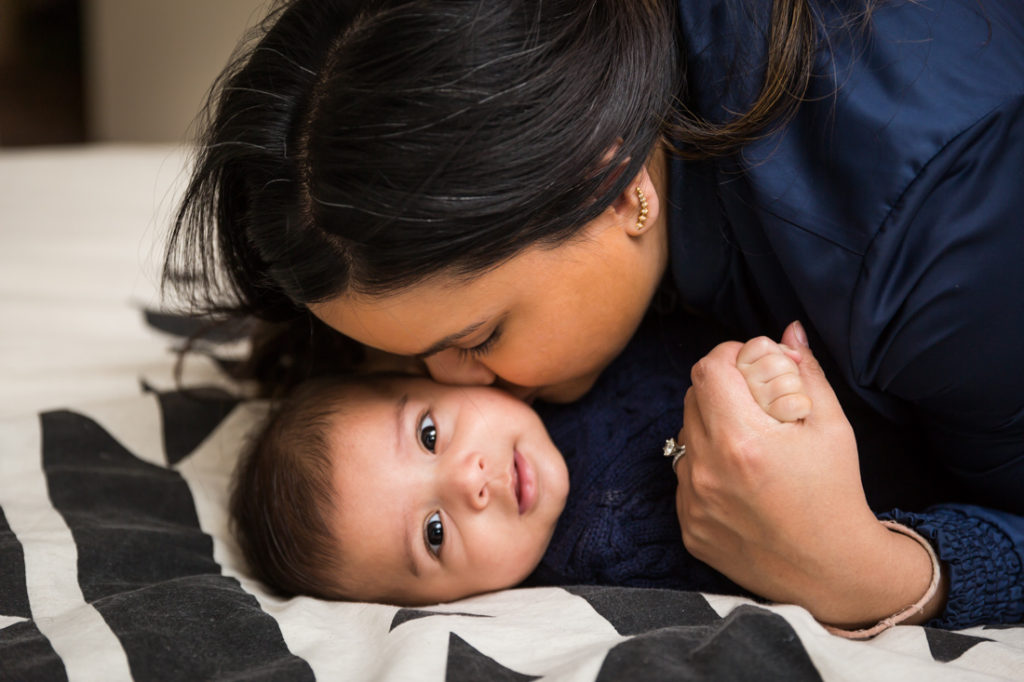
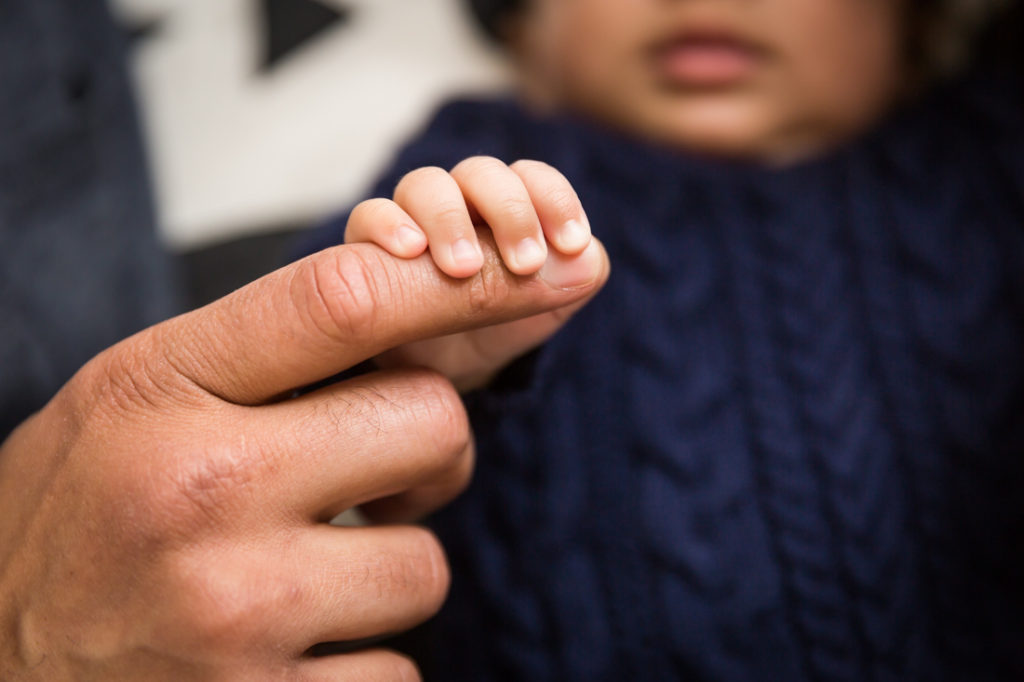
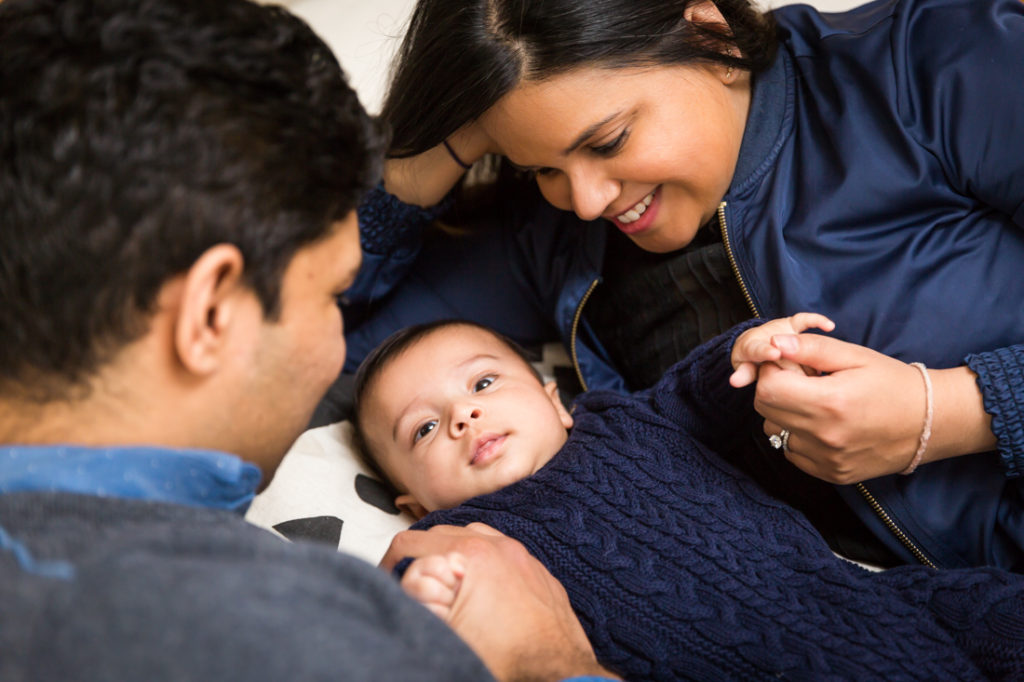
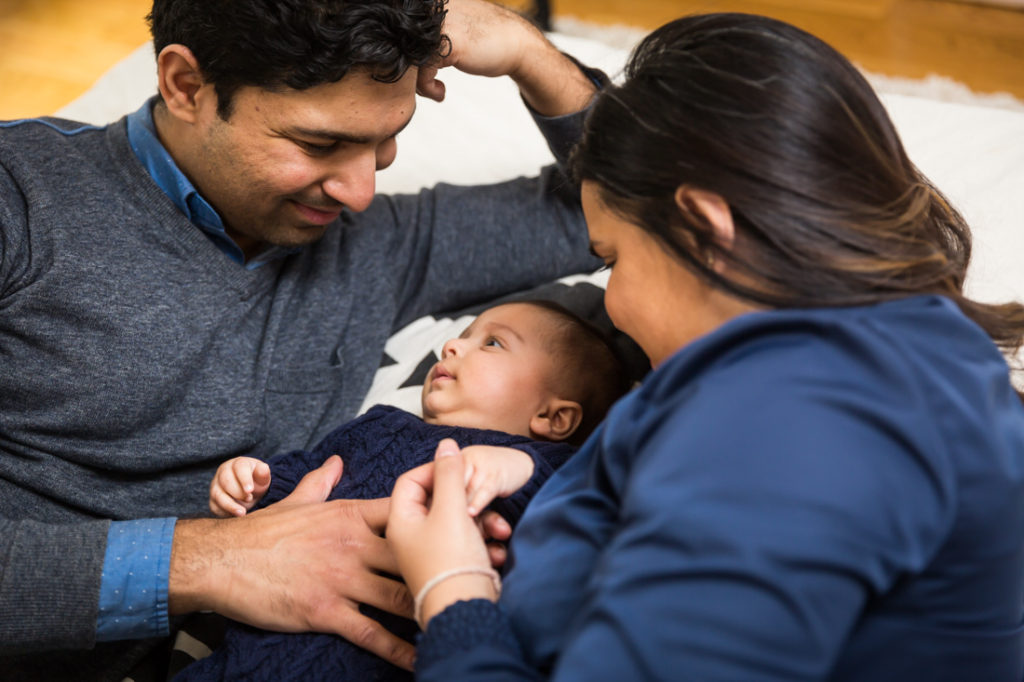
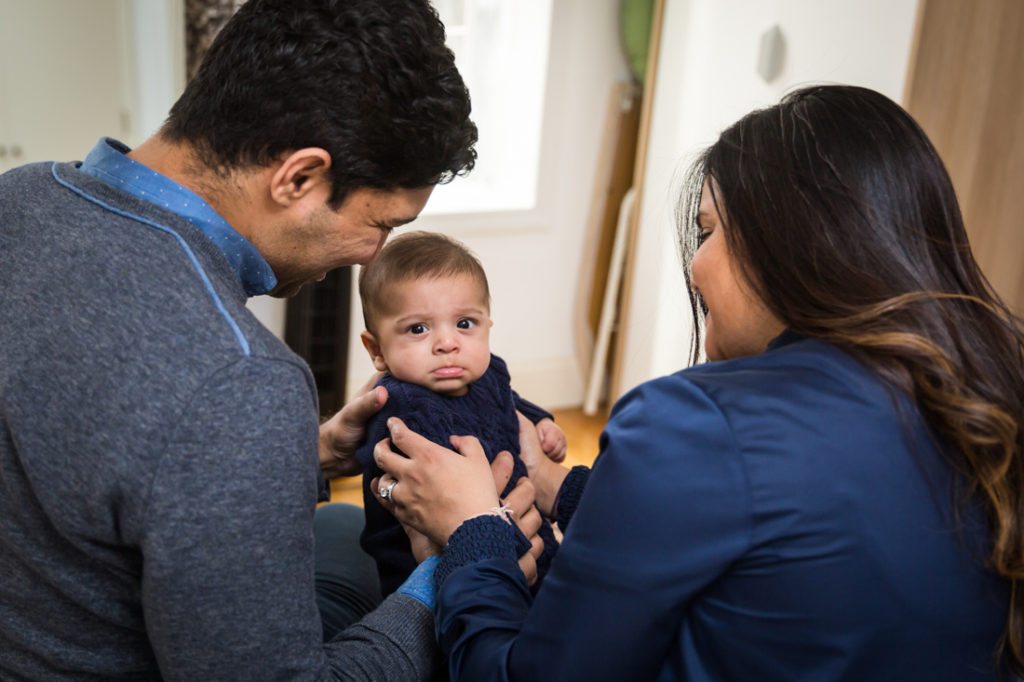
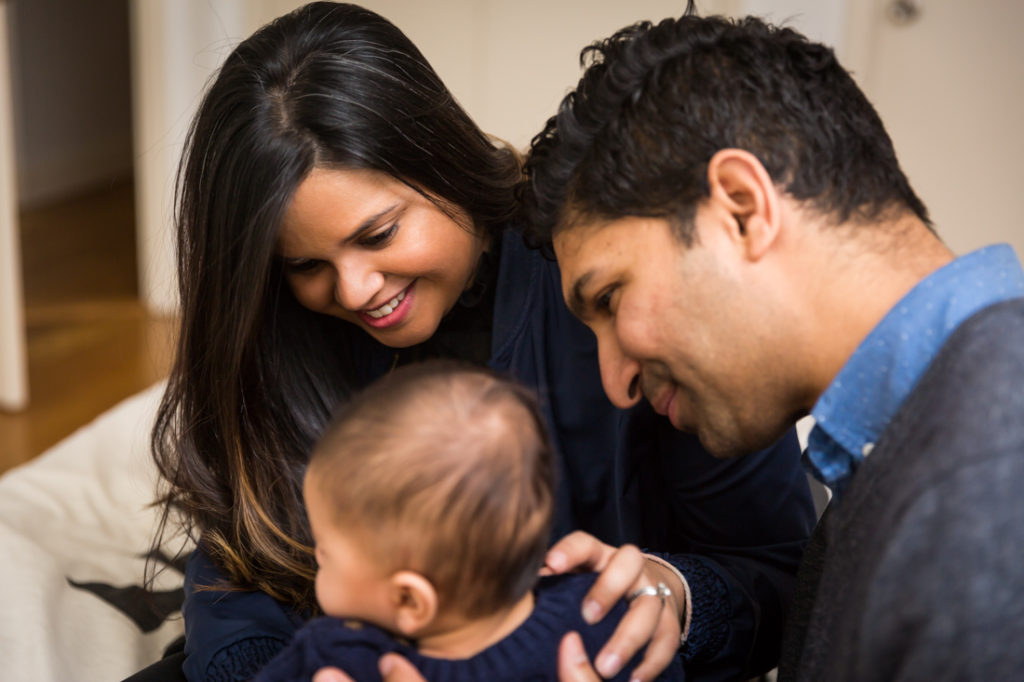
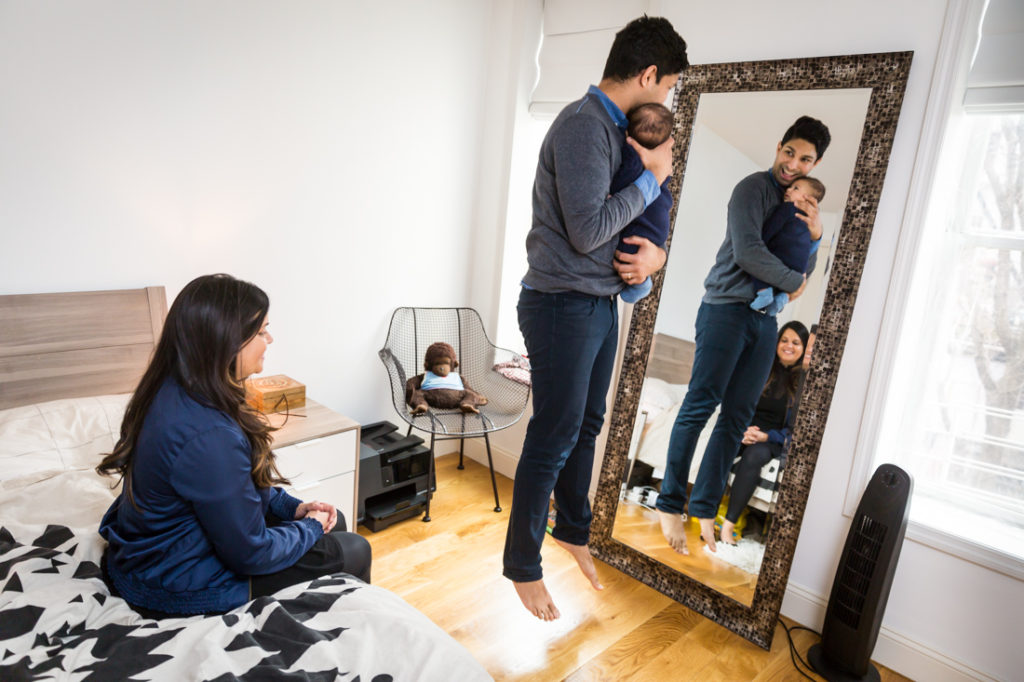
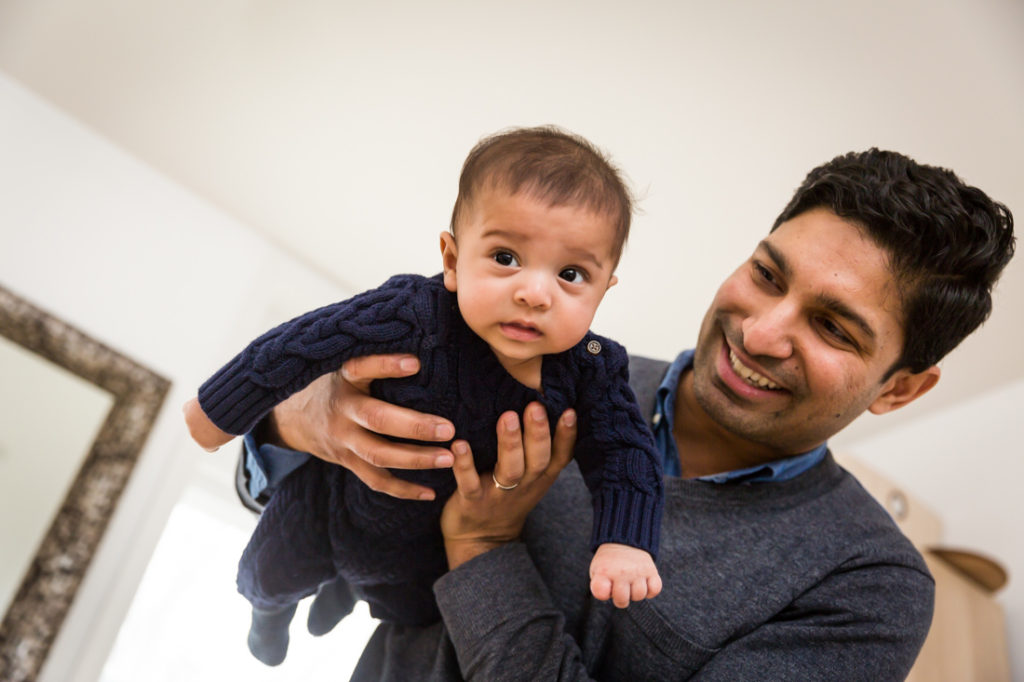
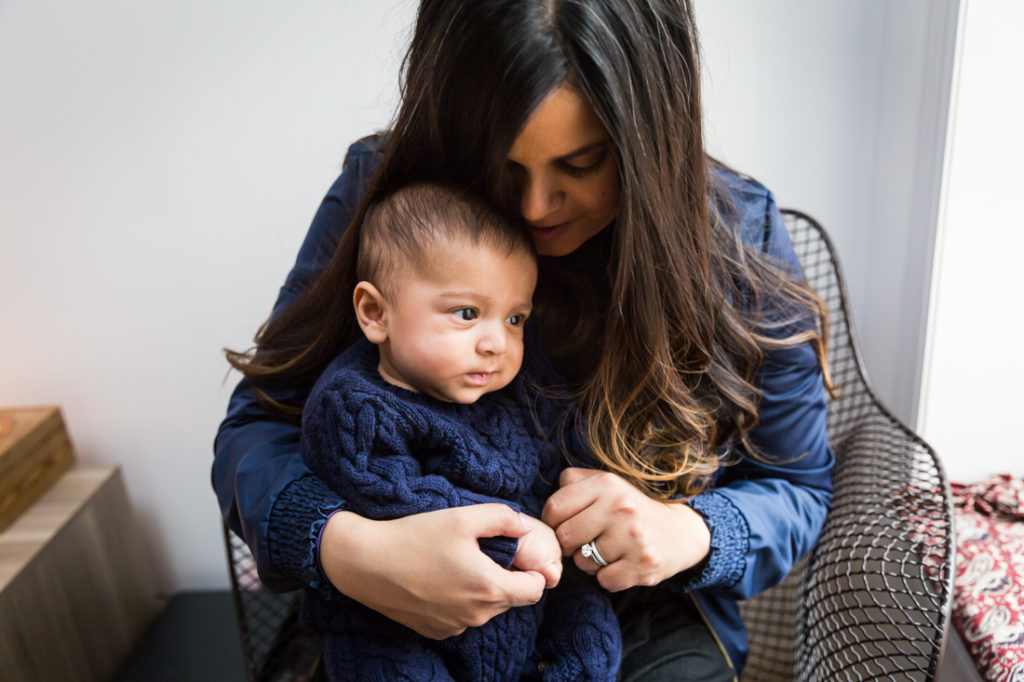
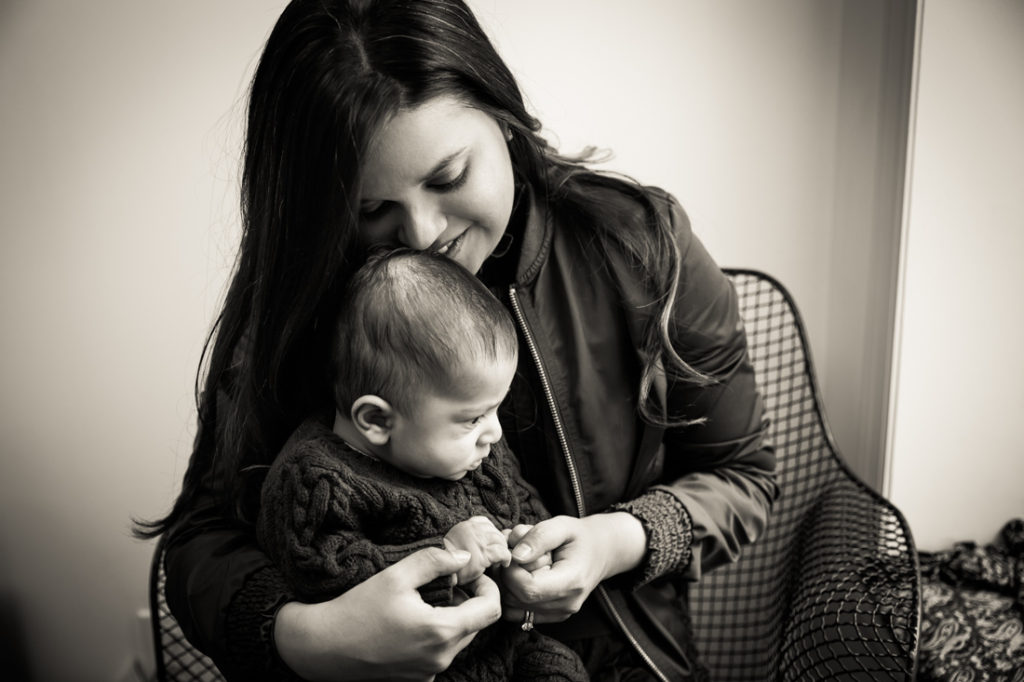
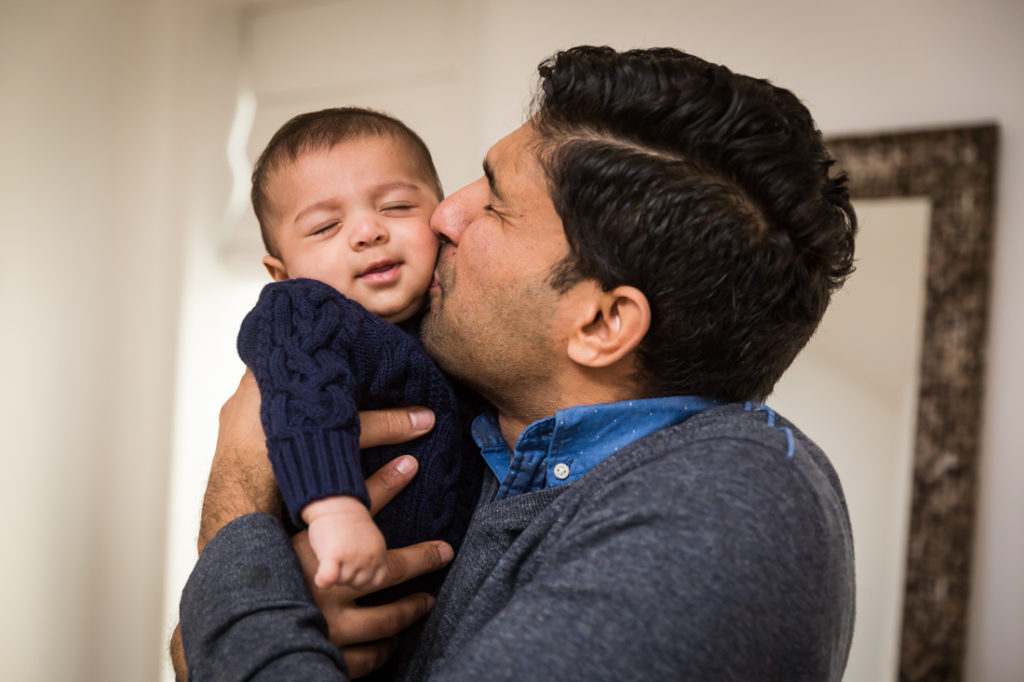
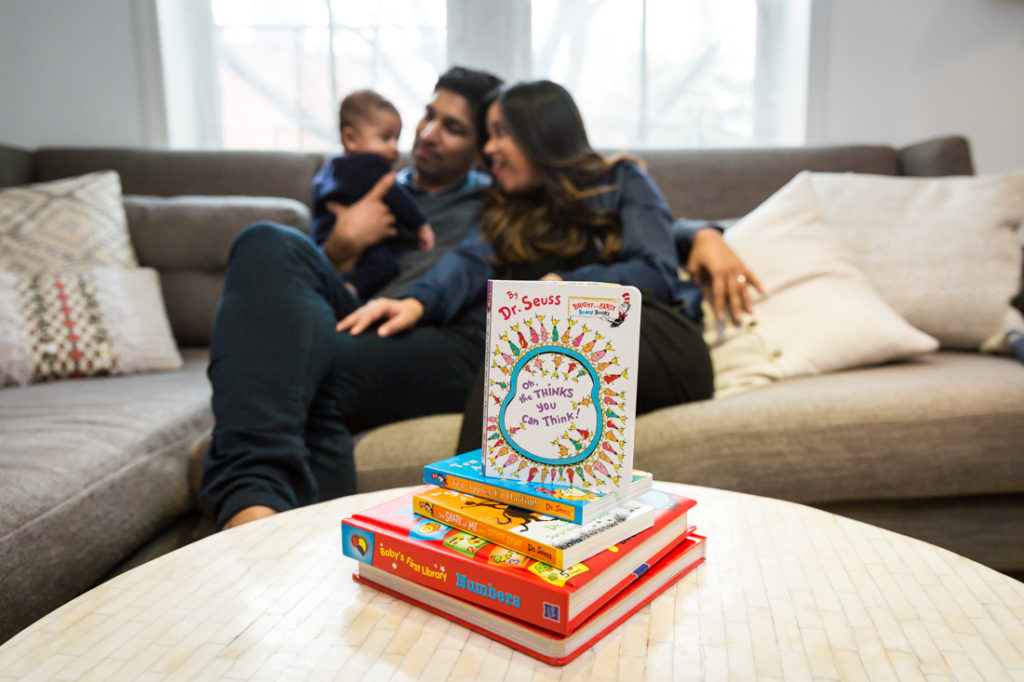
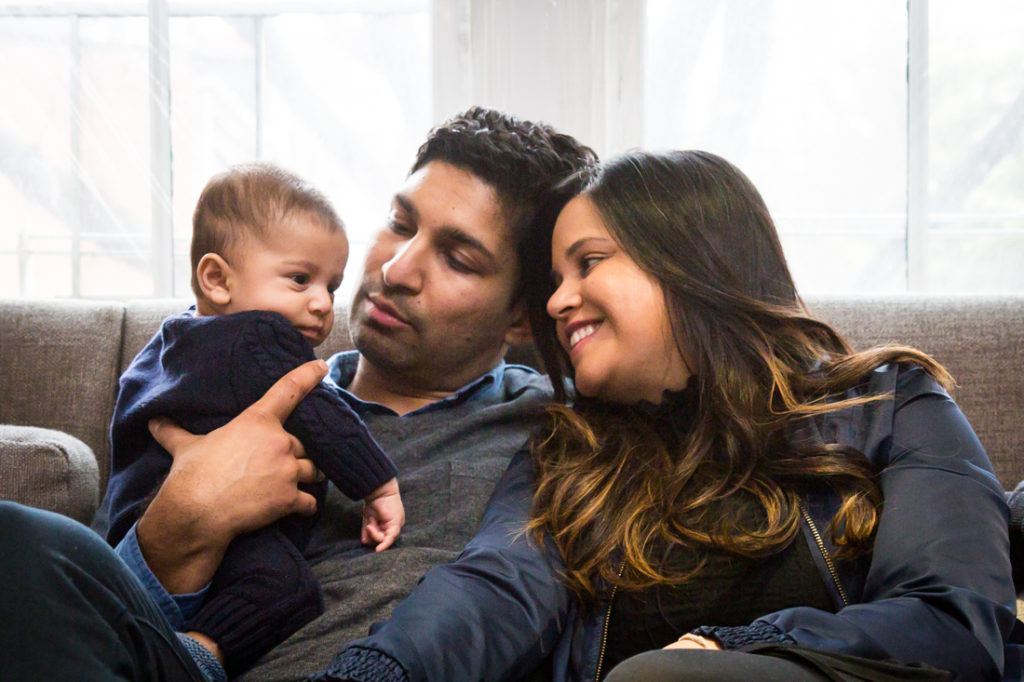
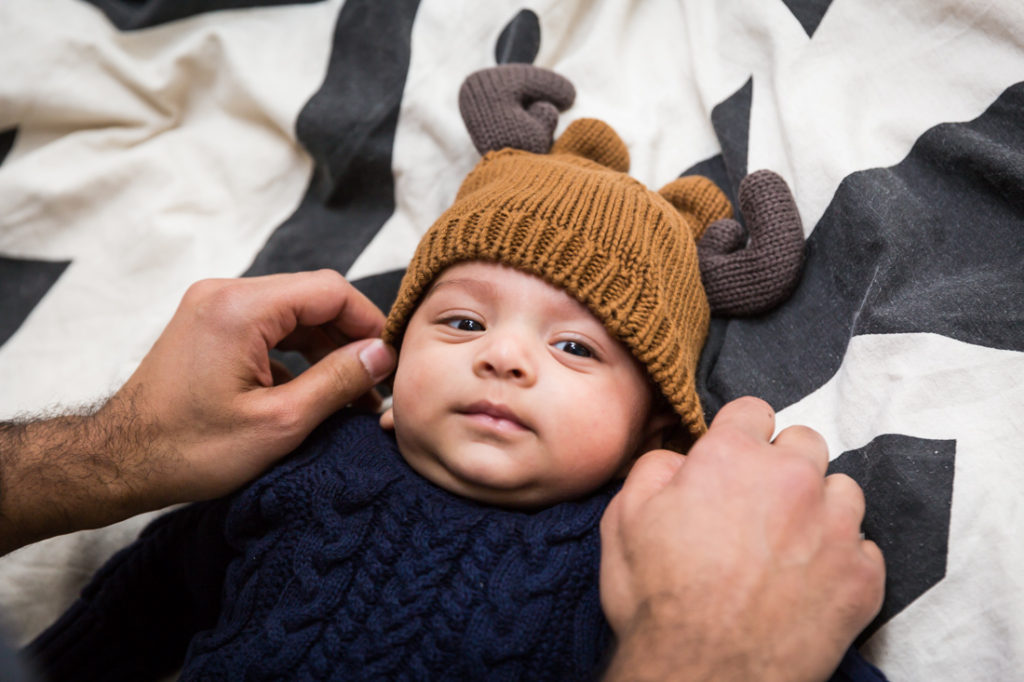
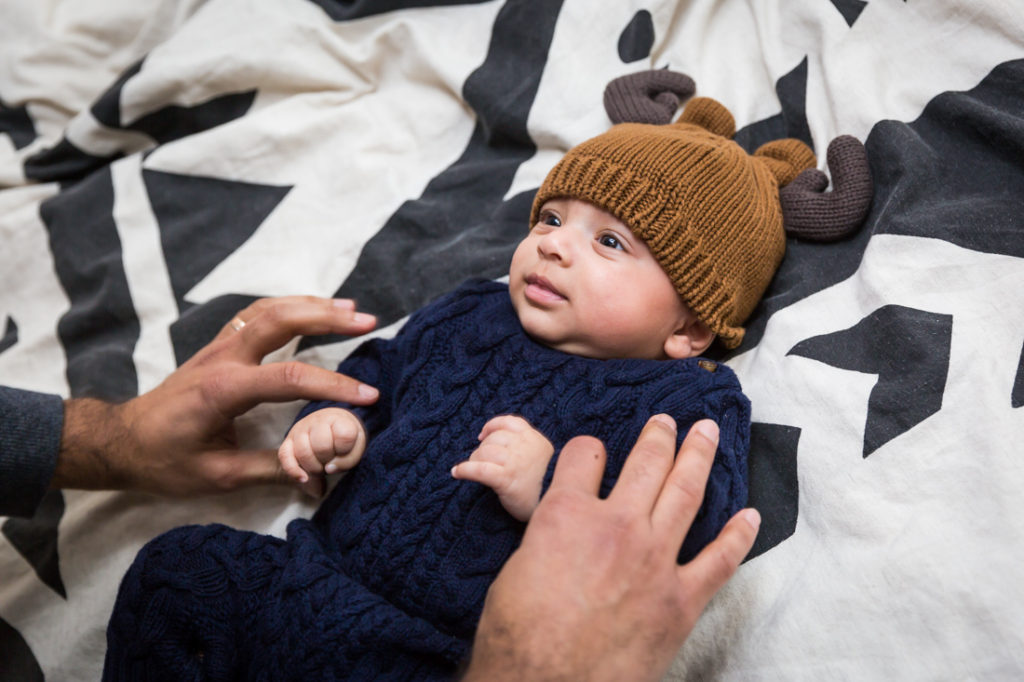
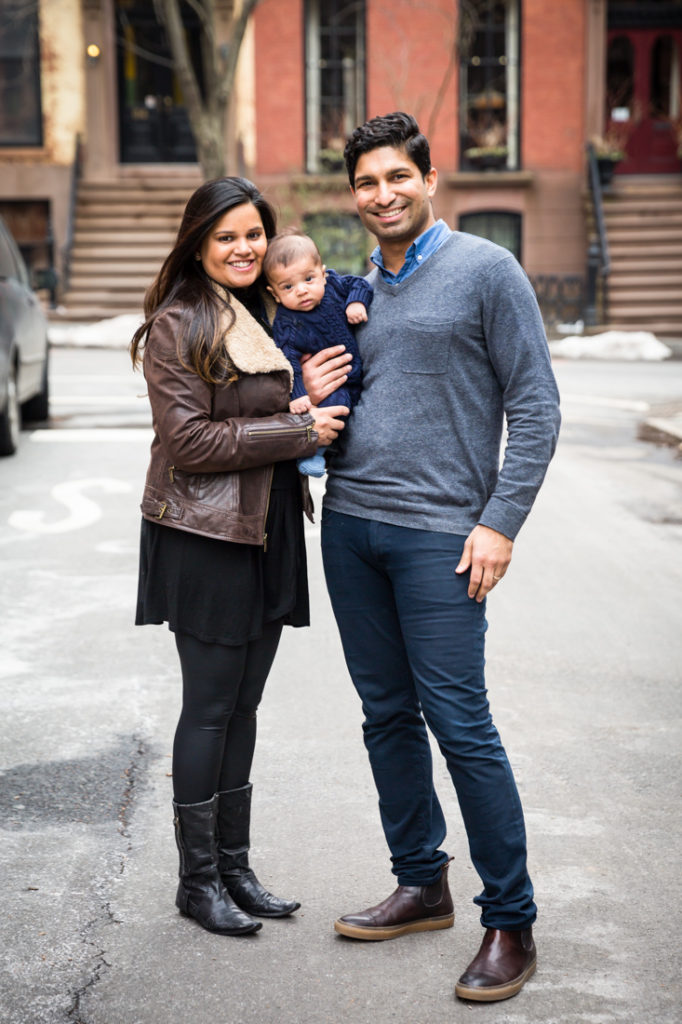
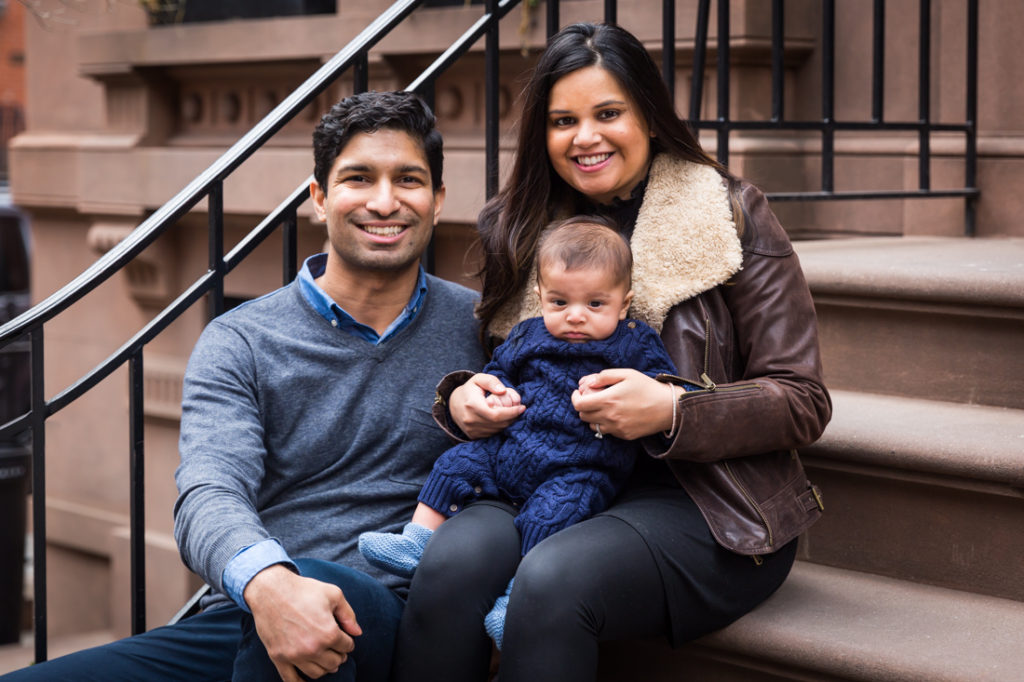
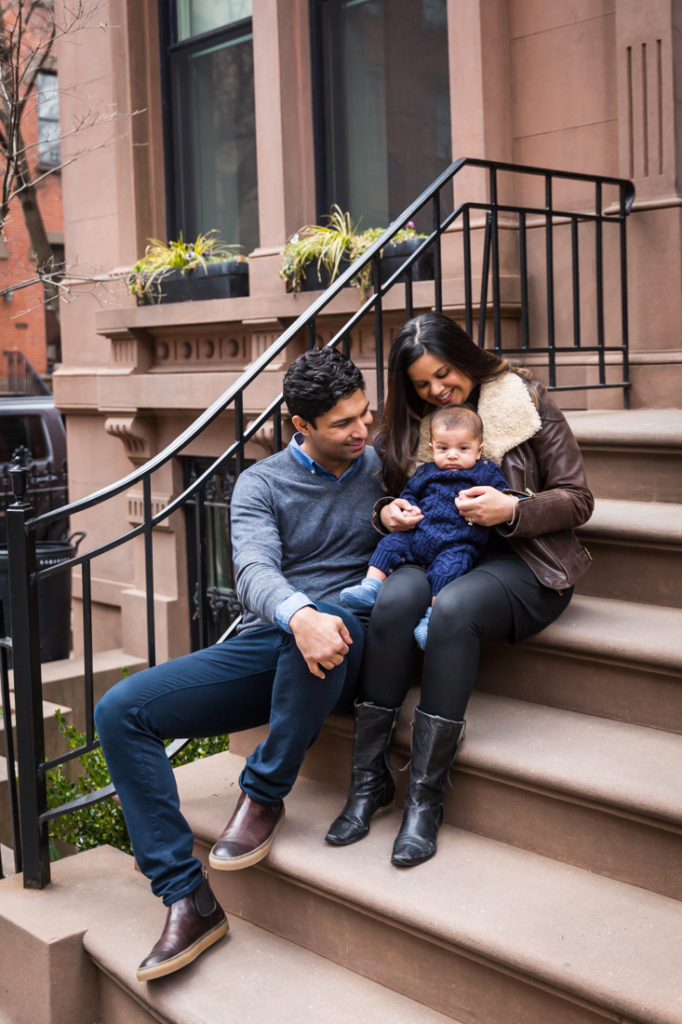
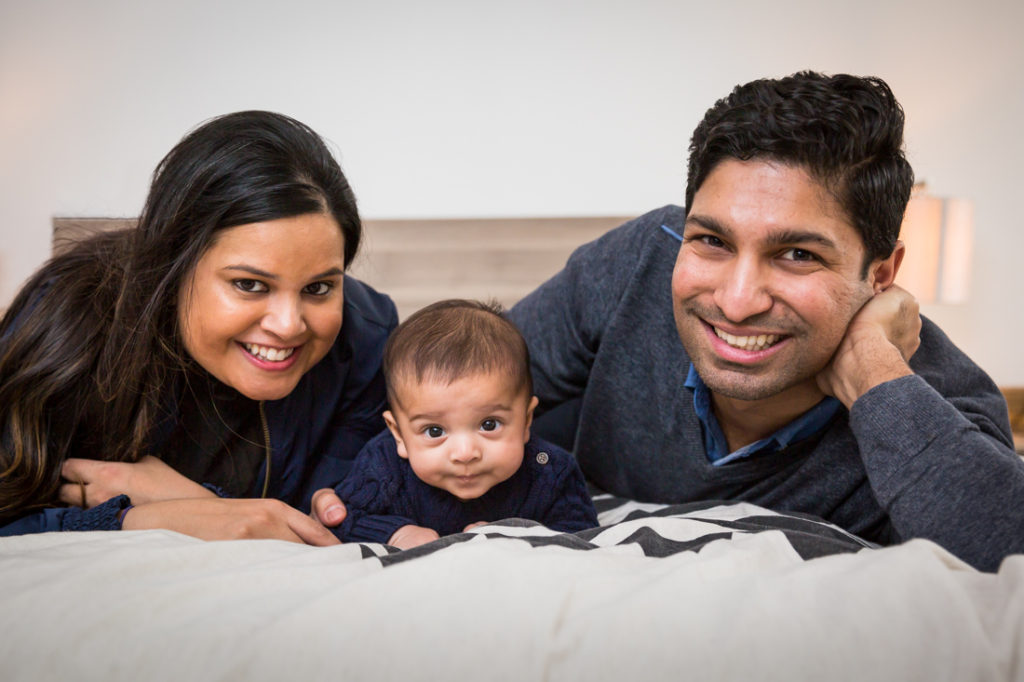
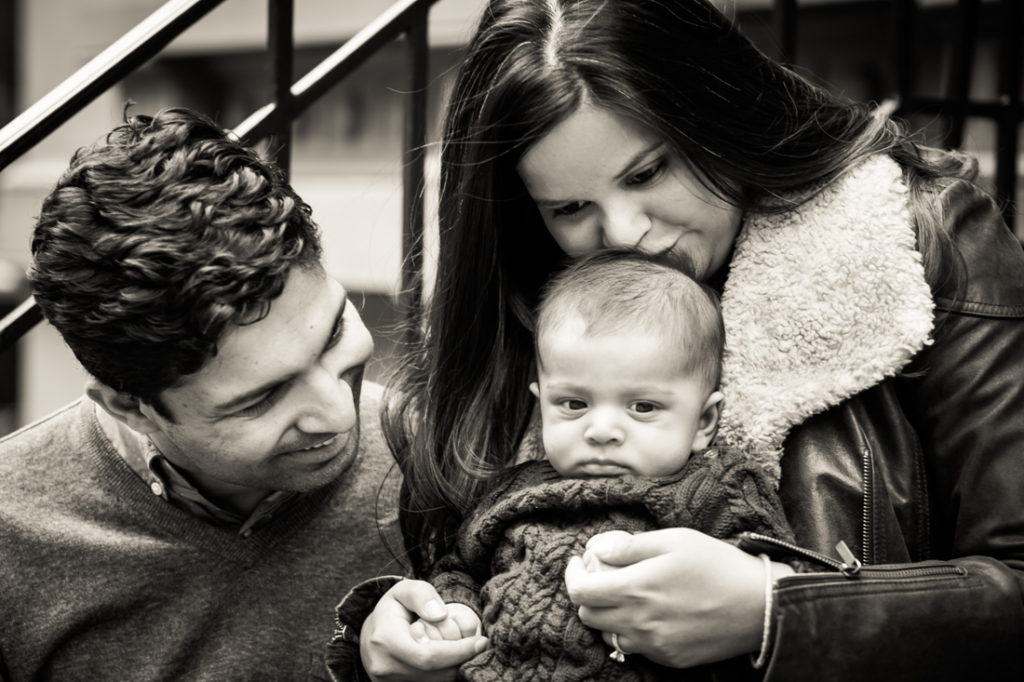
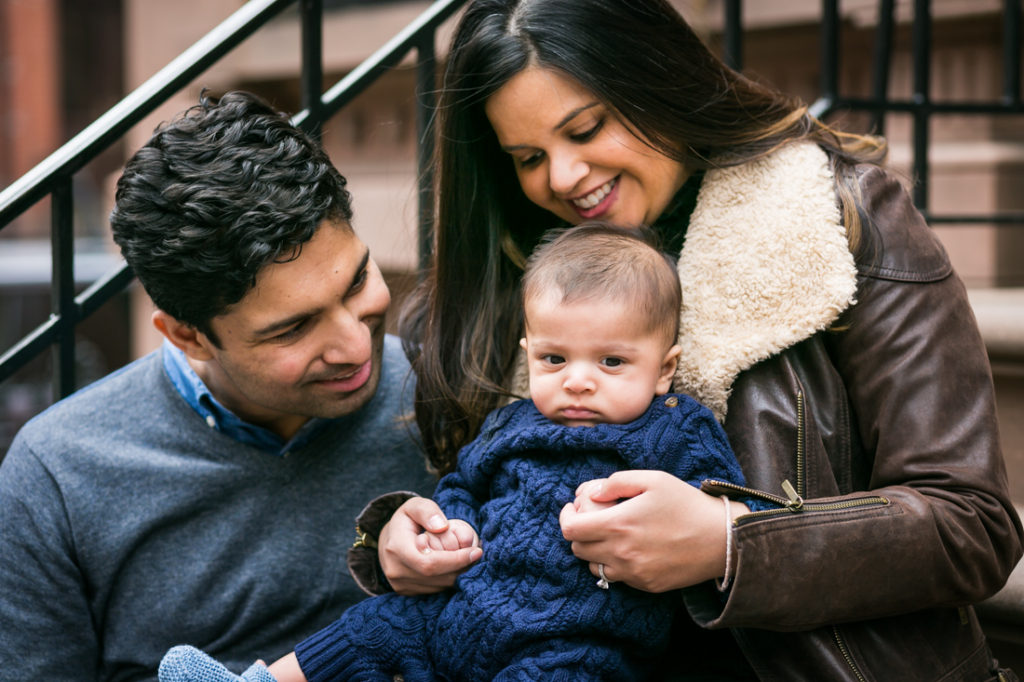
The photos accompanying this article are from Ren’s first photo shoot. I had the pleasure of photographing this little cutie on Saturday in Brooklyn Heights. It was wonderful to work with mom, Niya, and dad, Rishi. While it was much warmer yesterday, the overcast skies kept us inside for most of the shoot. We ventured into the street for some final photos, and you can see all the results below — enjoy the photos!
If you would like to see more images from my portfolio, please visit my website – www.KellyWilliamsPortraits.com
