The Mysteries of Photo Editing Revealed
Hi everyone! I thought I would start this week with a little peek behind the scenes at the mysteries of photo editing. While I always strive to get the image right the first time – in camera – there are little tweaks that need to be made to make your final photos fantastic. Here’s how it all happens.
The first step in editing is going through each photo to select the initial batch. I call this the first culling. For a 10-hour wedding with 150 or so guests, I take around 3,000 to 4,000 photos. Most of these photos will be duplicates. I generally do a ‘double tap’ (hit the shutter button twice) to make sure that I get the shot I want. Using flash often causes people to involuntarily blink their eyes, meaning that the second photo taken will be the best.
After the first culling, I am left with about half as many photos as I started with. Now begins the technical editing. I use Adobe’s Lightroom software to organize and edit all of my photos. Most photographers have a specific look to their work, and I am no different. My look is crisp images with high contrast and bright colors. As such, I turn up the volume, so to speak, on all of my images by upping the contrast (the difference between darks and lights) and vibrance (adjusting the least saturated colors), as well as tweaking the sharpness (enhancing the definition of edges of an image), noise levels (removing any unwanted pixels caused by low light levels), and clarity (adjusting the midtone contrast levels). I also add a touch of vignetting to focus the eye on the center of the action.
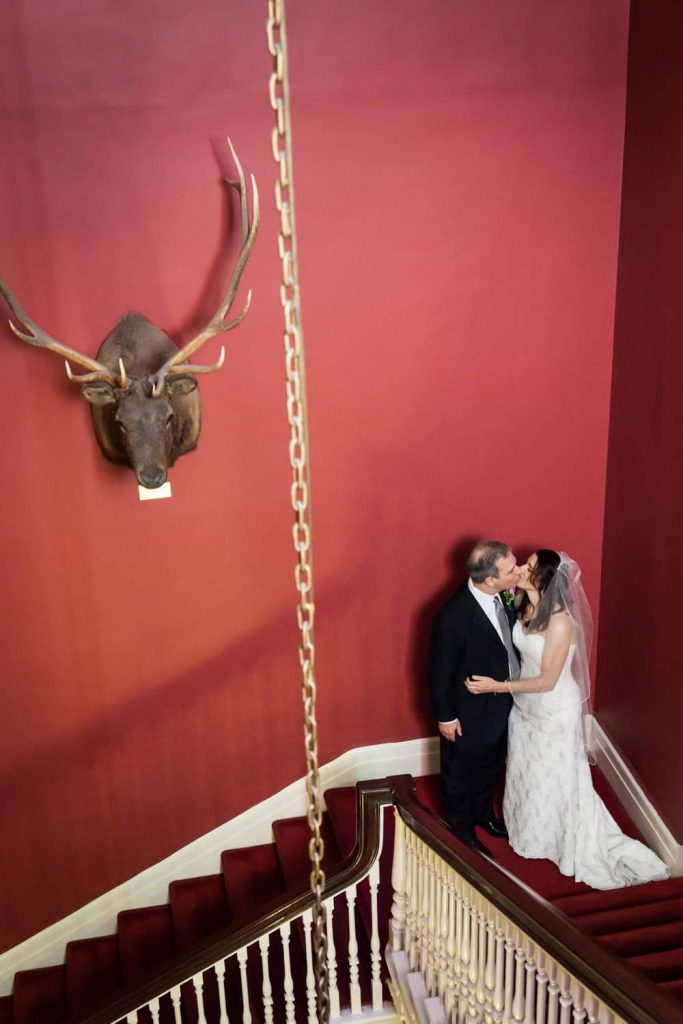
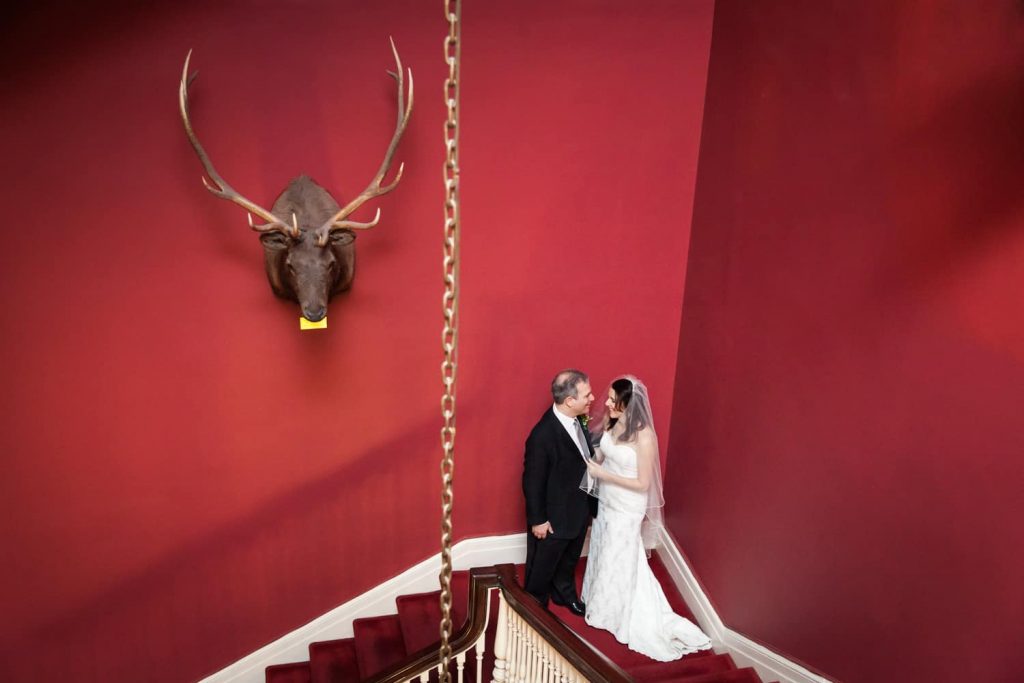
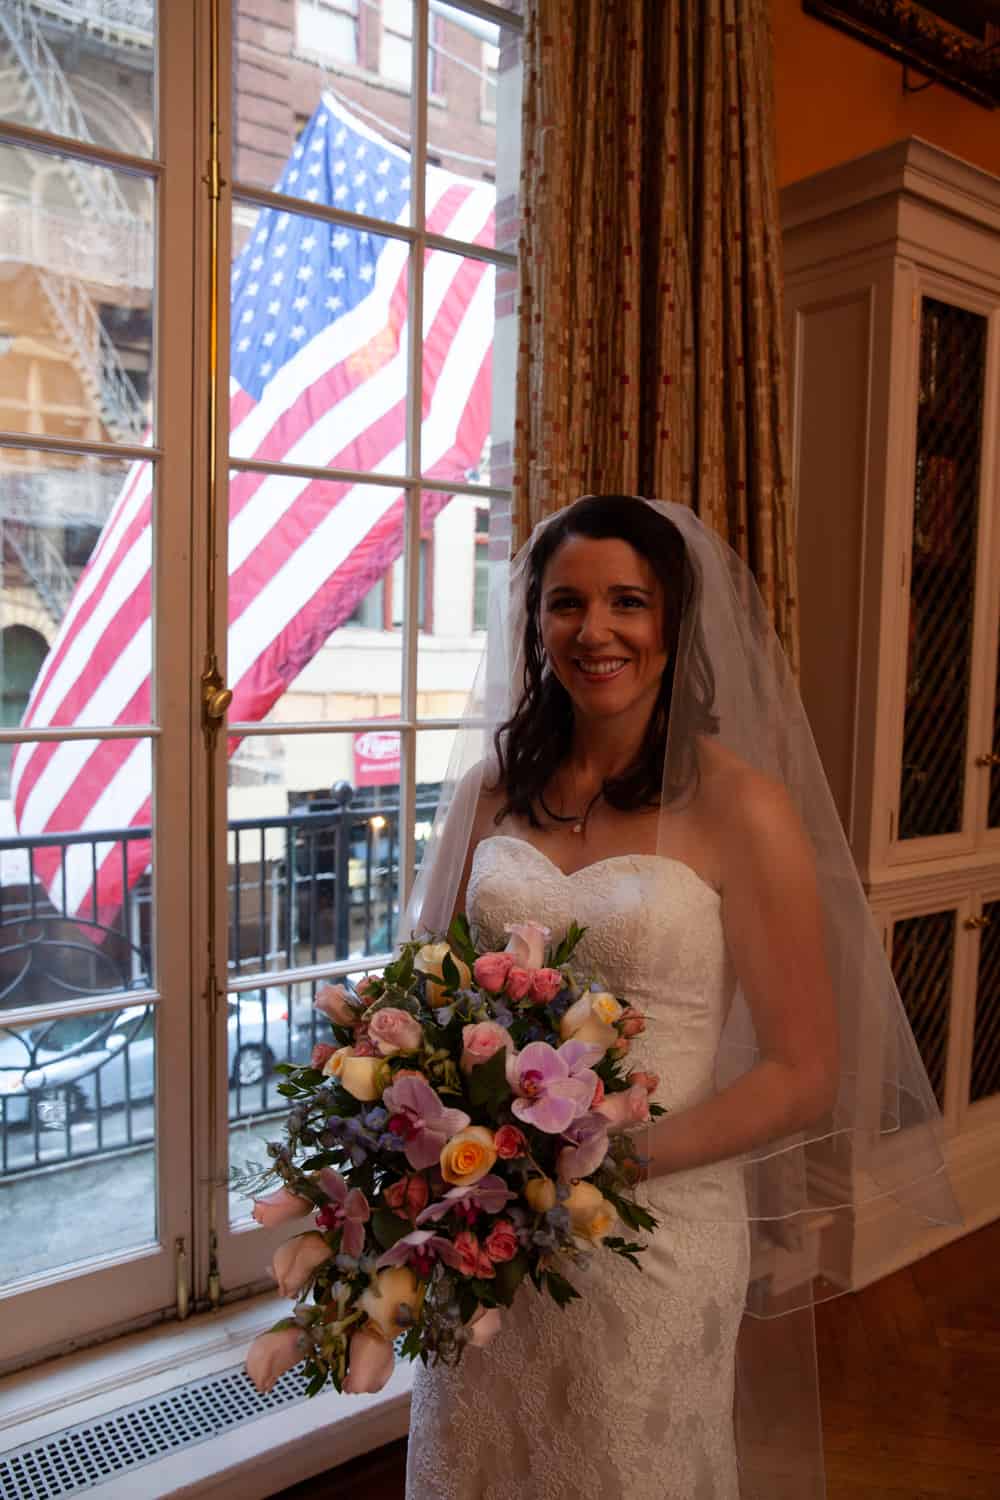
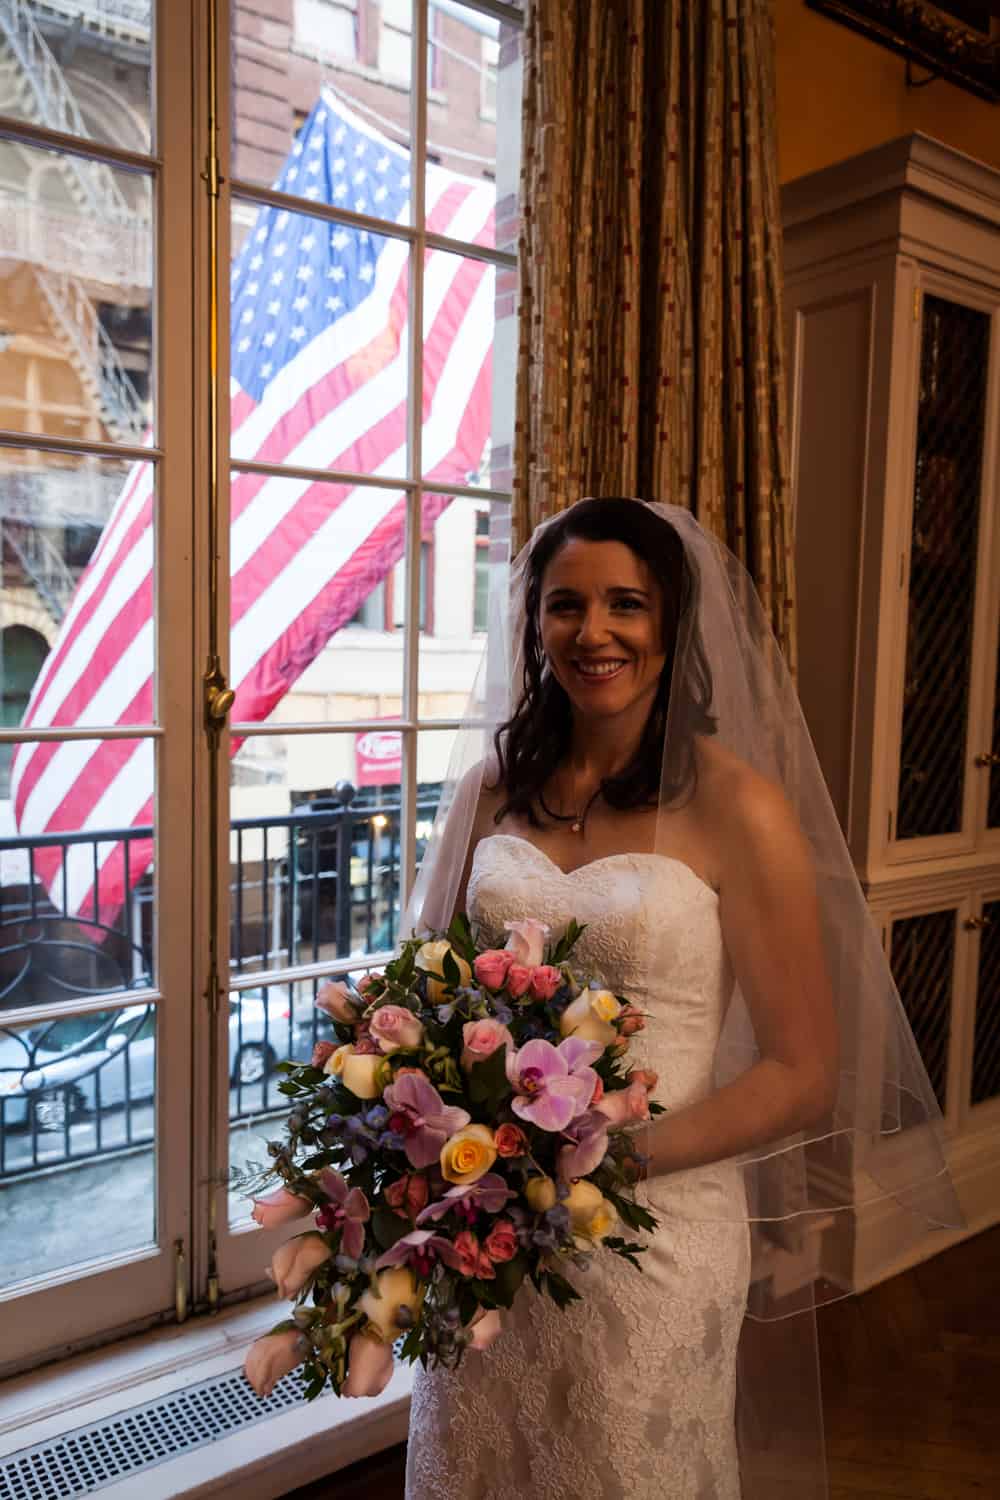
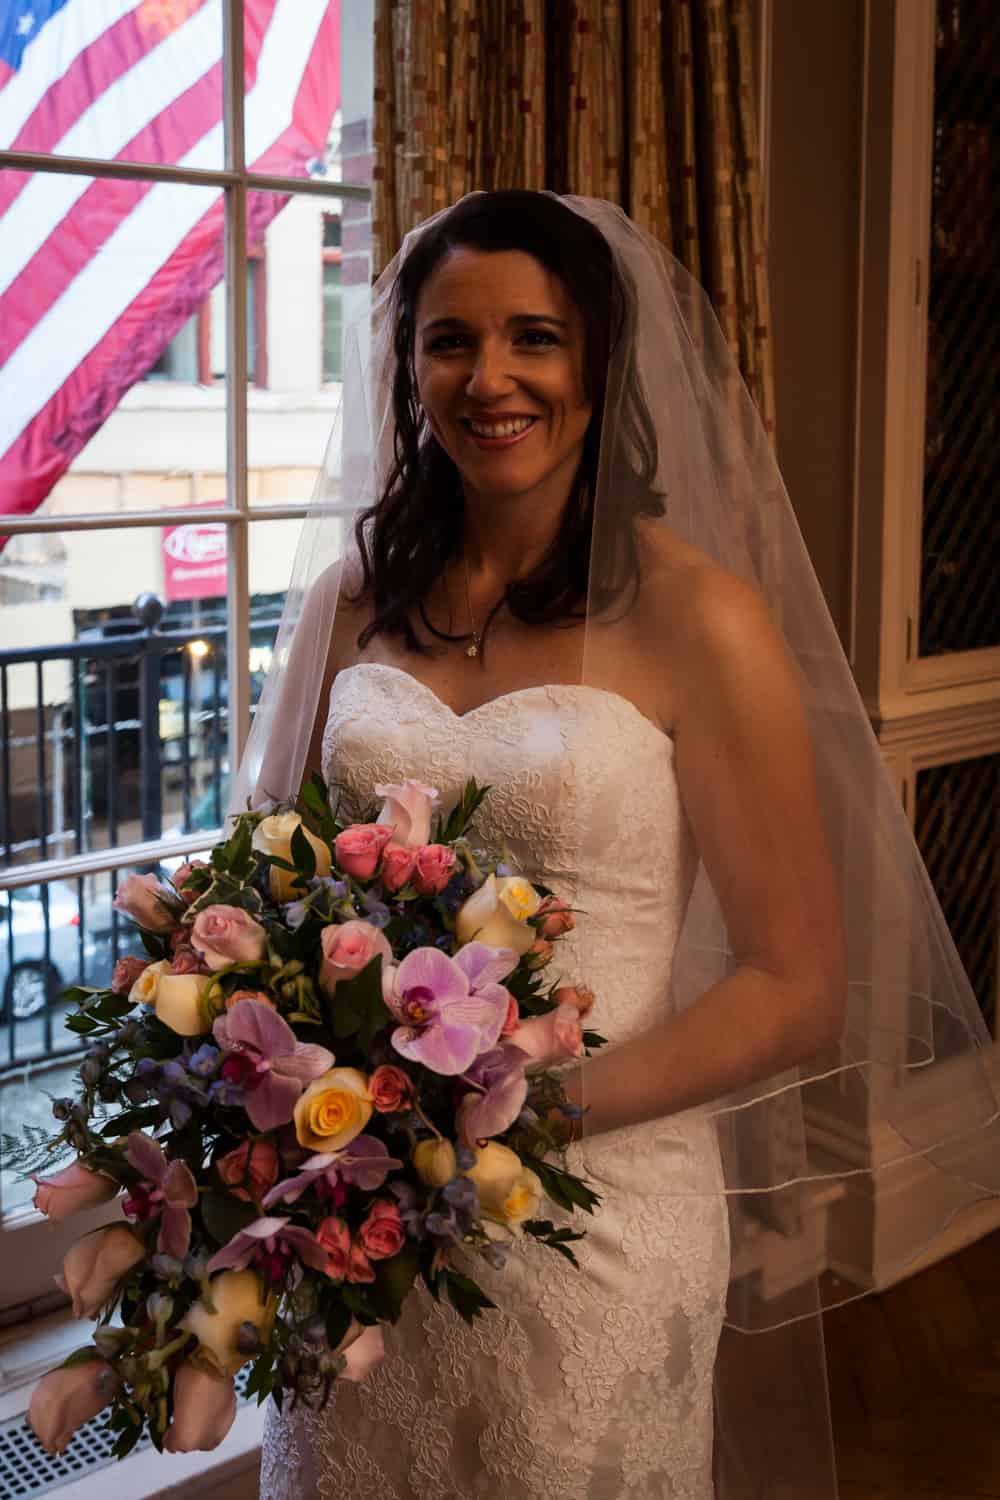
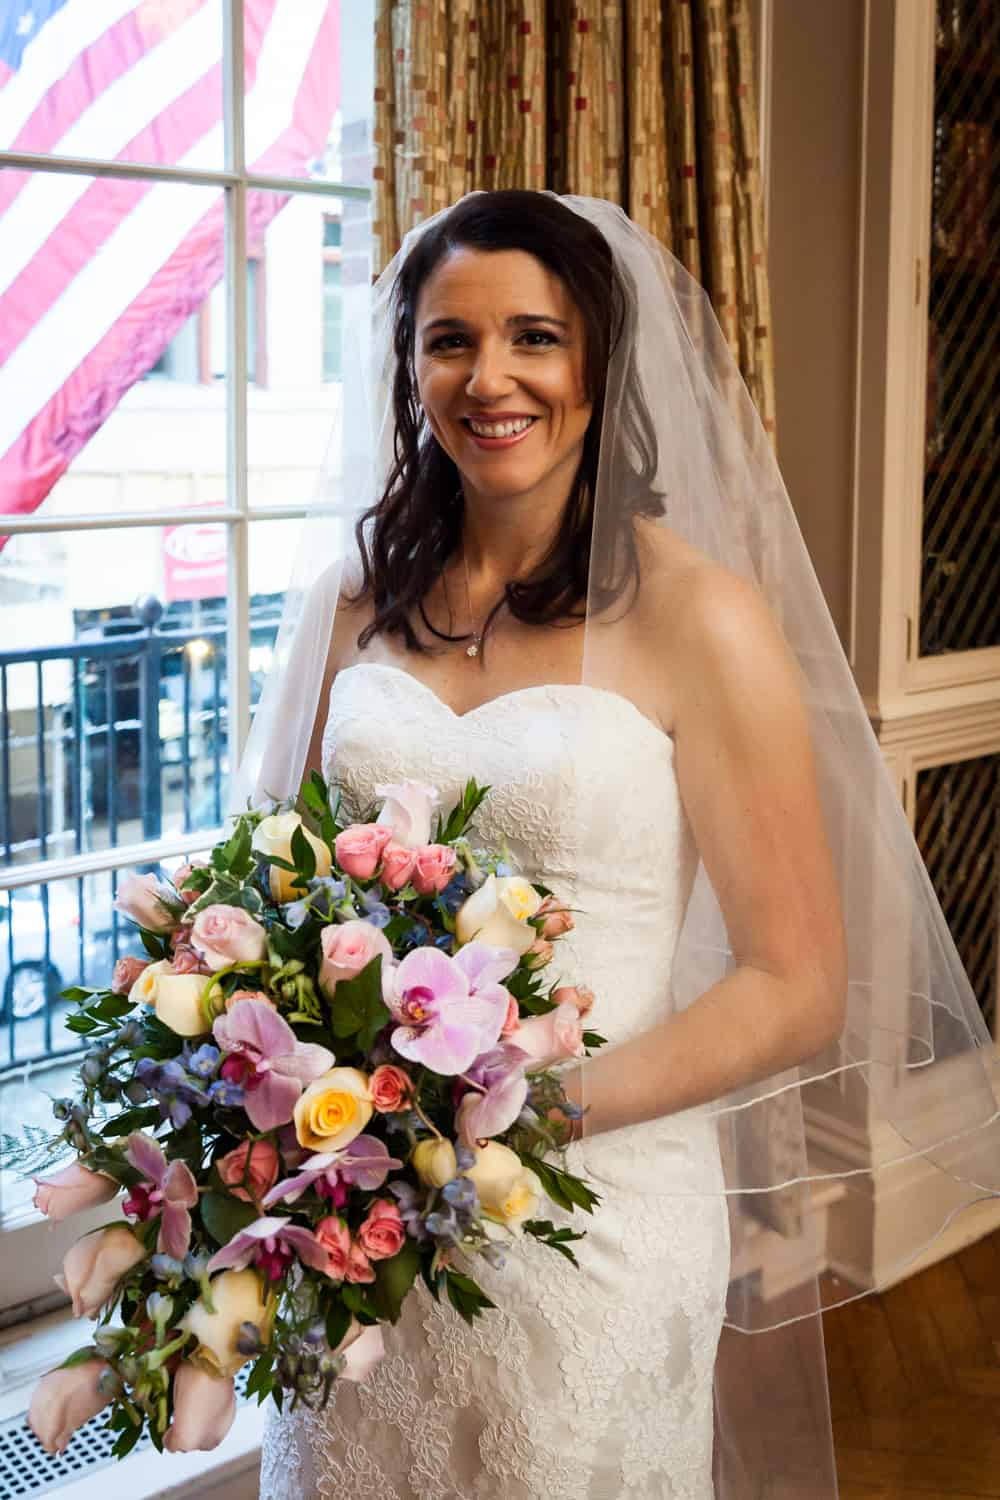
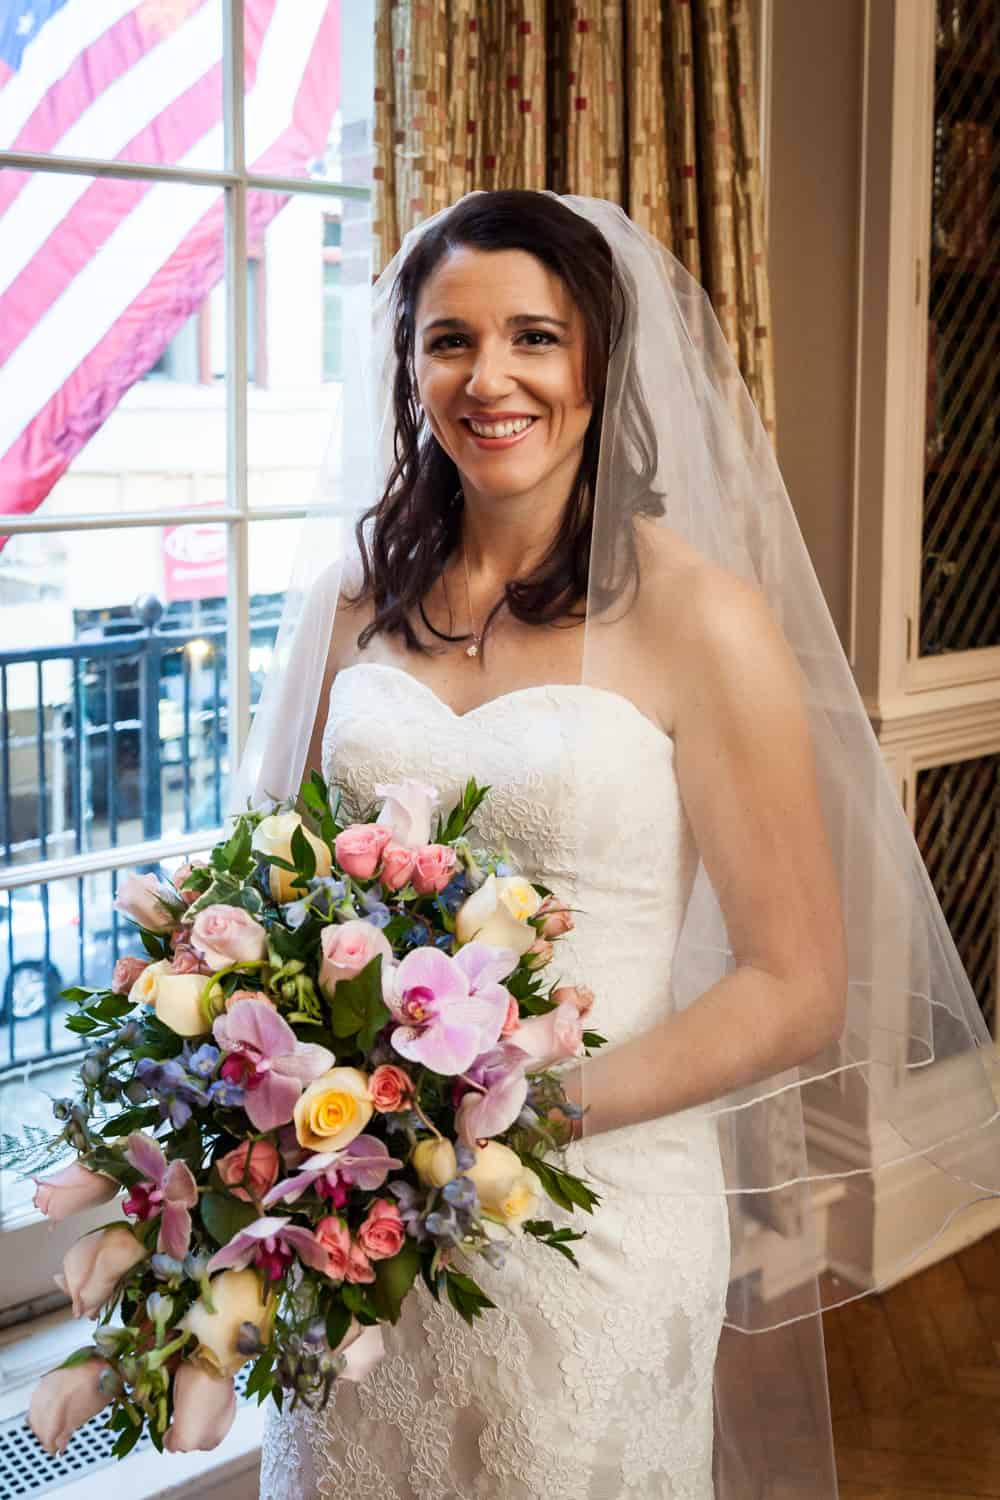
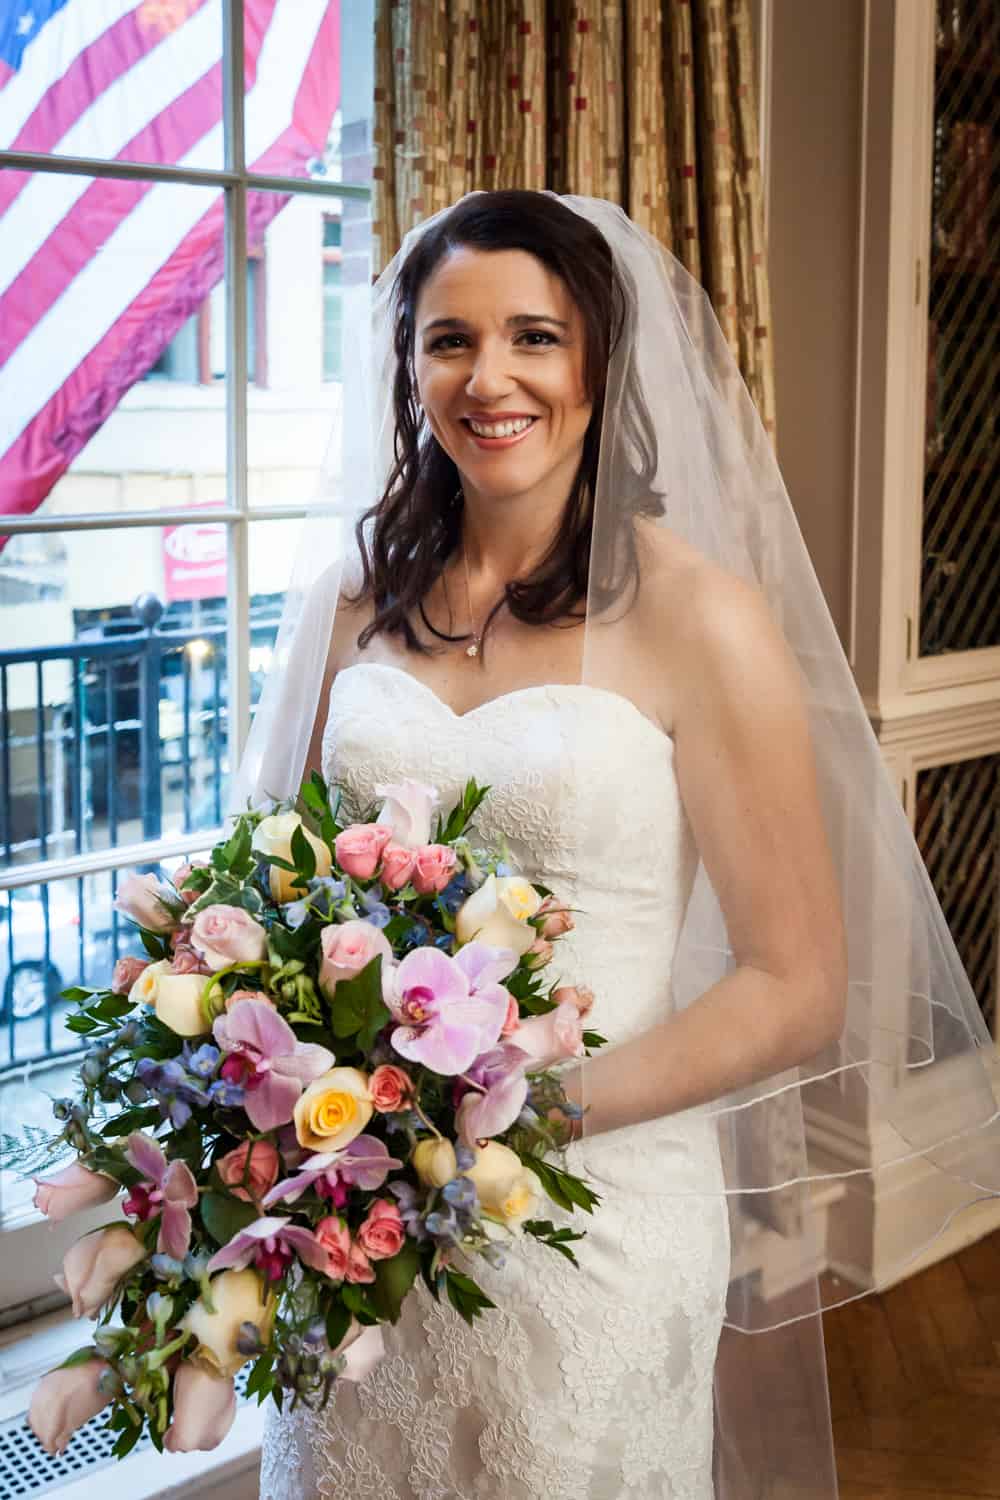
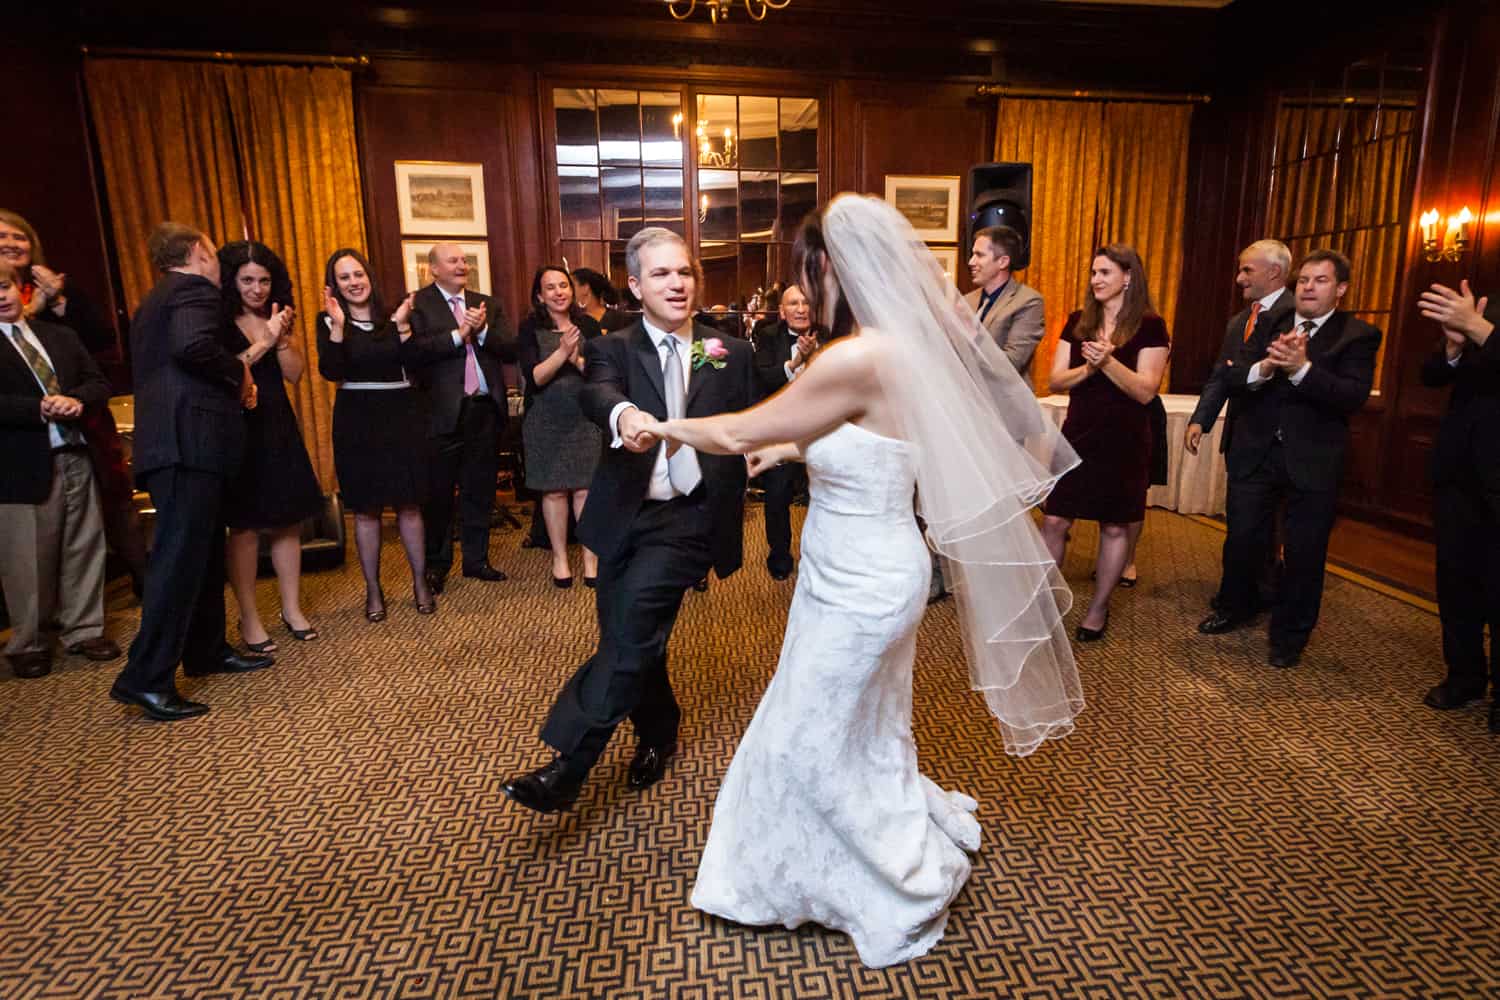
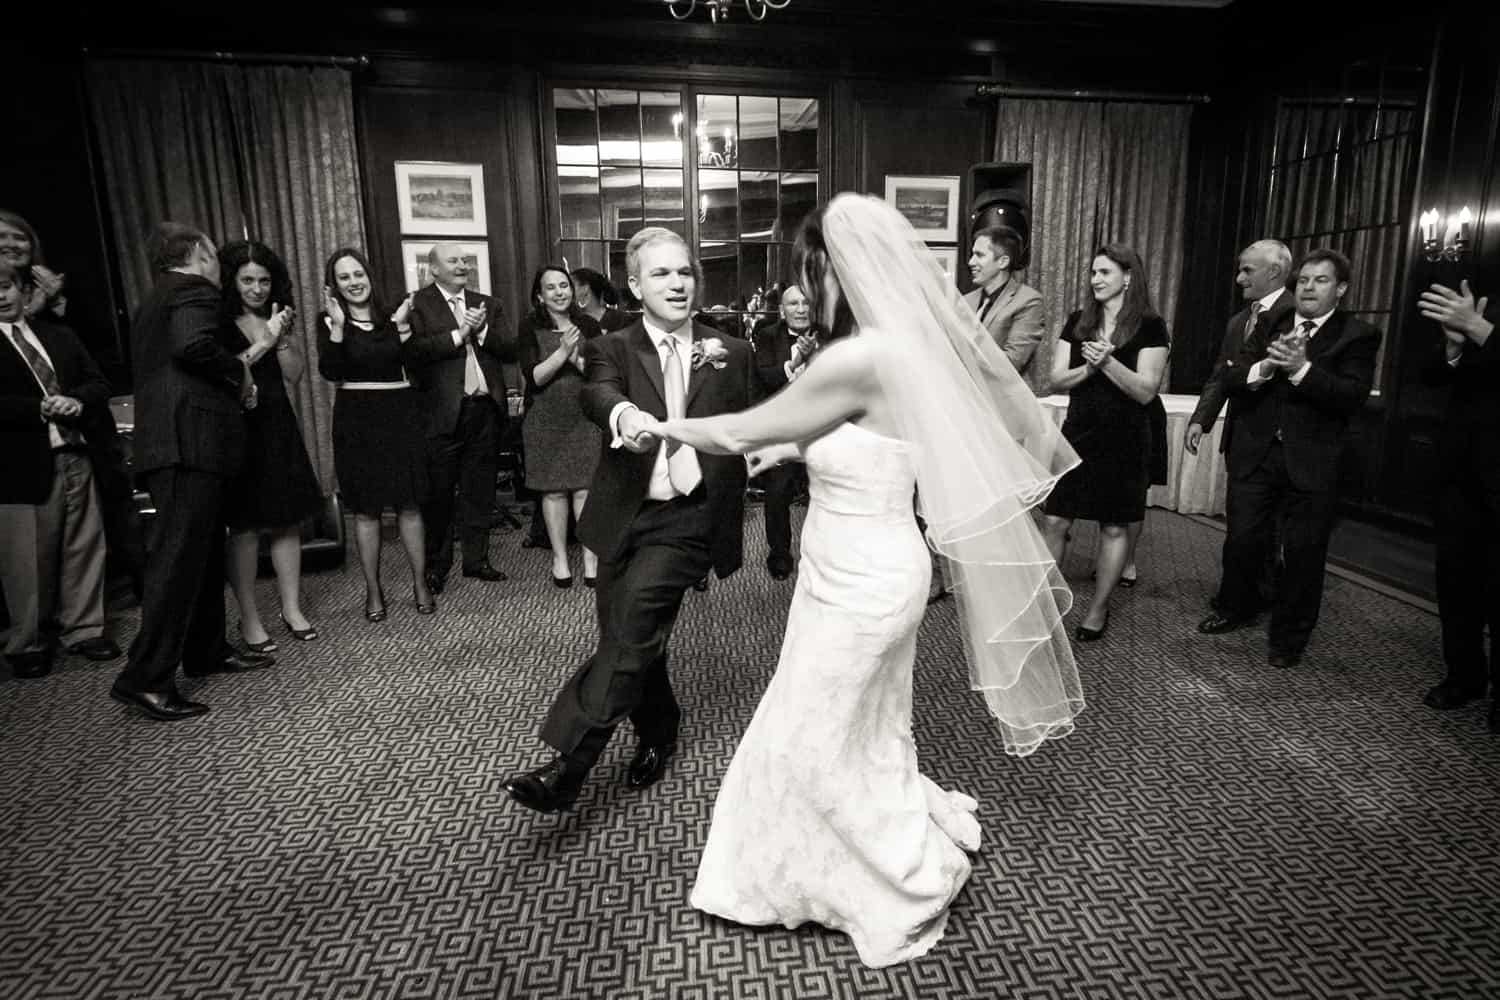
Here are some before and after editing shots:
With all of my photos now adjusted universally, I then spend the time to go through each image and make the necessary individual corrections. During this process, I may also toss out any photos that I don’t deem worthy of the final edit. That is, photos that are redundant (same photo, just a twist of the head, etc.) or that simply aren’t telling the story of the event effectively.
After each photo is corrected and I am down to my final selection, I now call on the magic of Photoshop and take care of any images that need more intensive work. This means photos that have things in the frame that I feel distract the eye away from the story I am trying to tell (bright red exit signs or light switches, for example), or – worst case scenario – when I need to switch heads in a family portrait to make sure everyone’s eyes are open and smiling.
After I’m done with the edits, I like to let the photos sit overnight and then come back to them in the morning for one last look. I usually remove a few more photos to make sure I give my clients only the best selection.
The start to finish process can take anywhere from three days to three weeks depending upon what other projects are on my plate. It is a tedious process, but it is one which I feel in the digital age allows me as a photographer to put my artistic stamp on an image. The workflow is the same for each shoot, and I have a handy checklist by my side, so the good news is I don’t have to reinvent the wheel with each shoot.
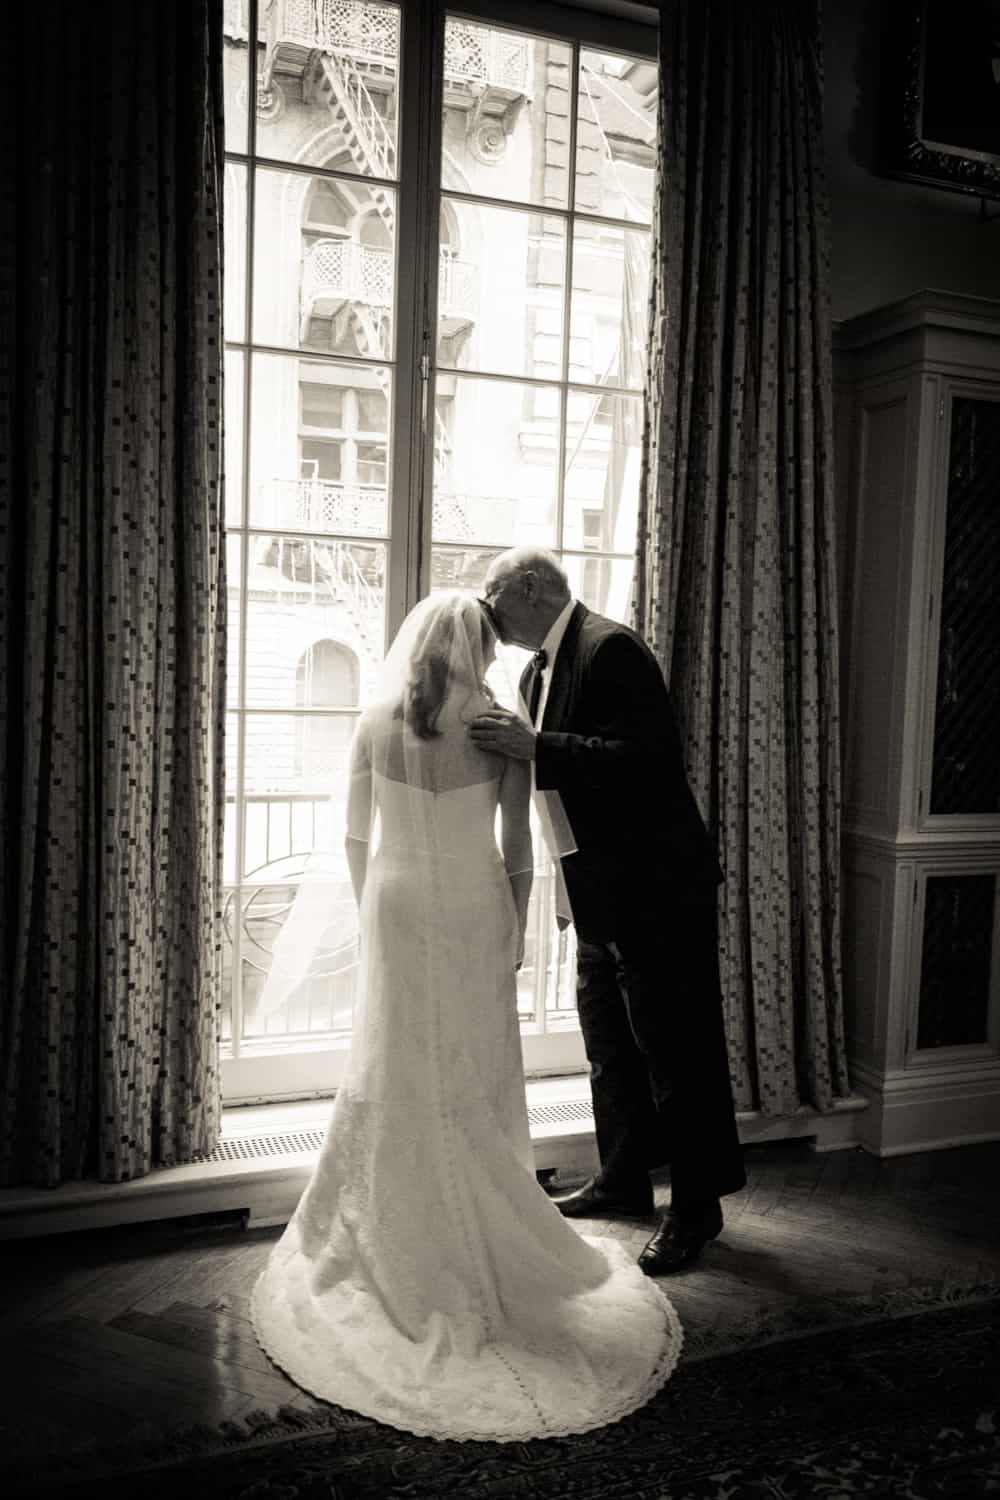
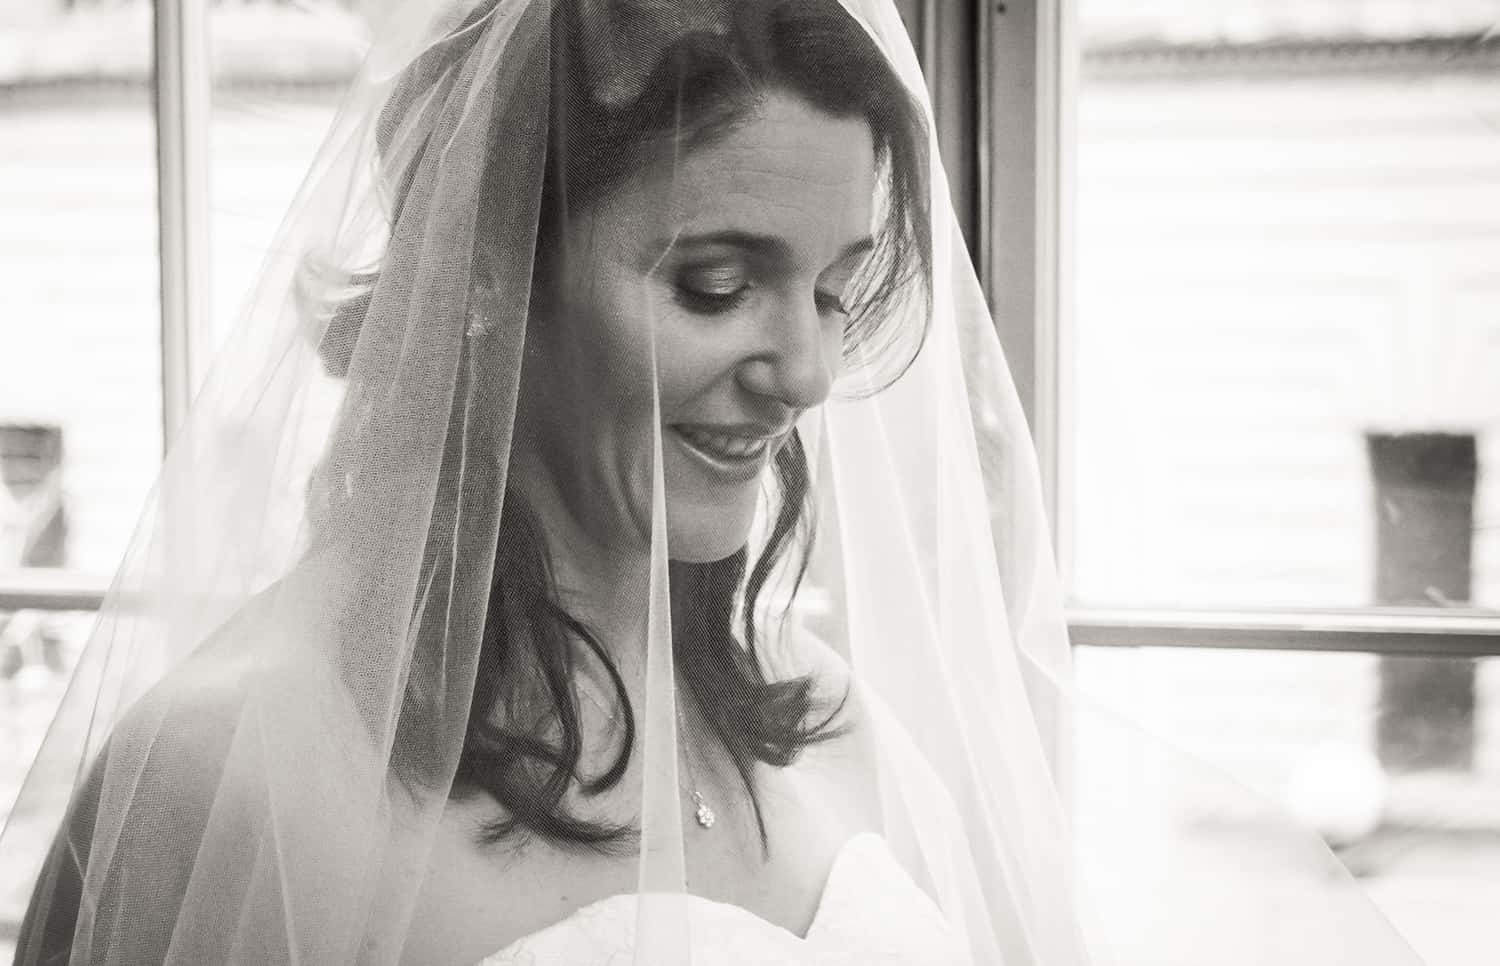
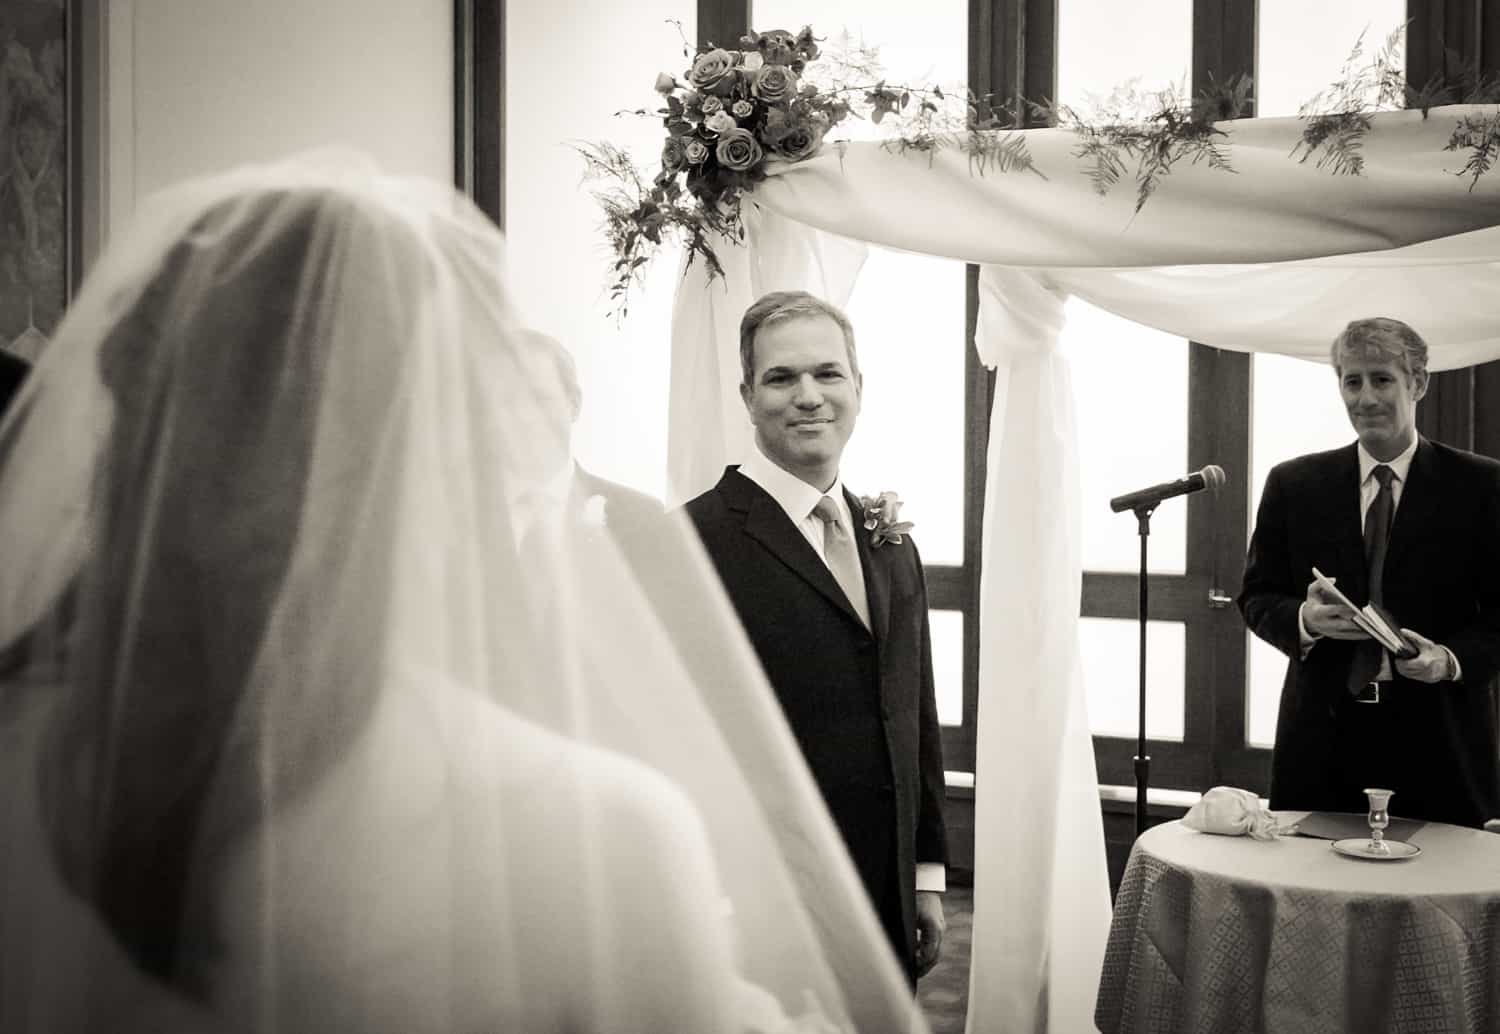
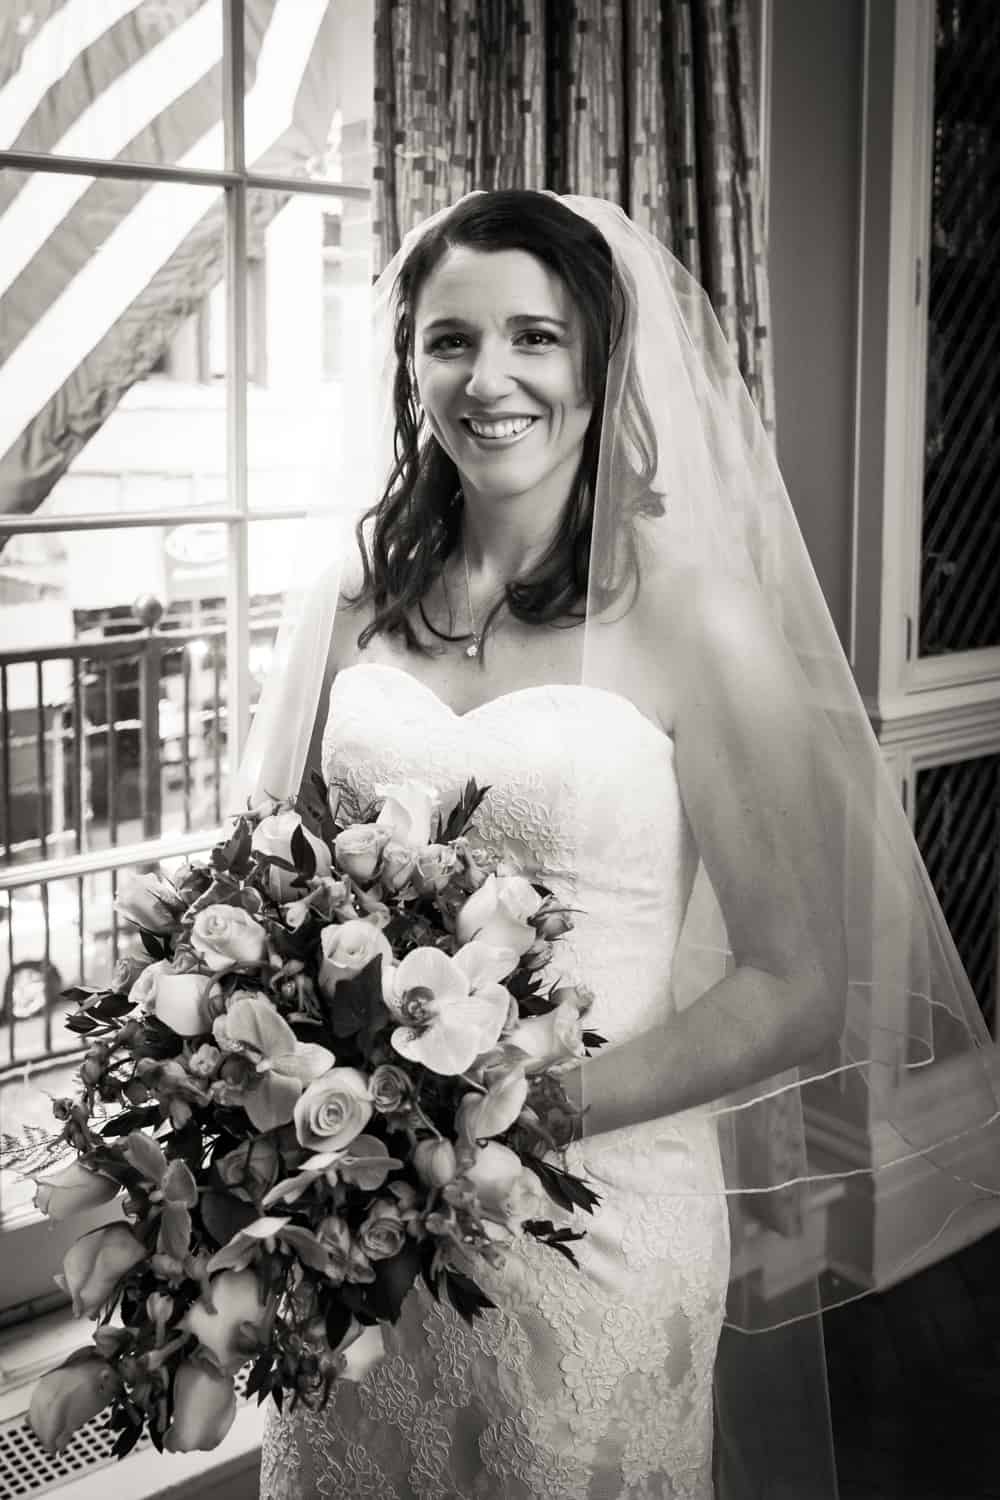
One more thing: I always give my clients a black and white version of each color image. When I started taking photos, black and white was the only way I saw the world, and it is still my favorite tonality. I just feel that by removing the color, you are able to distill the image to its most basic message for the viewer.
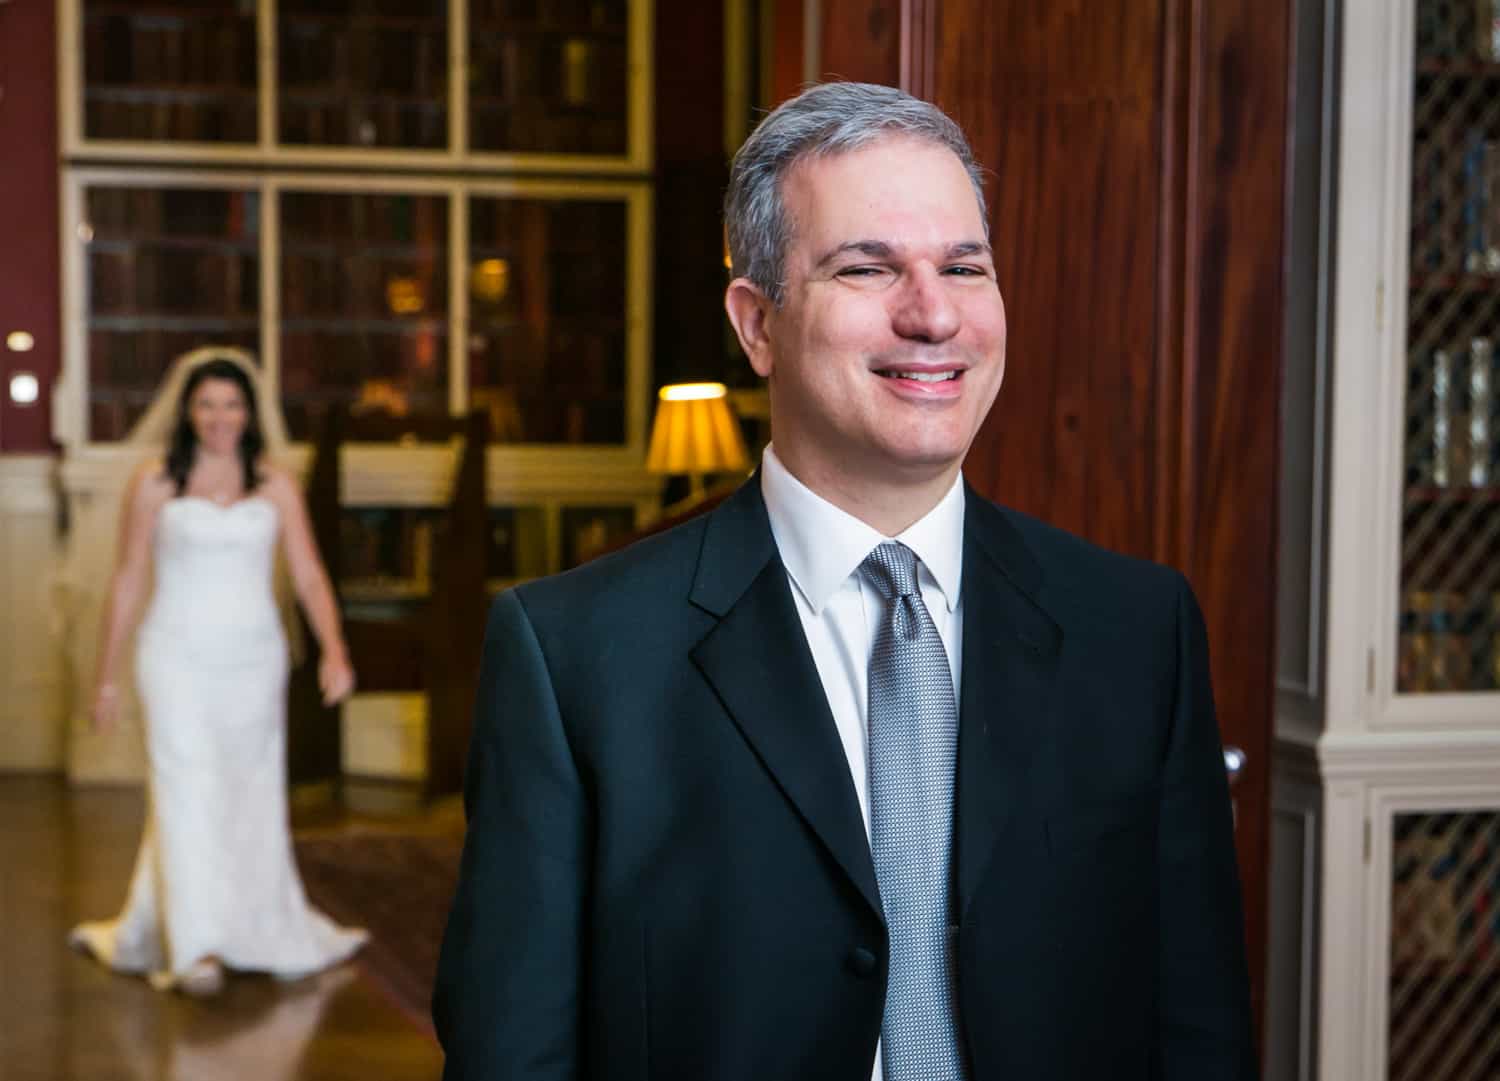
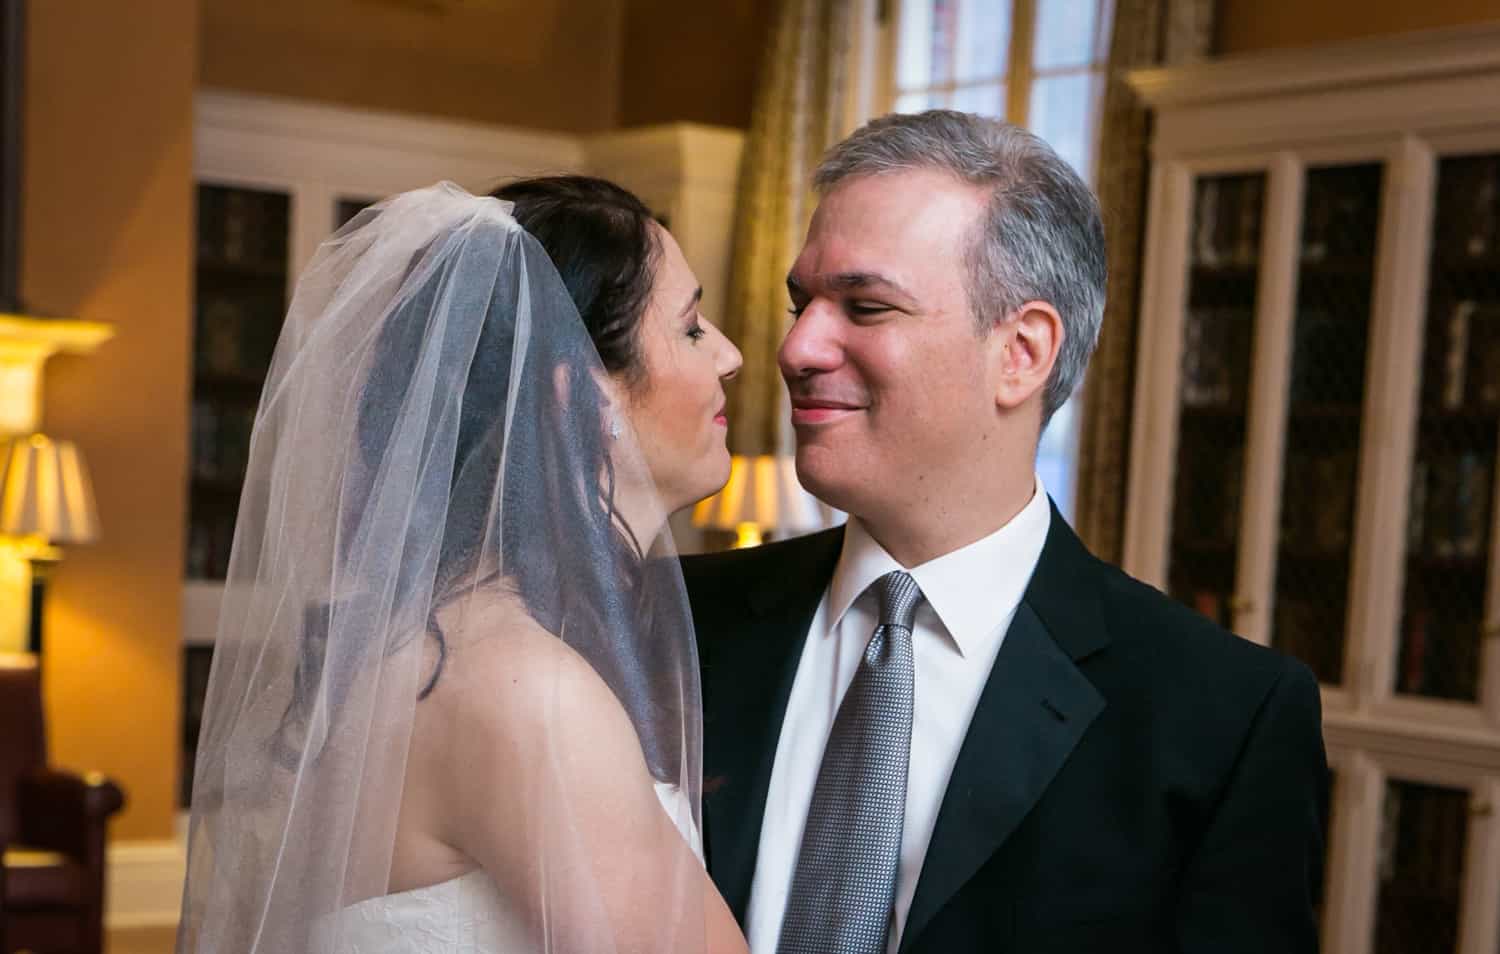
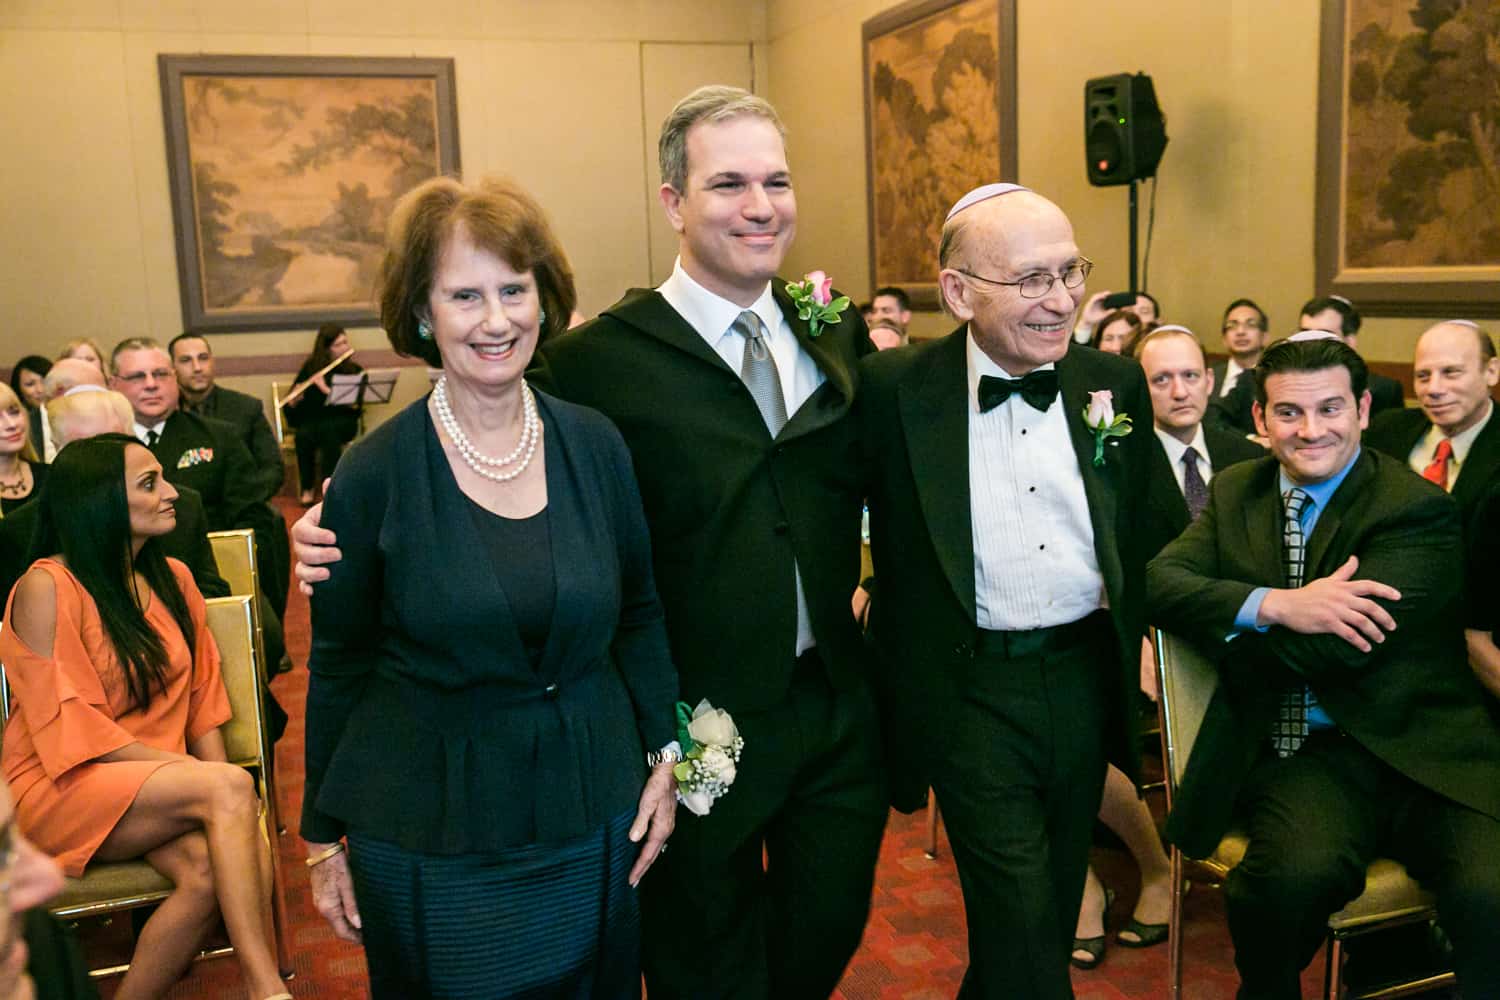
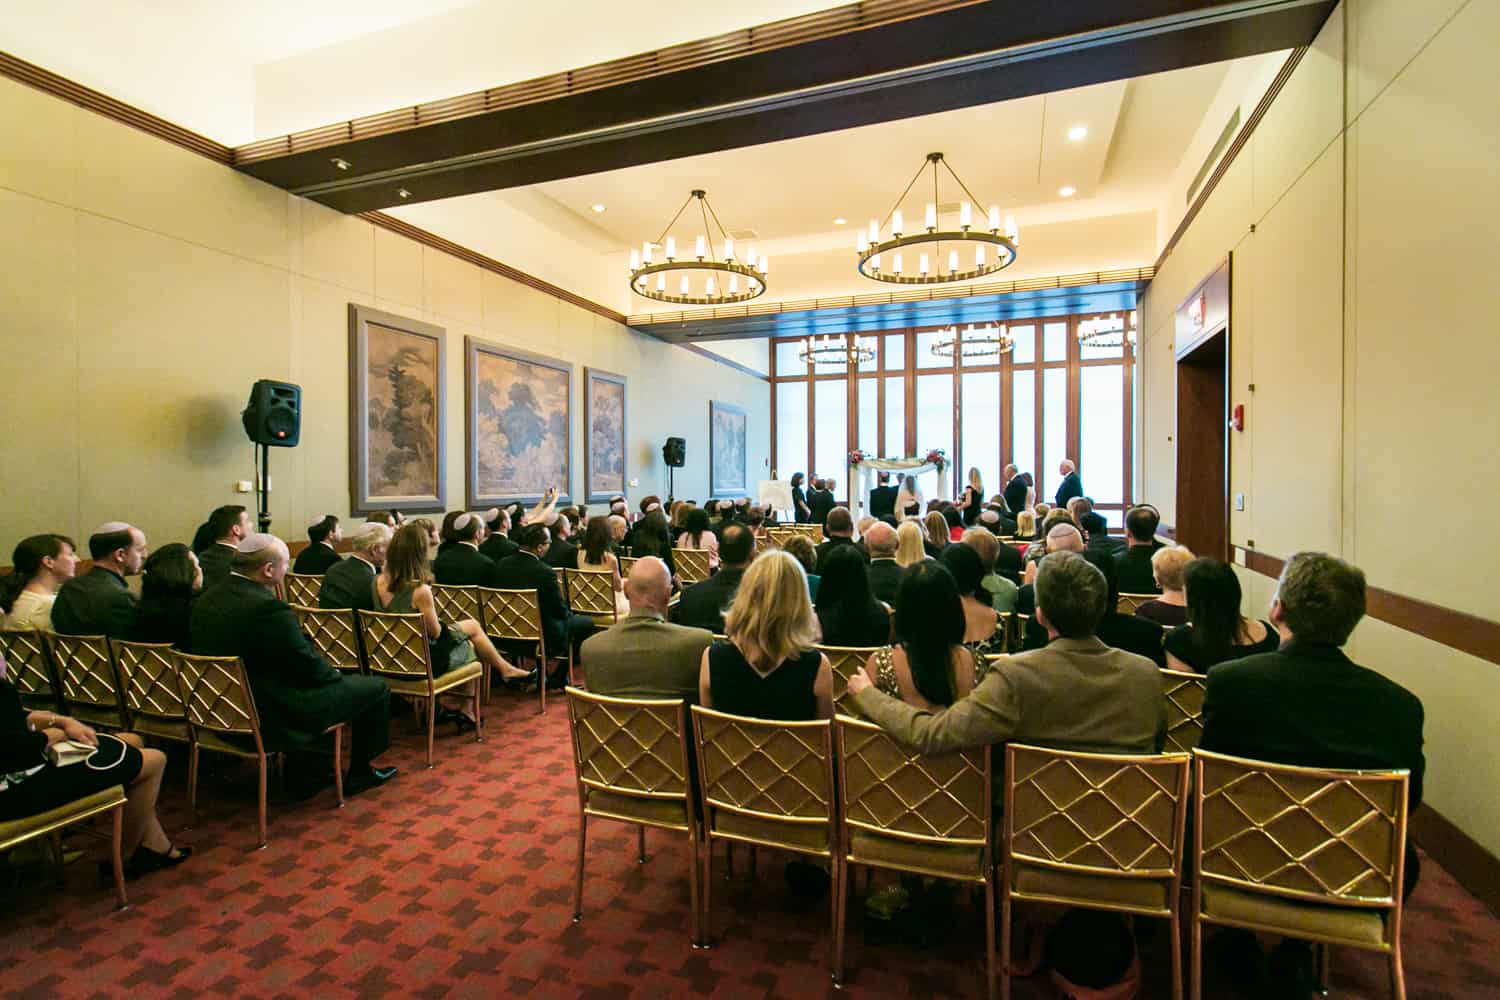
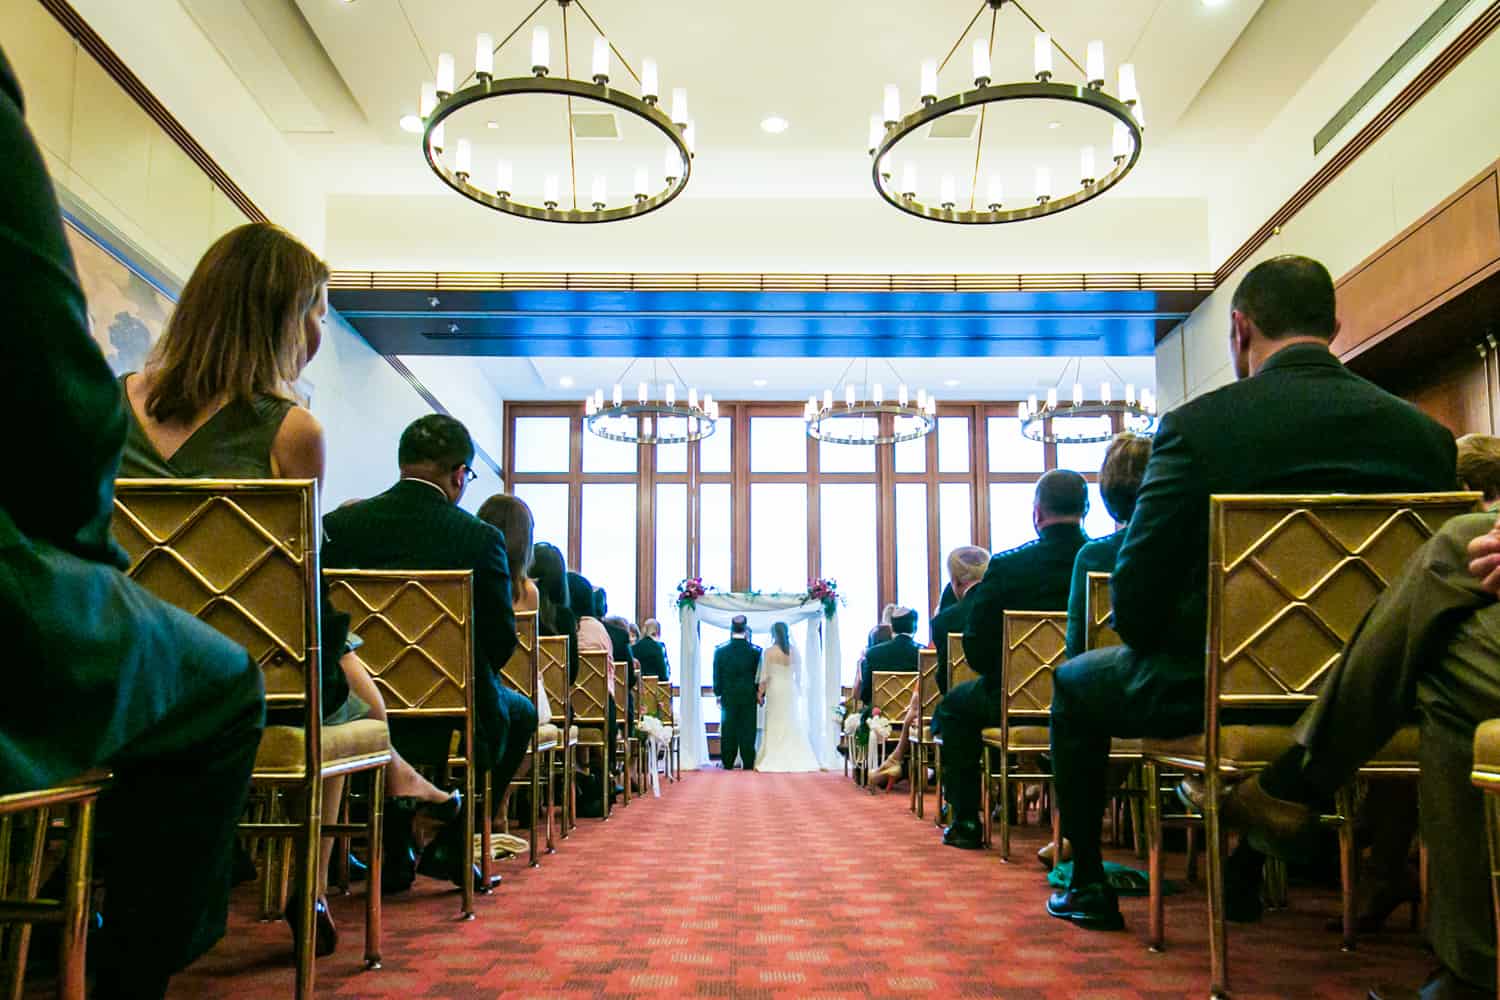
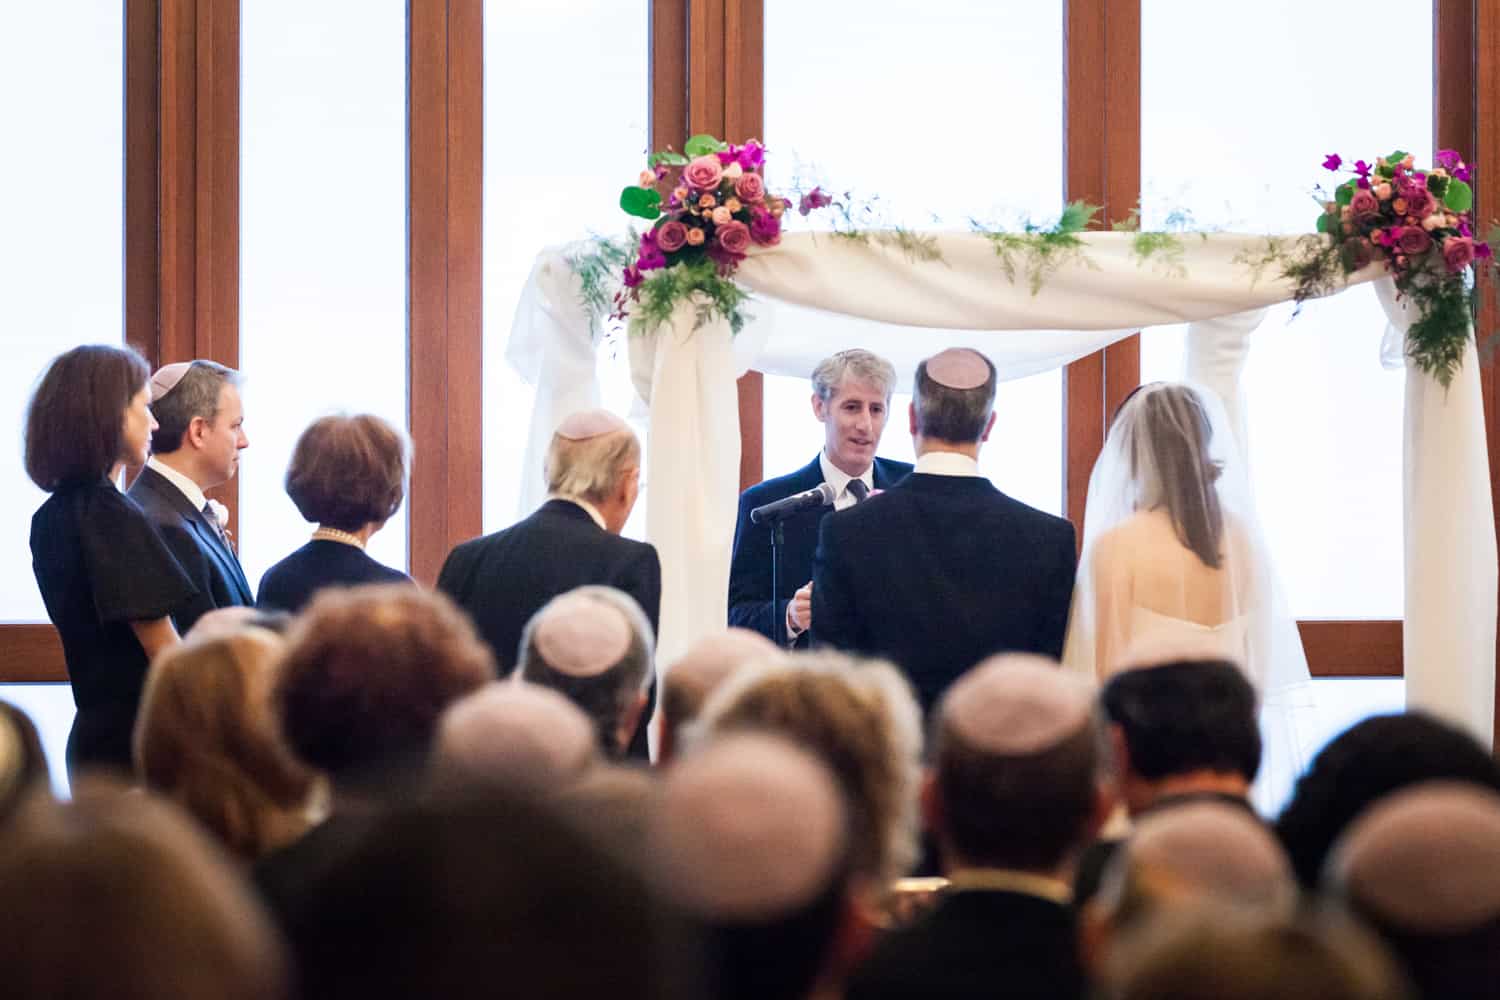
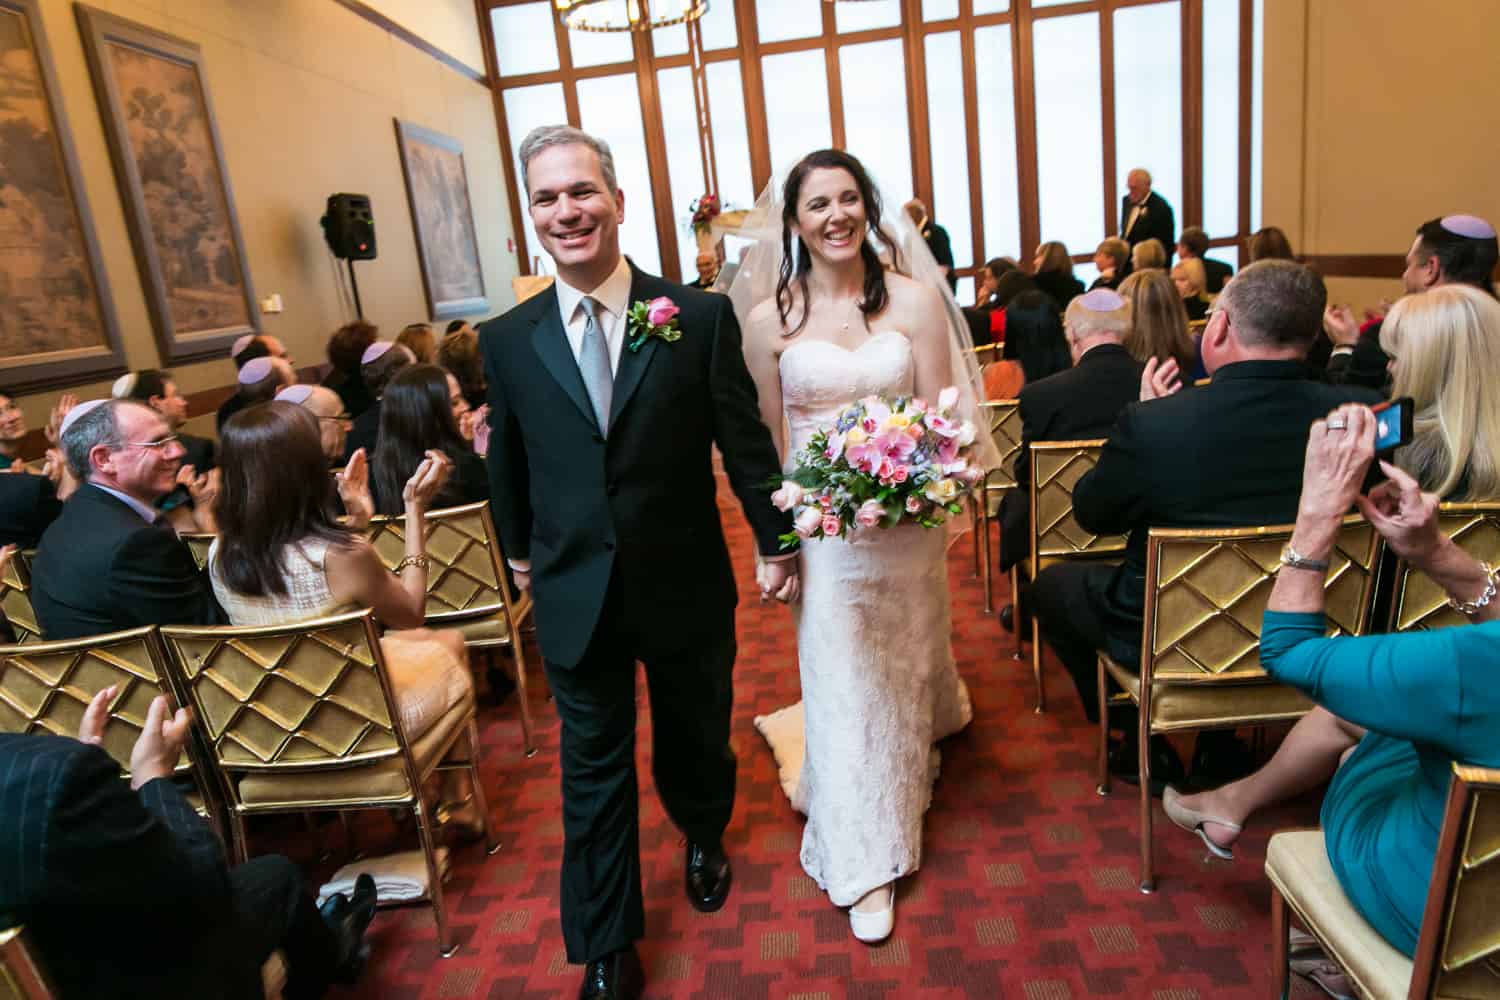
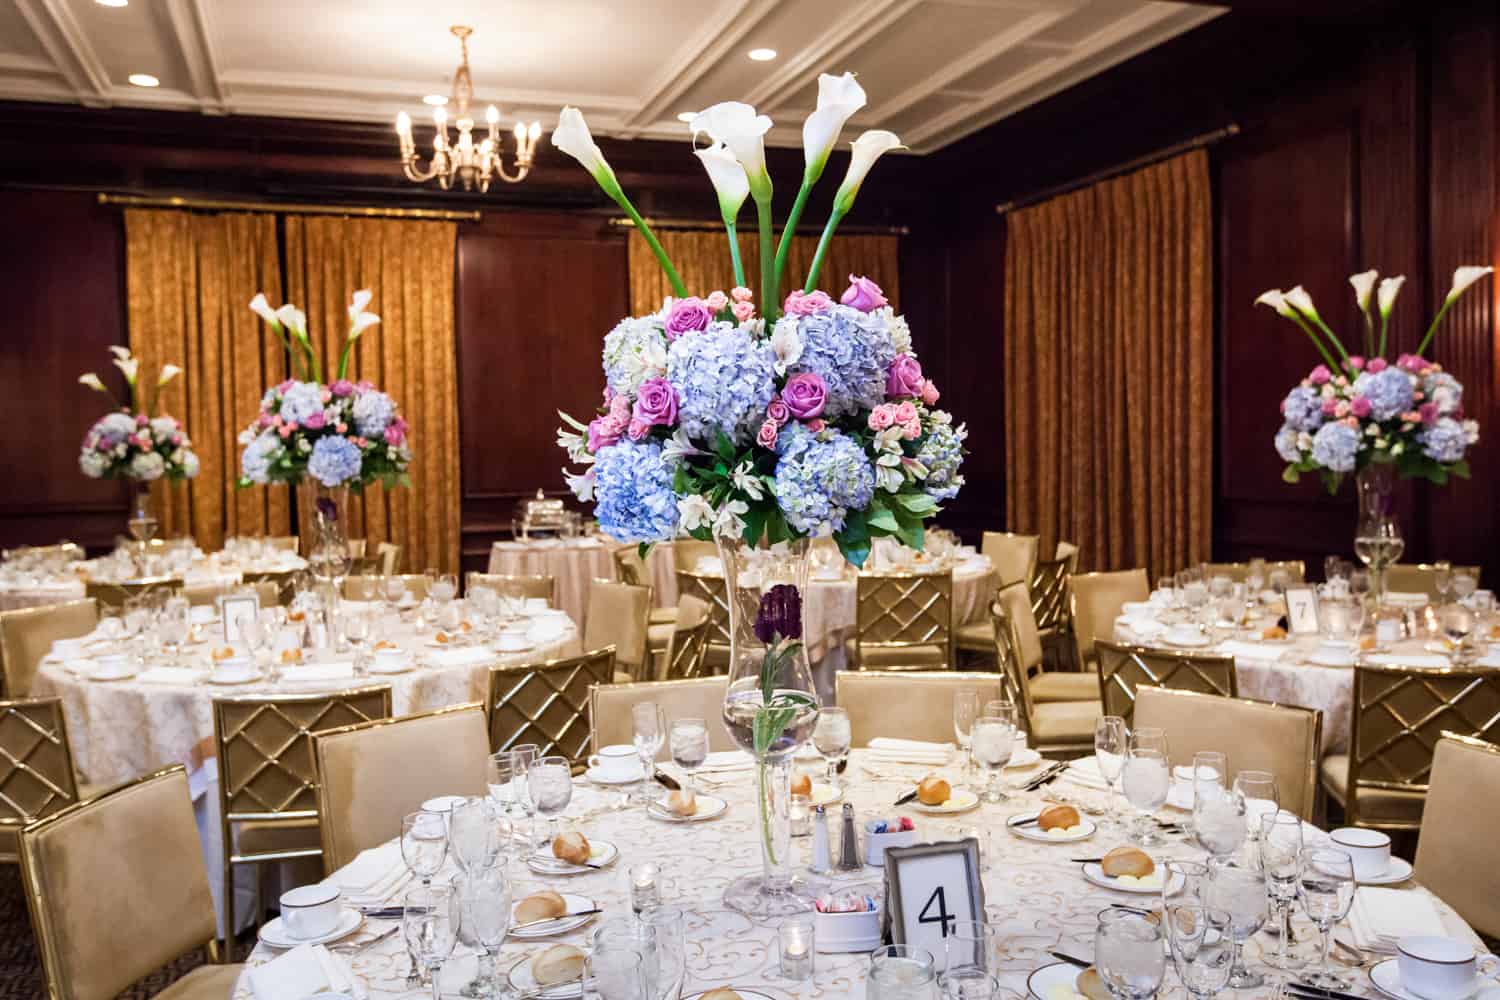
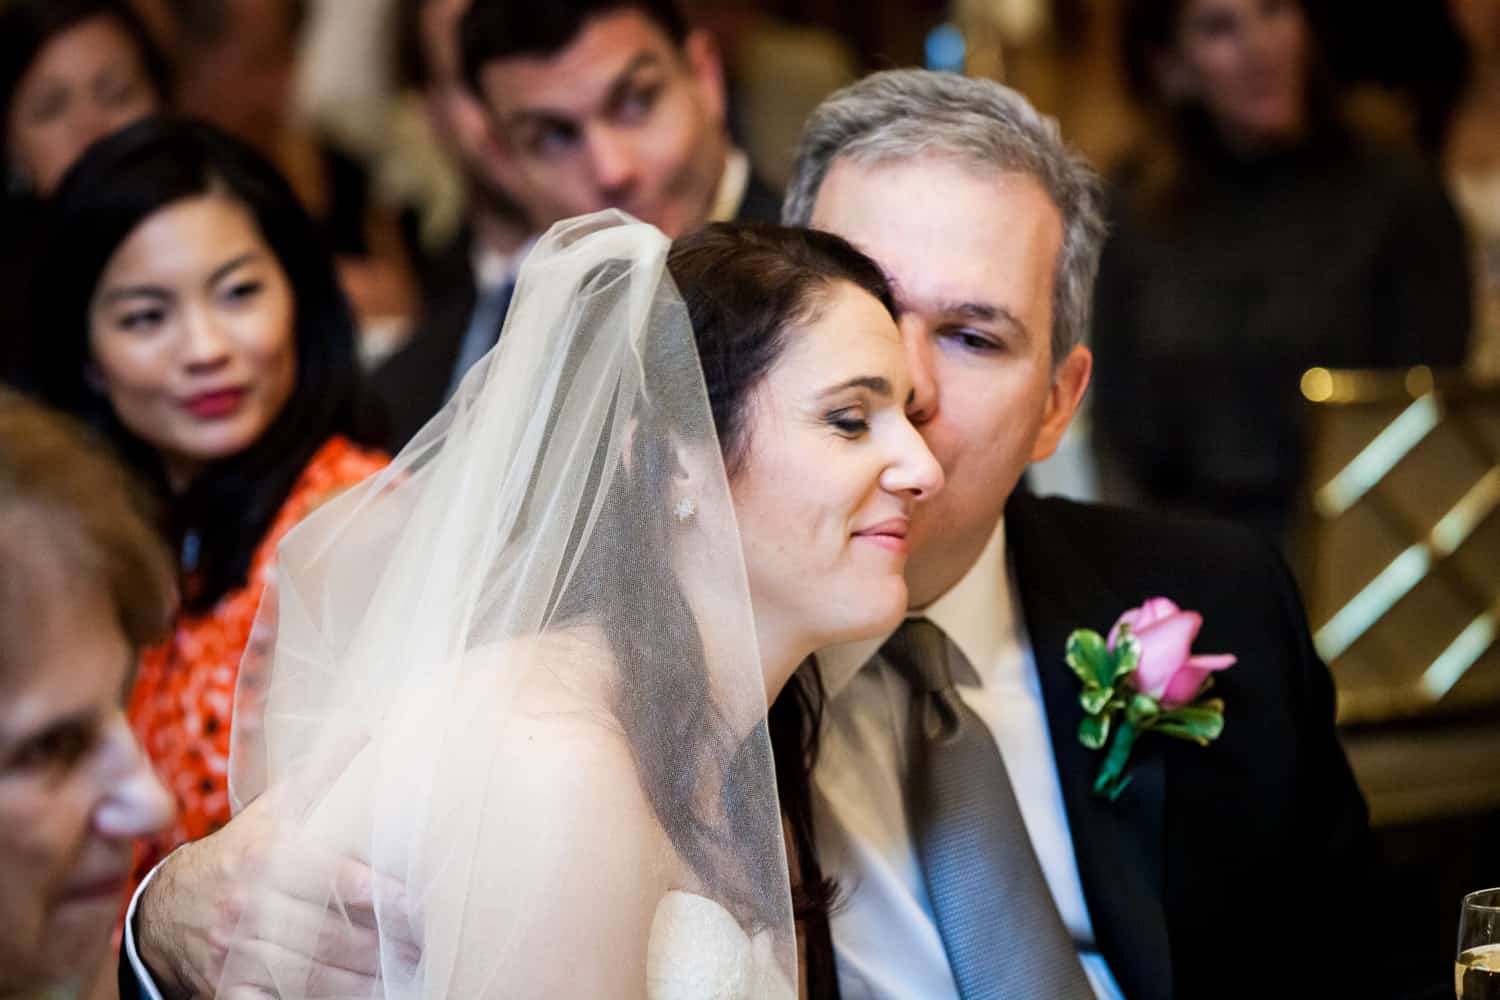
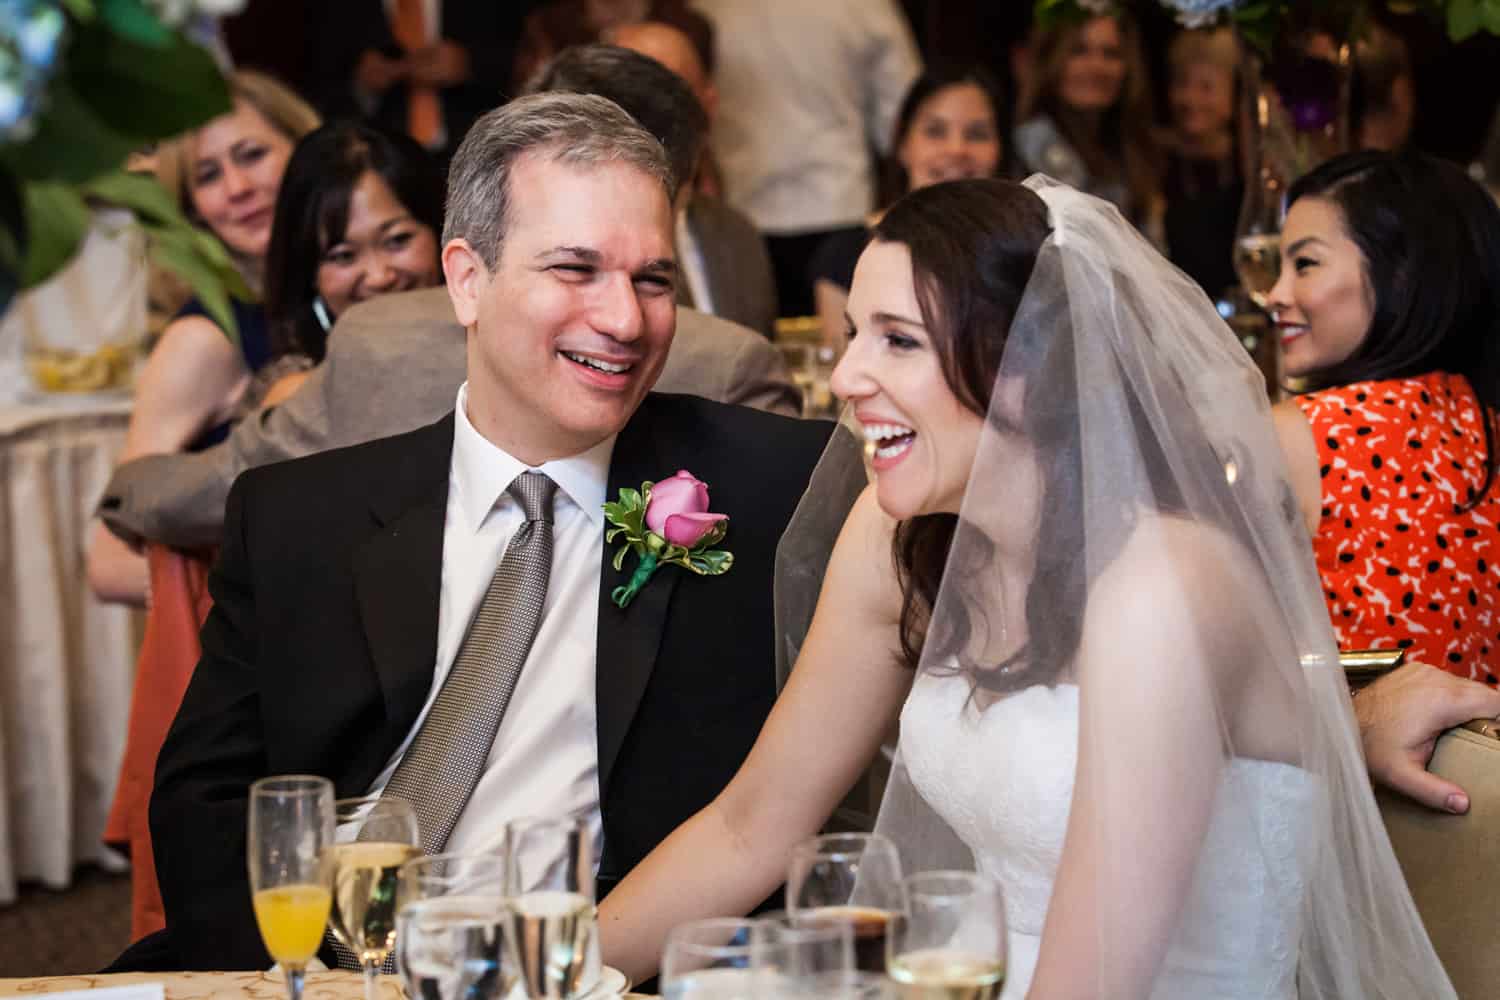
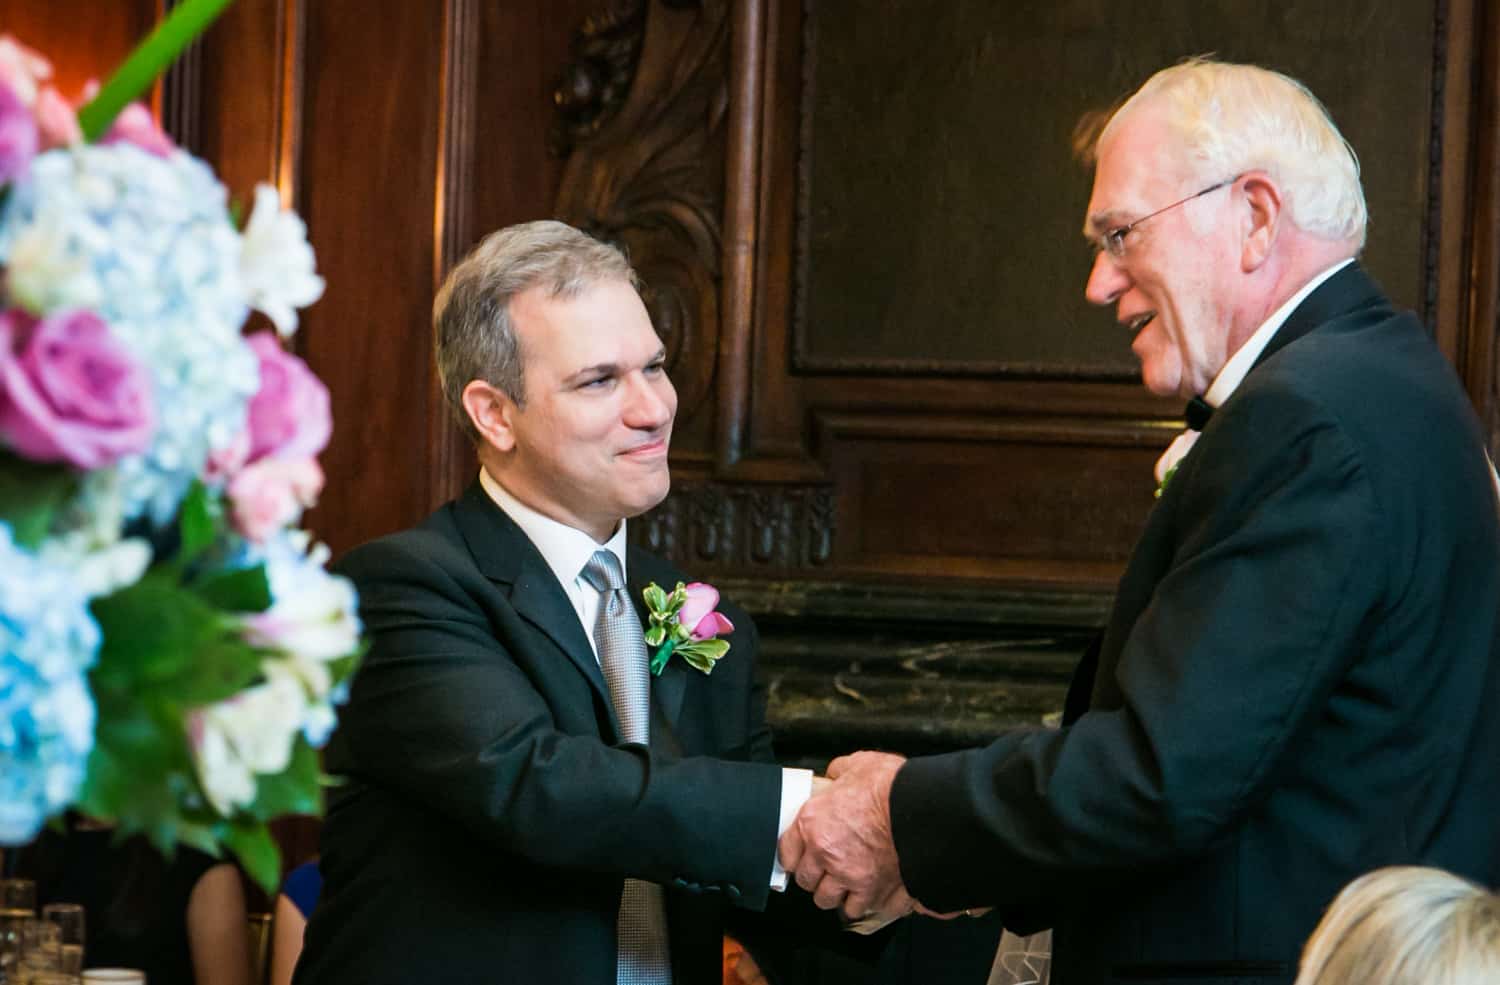
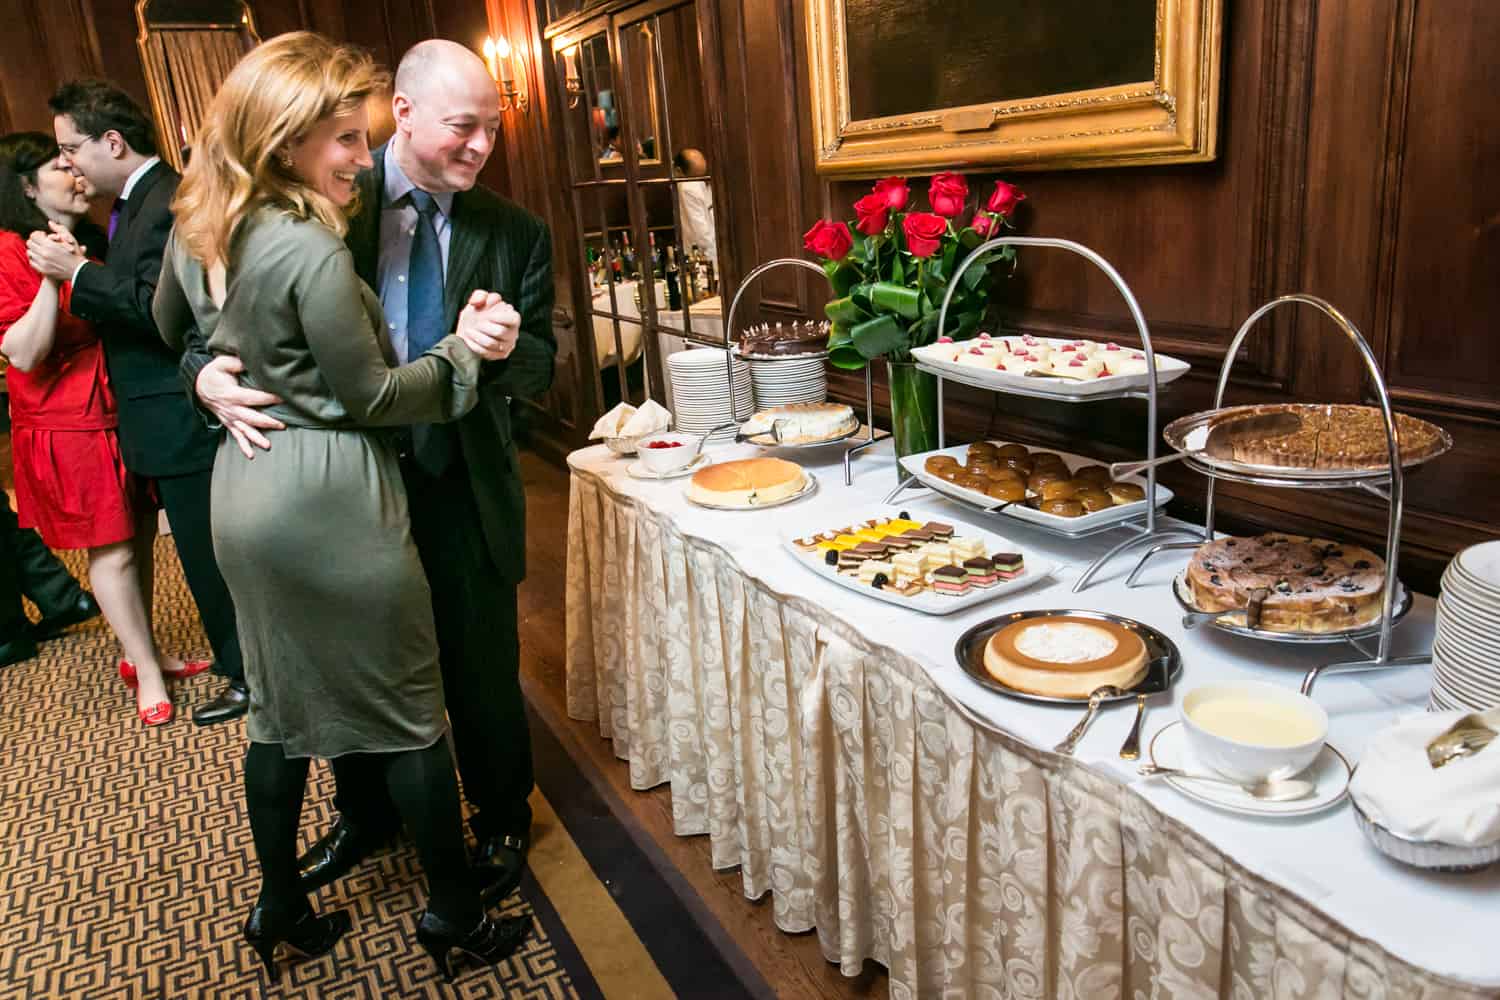
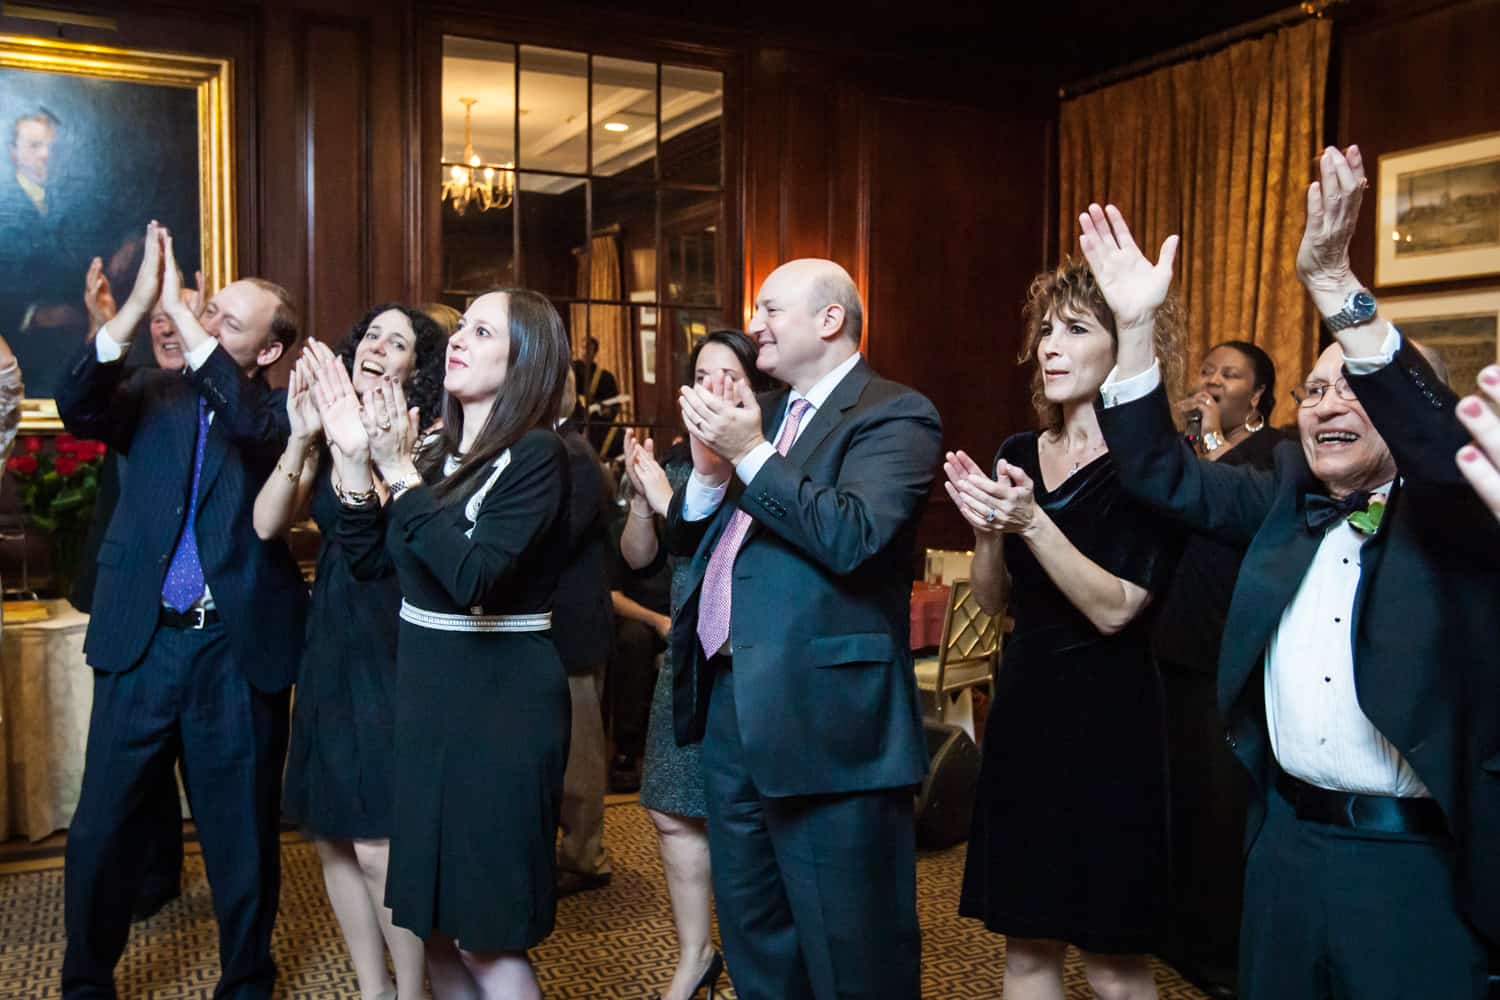
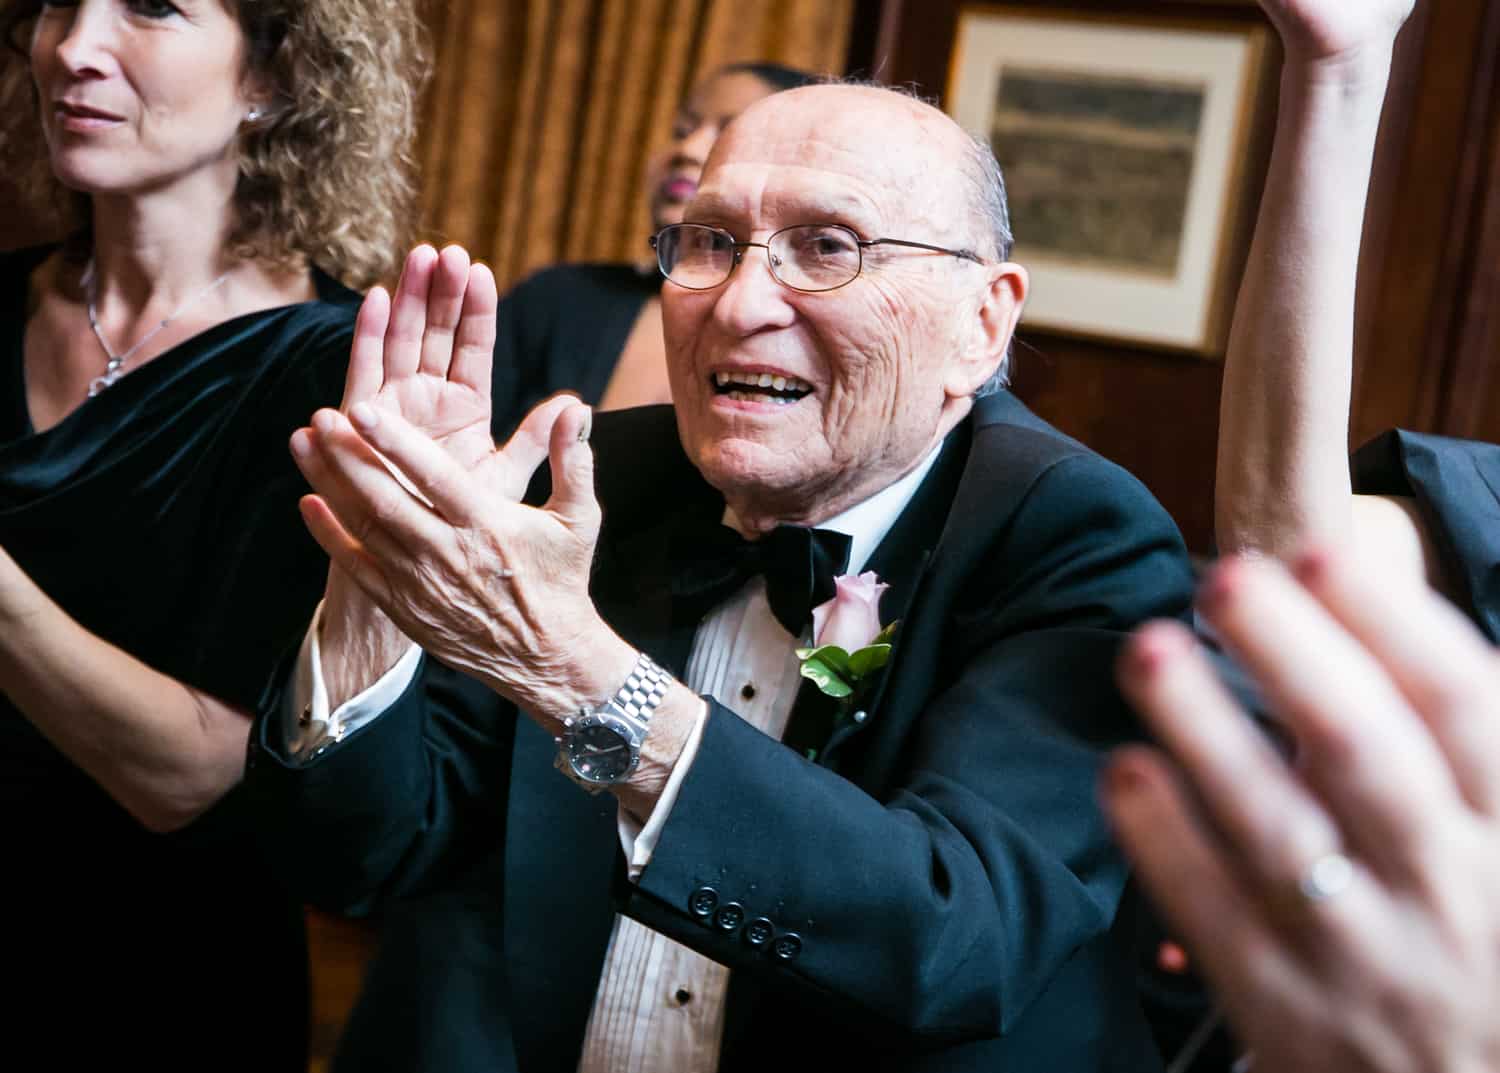
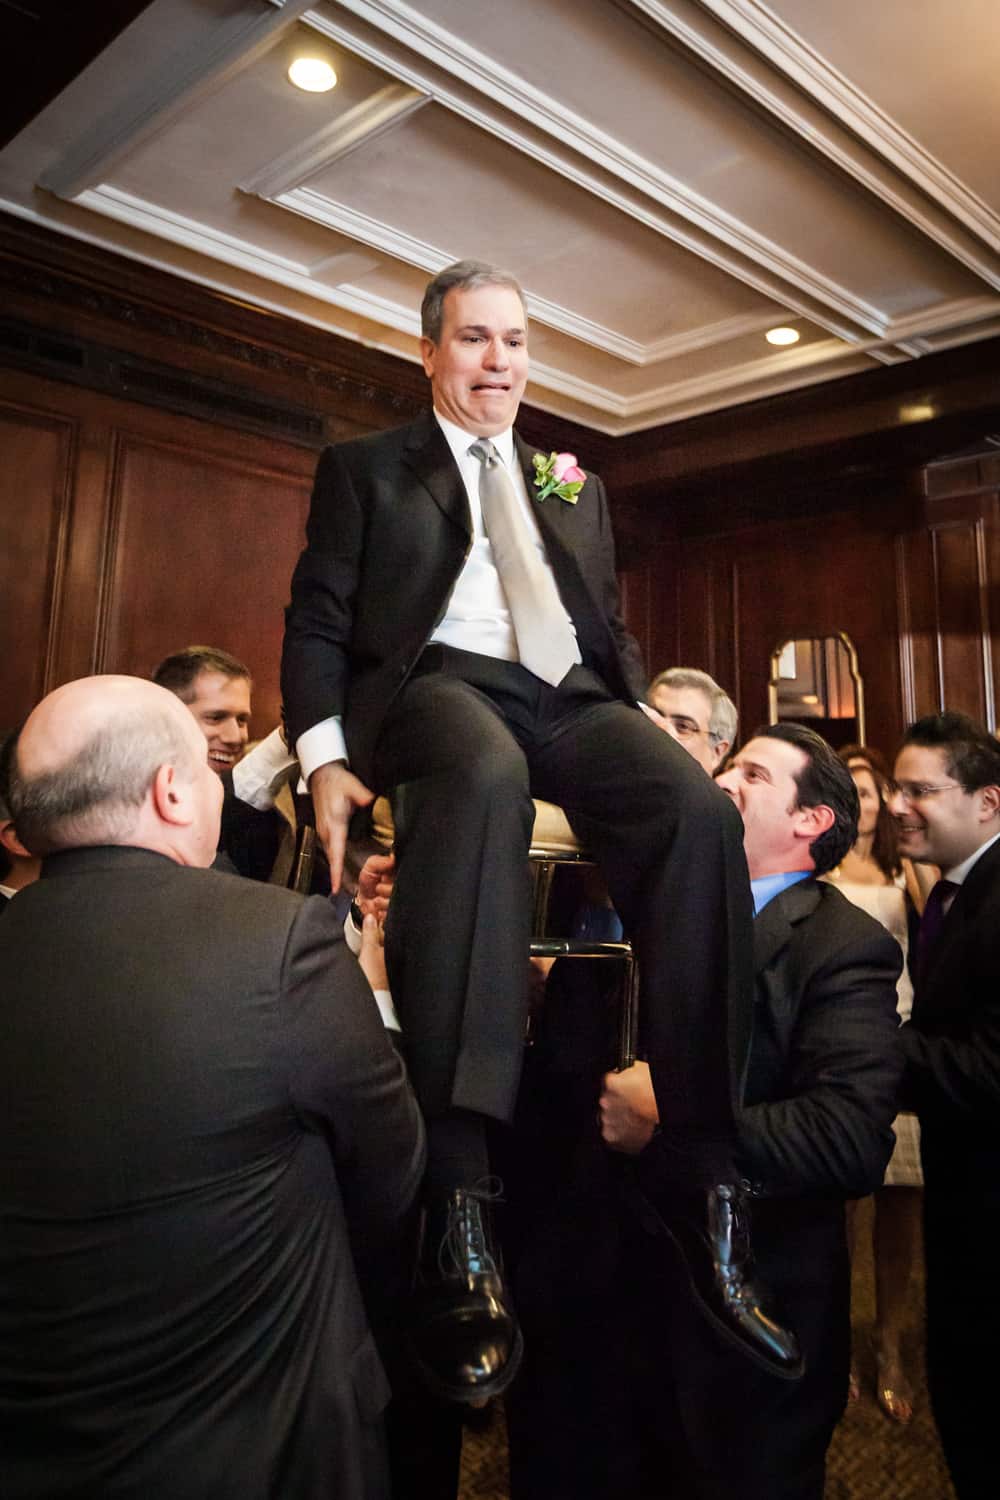
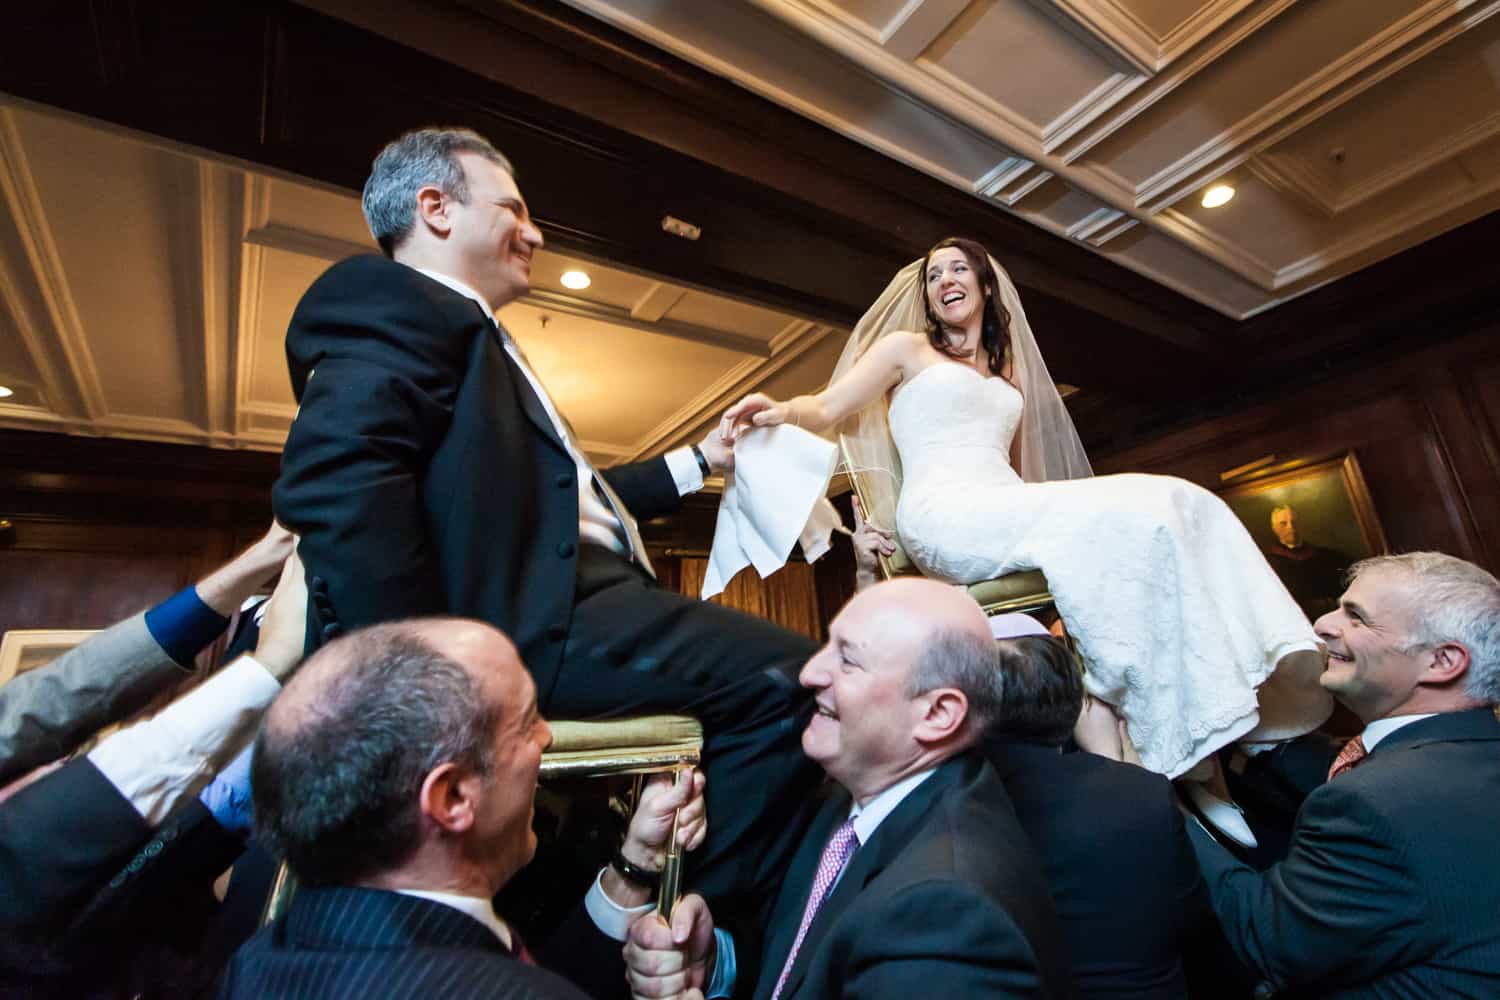
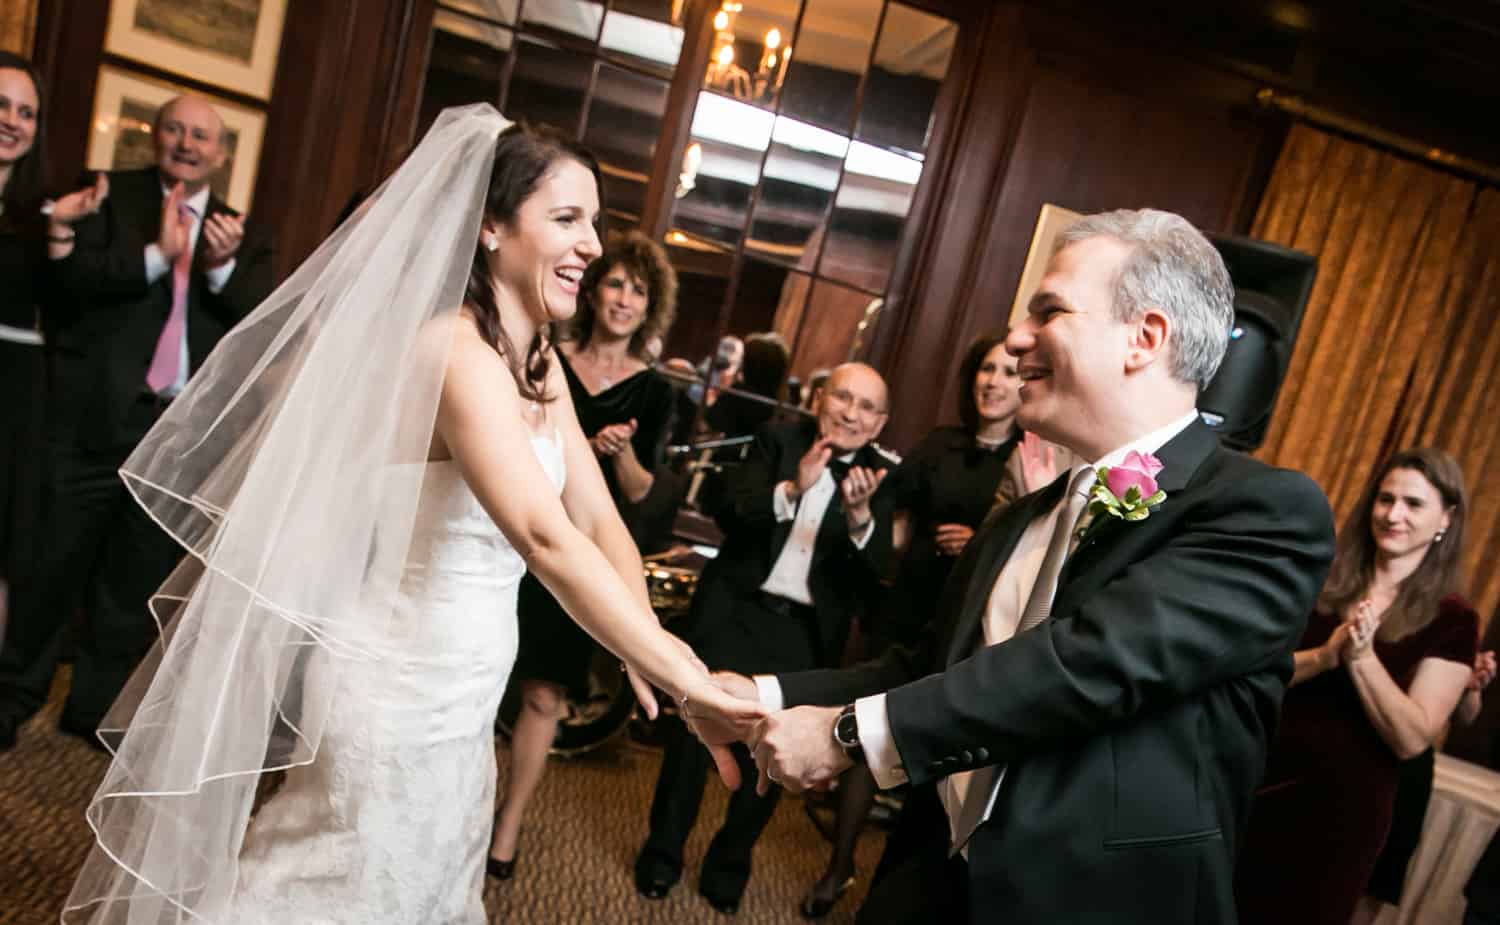
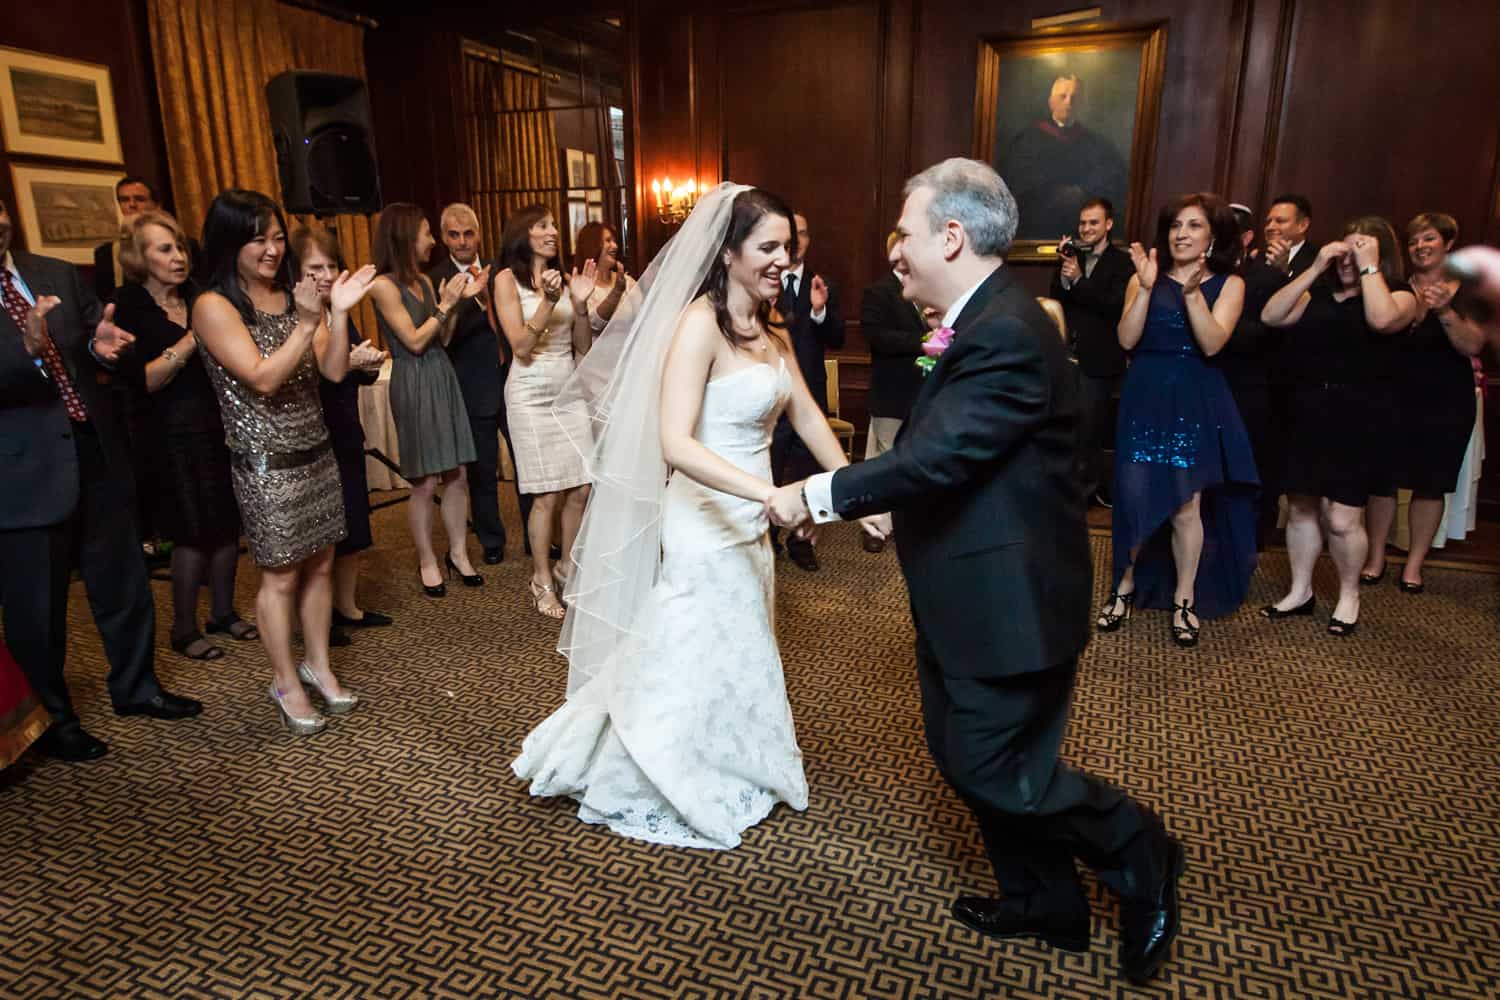
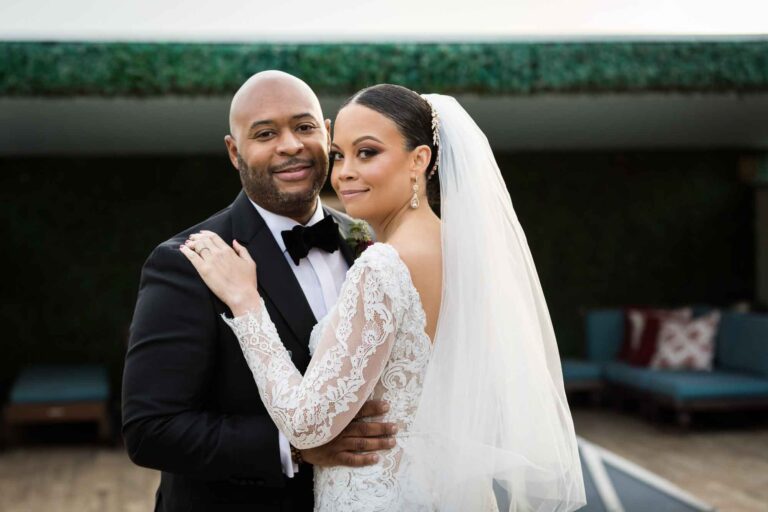
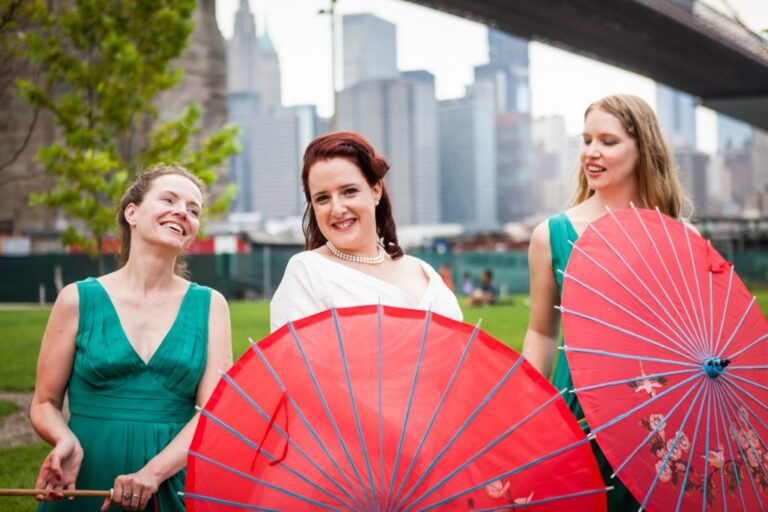
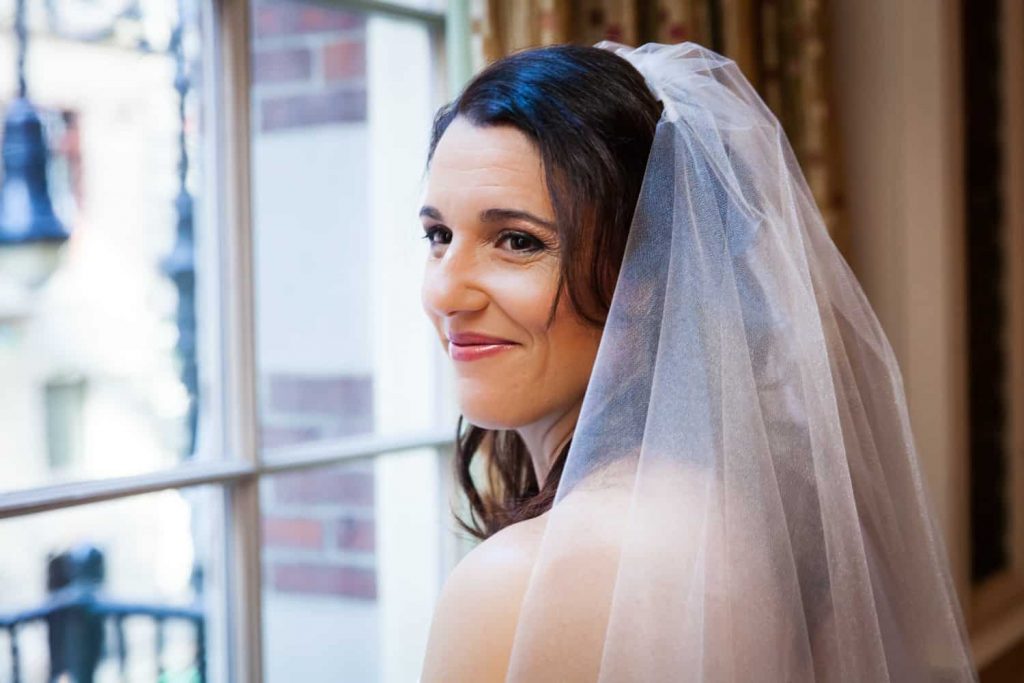
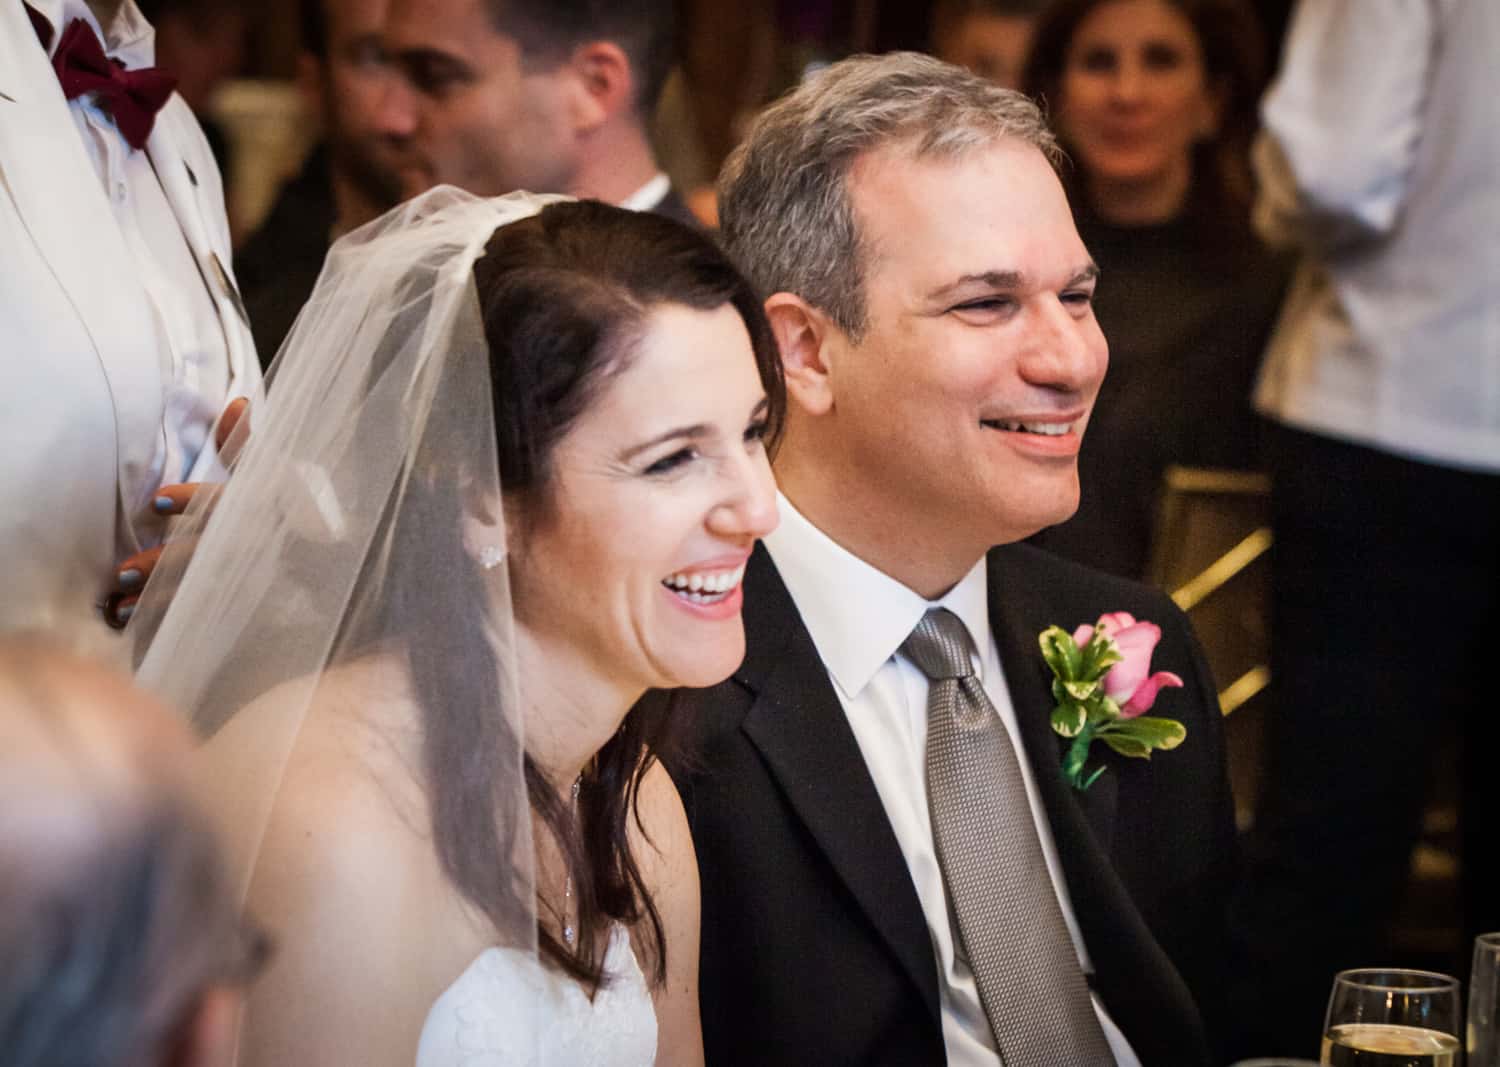
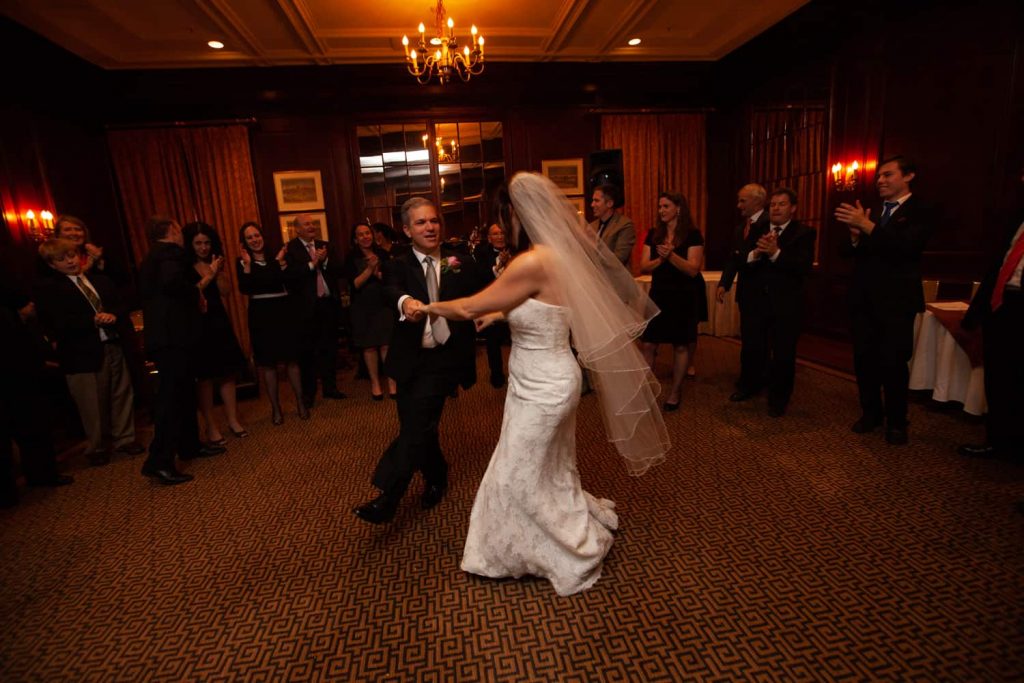
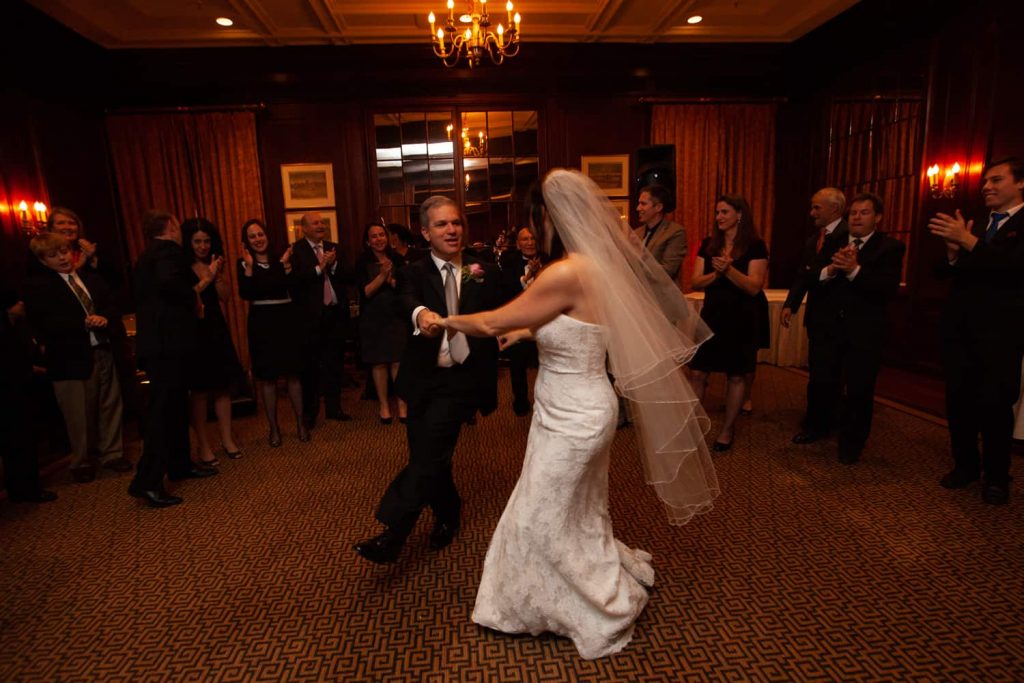
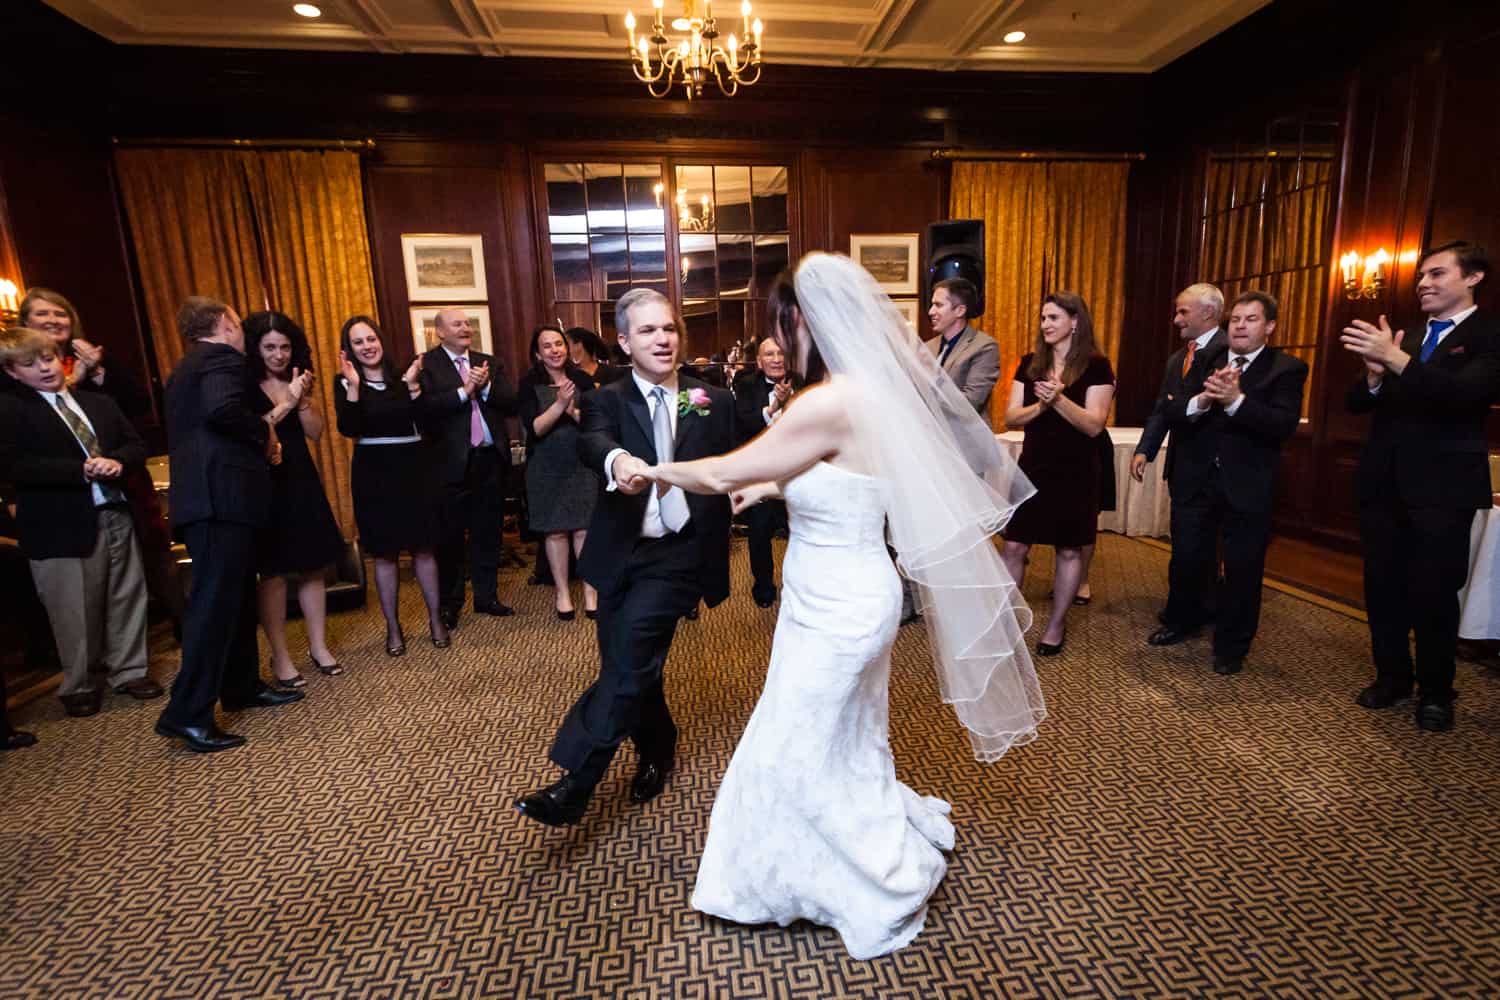
If you would like to hear more about the technical side of the editing process, please feel free to drop me a line. I love to talk shop! Enjoy the photos from Bridget and John’s wedding that compliment this post. They are a lovely couple and their wedding at the Harvard Club was truly beautiful.
If you would like to see more images from my wedding photojournalism portfolio, then please visit my website — KellyWilliamsPhotographer.com