Finding the Perfect Exposure for an Office Portrait
Or, all of the preparations that went into making a dental office with a dropped ceiling look good…
Last Tuesday I took a trip to the far northern reaches of Westchester to photograph the office of Bridgham Barr Orthodontics (BBO). These are the orthodontists I wish I had as a child. Dr. Barr, Dr. Bridgham, and the entire staff are a fun group who clearly love both their jobs and their patients. The caring nature of my client, however, was not reflected in their online presence. Indeed, the company’s website looked out of date, and the photos had inconsistent lighting making it look like a jumble of images rather than a cohesive marketing tool.
BBO hired Tamara Olson Designs to redesign their website, and I in turn was tasked with capturing the authenticity of the office through documentary-style photography. Along with photos of the office at work, there were 14 staff portraits to shoot plus a number of detail shots.
We started the project with an in-depth consultation. Normally I would meet with the client in person, but since the BBO office is located an hour and a half away in Somers, New York, we elected for a virtual meeting via Skype. We went over the good and bad of the photography used in the previous website and put together a proposed shot list and time line for the day. In addition, we coordinated on a Pinterest board that we could use to ensure that everyone had the same photographic vision for the website. During the call, Dr. Barr and Amy the office manager kindly carried the laptop around the office, and I was able to select the best spot for the office portraits — a hallway just to the left of the reception area (more on that later in the week).
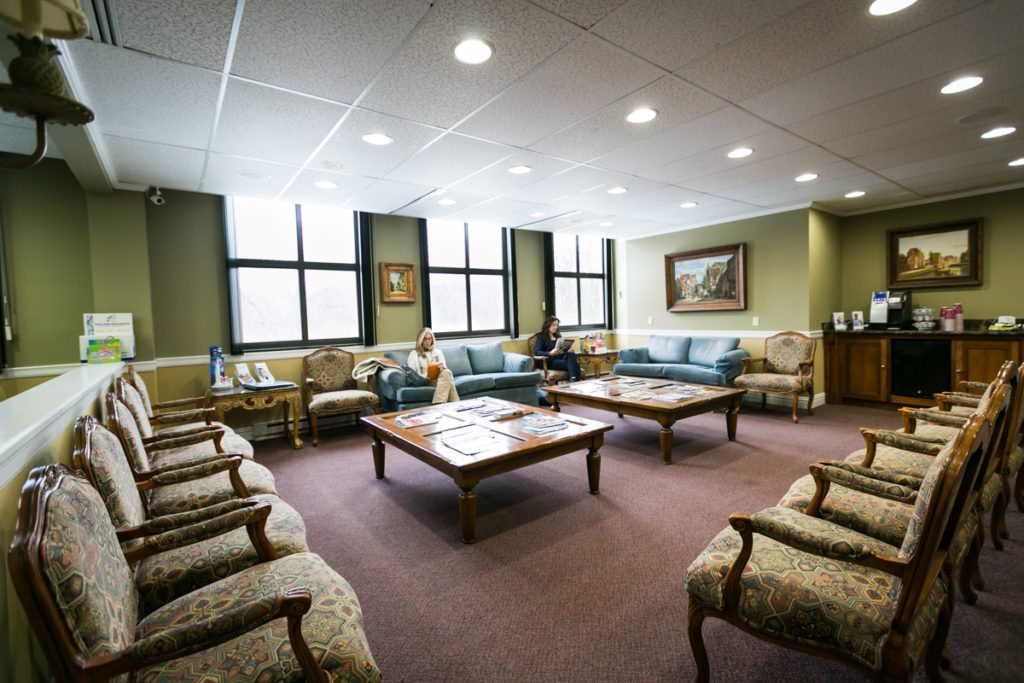
During the ‘laptop tour,’ it was clear that the main technical issue I would face was that the waiting room. The space, while lovely, was a fairly dark room countered by brightly lit windows across one wall. This means the exposure calculation for the shot would be very uneven with one side much brighter than the other, and I would have to use additional lighting, exposure bracketing, or high dynamic range (HDR) to take a correctly exposed image.
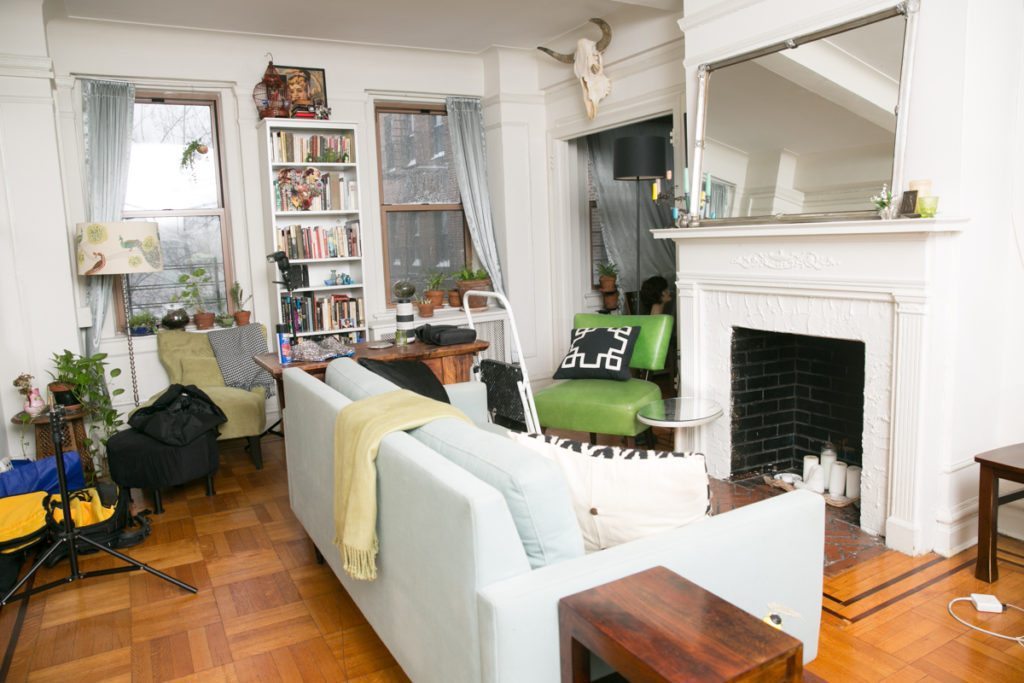
Luckily, the lighting situation in my apartment is about the same as that of the BBO office. Where I live and work is basically a cave with one wall of windows. With Snowmaggedon 2016 approaching the Saturday before the shoot, I decided it was a good a day as any to test out the shot beforehand. I set up my camera on a tripod at one corner of my living room and tested my exposures using flash, exposure bracketing, and HDR. My settings were f/4.0 and 1/125 with an ISO of 200. Here is the result using flash alone:
It was clear that flash (in this case both an on-camera flash and a light set up in the far right corner of the room) was not going to light every corner evenly. The resulting image looks oddly lit to me, and more importantly, you notice the flash rather than the ambient light. This was not the natural look I wanted to achieve. Thus, it came down to exposure bracketing or HDR.
Exposure bracketing takes three images – one underexposed, one lit for the midtones, and one overexposed – with the idea to compile the images into one correctly exposed image in the end. Basically if I could over expose the windows but get the rest of the room lit correctly, I could then go in with Photoshop and layer the image with the correctly-exposed windows on top of the image of the correctly-exposed room at large. Here are the results using exposure bracketing:
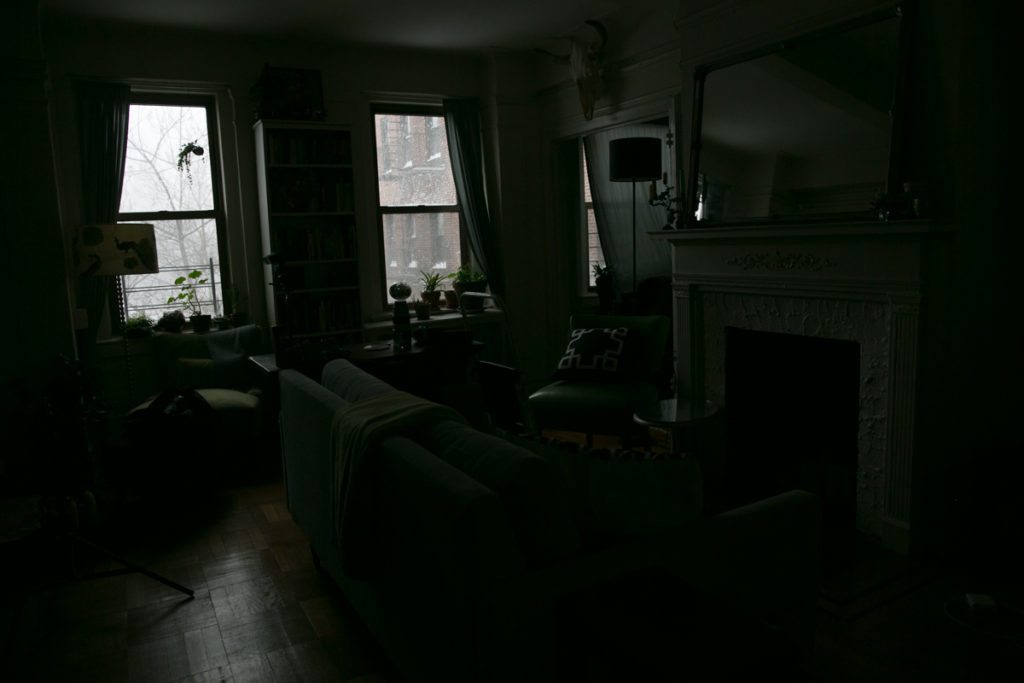
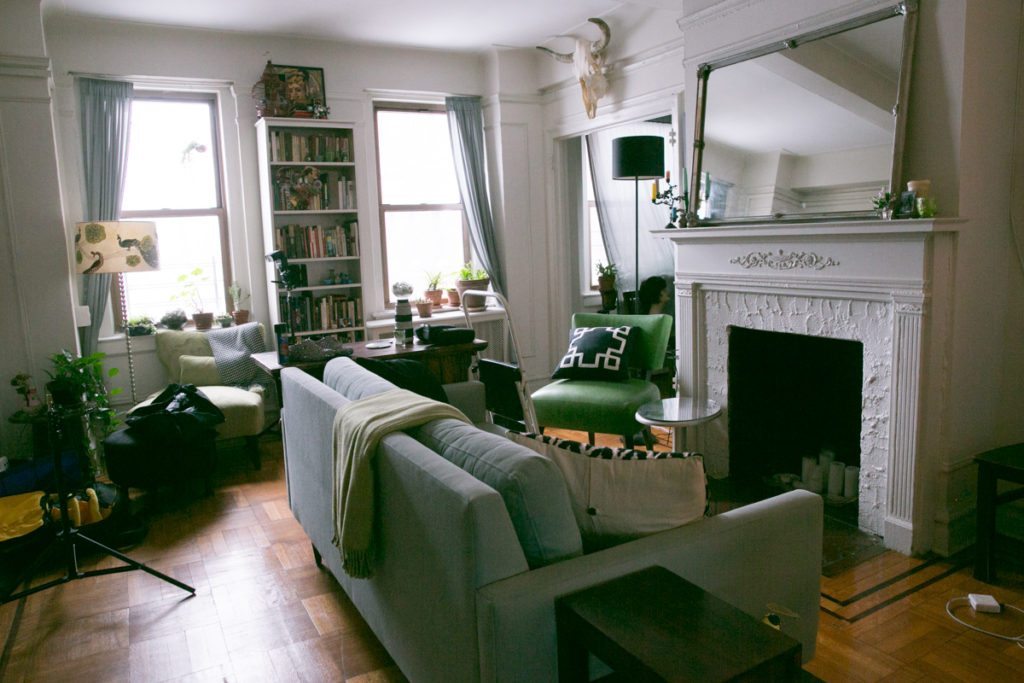
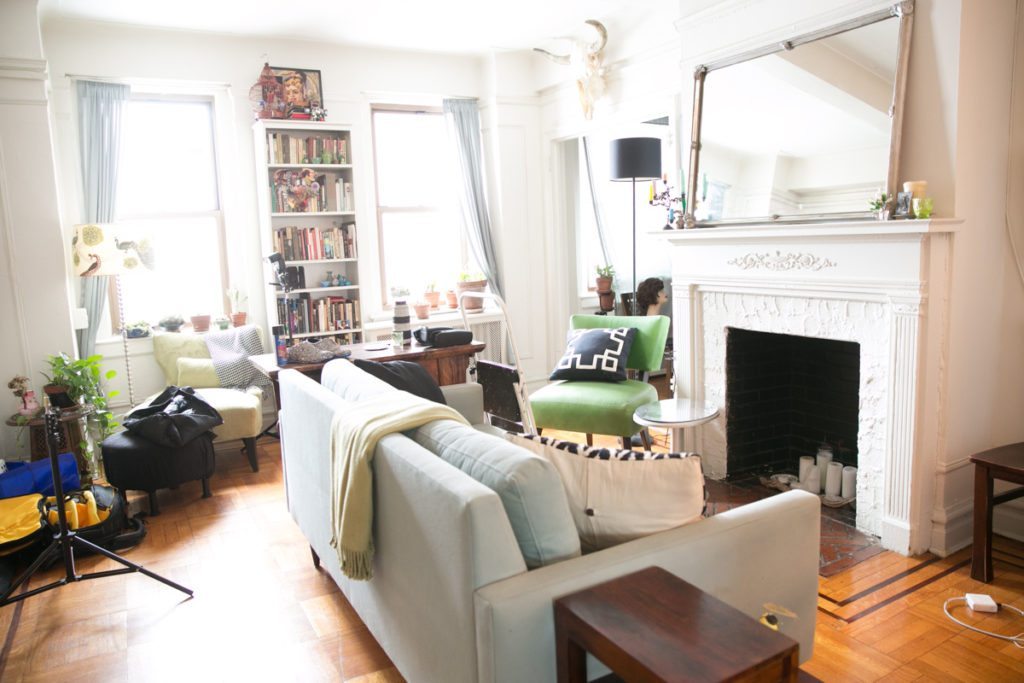
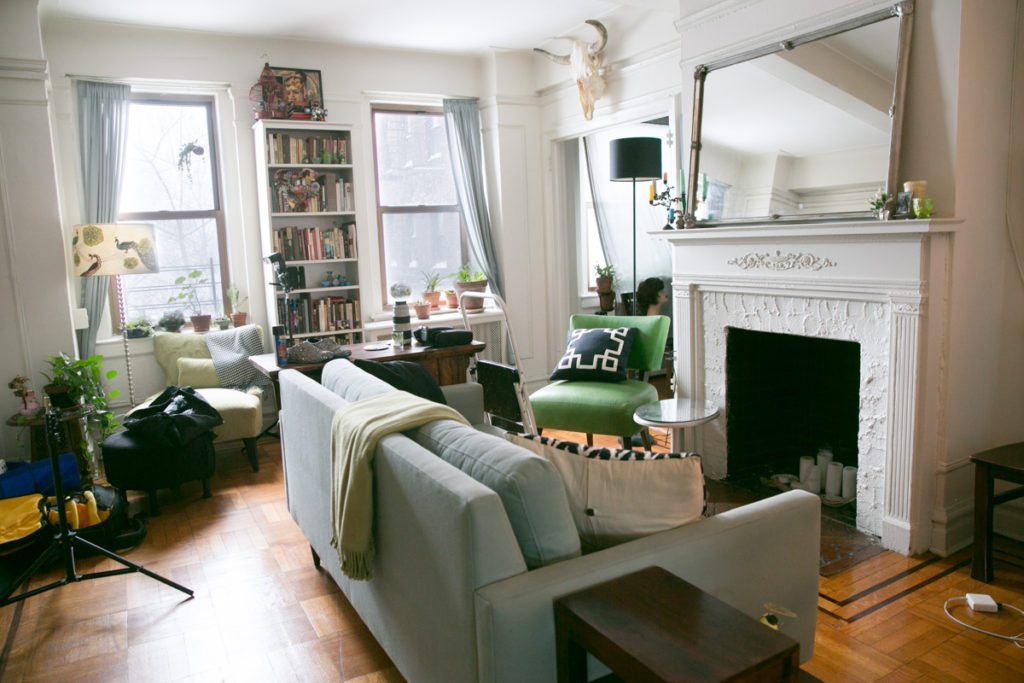
I still wanted to try high dynamic range to see what it could do. HDR offers the convenience of compiling the three differently exposed images for you into one image in the camera. Canon 5D Mark III cameras has several different HDR options, including:
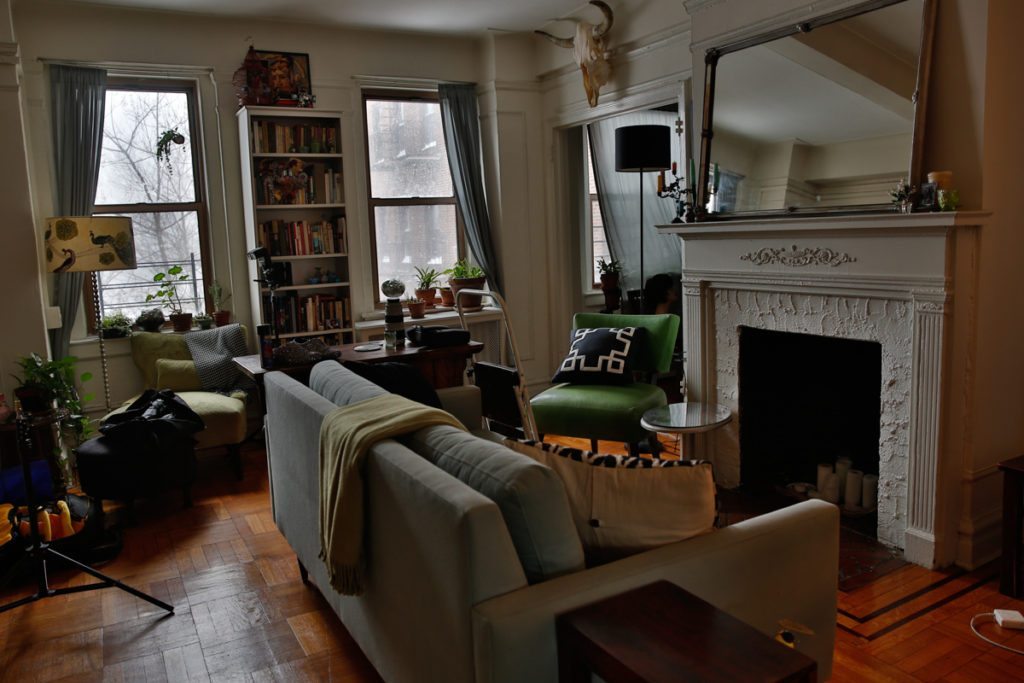
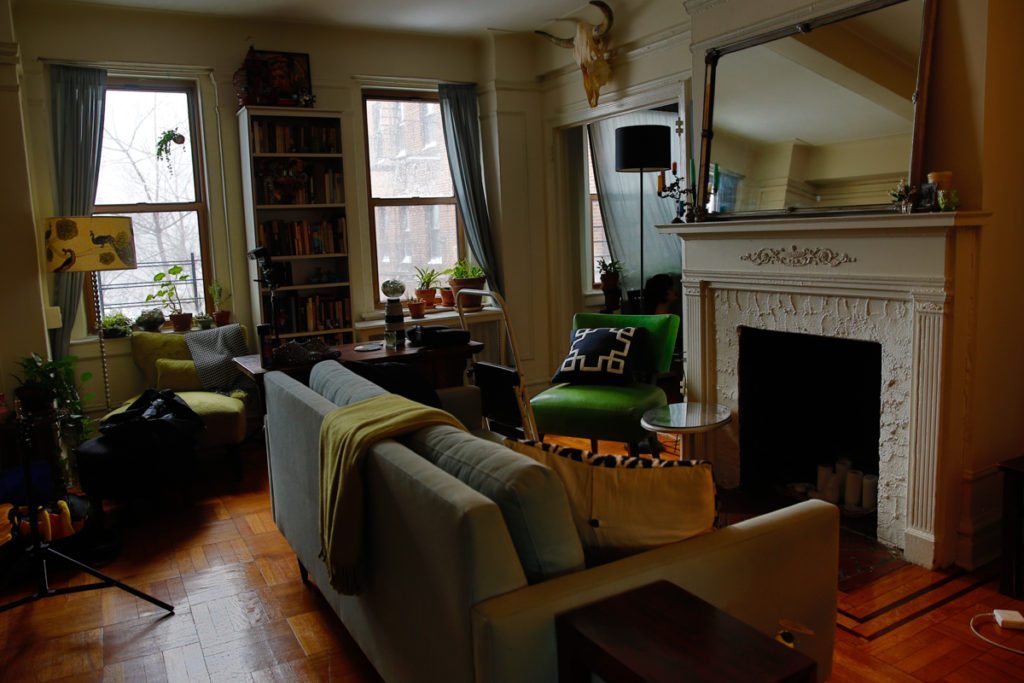
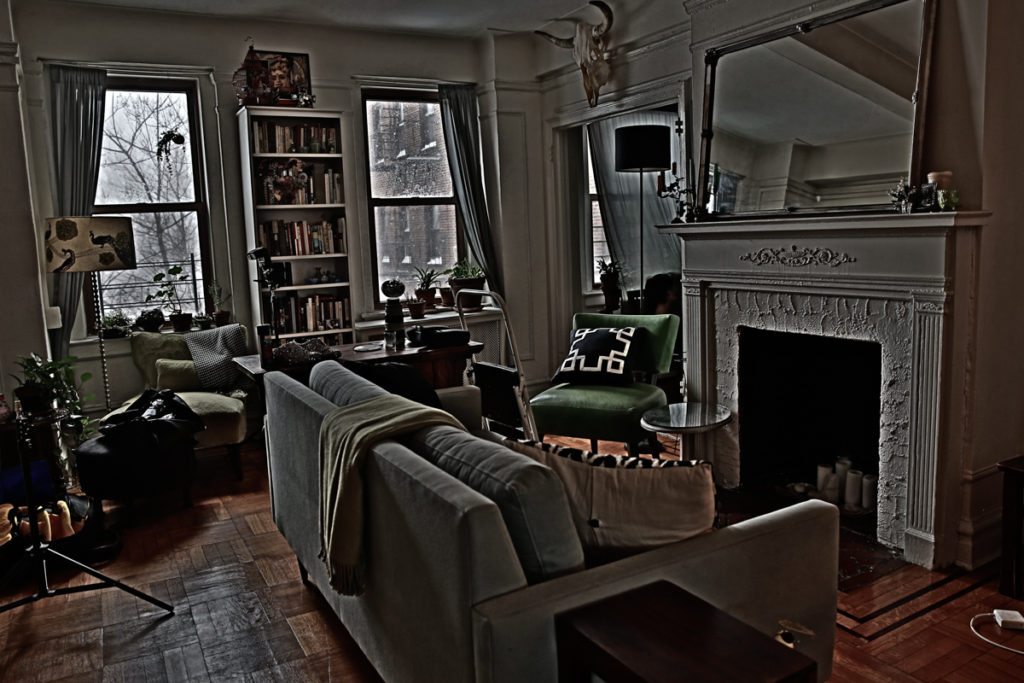
These options seemed perhaps too artistic for my client who just needed a solid portrait of the waiting room. It looked like exposure bracketing was going to save the day. With a range of options at hand, I felt confident heading off to the client on Tuesday.
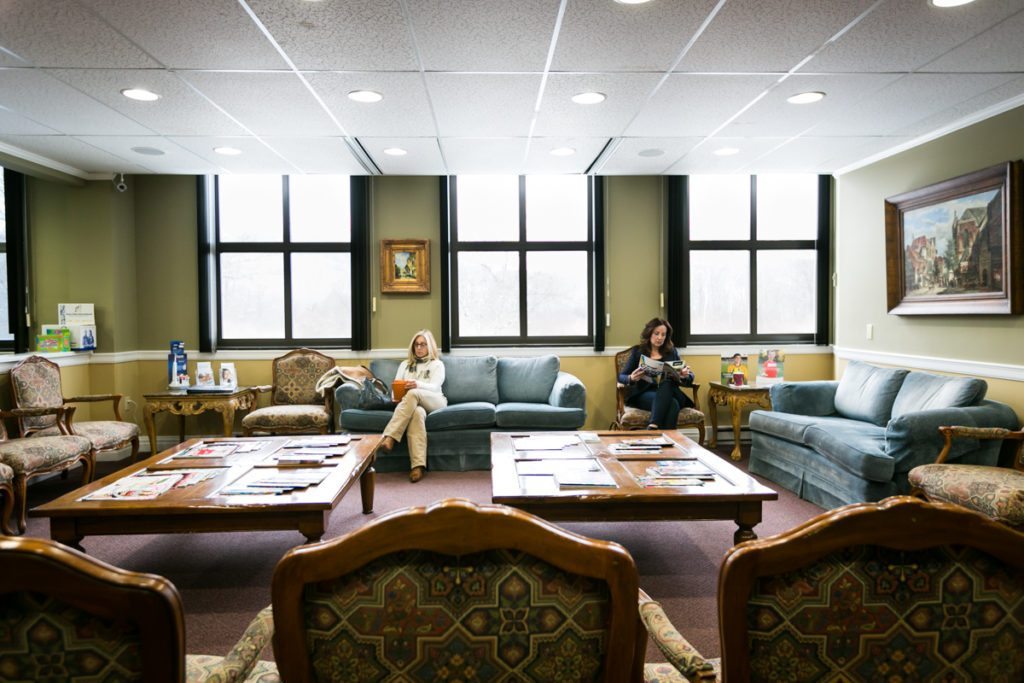
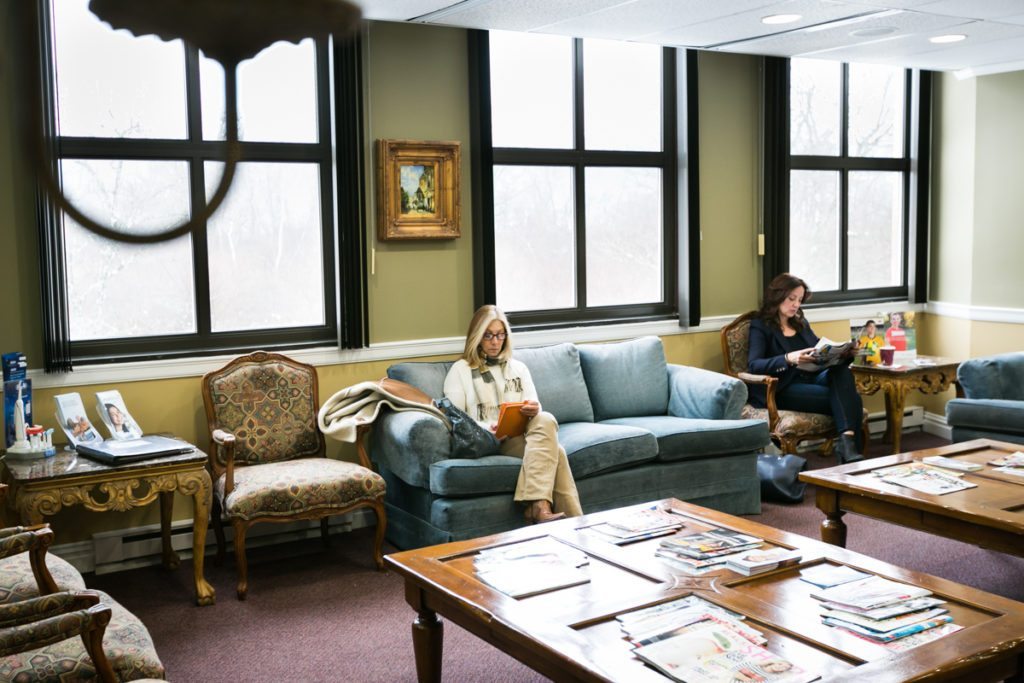
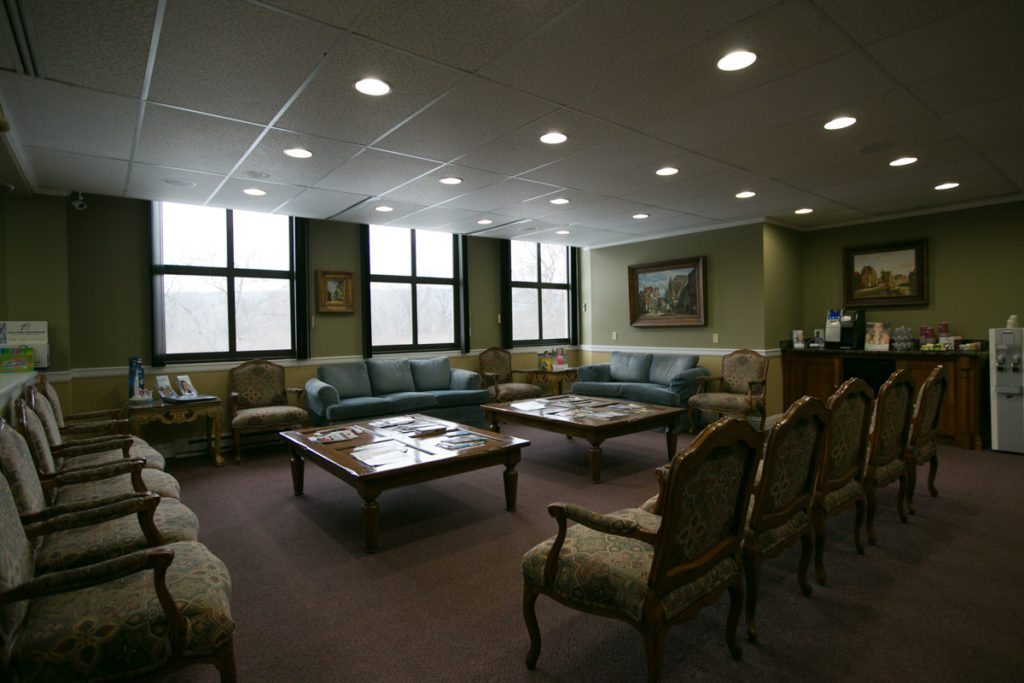
When I arrived at BBO, I quickly tried both flash and exposure bracketing to see what would make the best image possible. Here are the exposure bracketing set ups:
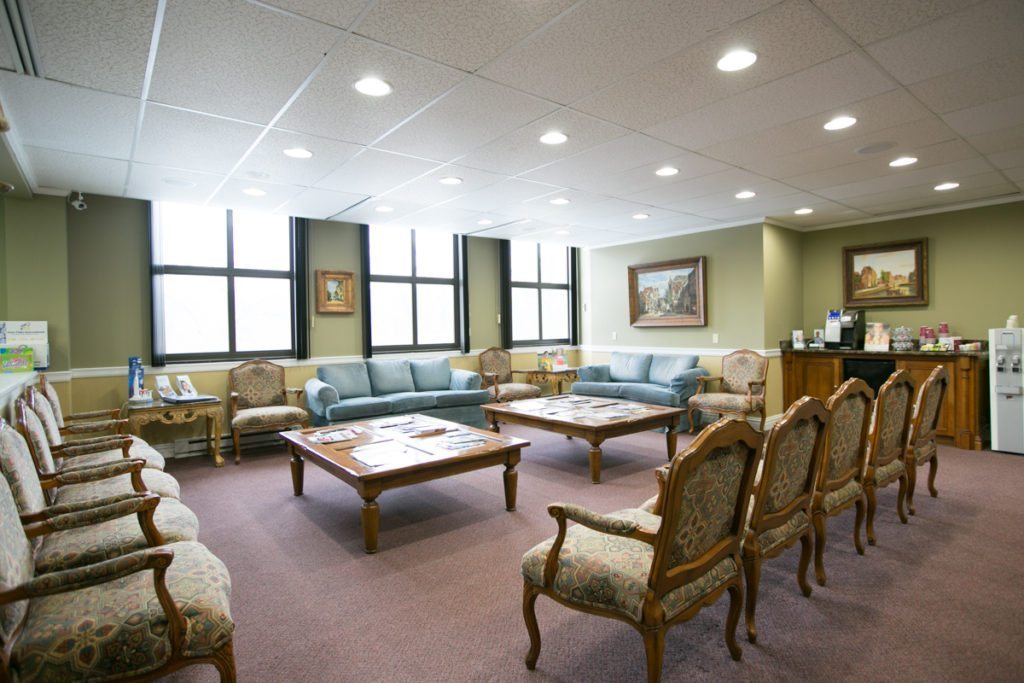
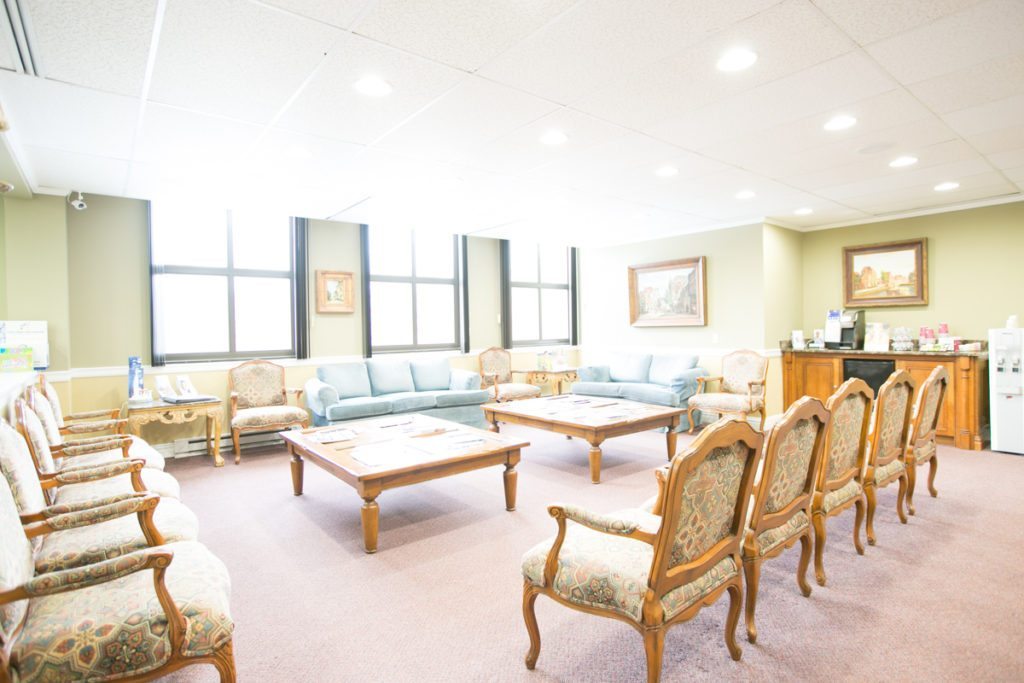
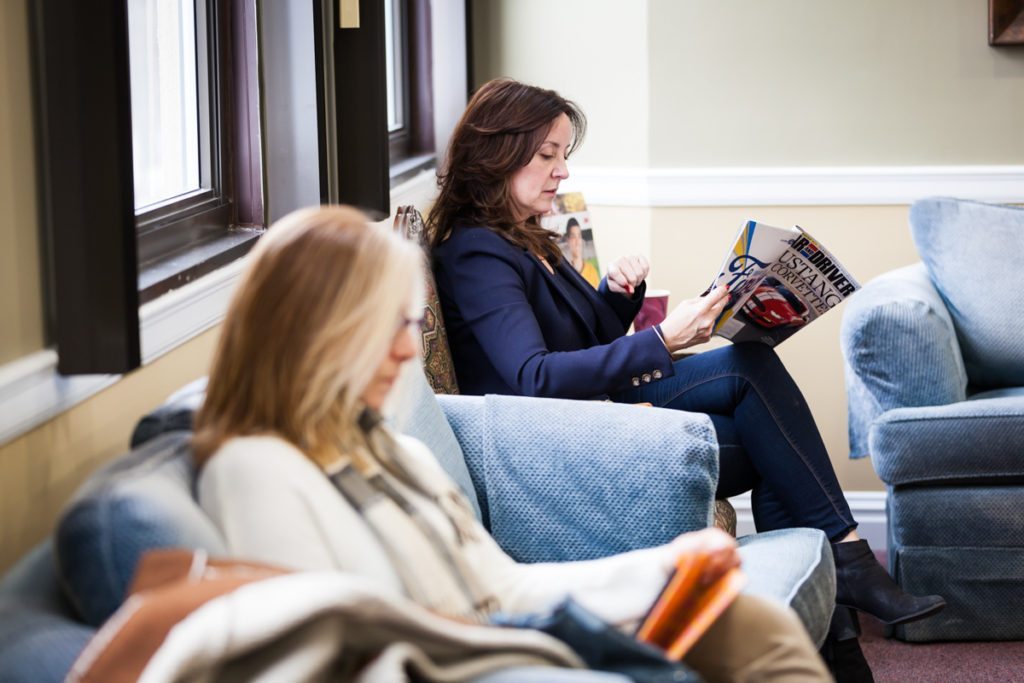
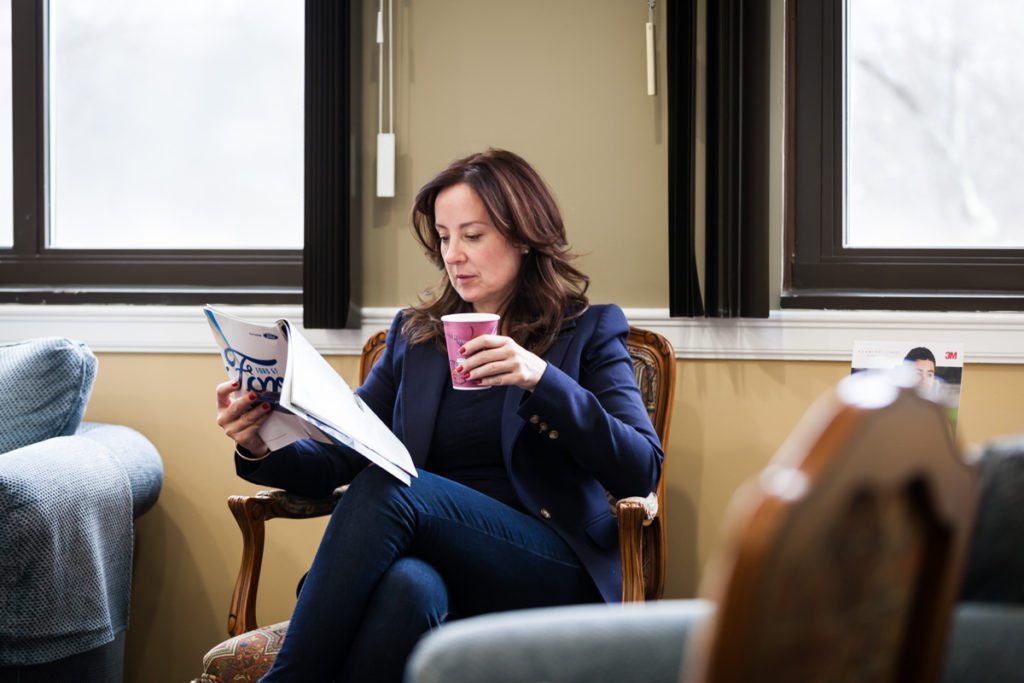
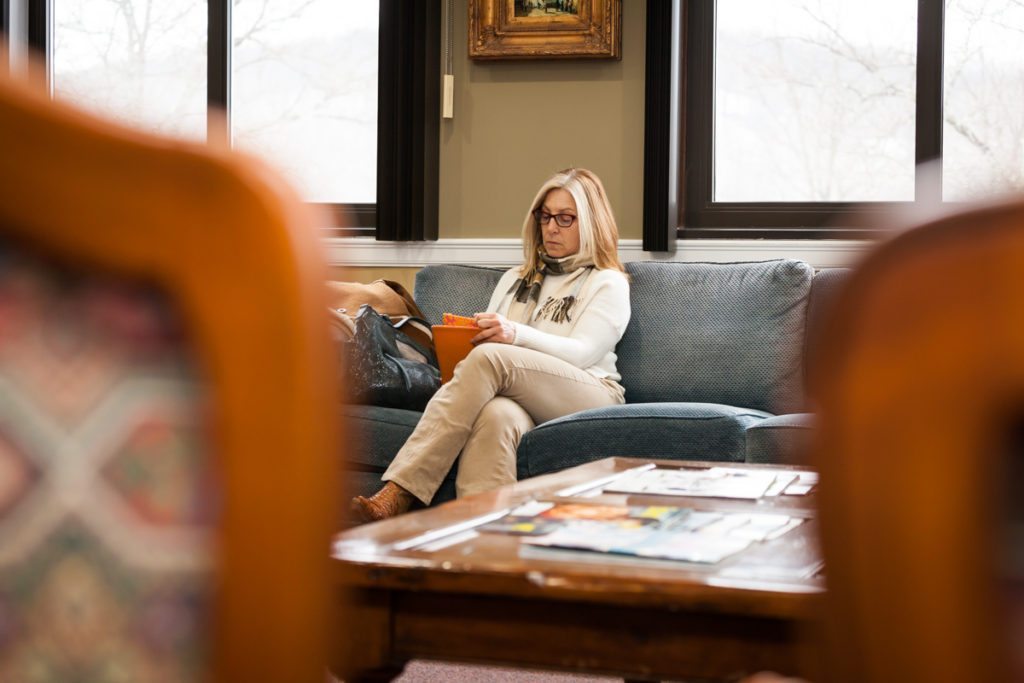
And here are the final images sent to the client:
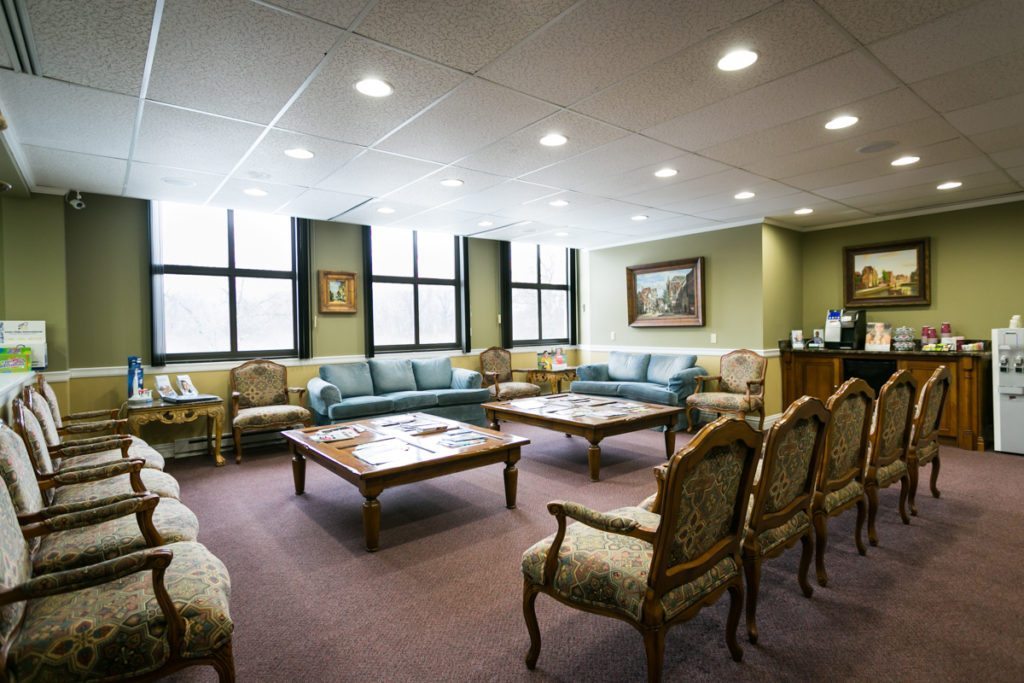
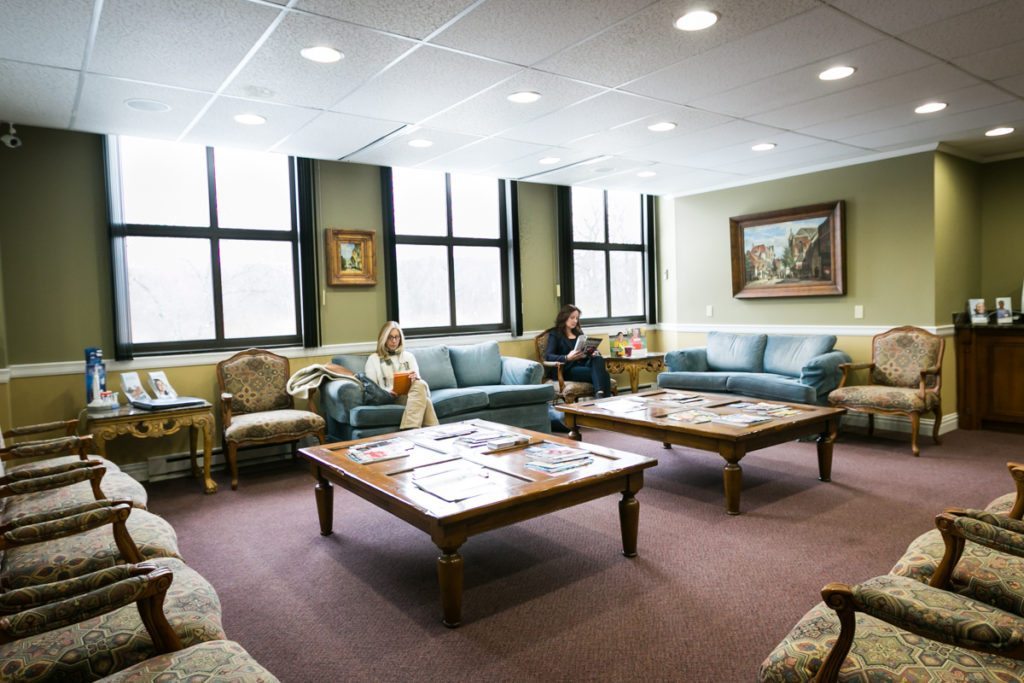 A little over an hour of testing on my part made it a breeze to get the perfect photo for my client. I came into the shoot prepared, and more importantly, I made the waiting room look inviting.
Later this week I’ll share more from the shoot regarding how I selected the best spot for the office portraits. Who would have thought a busy hallway would be the perfect portrait location?
If you would like to see more photos by executive portrait photographer, Kelly Williams, please visit my website.
If you would like to see more website innovations by Tamara Olson Designs, please visit her website.
