Do’s and Don’ts for Wedding DIY Projects
As you have seen in my last two posts (here and here), Vanessa and Nate hosted a beautiful wedding at Maritime Parc. Like me, Vanessa is a fellow crafter, and she put a lot of love into several projects that capitalized on her creativity and made her big day truly unique. The hard work was worth it, but more so for some projects than others. In the interest of educating every couple out there about to undertake a wedding DIY project (or 10), I thought it would be best if you heard straight from Vanessa about the projects she loved and would create again, and the projects that are better left to Pinterest fantasyland. Without further ado, here are some do’s and don’ts for wedding DIY projects from recent bride, Vanessa.
The projects Vanessa loved:
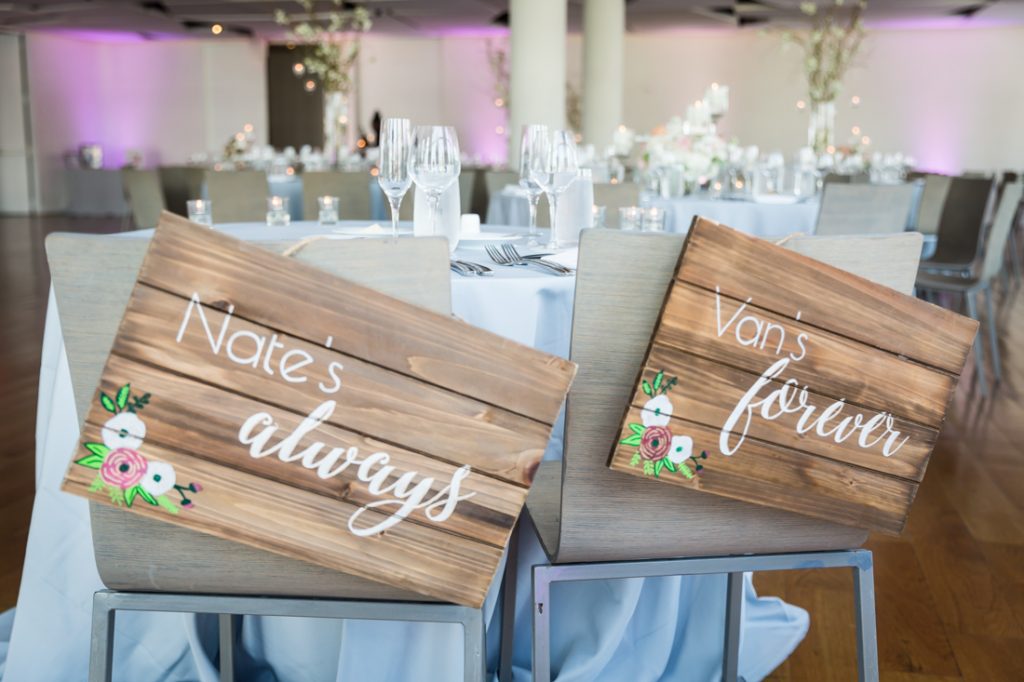
Wedding chair signs. I think I did love our wedding chair back signs, though we never ended up using them for photos. The signs were relatively easy to customize and look professionally done without trying too hard. Even though I knew pretty much none of our guests would see the signs, I just liked having a crafting break to make something pretty while I avoided going through our RSVPs fifty times in a row.
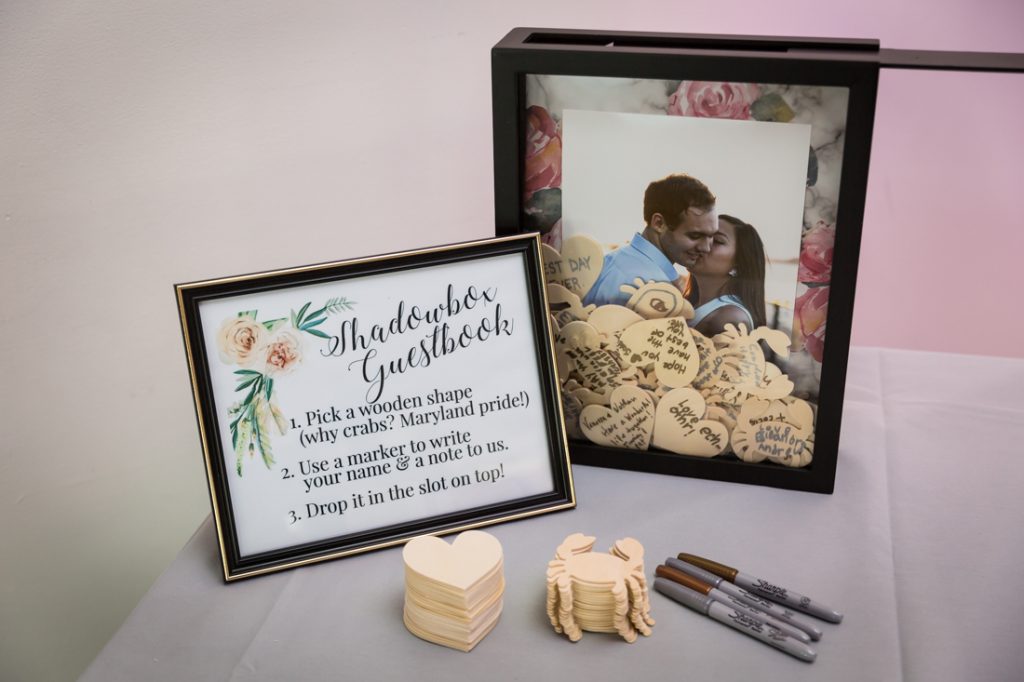
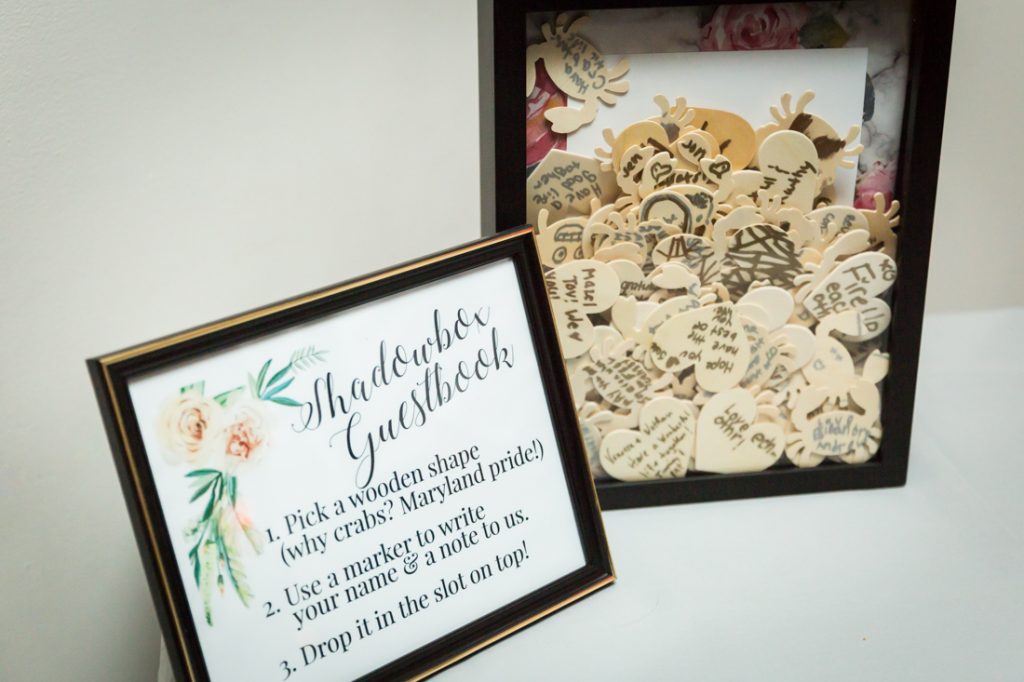
Shadow box guest book. I also ended up loving the shadow box guest book, though I hated DOING the project. I think I had low expectations for the shadow box, but it ended up being nice to go through and see what people wrote. Also, people stuffed that sucker to the brim! And it was a huge hit with the kids – the two little girls I was dancing with had about 20 wooden shapes between them stuffed in there. Plus, I could personalize the shadow box with the photo and the crab shapes. My girlfriend actually asked me about it and plans on doing it for her son’s first birthday. It was also different from a regular guestbook. However, I wish I had chosen something other than Sharpies to write with or had tested the pens out beforehand because they tended to bleed on the wooden cut out shapes.
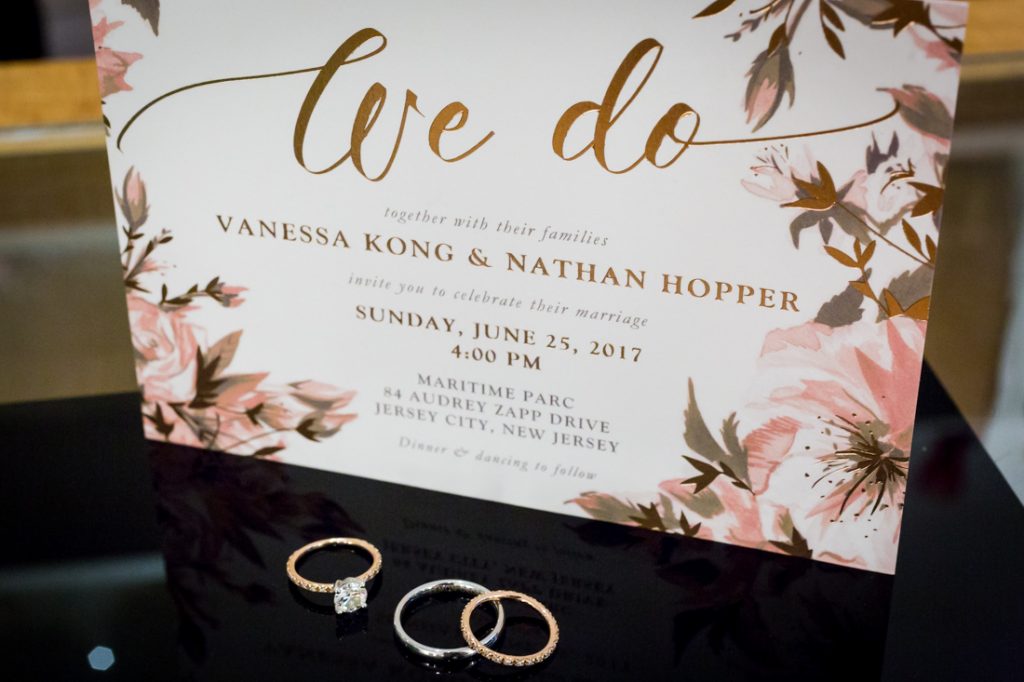
Invitations. I also actually really liked our invitations and belly band. We printed the invitation, the RSVP card and envelope, the website info, and some people got an invite to a brunch. Also some people got a ‘cake card’ which is a gift card to get a cake at a Chinese bakery which is the more modern way to observe the old tradition of the bride’s family giving out cakes to people to celebrate their daughter’s impending nuptials. So that’s a lot of paper and I ended up printing SUPER simple construction paper belly bands to tie them all together. It wasn’t complicated at all once I figured out how to print on legal paper and hijack a paper cutter at Staples.
Projects Vanessa wished she had done sooner:
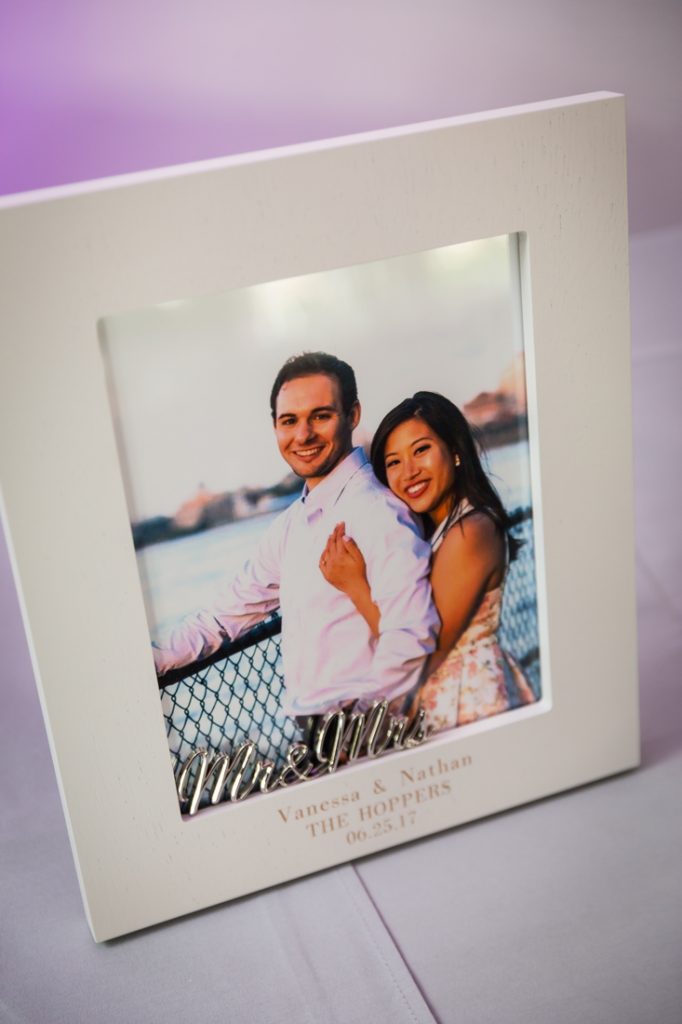
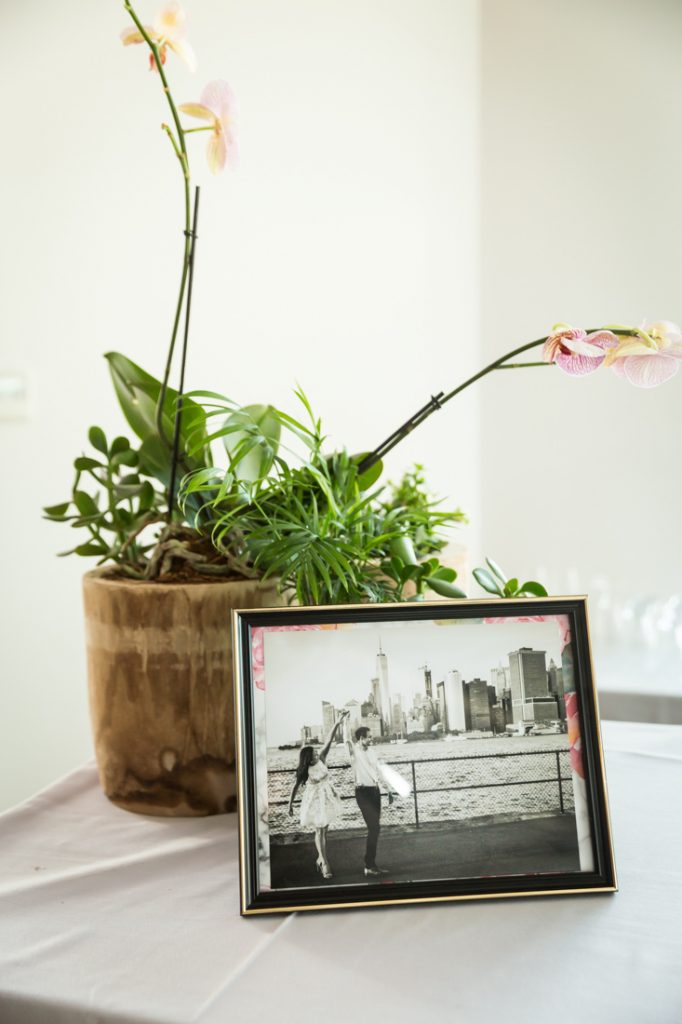
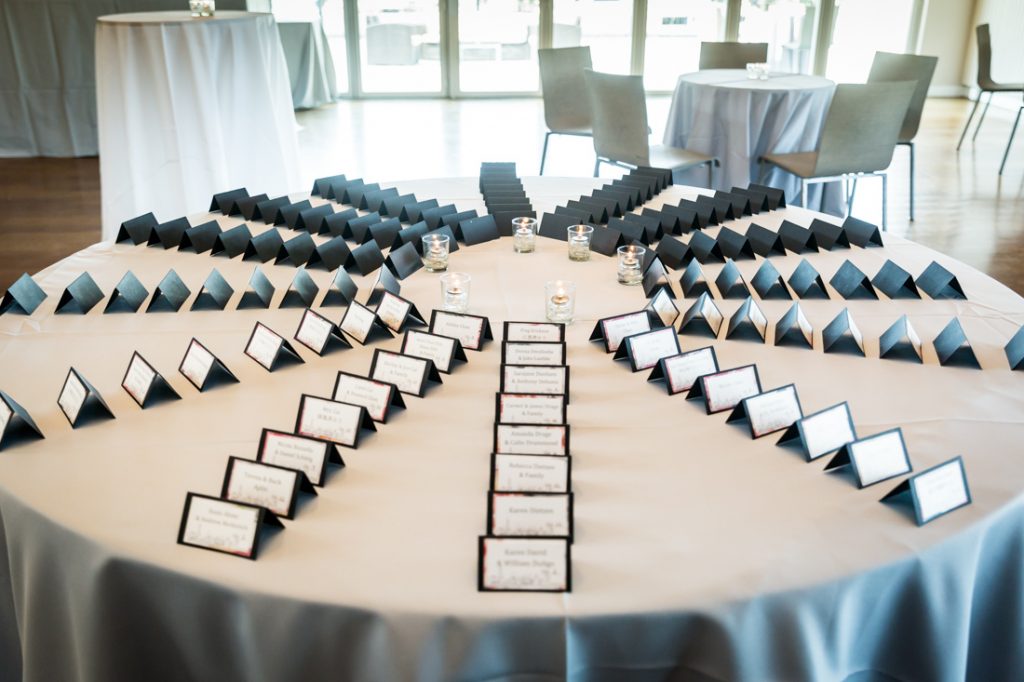
The printing of things to stick into frames. The frames on our escort card that had the two photos from our engagement shoot and the signs that said ‘You can find your seat, but your place is on the dance floor’ totally could have been done earlier and not the week before.
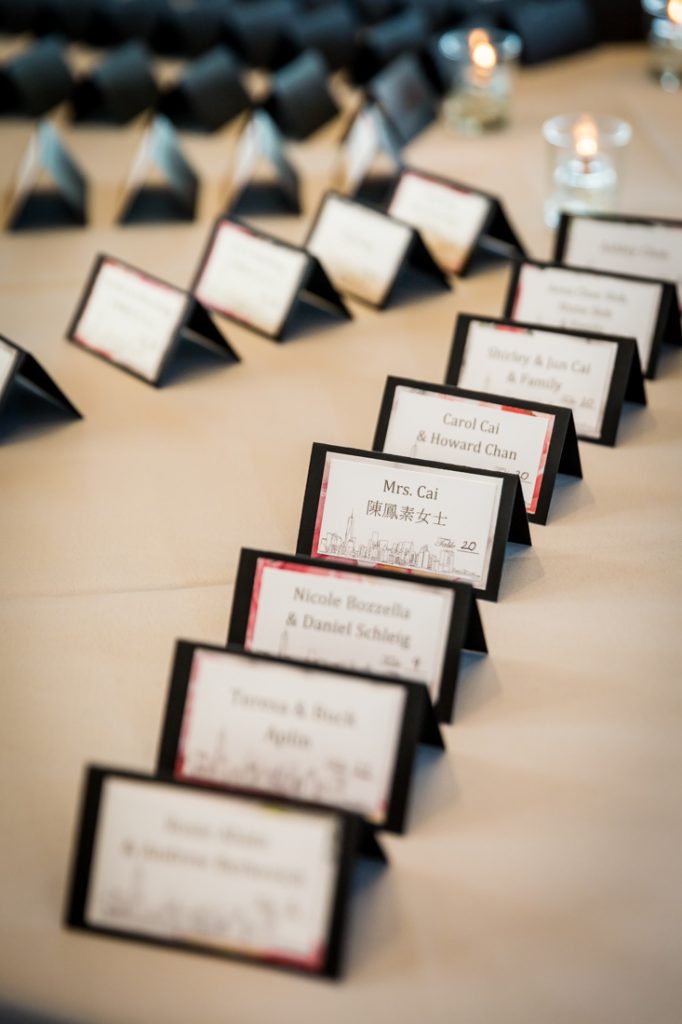
Escort cards. I waited until we nearly had our final numbers, though I did not need to wait this long. The beauty of DIY is you can start and stop and resume projects easily. I could have made those cards for people I knew who were coming and just did them as they rolled in. I think I also told myself I wanted to print the table number vs. what I ended up doing which was handwriting it in. Table seating arrangements change. It’s easier to just write it at the end but print early. It was nice though to DIY these because I customized them with the skyline and colors, and I got to write some of them in Chinese. I also added some small inside jokes for the groomsmen and one of our couple friends who were getting married a month after us got one that said ‘the future Mr. and Mrs. Tepper’ with an asterisk saying ‘coming July 28, 2017’ or whatever their date was, which wasn’t complicated to do.
The project that took the longest time (and hated):
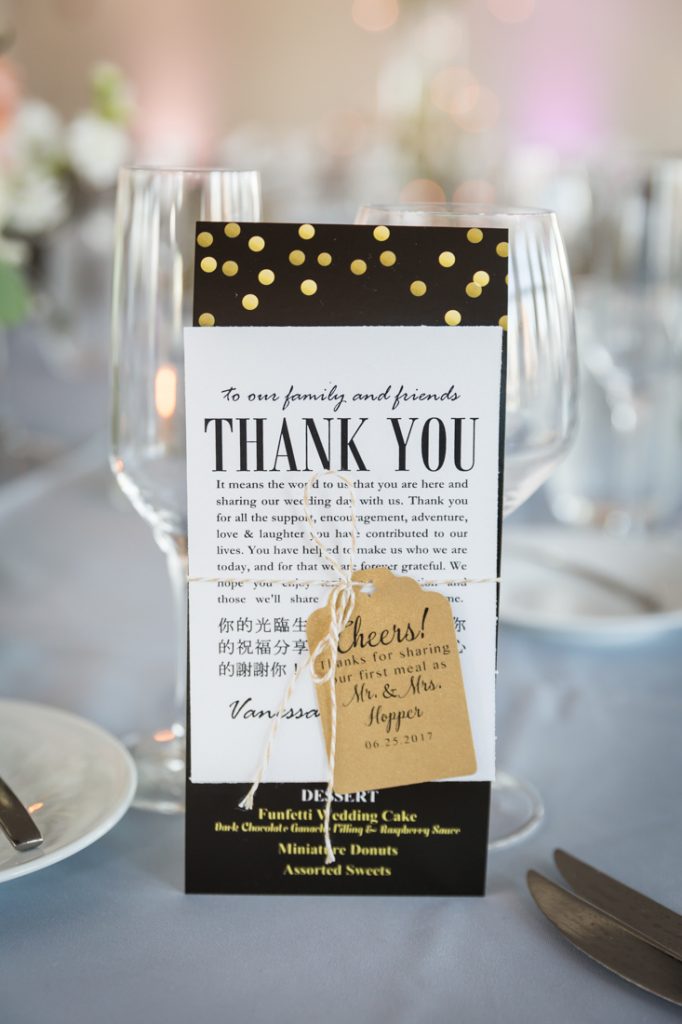
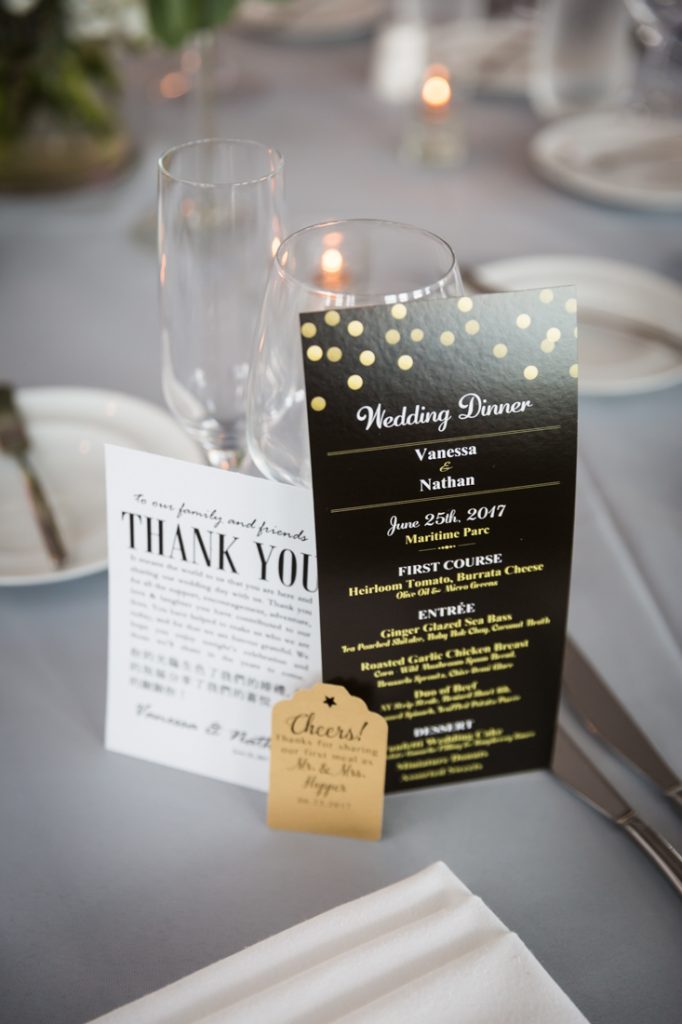
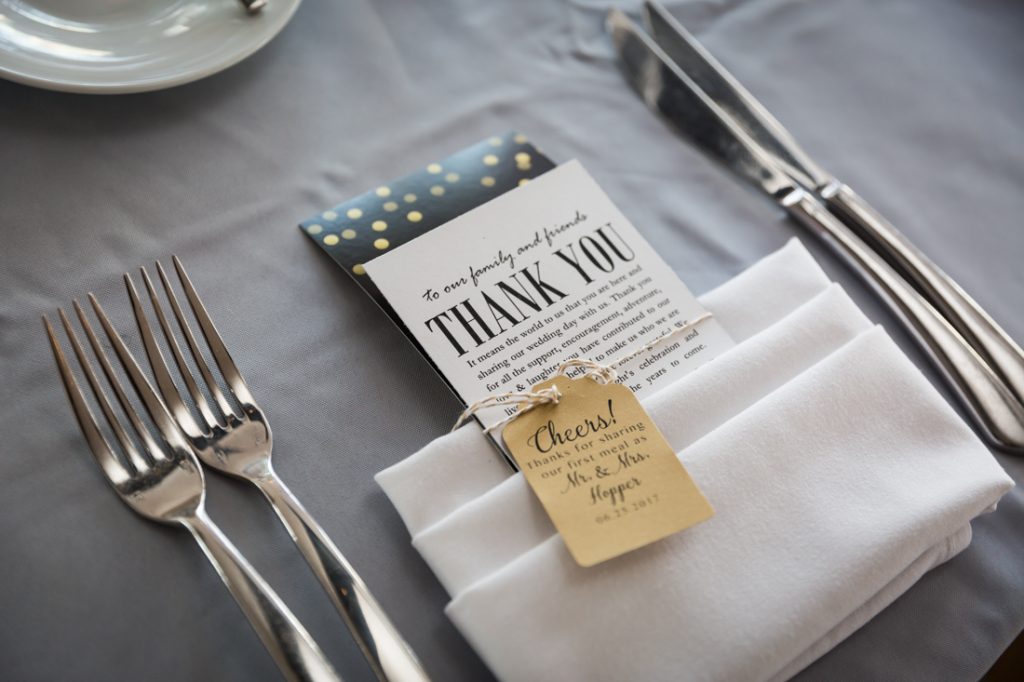
Those stupid thank you cards with the menu and tag. DIY perspective: there is a HUGE difference in the number of, say, escort cards you make because a family of four can have one card versus the number of things, like menus, where you can’t have people share or grouped – literally everyone has to get one. So adding on extra stuff to that was dumb. Also, anything involving string is going to wildly up your frustration level when it comes to DIY. The string comes apart, and tying gives you early onset arthritis. I think I just wanted an excuse to buy the cute tag cutter thing. I saw something similar online and I did think it was cute but really, it was so not worth it. It was just too much work. Like…why did I do that. I don’t even think anyone said anything to me about them. They took FOREVER.
Some DIY tips for any project:
A good printer that you know how to use is beyond helpful. Along those lines, it’s very helpful if you can load different size papers.
I also think the crafting tool I used the most was my small handheld paper cutter. But there were times a bigger one would have definitely come in handy, such as with the legal size belly bands. I ended up just parking at Staples and using their paper cutter.
What I said before about the difference between things I’ll need for every guest versus every family/couple is important to keep in mind.
Buy supplies in advance if you know you’ll use a lot, like double stick tape!! I bought a bulk pack on eBay and I know I’ll use it after the wedding stuff has passed.
Also, utilize crafting store coupons. Buy online if you know what you want but be careful of some things that don’t look the same online vs. in person.
If you are printing things yourself online (like how we printed our save the dates and menus on Vistaprint) make sure you use high resolution versions of photos then take advantage of big online sales and discounts on certain days. I always tell people to buy their invites (if they can) on Black Friday or Cyber Monday.
Absolutely look at Etsy and really weigh the cost of what something will cost in time and supplies versus farming it out.
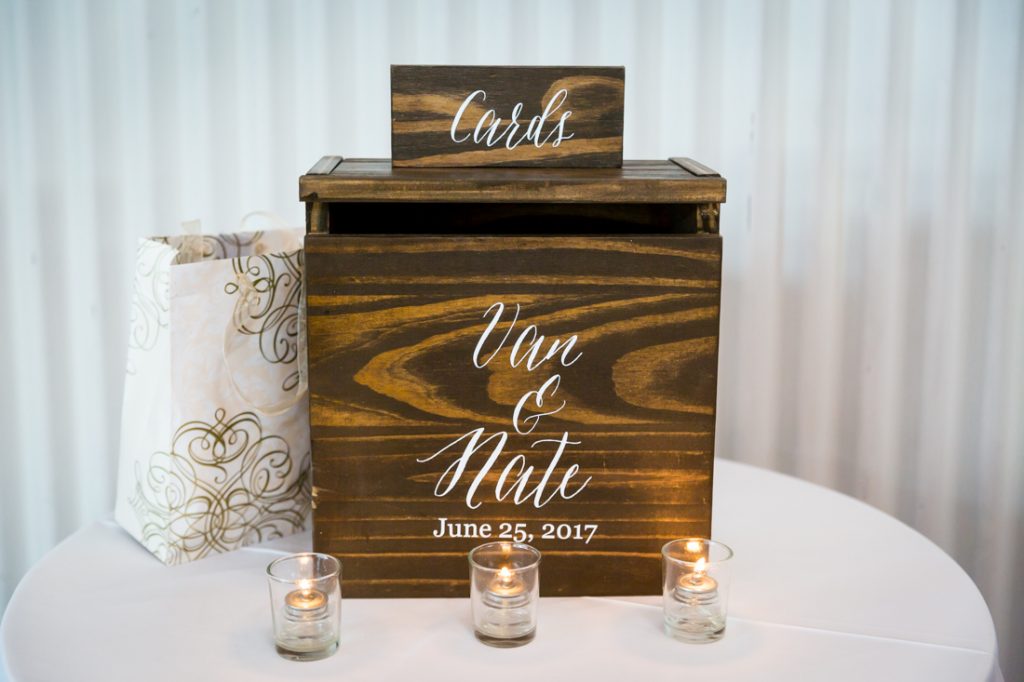
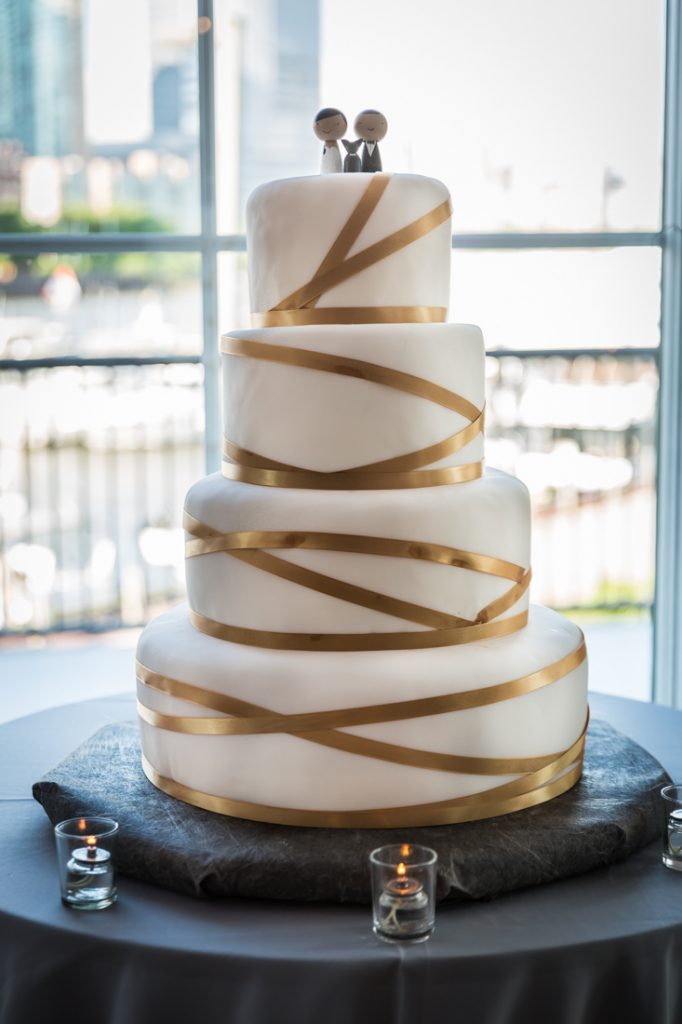
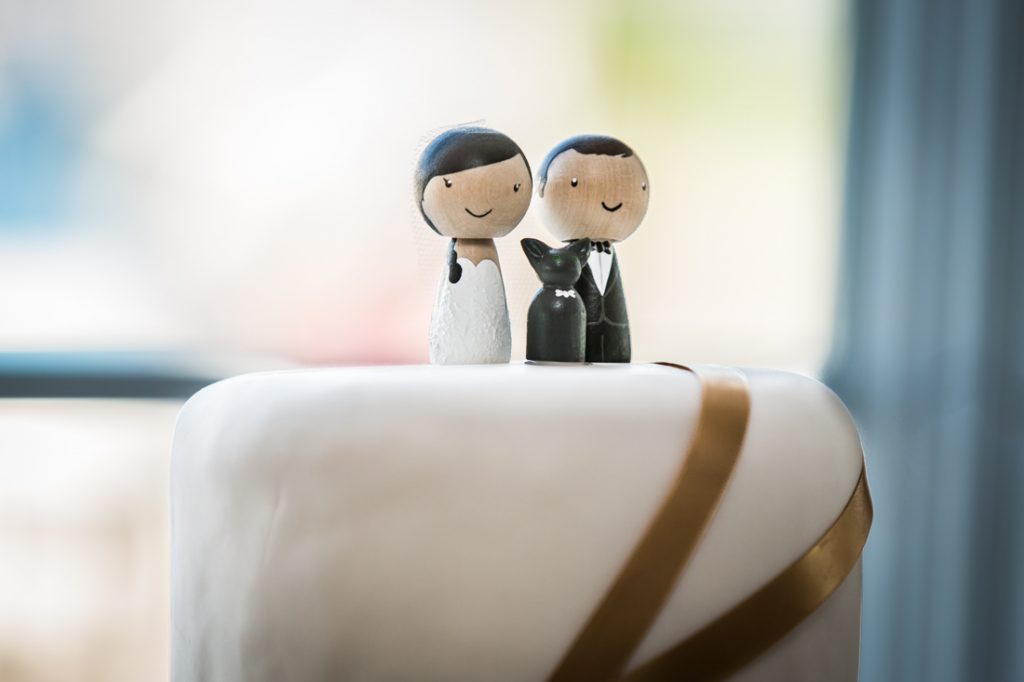
There are definitely things you should just buy instead of doing yourself. I think table numbers is one. I was at a wedding recently where the couple had framed table numbers that included photos of them at the age of the table number (table ten had photos of them at ten years of age). Very cute idea, but I only saw my table’s photos and it ended up being hard to see the numbers. I think cake toppers also fall in this category. I bought our cake toppers on Etsy which is so easy to do and customize. I am planning on putting the toppers in a shadowbox with one of the photos of us cutting the cake in the background to hang up and keep. Card boxes can be recycled/borrowed/rented. It was so not worth purchasing a nice one.
So there you have it – Vanessa’s wedding DIY projects in a nutshell. Do you have any projects planned? Need some advice on time management or project planning? Drop me a line, and I will get you an answer.
If you would like to see more images from my wedding photojournalism portfolio, then please visit my website – www.KellyWilliamsPhotographer.com
