How to Create a Photo Book: From Start to Finish
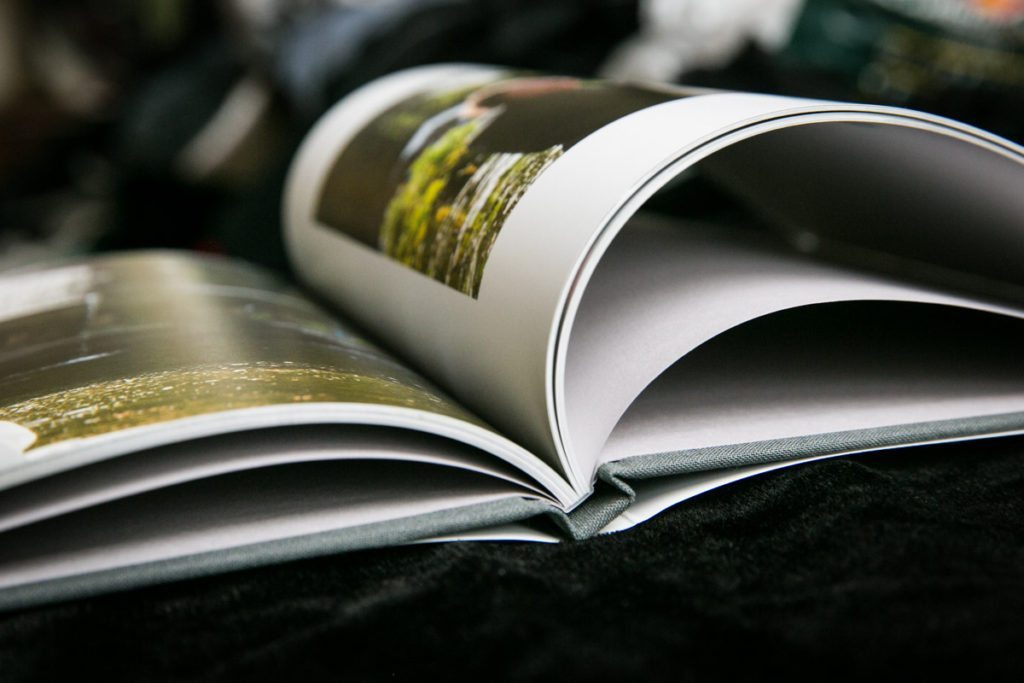
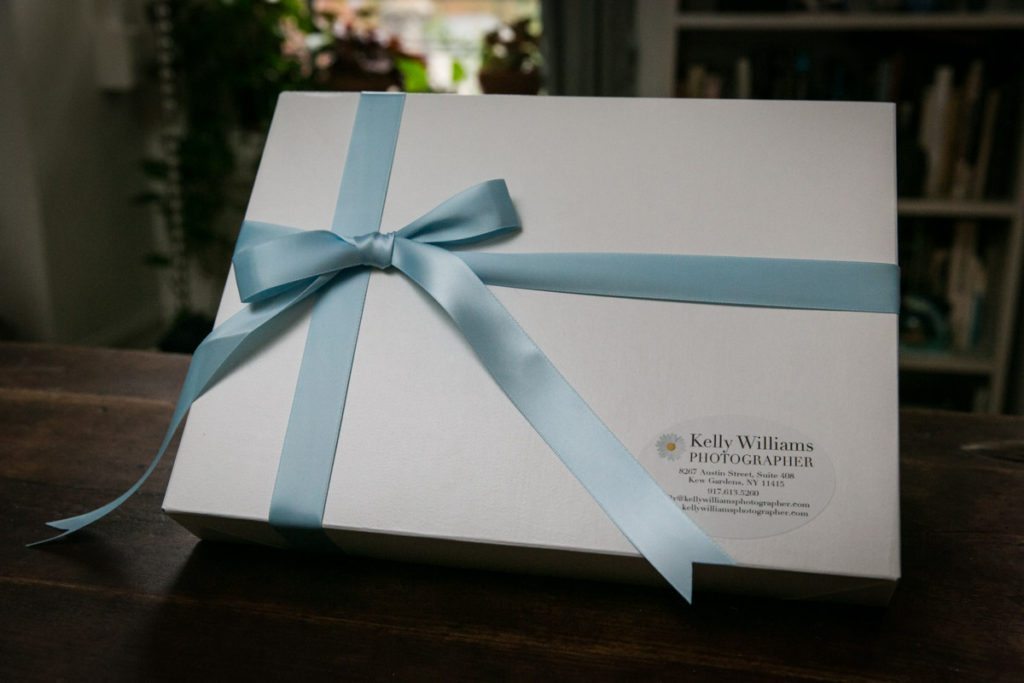
Hi everyone! I just mailed my client Jenni her photo book, and I wanted to share with you the process from start to finish. First, let’s talk about the difference between photo books and albums. All of my albums are created through Couture Books. Each is handmade, with specially designed fabric covers. In comparison, the photo books are less ornate, but offer a great value if you are looking for an additional way to preserve your memories for say, parents or members of your bridal party. The photo books I use are created by Blurb.
The first step in creating a photo book is image selection. Jenni emailed me her favorite 80 photos in a list. (Most photo books are 80 pages in length, but you can add additional pages as necessary.) This is the most common way for my clients to select their images, but we can also do the selection process electronically by sending the images to me via an online cloud server (such as Dropbox), or by selecting the images online through the client’s private image gallery. My revamped website includes a little heart-shaped button on the left hand side of the gallery where you can select your favorite images.
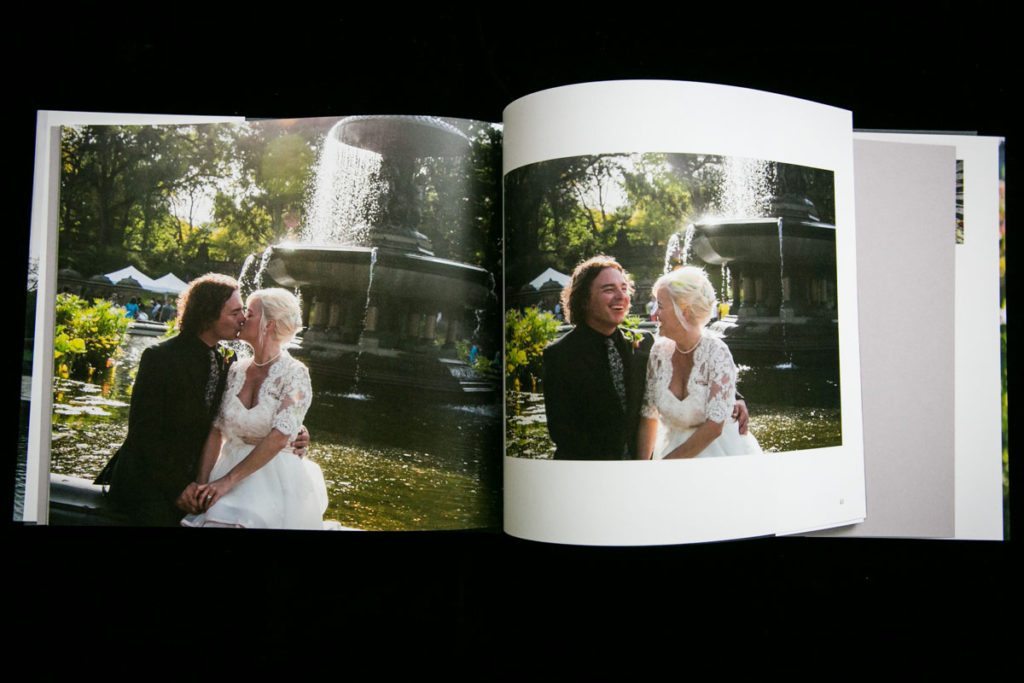
From here, I go to the drawing board and design the layout of the photo book using Blurb software and Photoshop. The photos are mainly organized chronologically, but I also take into consideration color and composition to find the best ‘mating’ of photos to create a seamless visual flow. The most common question asked is, ‘how many photos can I put on a page?’ I recommend one photo per page, so that your book has the most visual impact. That said there are several photos – especially in the case of detail shots – where you may want three or four images per page in a collage. I never recommend having too many of these multiple-photo spreads, however, as it can make your photo book look too busy. Also, you have to take into consideration the size of your photo book. If you have a small-sized photo book (anything less than 10” x 8”), then the images will be much smaller and thus, unreadable, in a collage.
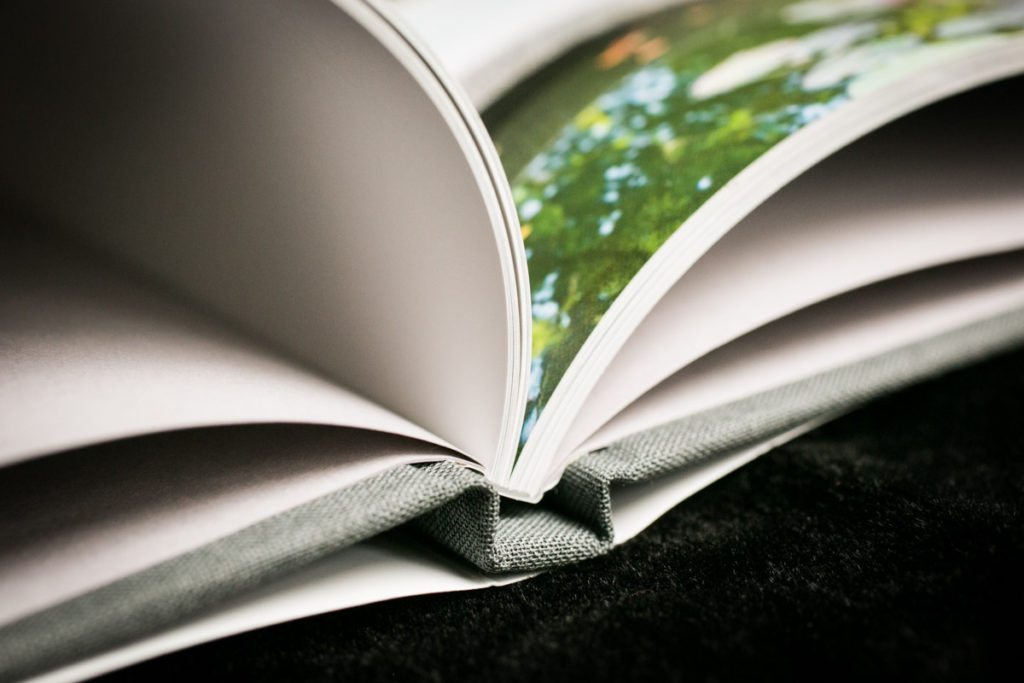
Once I have created a layout, I proof the draft and send it to the client for final approval. This step takes a week at most, depending upon my current workload. Only after the client is happy with the draft do I send it to the printer. Note that the photo books include a dust jacket with images on the front and back, as well as smaller images (and text) possible on both inside flaps of the jacket. The choices for the actual cover of the book are oatmeal, charcoal, or black linen. The paper is called ‘premium luster,’ and is 100# (148 GSM).
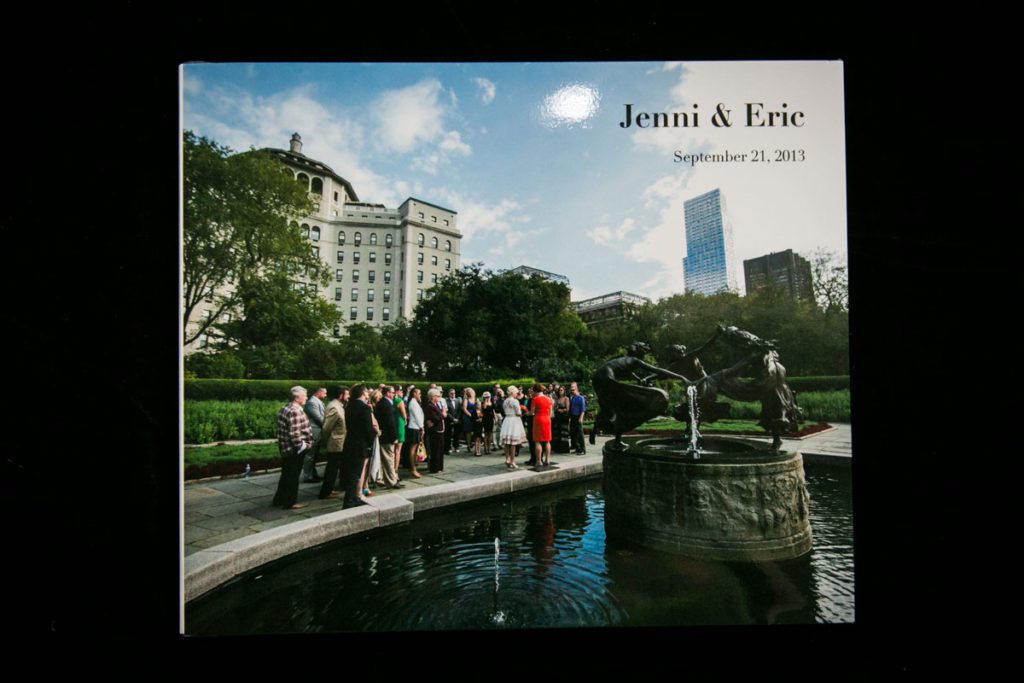
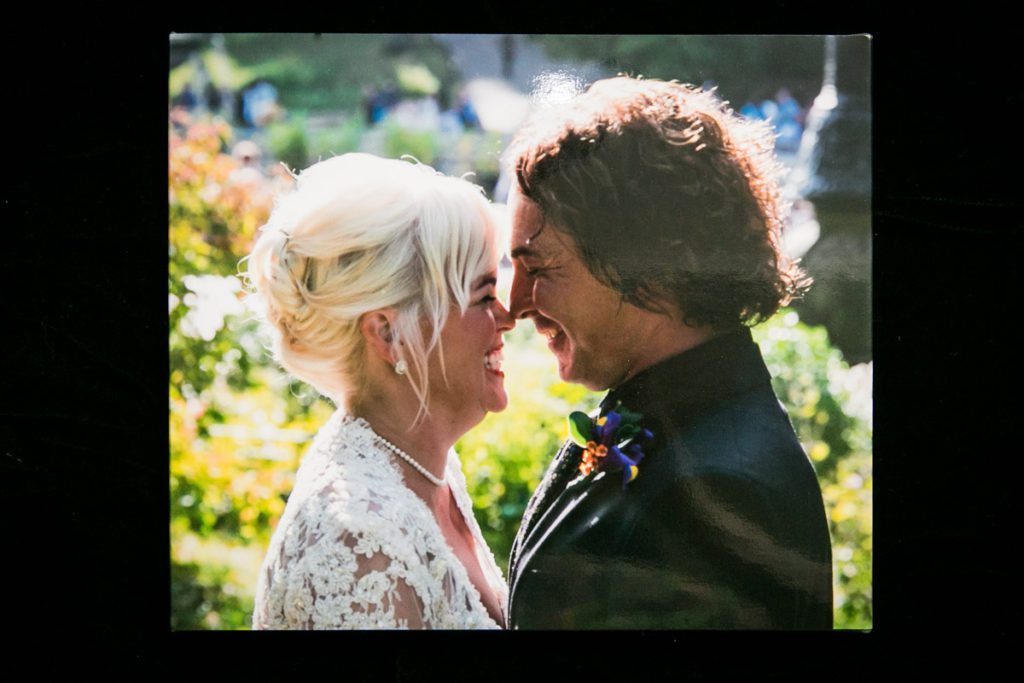
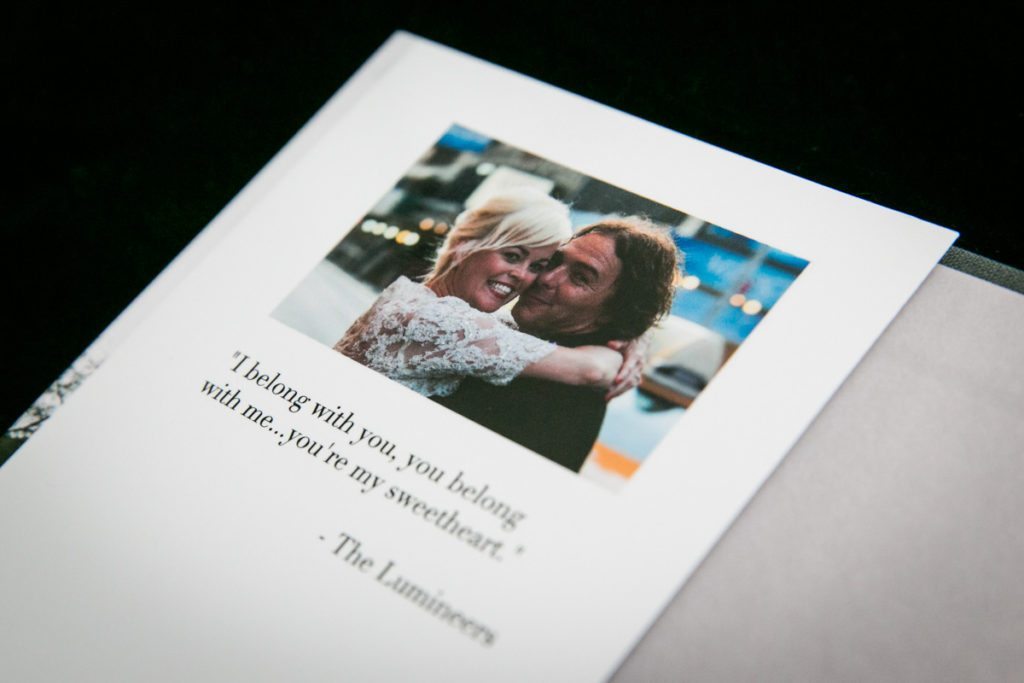
The turnaround time for any photo book is roughly 7 to 11 days. Every book is sent to my house for a final inspection, and then I package and send the book to the client. Voilà, the final photo book!
Thinking about creating your own photo book? Have some questions about layouts or selecting images? I’m here to help.
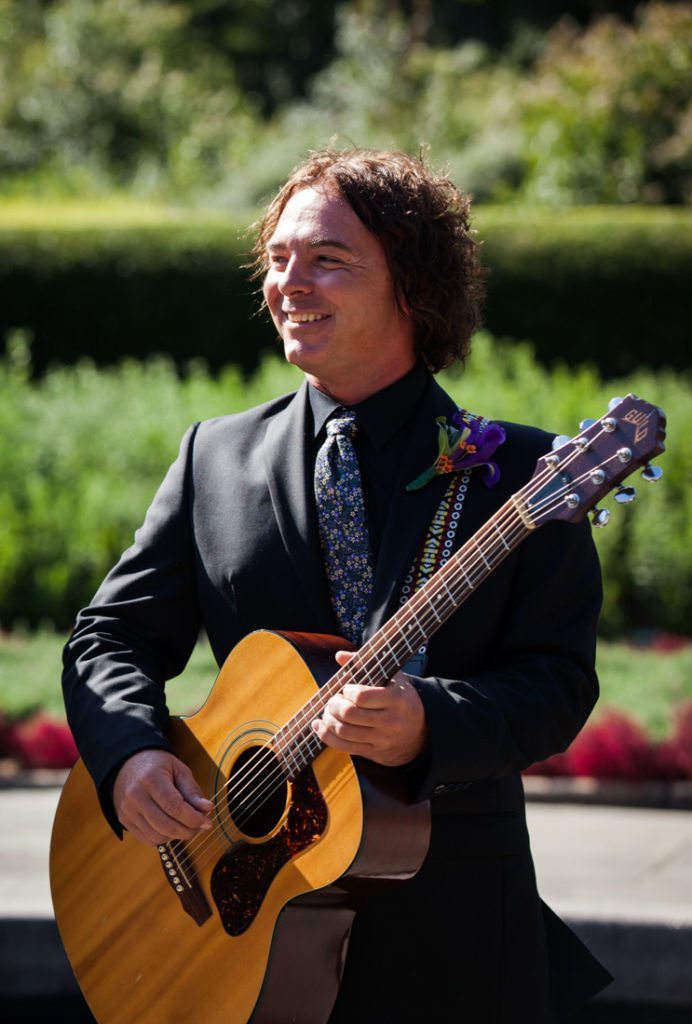
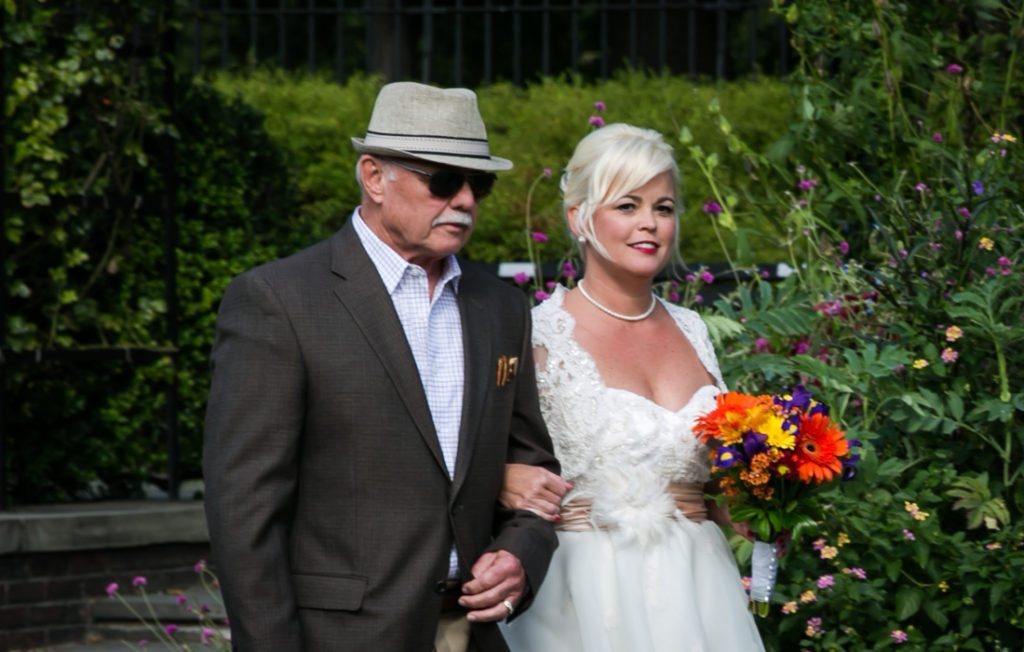
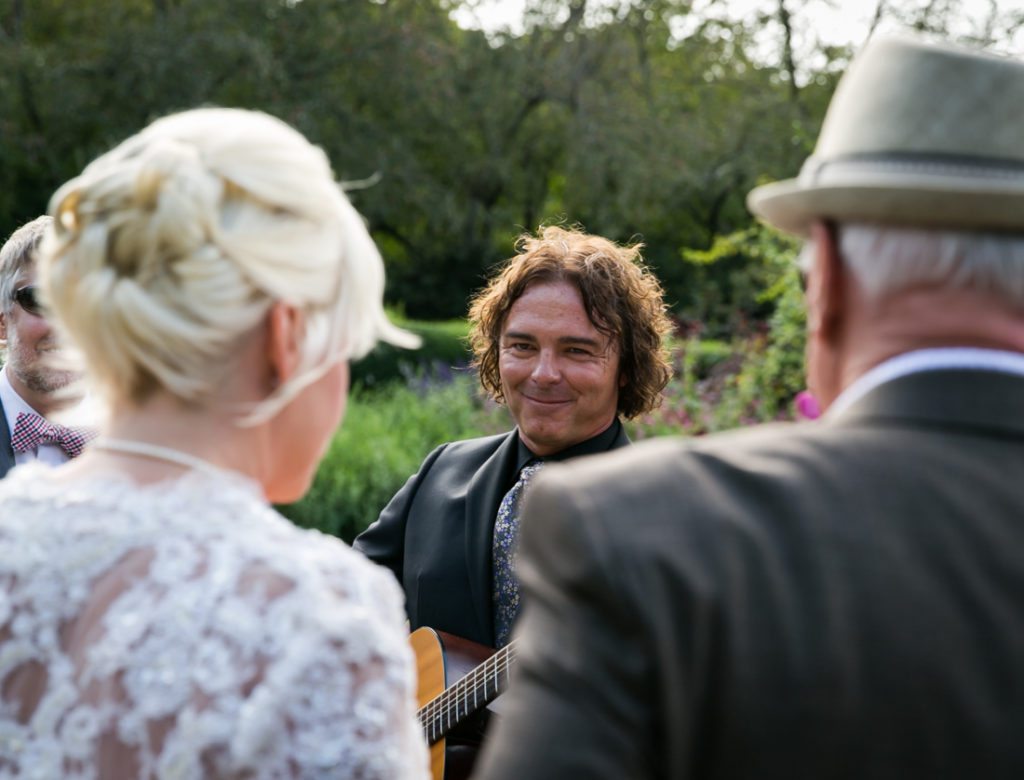
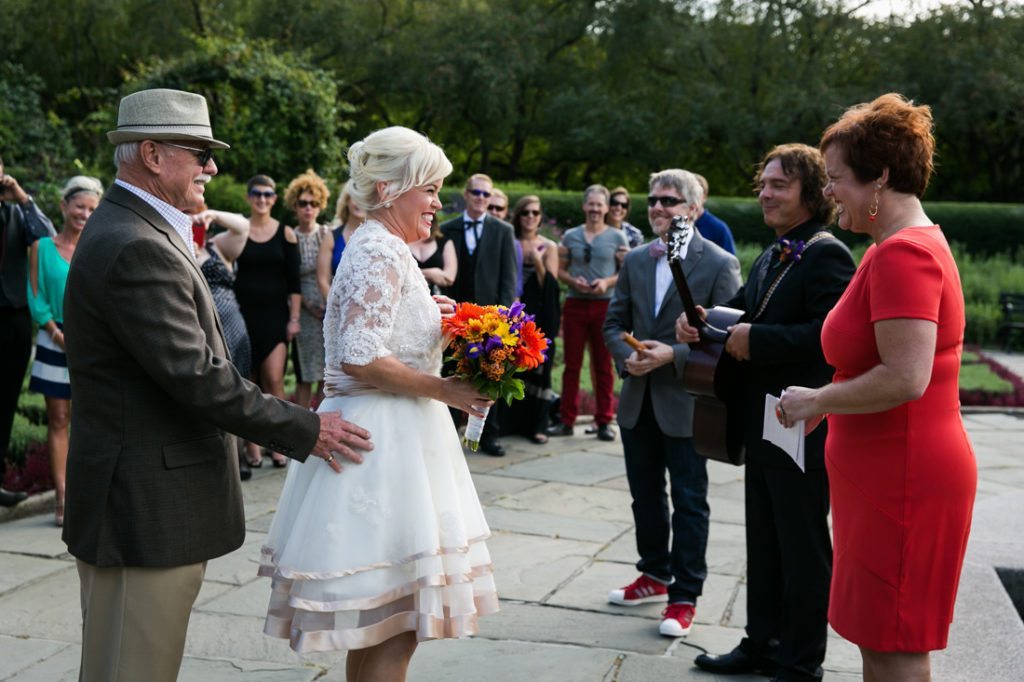
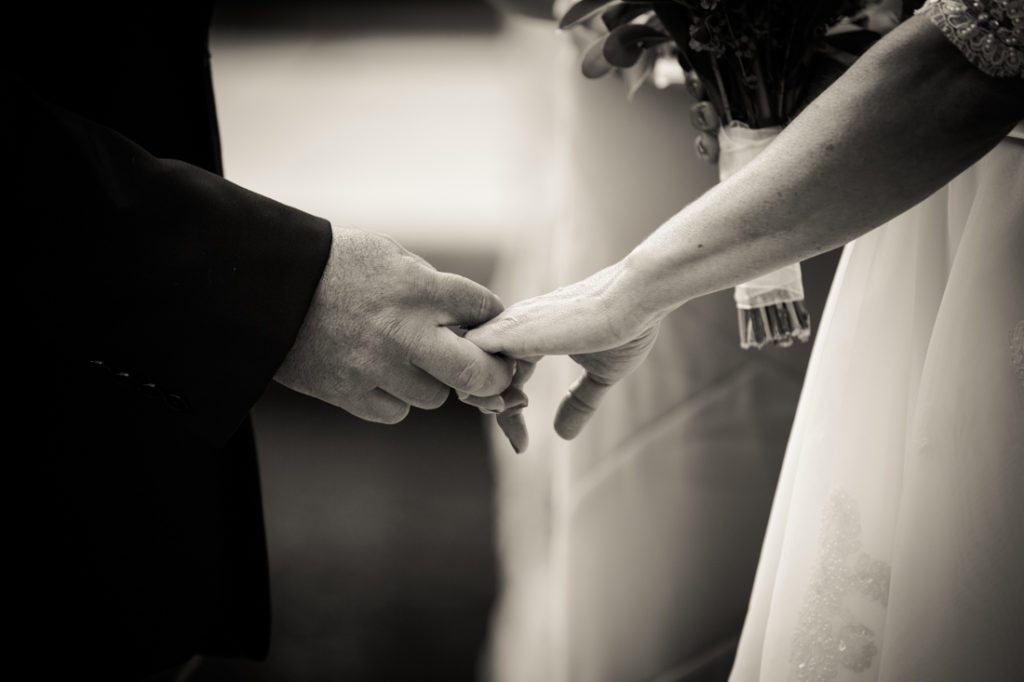
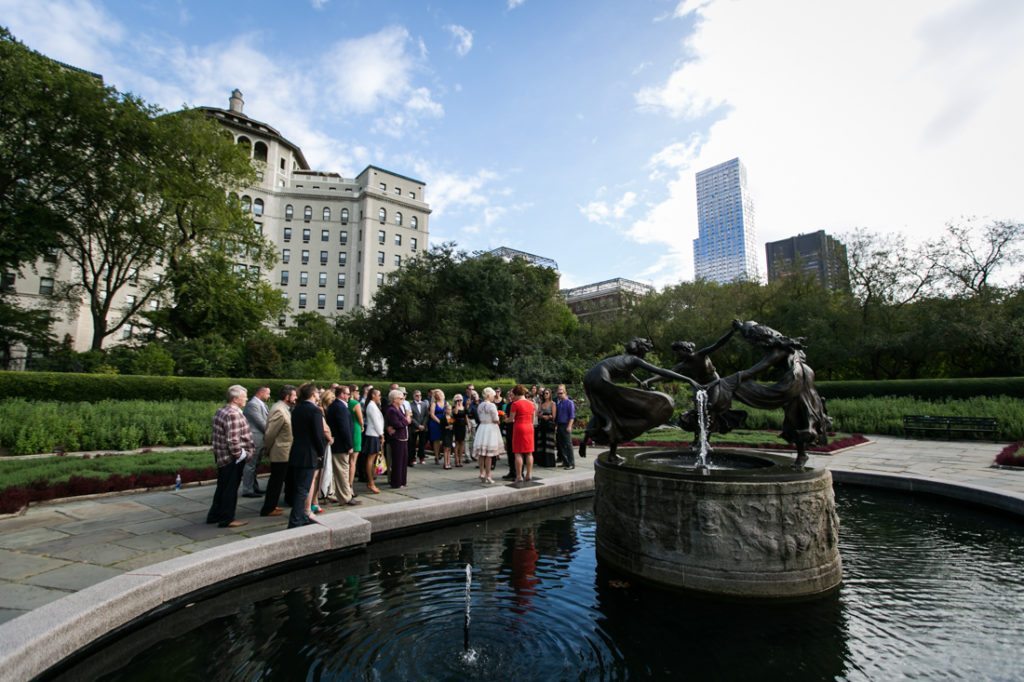
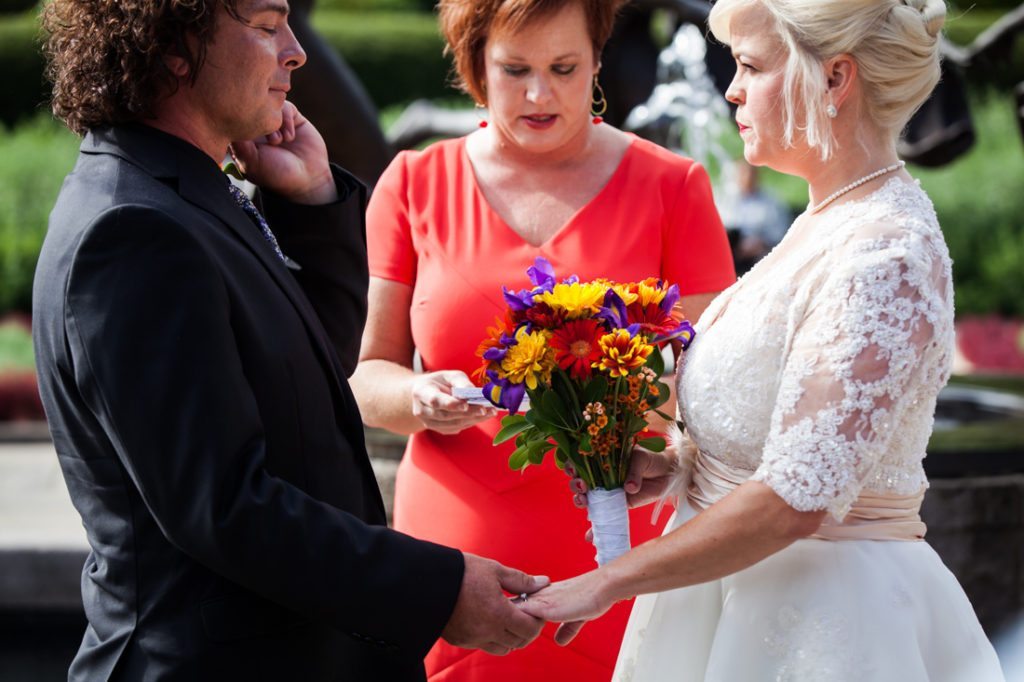
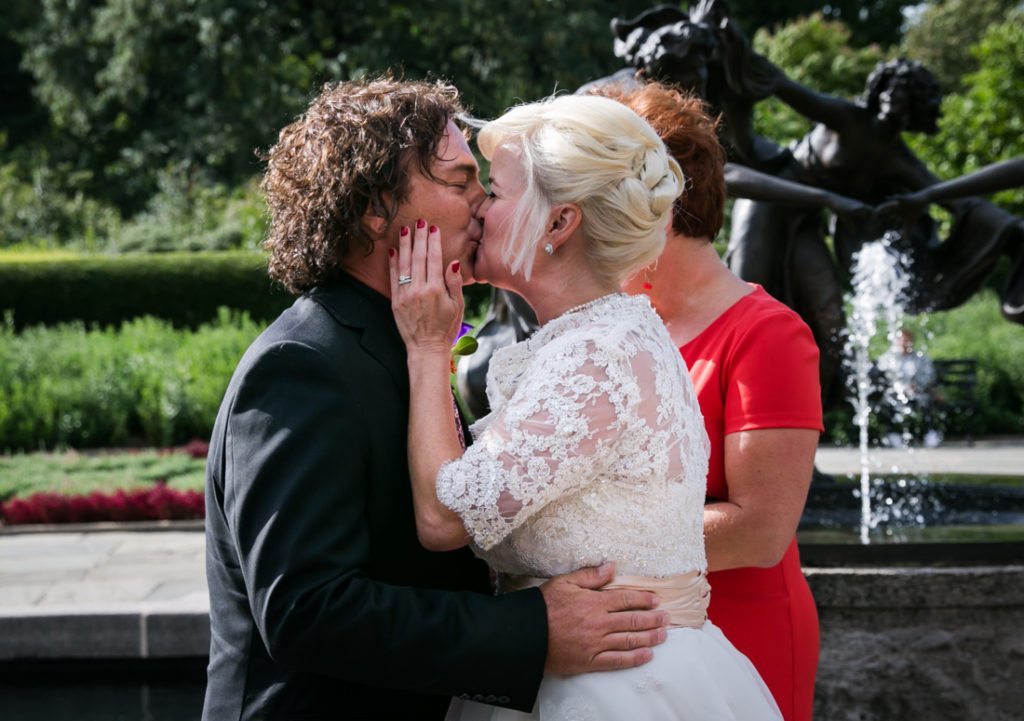
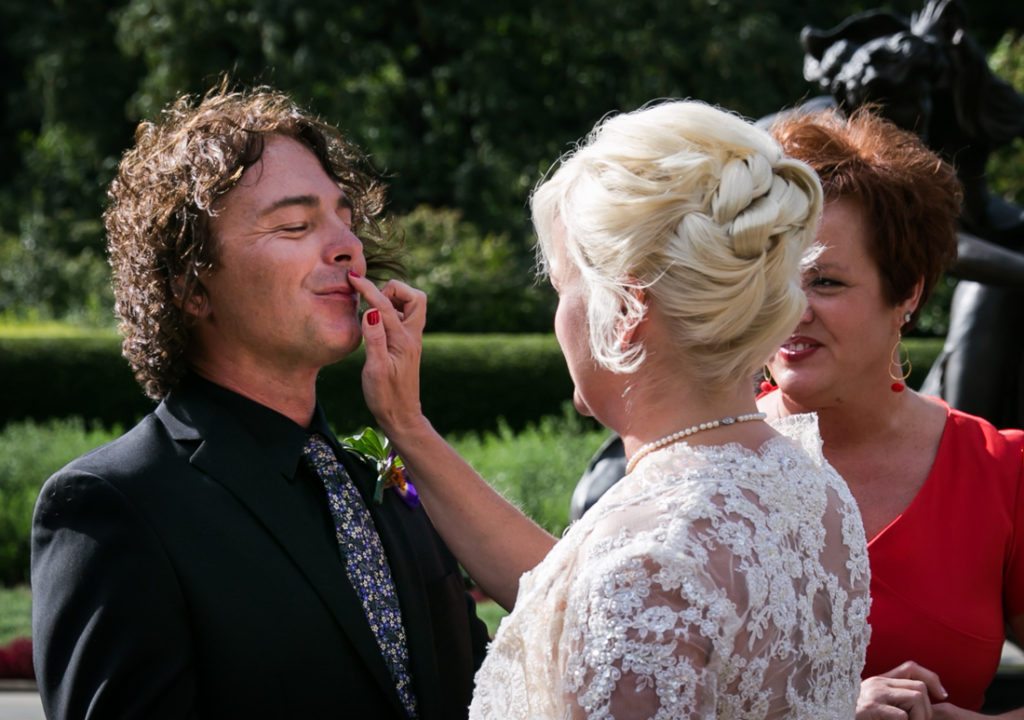
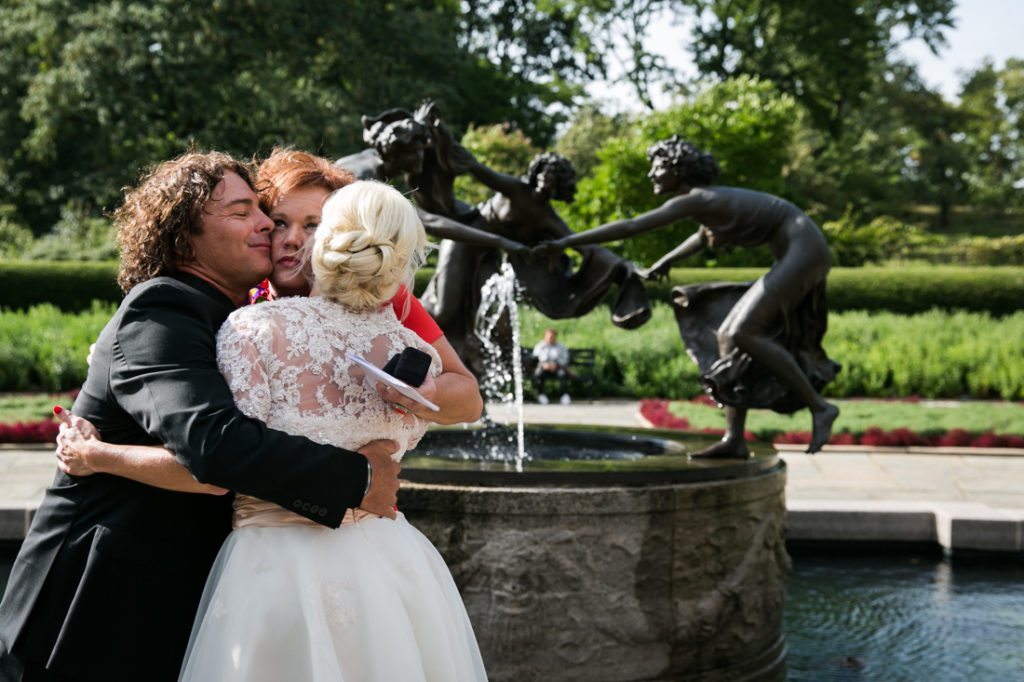
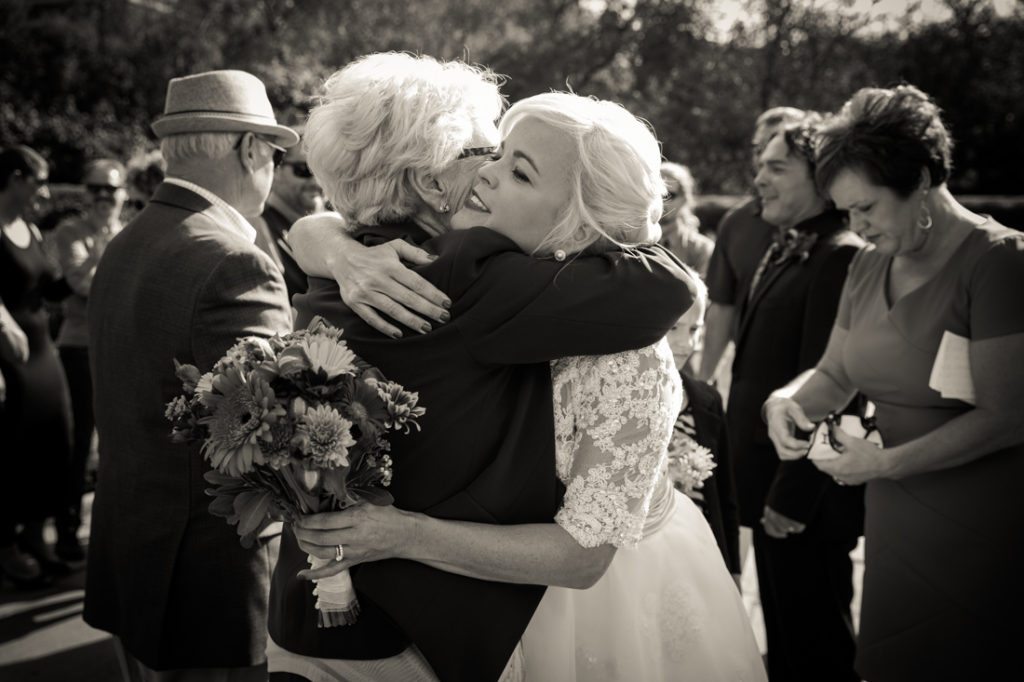
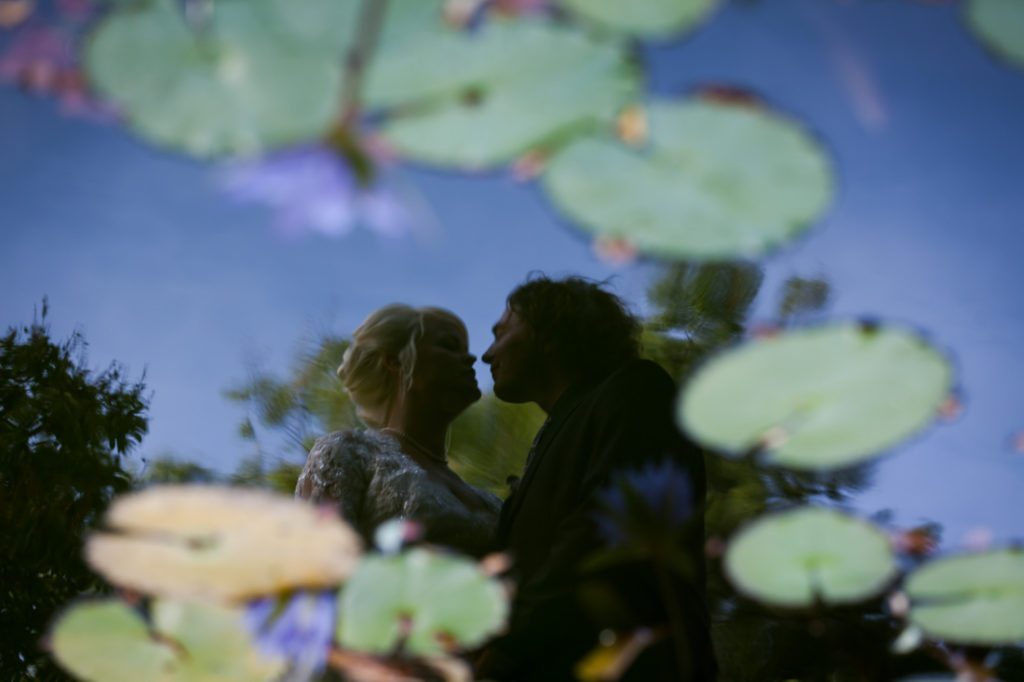
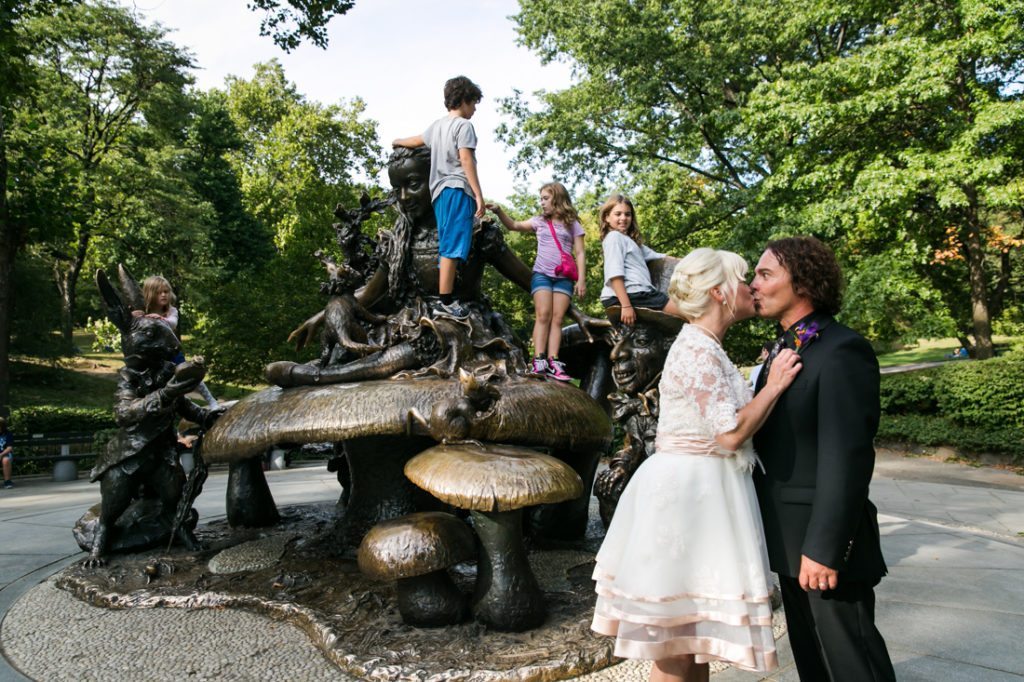
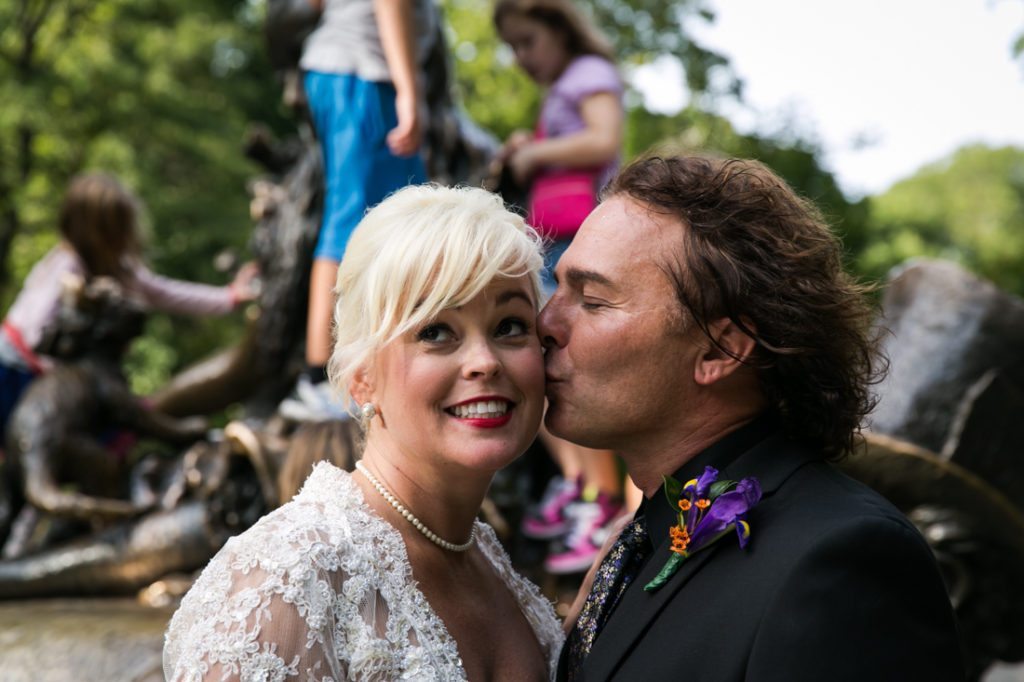
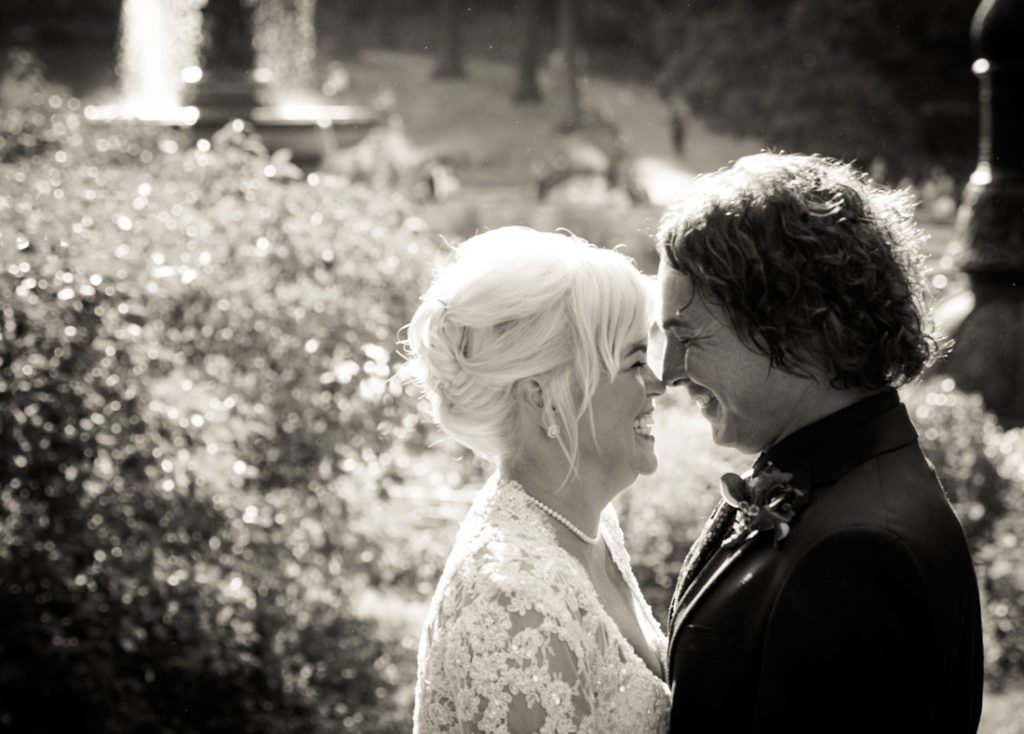
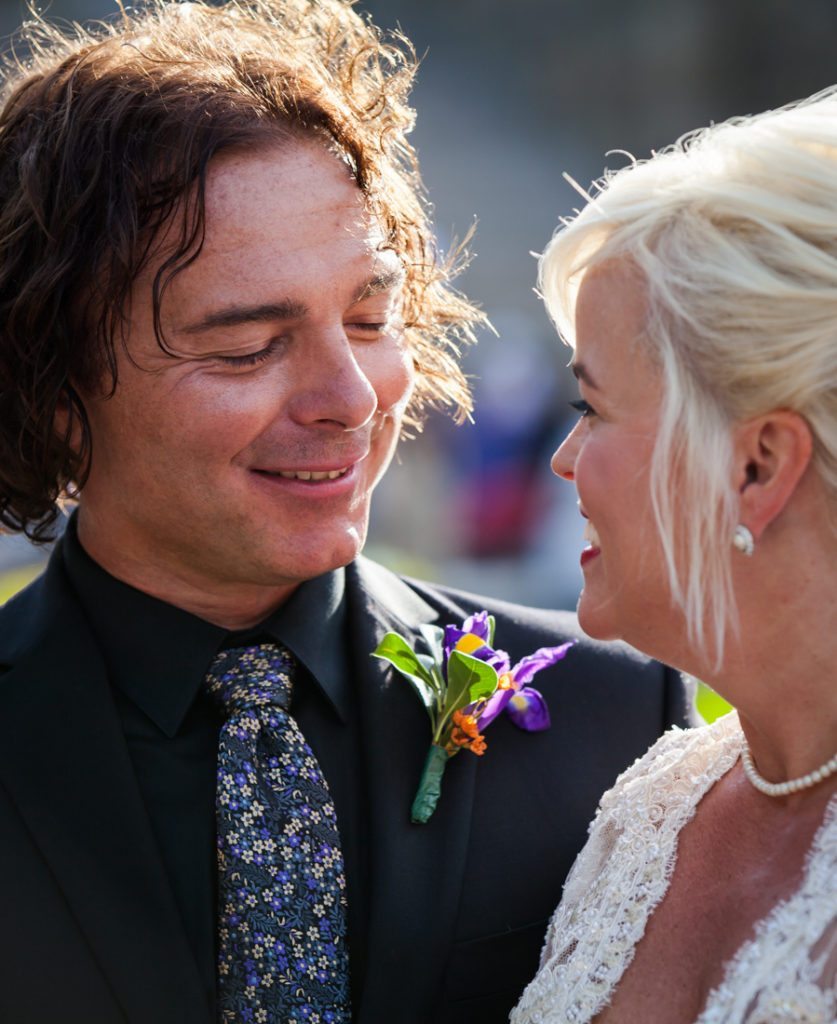
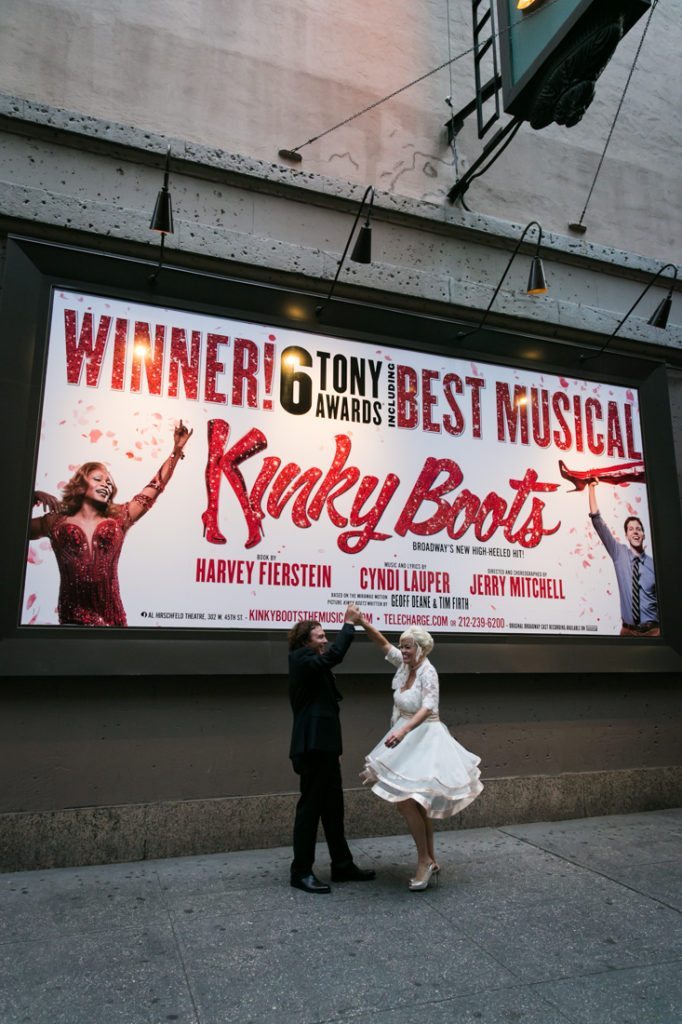
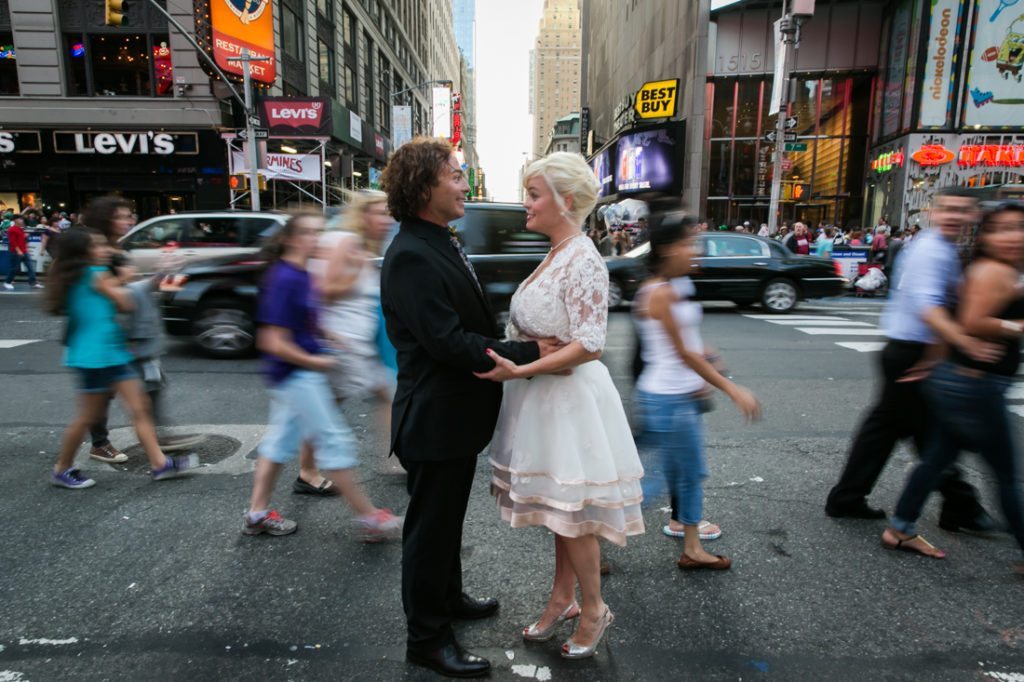
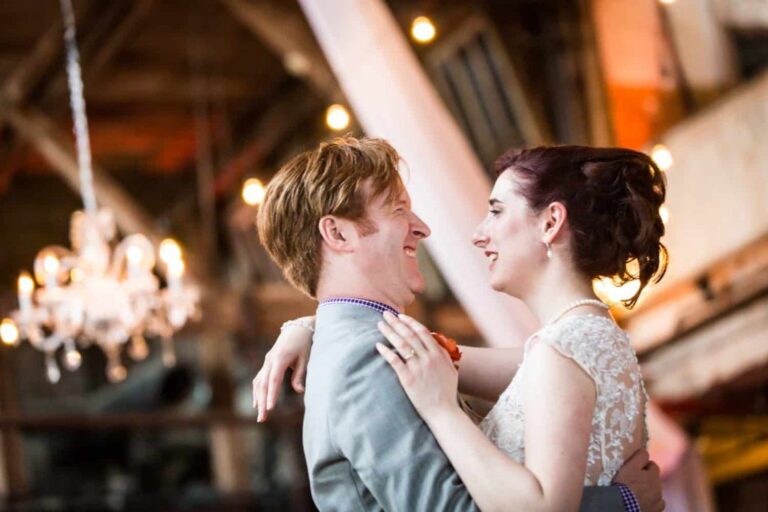
Enjoy my favorite pics from Jenni and Eric’s wedding. The ceremony was held at the Conservatory Garden in Central Park, and the reception was held at Oniel’s Restaurant in Little Italy.



Dear Kelley,
I love this post. It takes so much work to make a beautiful book. I like them much more than albums. I’m sure your clients loved their book. 🙂
Warmly,
Rima