How to Use Your Online Photo Gallery
I am always in search of ways to make things easier for my clients. Last year I began using a new online photo gallery so clients could share photos in an efficient, mobile-friendly manner. The system, run by Pixieset, has worked superbly for a year, and I have now expanded my use of the galleries so that clients can receive all of their photos directly through their online photo gallery. (No more Dropbox.) Find out all the ins and outs of using the Pixieset online photo gallery system in today’s blog post.
What is an Online Photo Gallery?
Let’s start with the basics. Your online photo gallery is where you will find all of the edited photo files from your wedding, portrait session, or family event. You can view your photos, mark your favorites, and even order prints and products directly from your online photo gallery. Even better, I now offer clients the opportunity to create their own online phone app to display their photos on their phone. In all of the research I conducted trying to find the perfect online photo gallery, Pixieset was the easiest to view and the most attractive in terms of digital display. I hope you find it as easy to use as I do.
How Do I View My Photos?
When your photos are fully edited, I will send you a link to your gallery via email. Simply click on the box entitled ‘View Photos,’ and it will take you to a new web page.
Note: Pixieset works best when you’re using either Google Chrome or Firefox. I had a client have issues when accessing his photos using Internet Explorer, so make sure Chrome or Firefox is your web browser of choice.
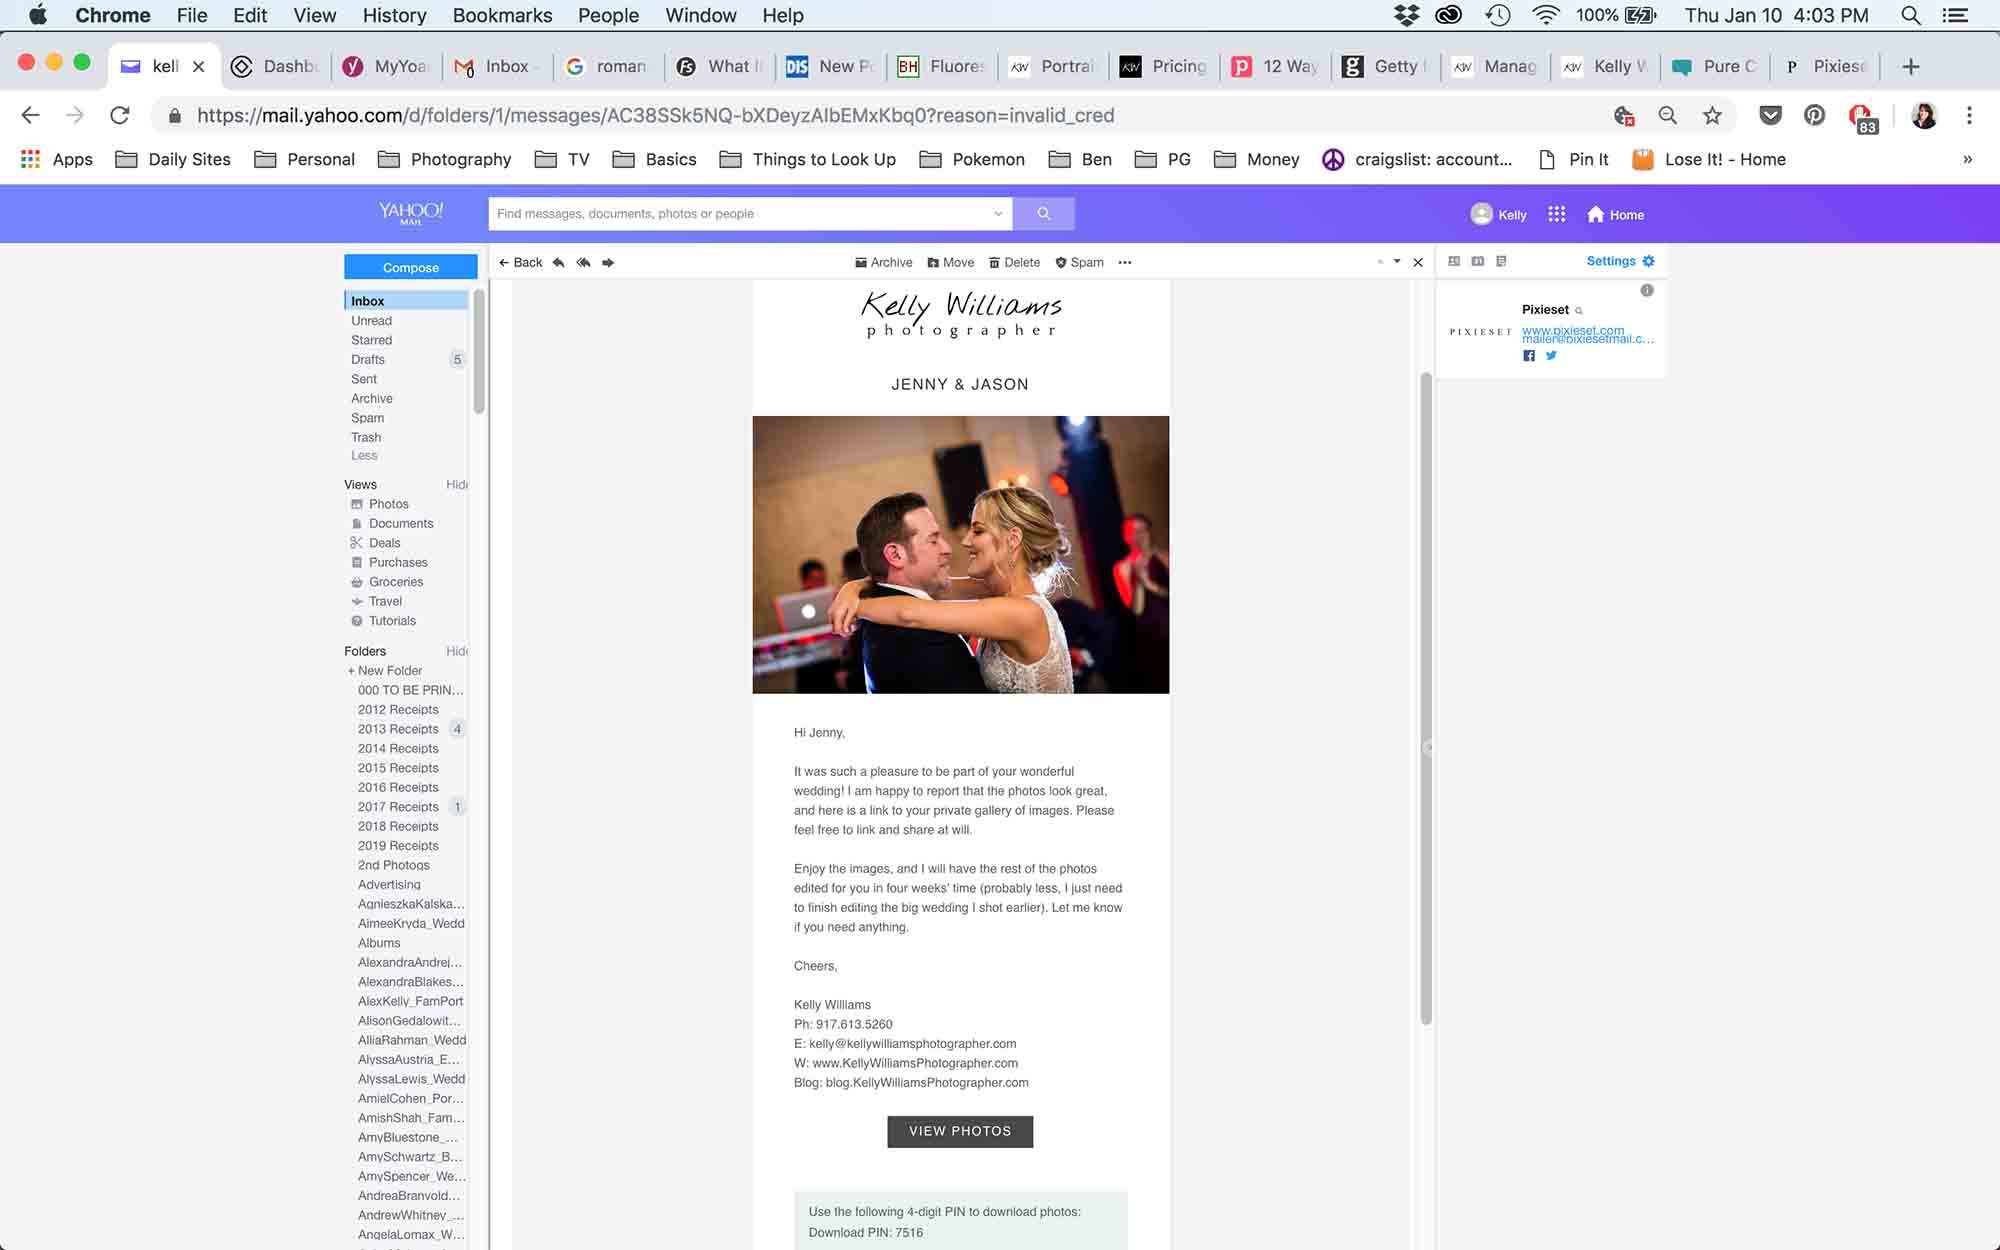
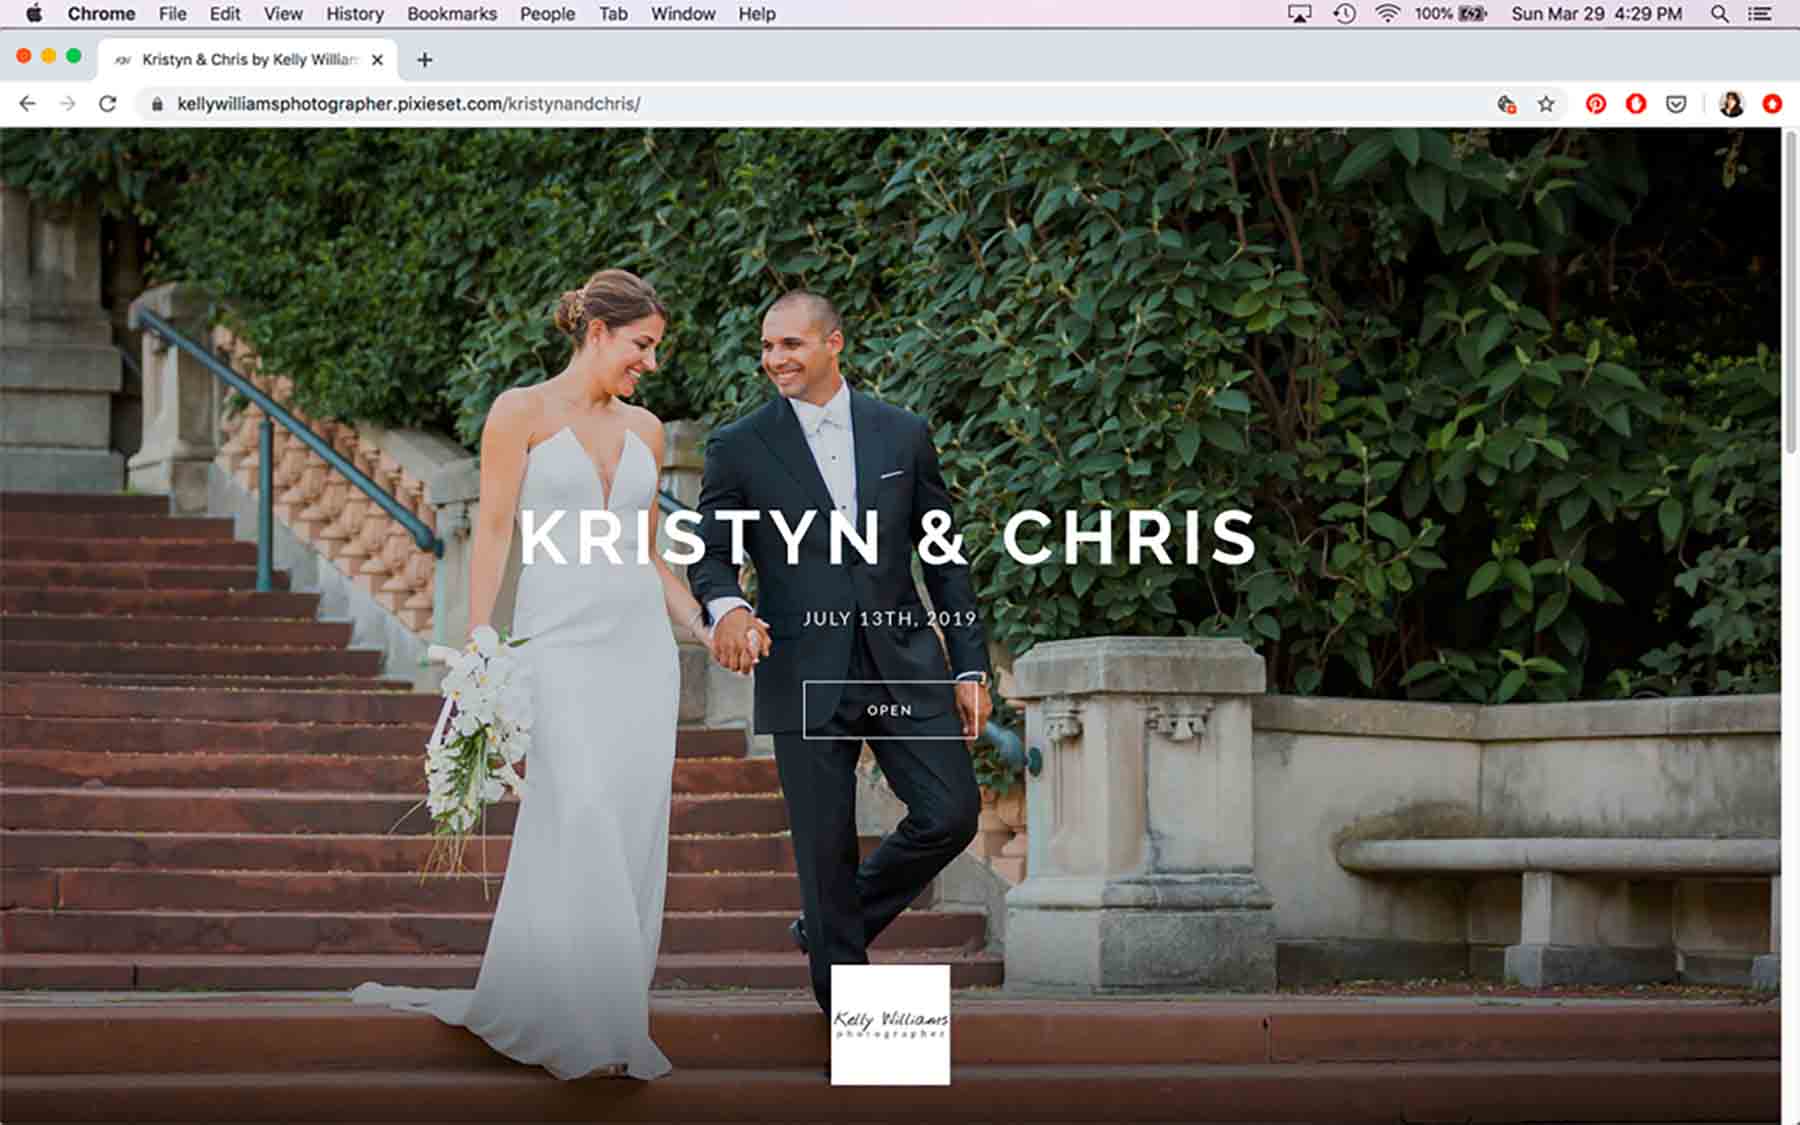
Scroll down past the main image and you will see a grid of photos. For each client, photos are normally organized into multiple pages according to either location (for portraits) or event (getting ready, ceremony, first dance, etc.). Normally the first page of any client gallery will be a ‘Highlights’ page showing a selection of my top photo picks. If you want to see an image enlarged, simply click on the specific image for a bigger view. To get out of the enlarged view and return to the grid view, click on the small ‘x’ in the upper right hand corner of the page.
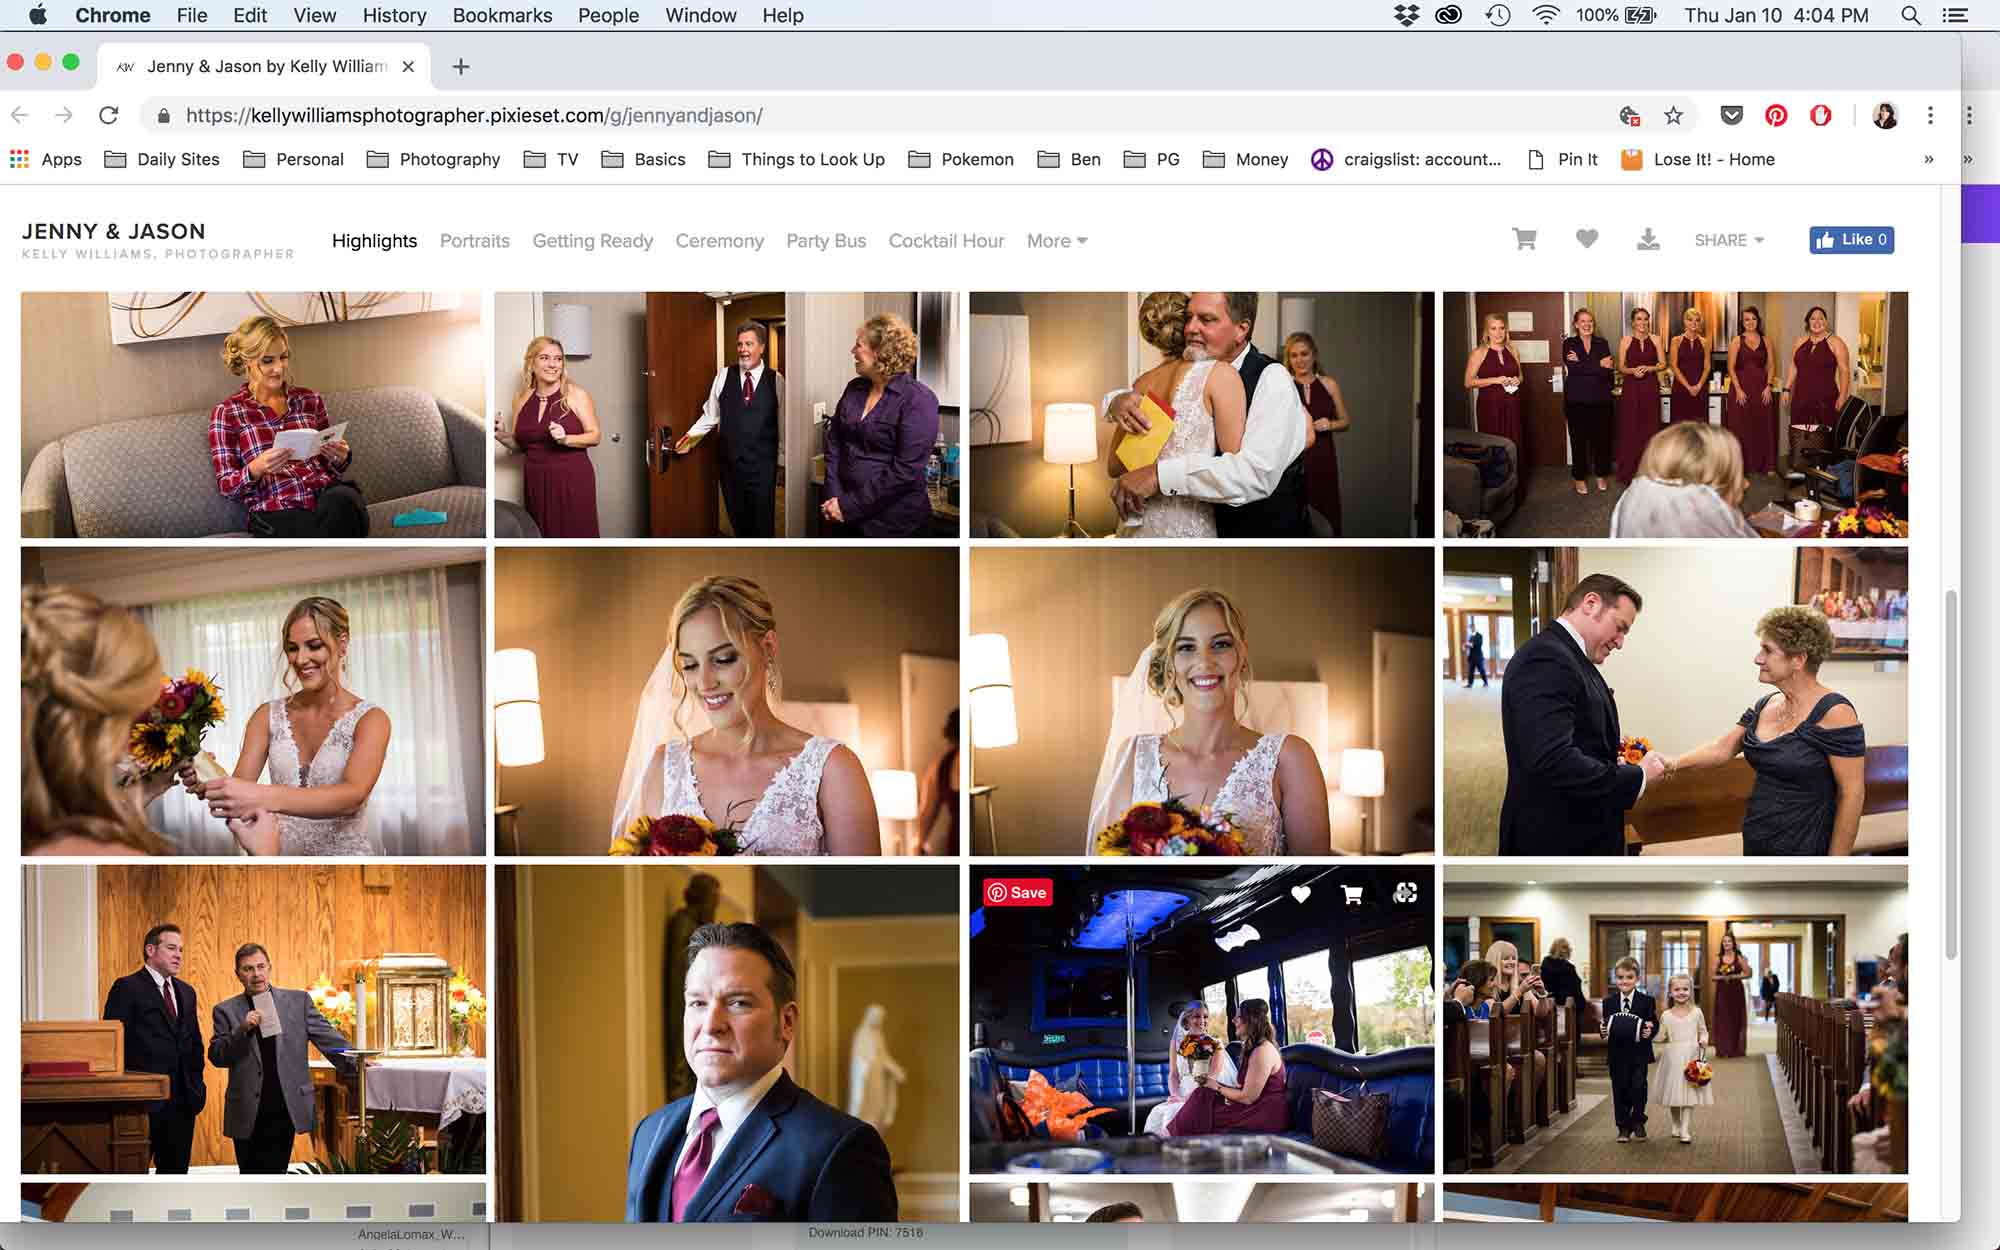
To view more photos within the gallery, click on the three parallel lines in the upper right hand corner of the gallery (mobile view) or click on the gallery names running along the top of the gallery page just underneath the main image (desktop view). This will bring you to a page showing all of the galleries plus all of the tools you can use on the individual photos, such as favorites or to purchase photos. The gallery you are currently viewing will be marked in bold in the gallery menu.
What Can I Do With My Photos?
You have several options of what you can do with each photo: select the image as a favorite (heart-shaped icon), share the image via social media (arrow icon in the mobile view or ‘Share’ in the desktop view), download the image to your own computer or phone (down arrow), or purchase a print or product of the image (shopping cart icon). The tools determining what you do with an image can be found along the top menu bar if you are in the desktop view or by clicking on the three parallel lines in the top right hand corner of the page if you are on your phone. In the desktop view, you will also see the menu icons across the top of the enlarged image.
How Do I Find the Title of an Image?
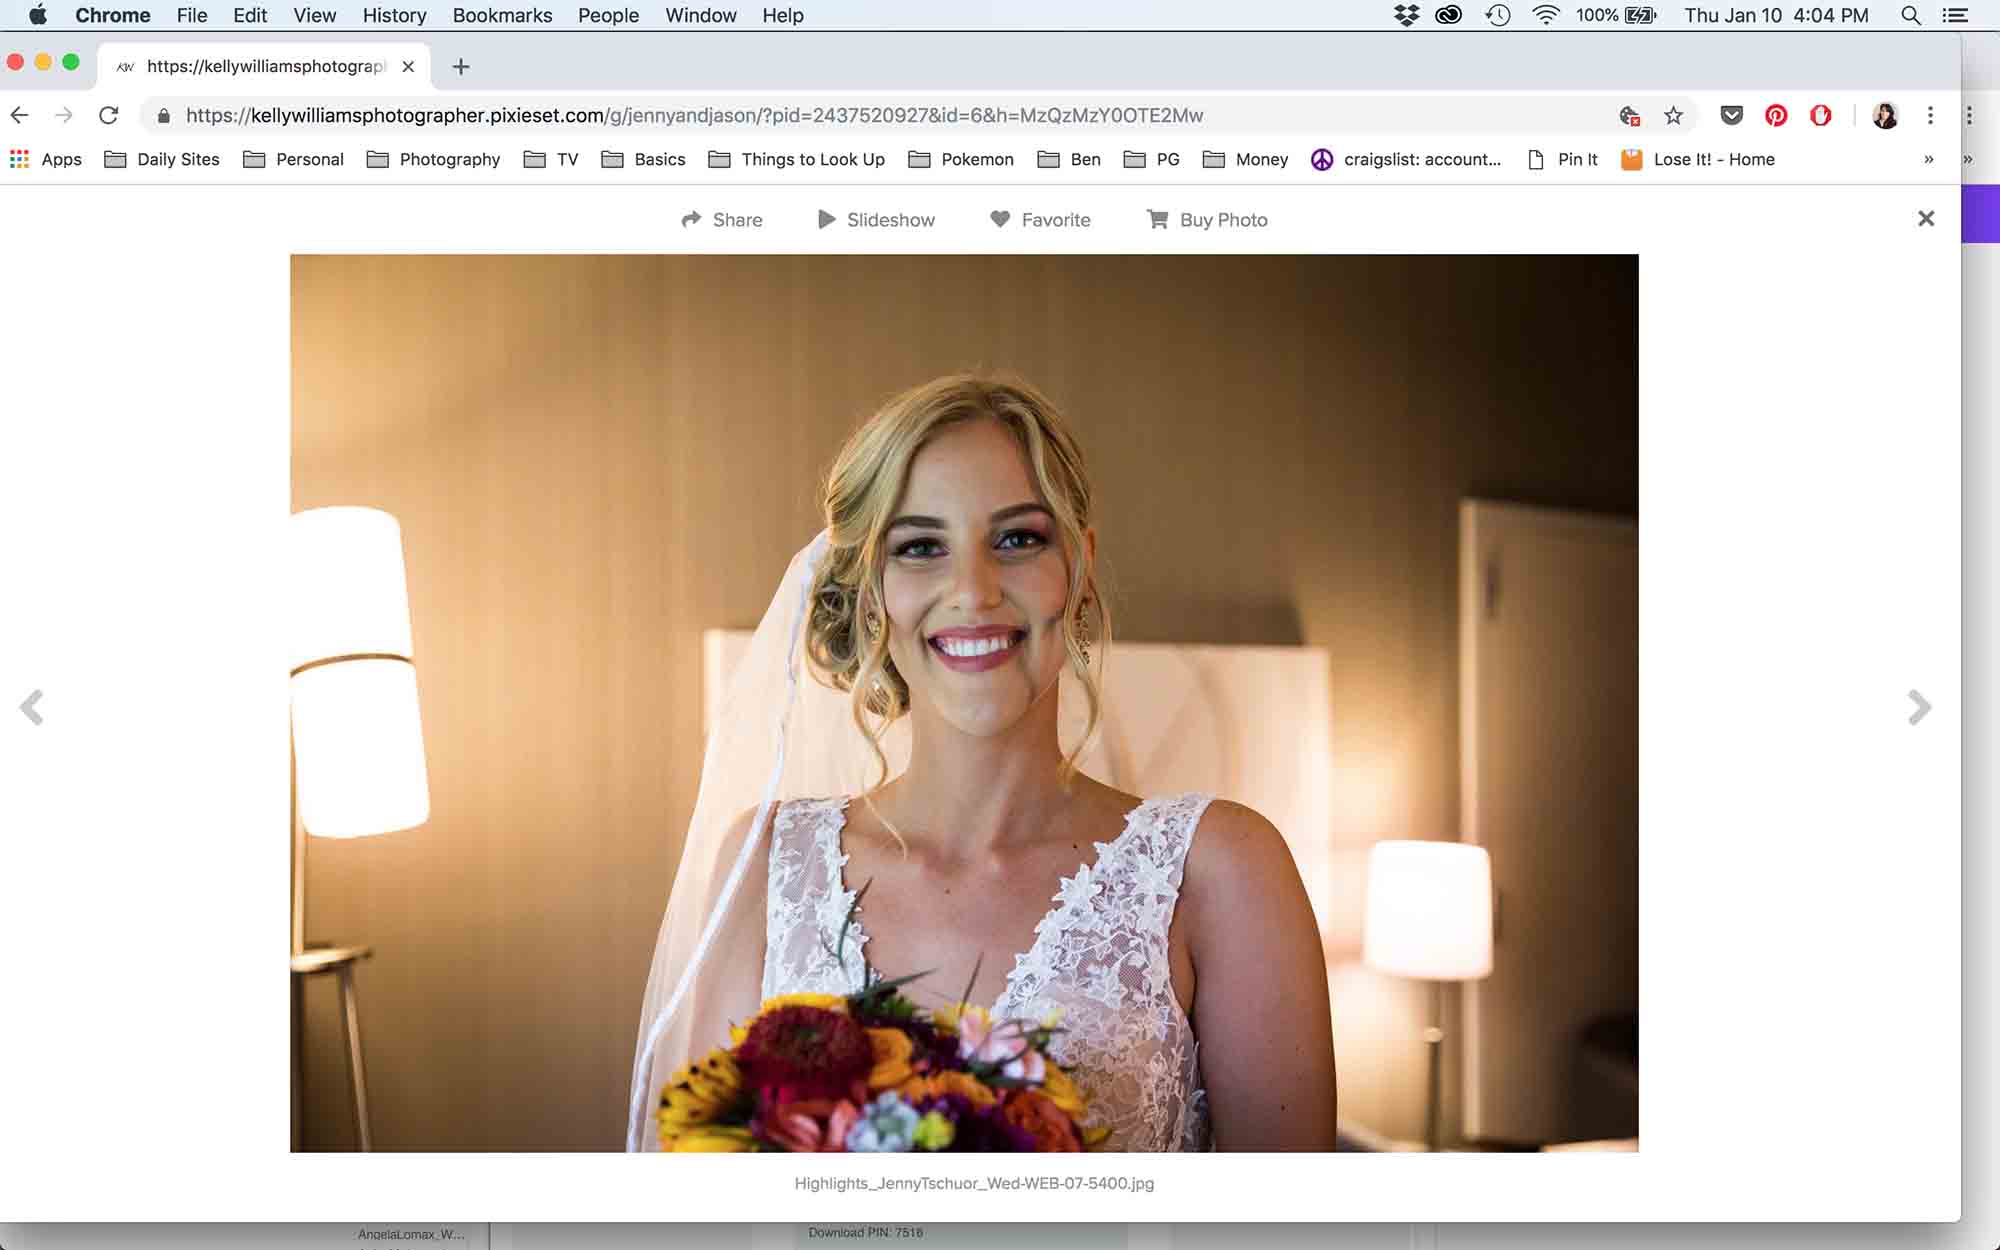
In desktop view, click once on an image for an enlarged view. The title of the image will be running along the bottom of the image. In mobile view, click once on an image for an enlarged view. Next, click the three dots in the bottom right hand corner of the screen and you will find the title of the image then running along the bottom of the screen.
What are ‘Favorites’?
Favorites is a great way to select your best photos and compile them into a list. Favorites is also how I work with clients when creating an album. Whenever I create an album for a client, I first ask for clients to give me a list of the photos they like best.
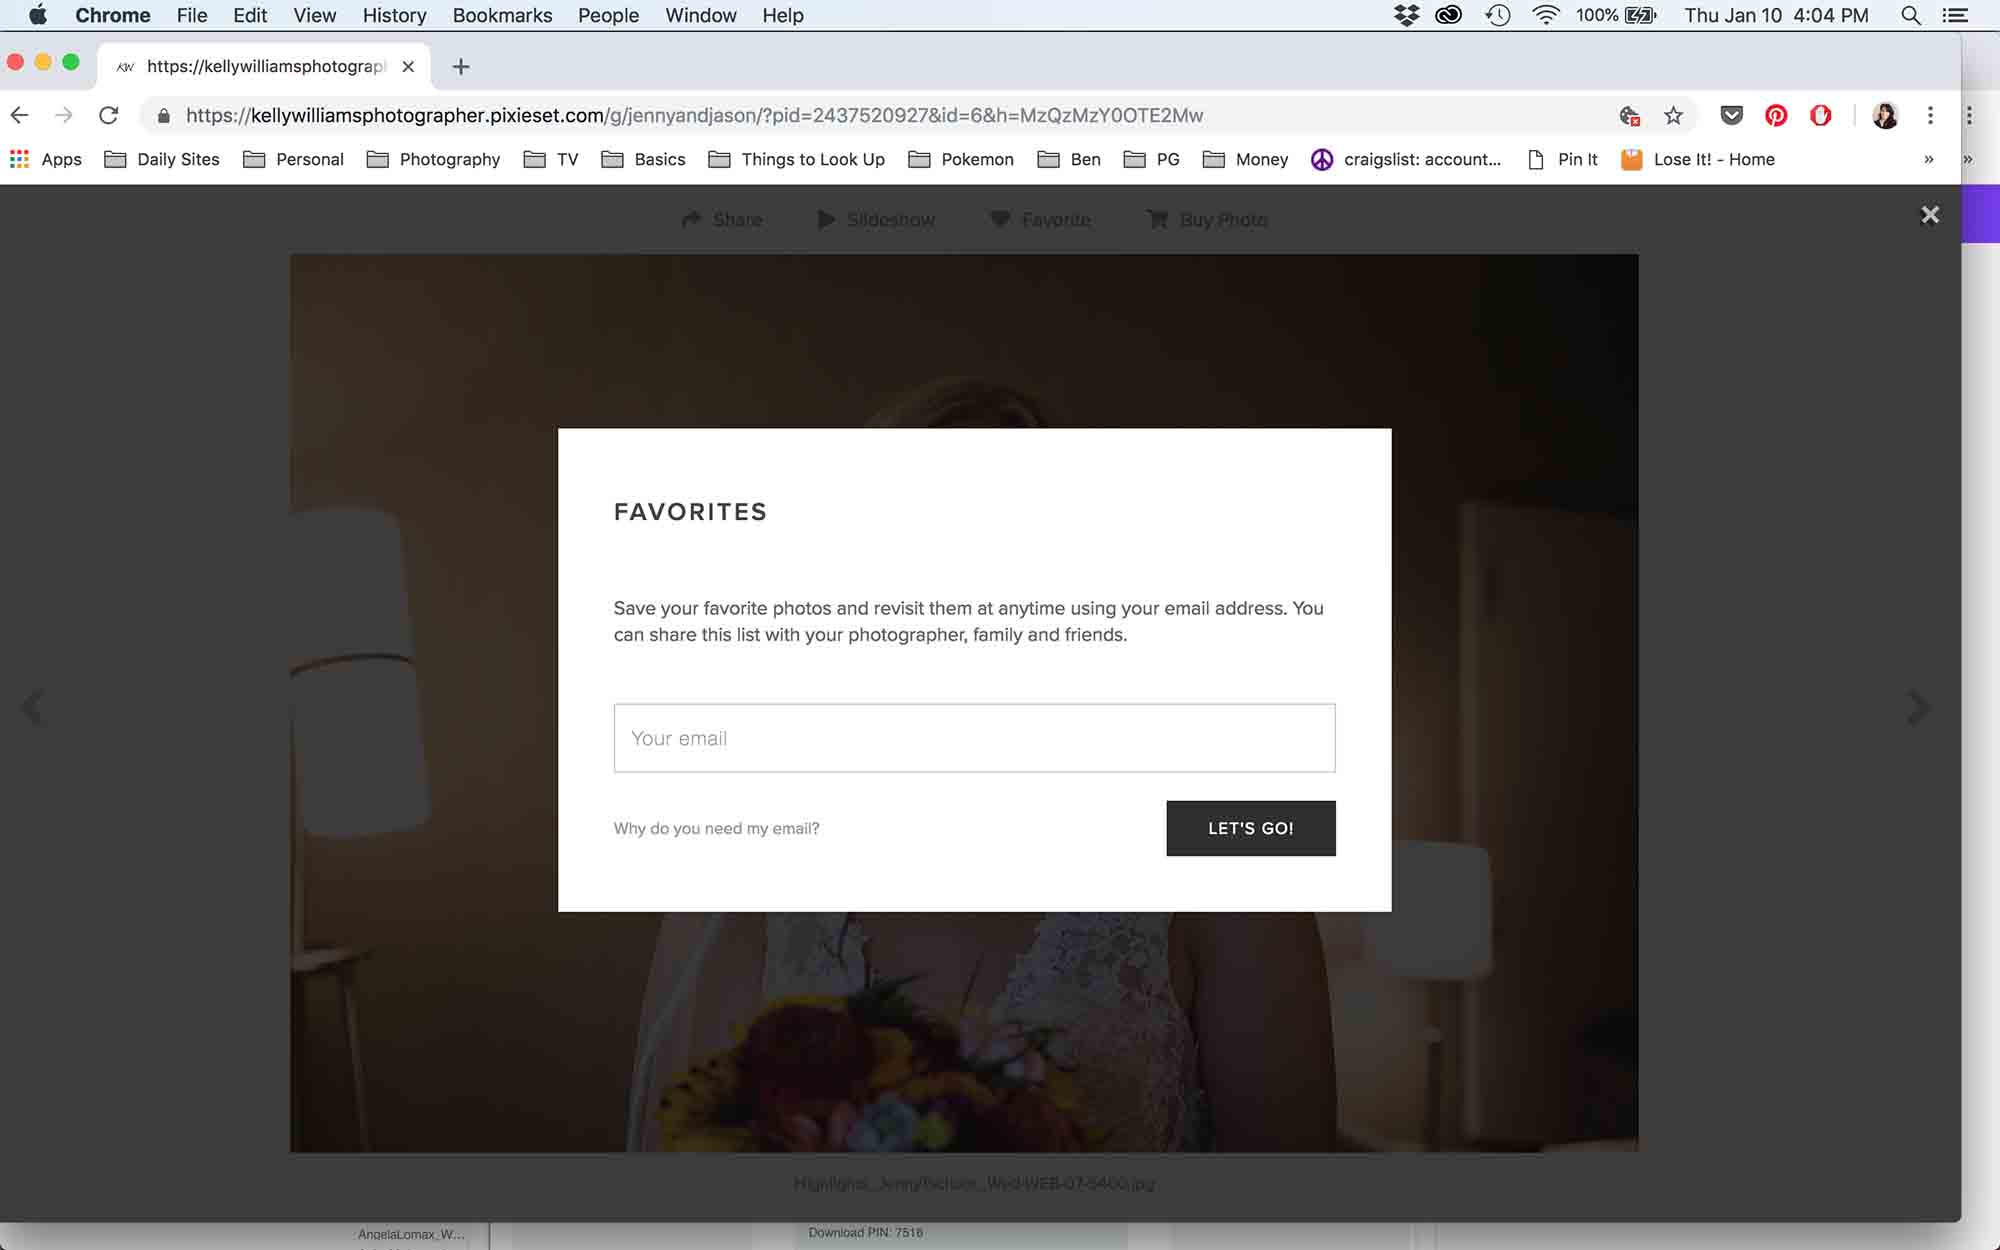
To start a list of favorite images, find an image you like and simply click on the heart icon. The first time you select an image to be a favorite, Pixieset asks for your email address. Enter your email address and you are ready to go. If you are in desktop view, you can select images by clicking the white heart icon you find when hovering over an image in the summary grid view. You can also select images individually as favorites in the enlarged view by clicking on the grey heart icon. If you are in mobile view, you can only select an image for favorites by clicking on the individual image and then clicking the grey heart icon. For each image that you select, a dialogue box with the words ‘Added to My Favorites’ will pop up.
To review your collection of favorite images, click on the grey heart with the red dot in the menu bar (desktop view) or the three parallel lines (mobile view). For either view, click on the image/words ‘My Favorites’ and it will bring you to a grid of your selected images.
Can I Create Multiple Lists of Favorite Photos?
Let’s say you would like to create multiple albums with different images selected for each album. Not a problem at all. In the desktop view, click on the heart icon on the main menu bar. This will bring you to the front page of your favorites. Click on the box below your main ‘My Favorites’ list, entitled, ‘+ Create a new favorites list.’ You can create multiple lists and name each list however you wish. Now when you go back to the gallery of images and select the heart icon, the computer or phone will allow you to select the list you want the photo to reside in.
How Do I Purchase a Print or Photo-Related Product?
If you would like a print or photo-related product (canvas print, metal print, jewelry, etc.) created of any image, click on the shopping cart icon. The dialogue boxes that pop up are fairly self-explanatory. At any time you can select ‘View Cart’ to see what you have selected for purchase, or ‘Keep Shopping’ to select more images. If you have an image waiting in your shopping cart, but you haven’t purchased it yet, you will see the number of items in your cart pop up in red above the shopping cart icon on the menu bar.
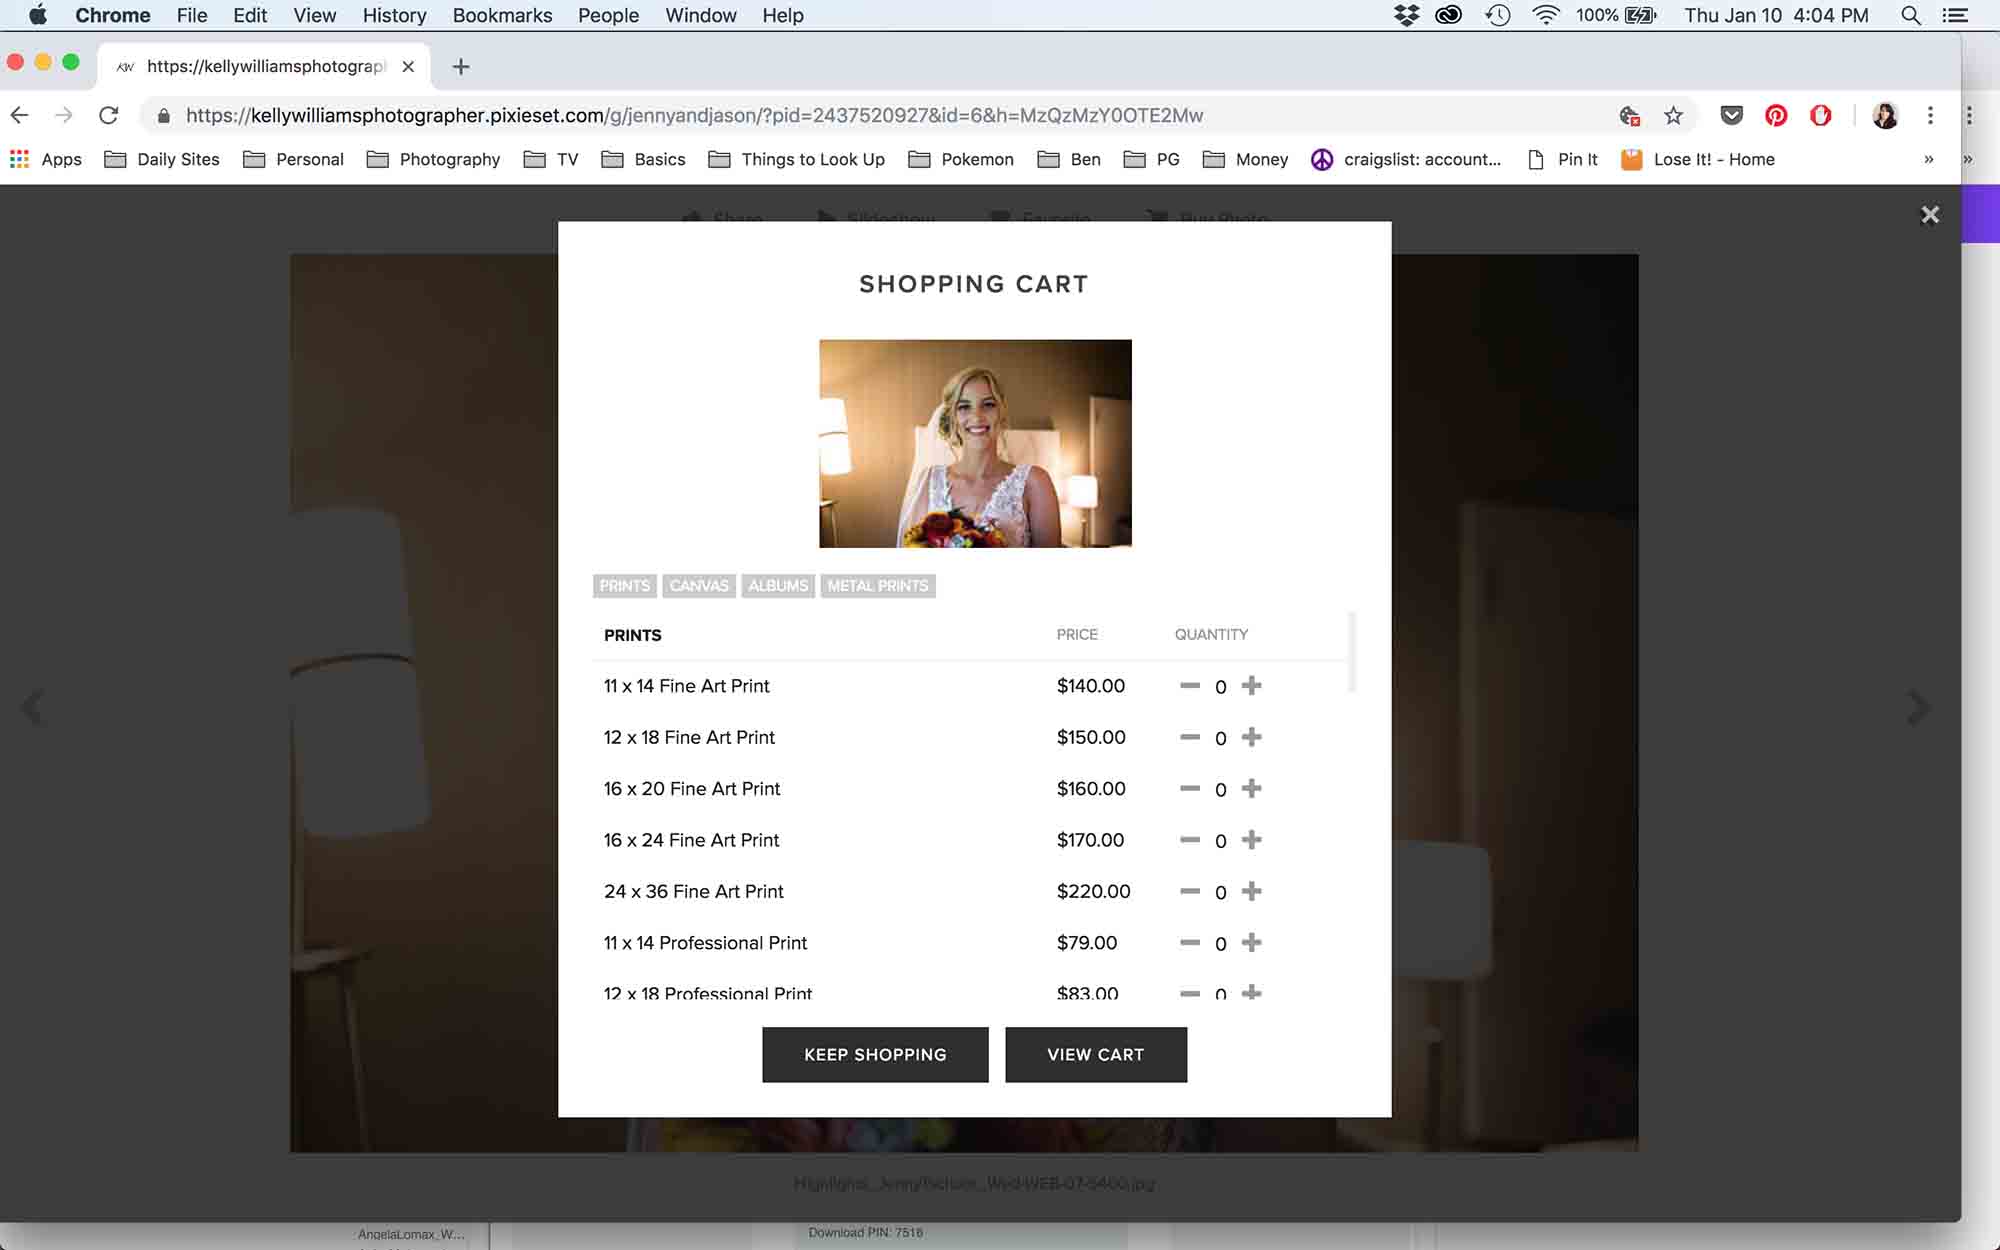
Once you place an order I will send you an email with the final invoice. NYC sales tax of 8.875% is applicable to all purchases. Please note that items may be paid with by personal check or bank-to-bank transfer (Venmo, QuickPay, Zelle, etc.), but PayPal and credit cards are unfortunately not accepted.
I have prints, canvas prints, metal prints, and albums currently in the list of products offered online. If you would like to see a full catalog of prices, please drop me a line and I will send one to you via email. Furthermore, I am always on the hunt for new and creative products to offer my clients. If you can dream it, then I can create it, so let me know if you are in the market for anything photo-related, and I can find out the details for you.
How Do I Share a Photo on Social Media?
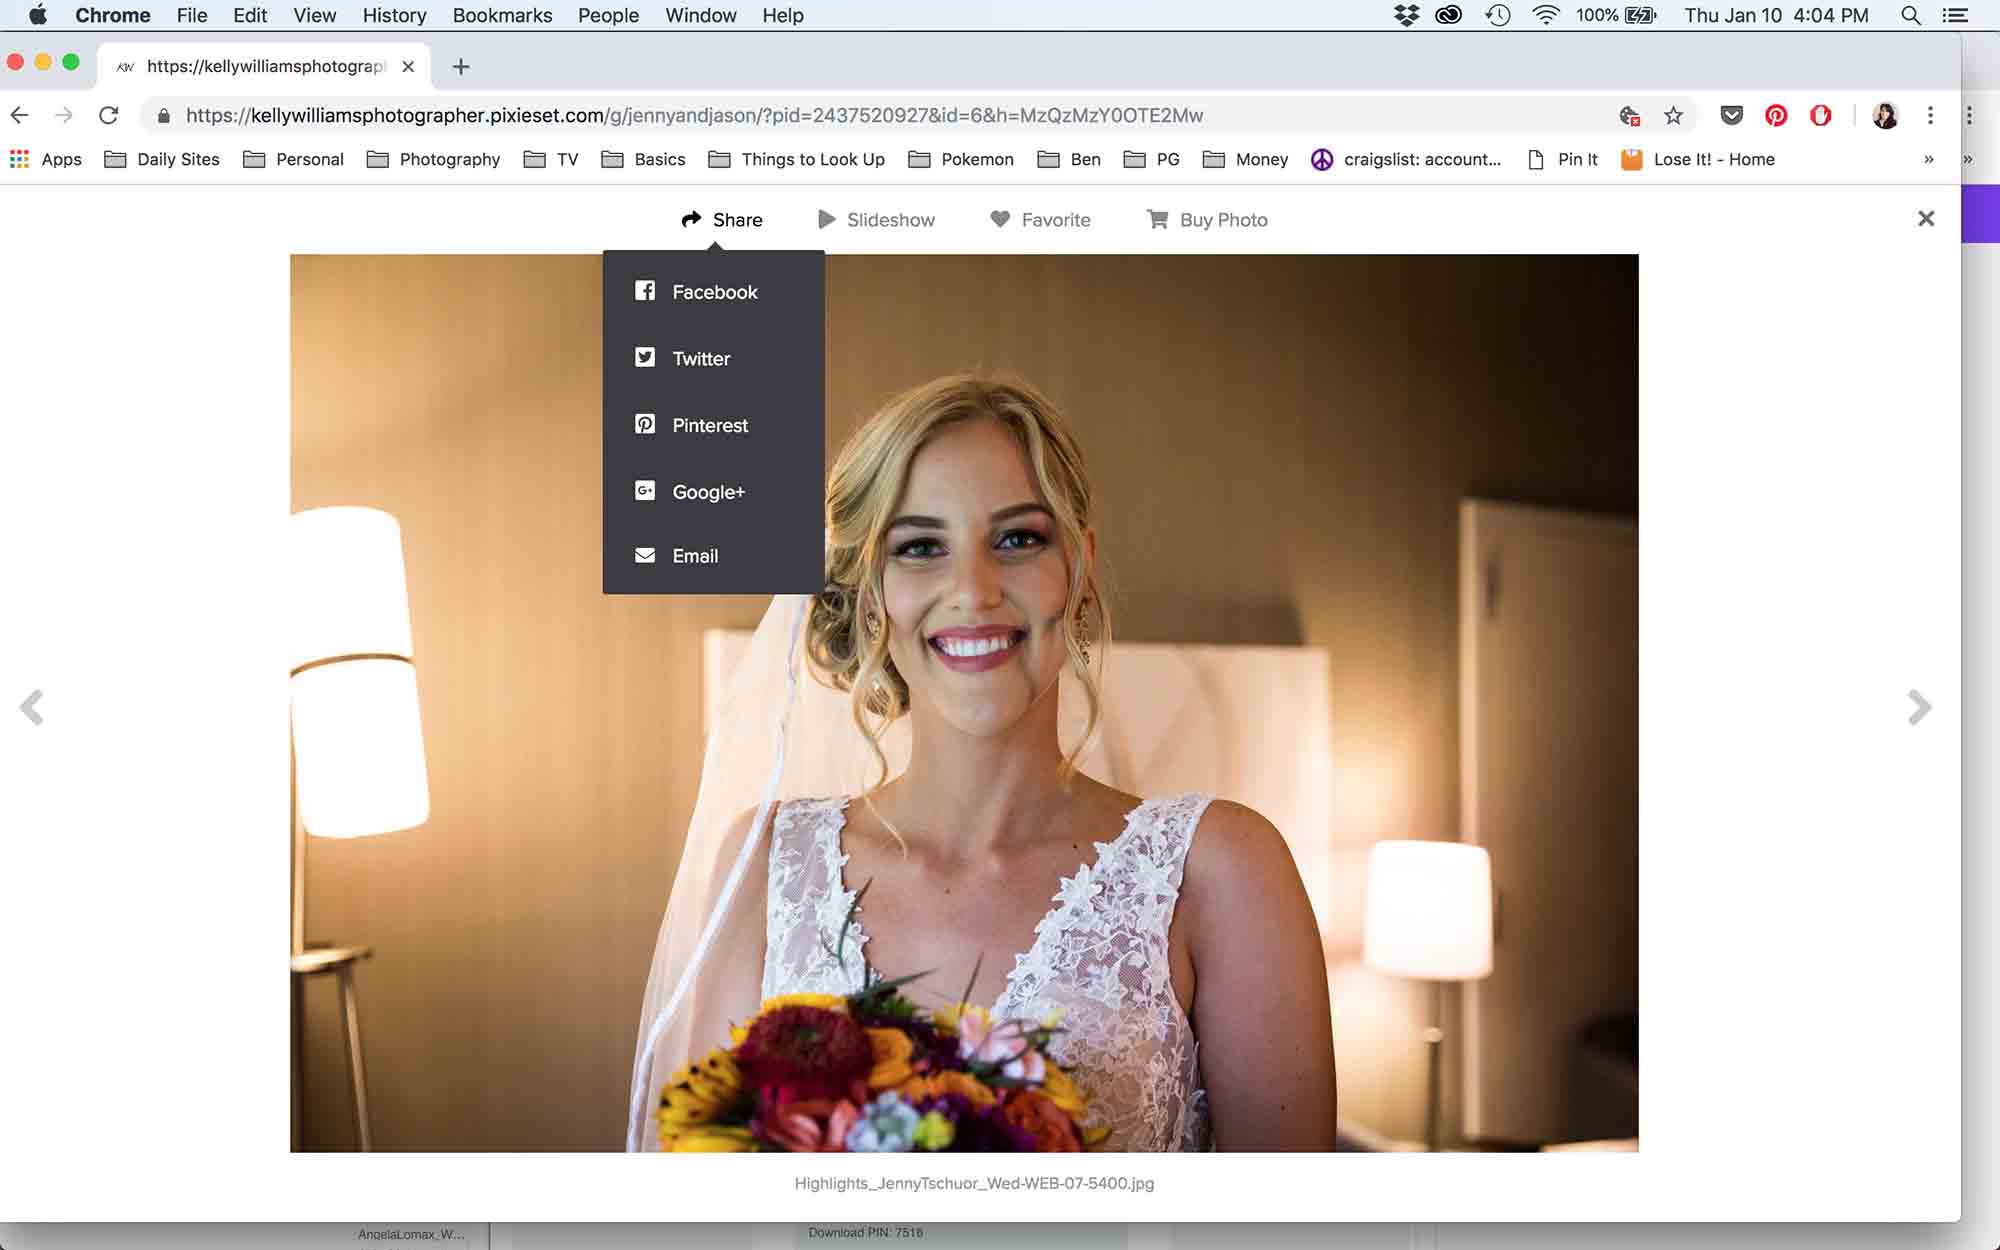
You can share any image via the usual suspects: Facebook, Twitter, Pinterest, and good ol’ fashioned email. By the way, Google+ remains an option, but unfortunately Google+ no longer exists. Hopefully soon you will be able to share images directly to Instagram as well.
How Do I Download My Files?
This section is the most important. For all weddings and depending upon if you have purchased the digital package for your portraits, I create images for you in three different formats: low-resolution images sized for the web (72 DPI), high-resolution color images which you can use to print on your own (300 DPI), and high-resolution images (300 DPI) in black and white. Make sure that you download all of your photos in all three formats to your own computer. The next step is that you should save your images on a separate hard drive.
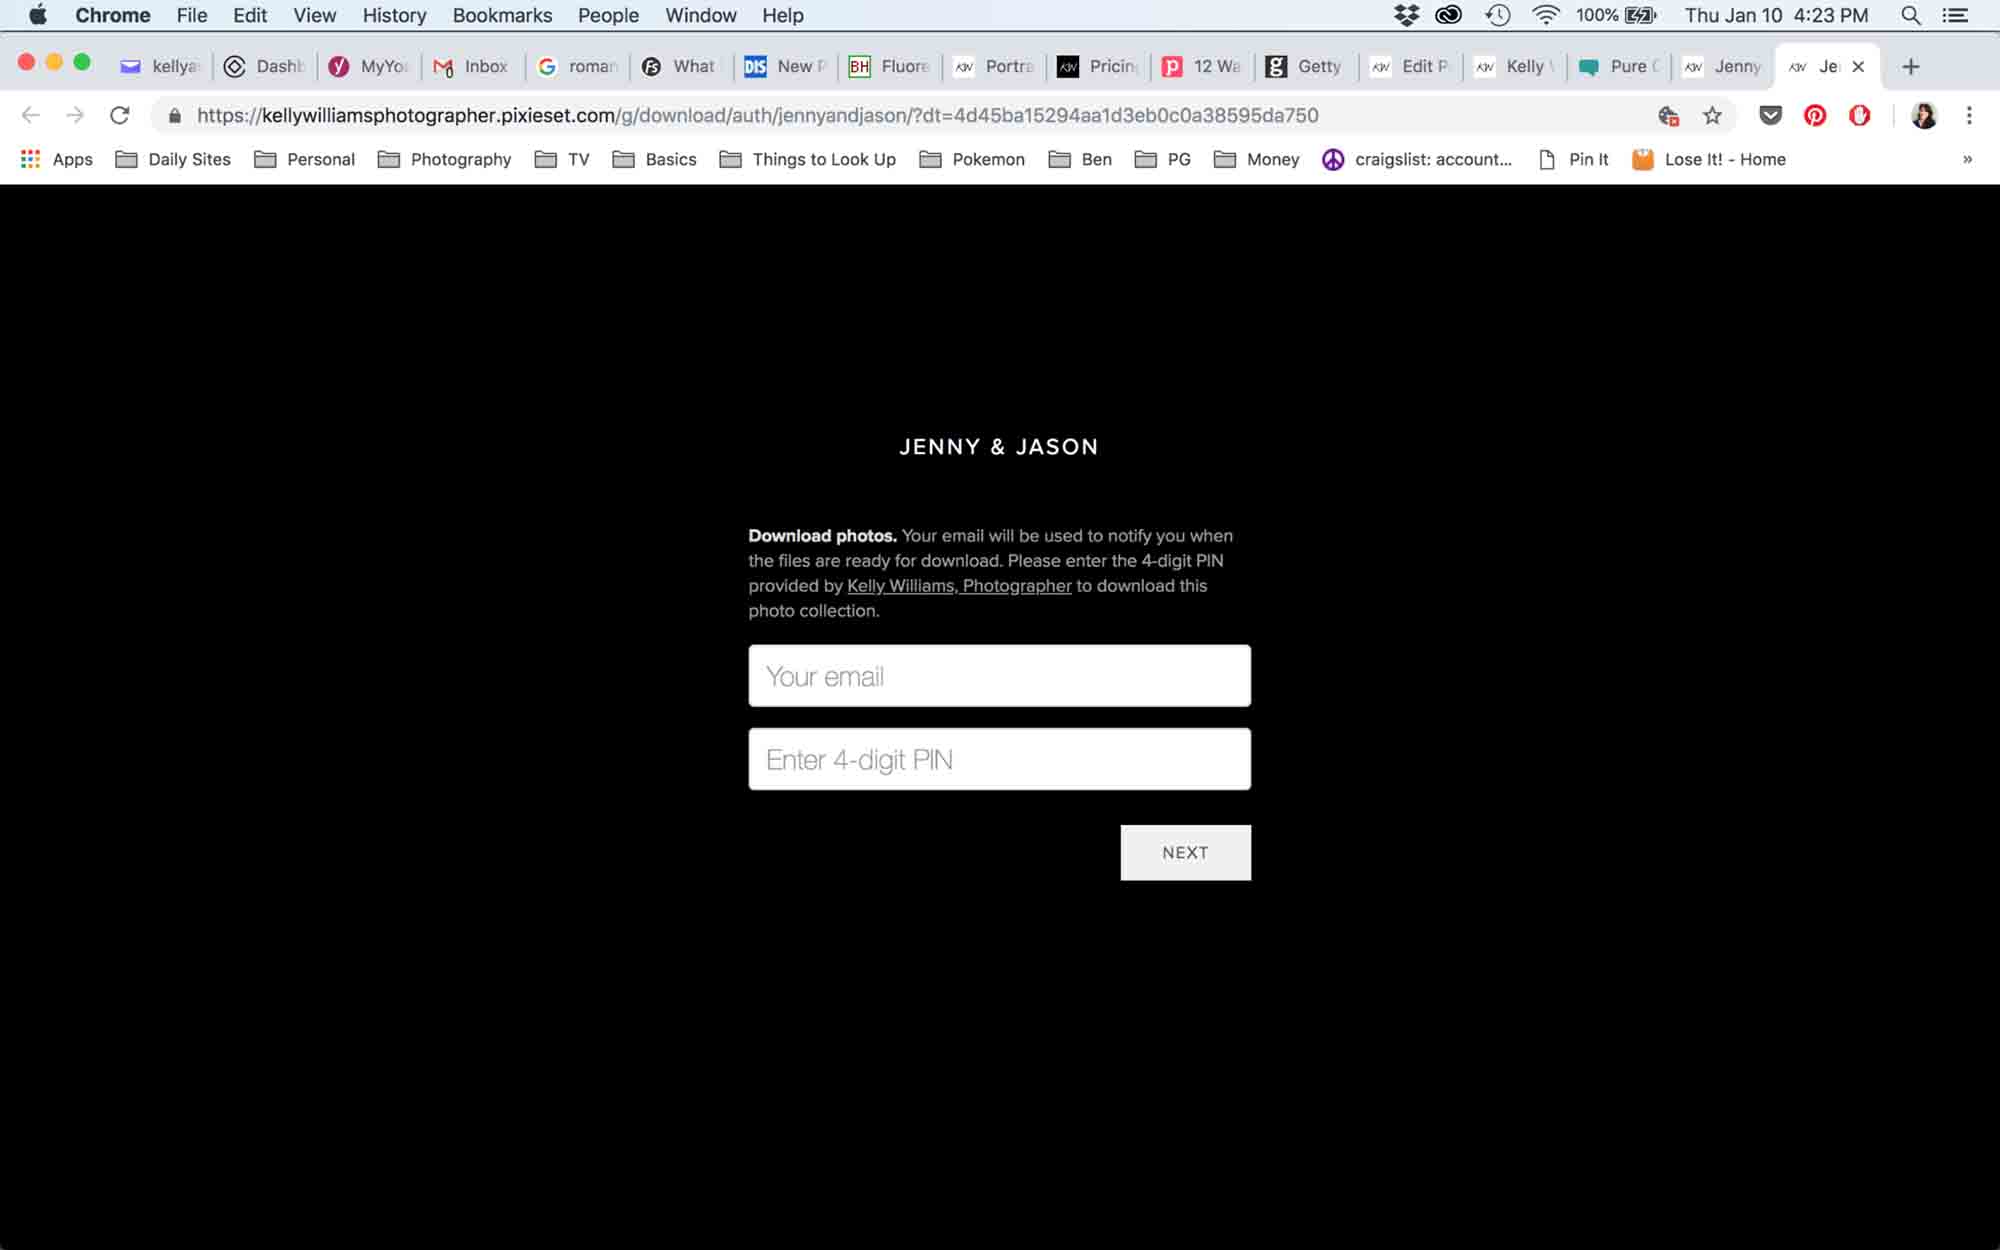

To download the photos, click on the down arrow icon. This will bring up a separate screen that will ask you for your email address and a four-digit code. You can find the four-digit code on the initial email I sent you that you used to access the gallery. The next screen will have you select which photos you want to download. Again, make sure you download all of your photos across all three formats (if applicable).
Make your selection, and then click ‘Start Download.’ Your selection of photos will be compressed into a zip file. To download the zip file, click on the name of the zip file on the screen. This will start the downloading process to your computer. You can then find the zip file wherever downloaded files are found on your computer. Again, make sure you save these somewhere safe.
If you have any questions about accessing your files or just want to chat about what’s new for 2019, then drop me a line. I would love to hear from you and am happy to walk you through any technical issues!
If you would like to check out all of my online client galleries, then please visit my client gallery site — www.KellyWilliamsPhotographer.Pixieset.com


