How to Look Good in Photos
This Halloween, I dressed up as Snow White, and I wanted to make sure I get some good photos out of the experience (more on that later). I’m not one to enjoy having my own photo taken, and it has put me squarely in the shoes of my clients. I wanted my own photo experience to be as easy and fun as possible, so I thought I would pass along a few tips to for how to look good in photos. To all of you ghost, goblins, or perhaps just someone looking for a new photo for Facebook, here are some tips for getting the best portrait possible:
Tip # 1: Relax, and be yourself
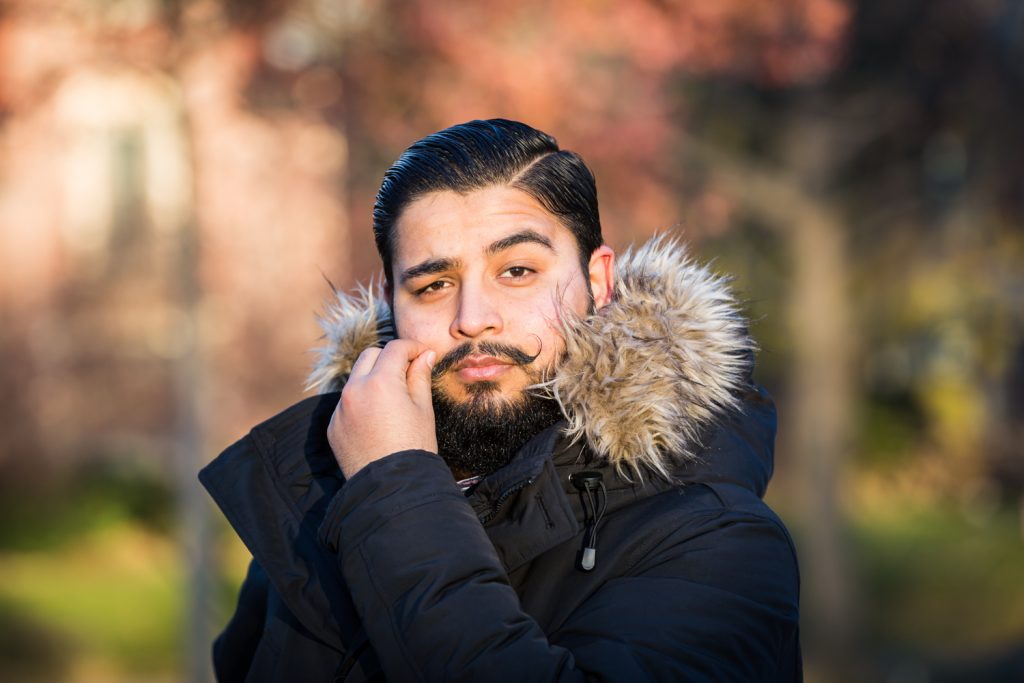
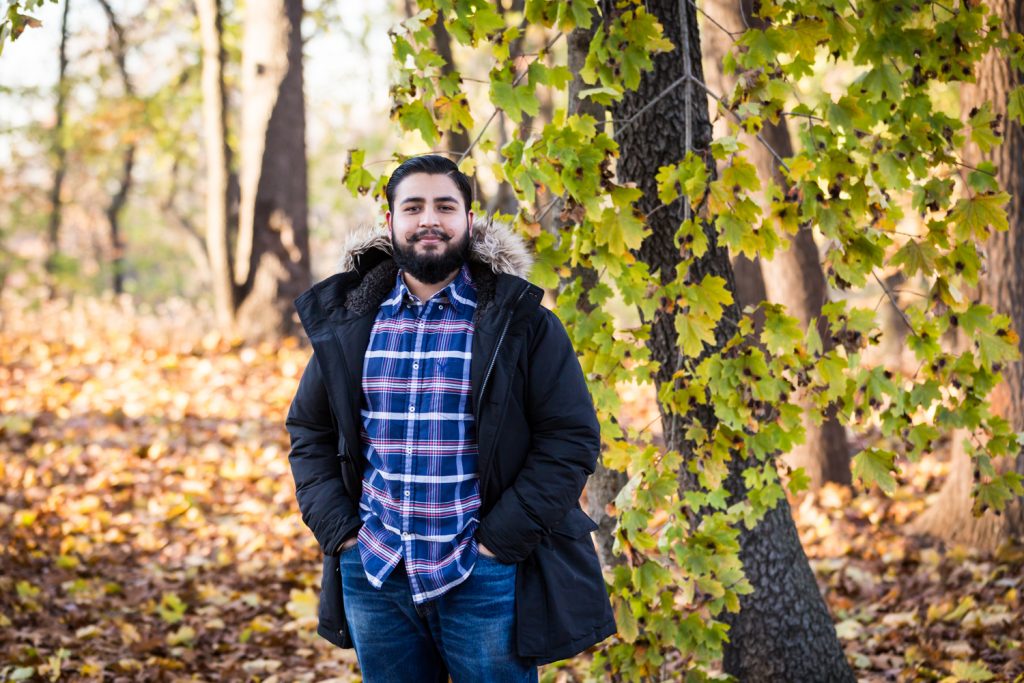
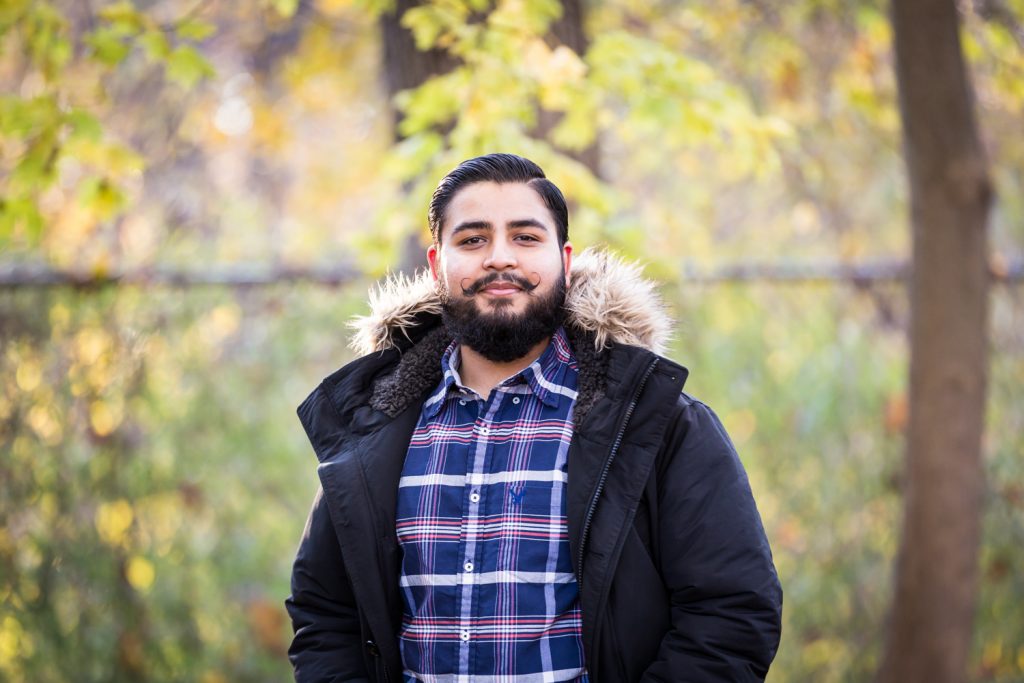
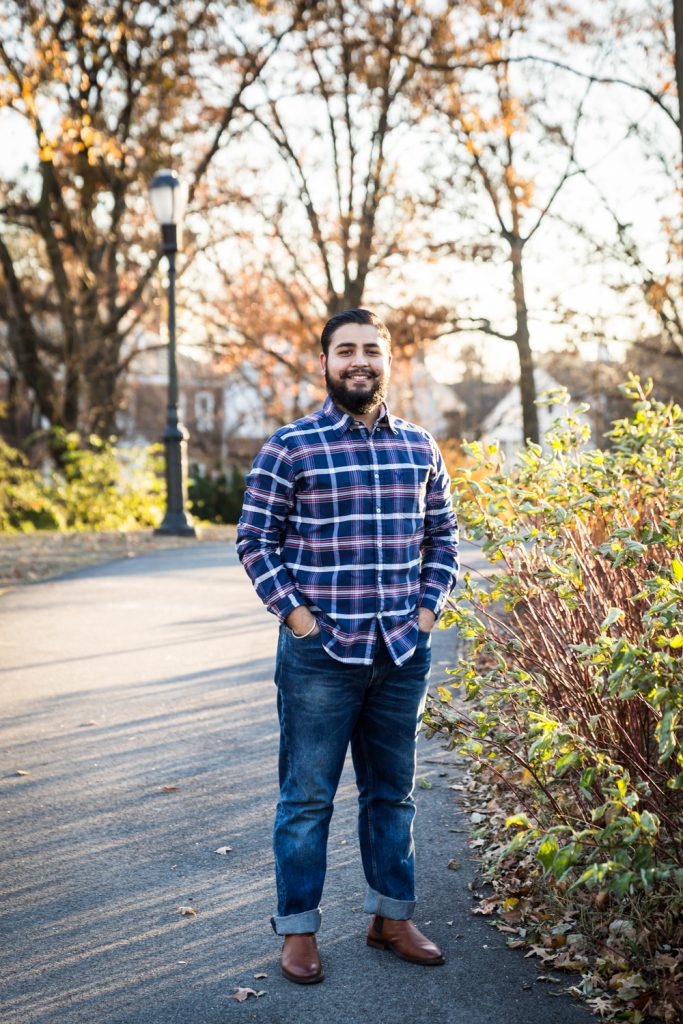
Just be yourself. I can’t emphasize this enough that your portrait above all else, should reflect the real you. If you are laid back and relaxed, then there should be a relaxed mood to your photo. This starts with the environment. Perhaps a portrait taken as you are walking in a park or some other surrounding that reflects your world. There is no need to have a stark portrait against a white background unless you need a passport photo. Further, the posing should also comfortably reflect your personality and mood. If you are a fashion plate, then go fierce with your pose.
Tip # 2: Wardrobe
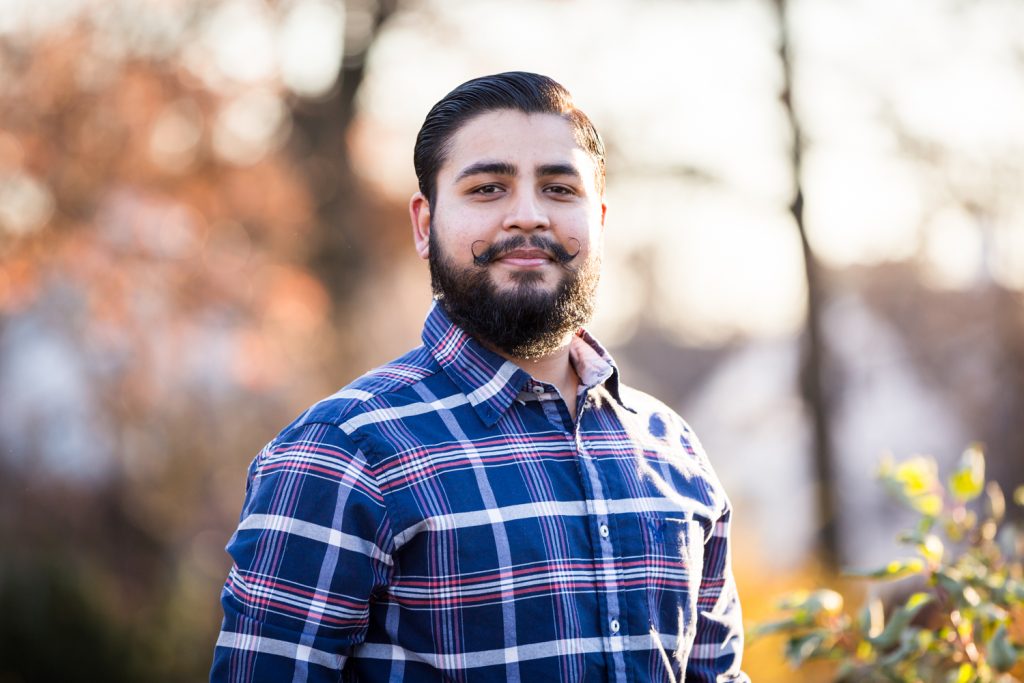
The clothes you choose for the photo session should make you feel confident and ready to face the camera. Most importantly, they should reflect your personality. If you are a jeans and t-shirt type of gal, then that is the attire for you. Try on many, many outfits and see what works best. The best colors to choose are those that flatter your hair and skin tone. Pops of saturated color are great, as are signature accessories that are unique to you. The only items to avoid are crazy patterns, patterns that are extra small, extra baggy or too tight clothing, clothing with logos, and an abundance of pale colors. Watch out for striped or checkered prints as well, since horizontal stripes make everyone look wider. Also, details matter. If you notice that an article of clothing is wrinkled, bunching up, or is missing a button, then it is guaranteed that this flaw will be magnified by the camera.
Tip # 3: Makeup
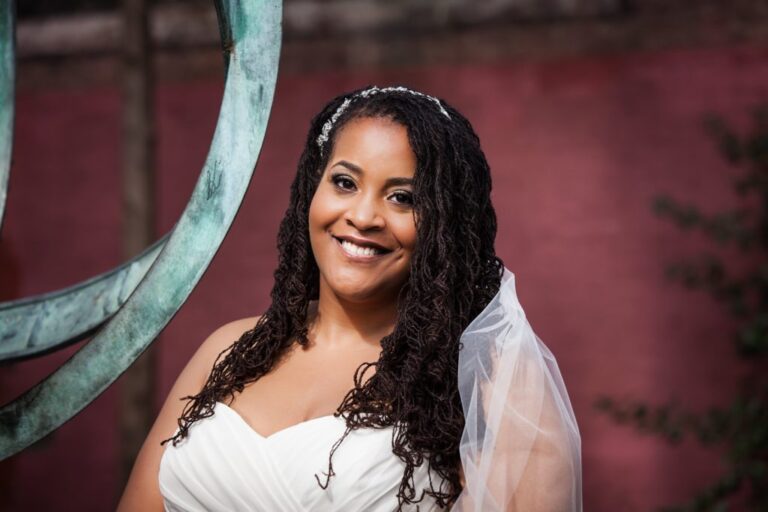
While clean, clear skin is the foundation of a great photo, makeup can help you define and enhance your features. Make sure you apply your makeup in natural light to ensure it doesn’t look like a mask. Check that your face foundation color matches the color of your neck and that there is no line of demarcation between the two. Likewise, make sure your under eye concealer is blended in well. Powder or oil blotting tissues are a must to cut down on shine. To that end, use yellow-tinted powder over shimmery or translucent powders which will reflect the light, leaving you with a shine. Wear matte foundation, eye shadow, and lipstick as it photographs best. Say no to any shiny eye shadow, lipstick or glitter. The eyes and lips are the focal points in photos, so pump up the volume on your lipstick color and consider false eye lashes or at least mascara to make your eyes pop. Black eye liner and black mascara are the best for photos. A little white eye shadow in the inside corners of both eyes will make your eyes stand out. Everyone needs a bit of blush so that you don’t look washed out in the photo. As with all makeup, start out light and add more if necessary. If you think you have on too much makeup, have the photographer take a frame or two and take a look at what the camera sees. If you are advanced enough for contouring and highlights, then go for it. Now is the time to use makeup to trick the camera.
Tip # 4: Grooming and hair
Be prepared to be photographed from head to toe, so don’t neglect the details. That means nails neat with no chipped polish. Shoes should be polished, and not scuffed. Photoshopping out individual strands of hair is a photographer’s nightmare. Make sure to brush your hair, and try using an anti-frizz product. If you need a haircut, get this done two weeks prior so that your hair ‘grows in’ to a natural style and that you don’t have any stylist emergencies the day before your shoot. Make sure your eyebrows are neat. Make sure you are drinking lots of water so that your skin looks hydrated. Oh, and don’t forget about your teeth: use a whitener. Cover all blemishes and use eye drops to cancel out red eyes.
Tip #5: Posing basics
Rules were meant to be broken, but here are the basics for posing: elongate your neck, and tilt your chin down just a bit. Posture is everything, so do not slouch. Keep your shoulders back and turned slightly so that they are at an angle. If you are standing – turn slightly and rest your weight on your back leg. Don’t keep your legs together and shoulders straight. Lean slightly toward the camera and angle your face and/or body. Make sure always that the lens is above you. If the photographer is shorter than you or if shooting from below, you will most definitely have a double chin in the photo. Project your chin forward and down in order to give yourself a clean jaw line and eliminate the chance of a double chin. Headshots can also be more pleasing if only one ear is showing.
Tip #6: Think about your facial expressions
I recommend everyone to stare into the mirror and practice your smile before your shoot. If you feel like you always do a goofy smile, practice your way out of it and try to develop muscle memory for what feels and looks good in the camera. It takes work, but it is possible to craft a good look for the camera. Your eyes are the key to the photo. Smile with your eyes (think what would Tyra Banks do?) Holding a pose and keeping your eyes engaged is difficult, so close your eyes when necessary and then open them. Look away, then look back to the camera. Look slightly above the lens. Keep your tongue behind your teeth. Candid shots are engaging and more interesting than the traditional “say-cheese” forced smile, which can create a forced look and squinty eyes. If your mouth is getting dry and you find it creates an unnatural smile, try a little Vaseline or chapstick on your front teeth to make your smile easier. It doesn’t taste great, but it works – I swear.
 Tip #7: Natural lighting is best
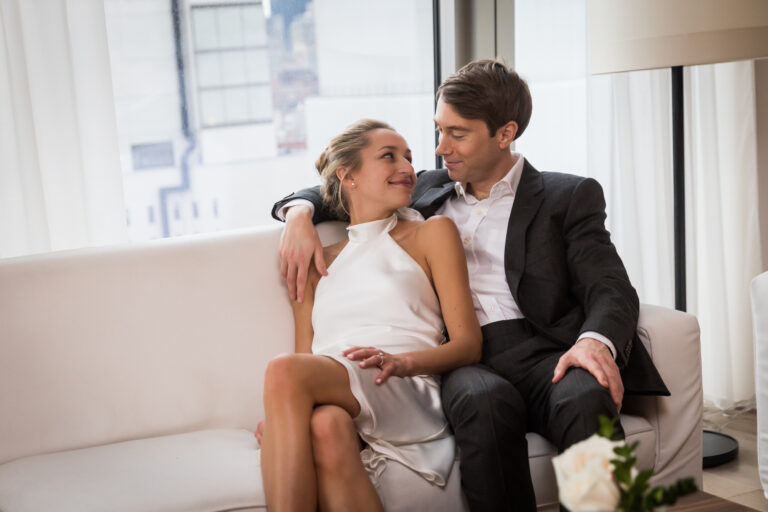
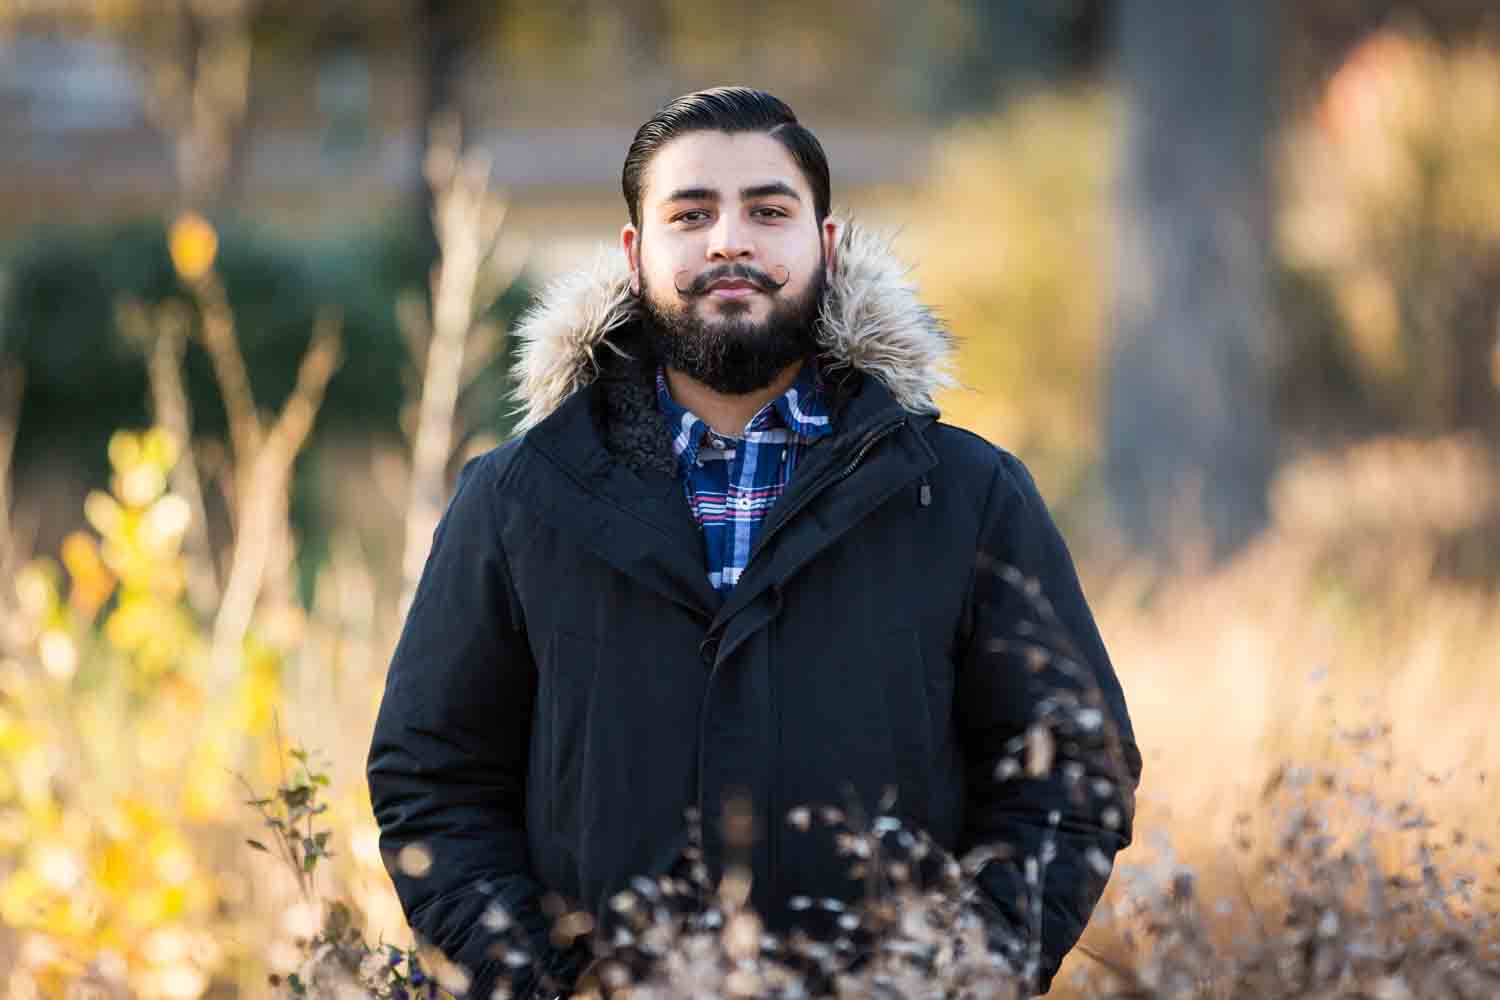
To get a natural photo, you need natural lighting. A skilled photographer can replicate natural lighting with a bounced flash. If you are outside, avoid direct sunlight at all costs as this will cause shadows under your eyes and chin. Direct flash is equally bad as you will look washed out and the photo won’t have the depth provided by shadows. In general, you want light to come from one source and be angled. Soft light smoothes wrinkles. Face your eyes towards the light source; catchlights create sparkle and immediately add life to your eyes. If you are outdoors, stand in the shade, and face the light. If you are indoors, face a window at an angle.
Tip #8: Backgrounds matter
The focus of your portrait should be you, not what is in the background. Where you are photographed should compliment the final image, not distract the viewer. Take a full look at what is behind you through the lens. Having nothing ‘sprouting’ out of your head like a tree or lamp post. Make sure there are no people, trash cans, or (my own pet peeve) neon exit signs. Aim for a clean and simple background that contrasts with you. If you have black hair, stay away from a dark black background, and vice versa if you are wearing all white then don’t stand directly in front of an all white background. Oh, and if you’re taking a selfie in the bathroom, try and make it not look like a bathroom. Clear out the shampoo bottles, and make sure the mirror is clean.
Tip #9: Activities are great for photos
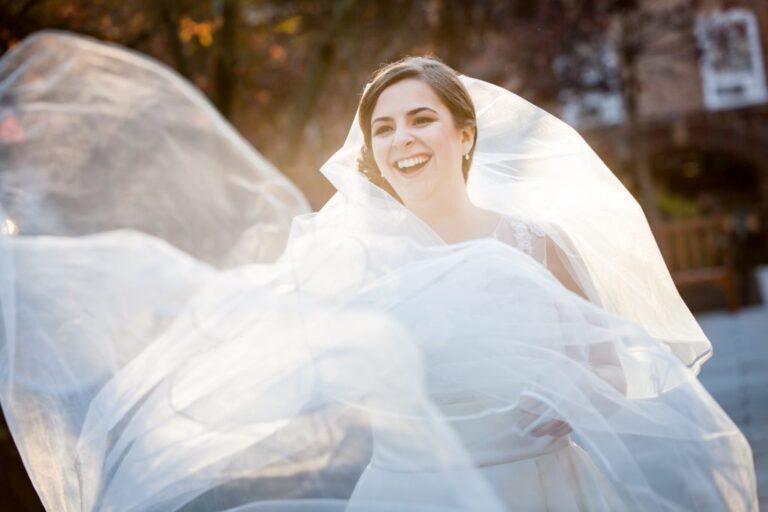
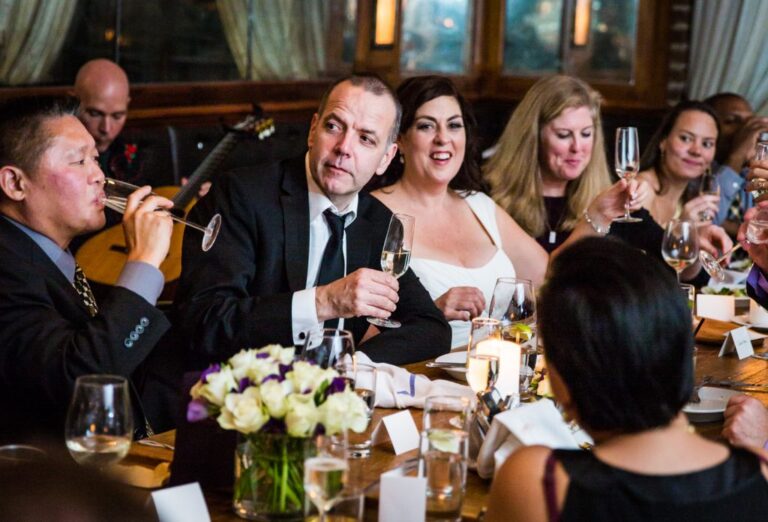
Dance, walk, do acrobatics: if you would do without a camera in front of you, then try having your photo taken while doing the same activity. The best photos come when you enjoy the experience, not when you are told to smile and say ‘cheese.’ The two exceptions, however, are eating and drinking. No one looks good when putting something in their mouth. (Let’s try and keep this clean, people).
Tip #10: Props can help
If you are nervous having your photo taken and feel naked with nothing in your hands, try a prop. You don’t want the prop to distract from you, but if it works with the theme of the photo or just gets you to relax, then try using a prop in the photo.
Tip #11: What never looks good…
It goes without saying that bunny ears, ‘V’ for victory signs, and duck lips never look good. Stop this, please.
 Tip #12: Everyone looks better in black and white
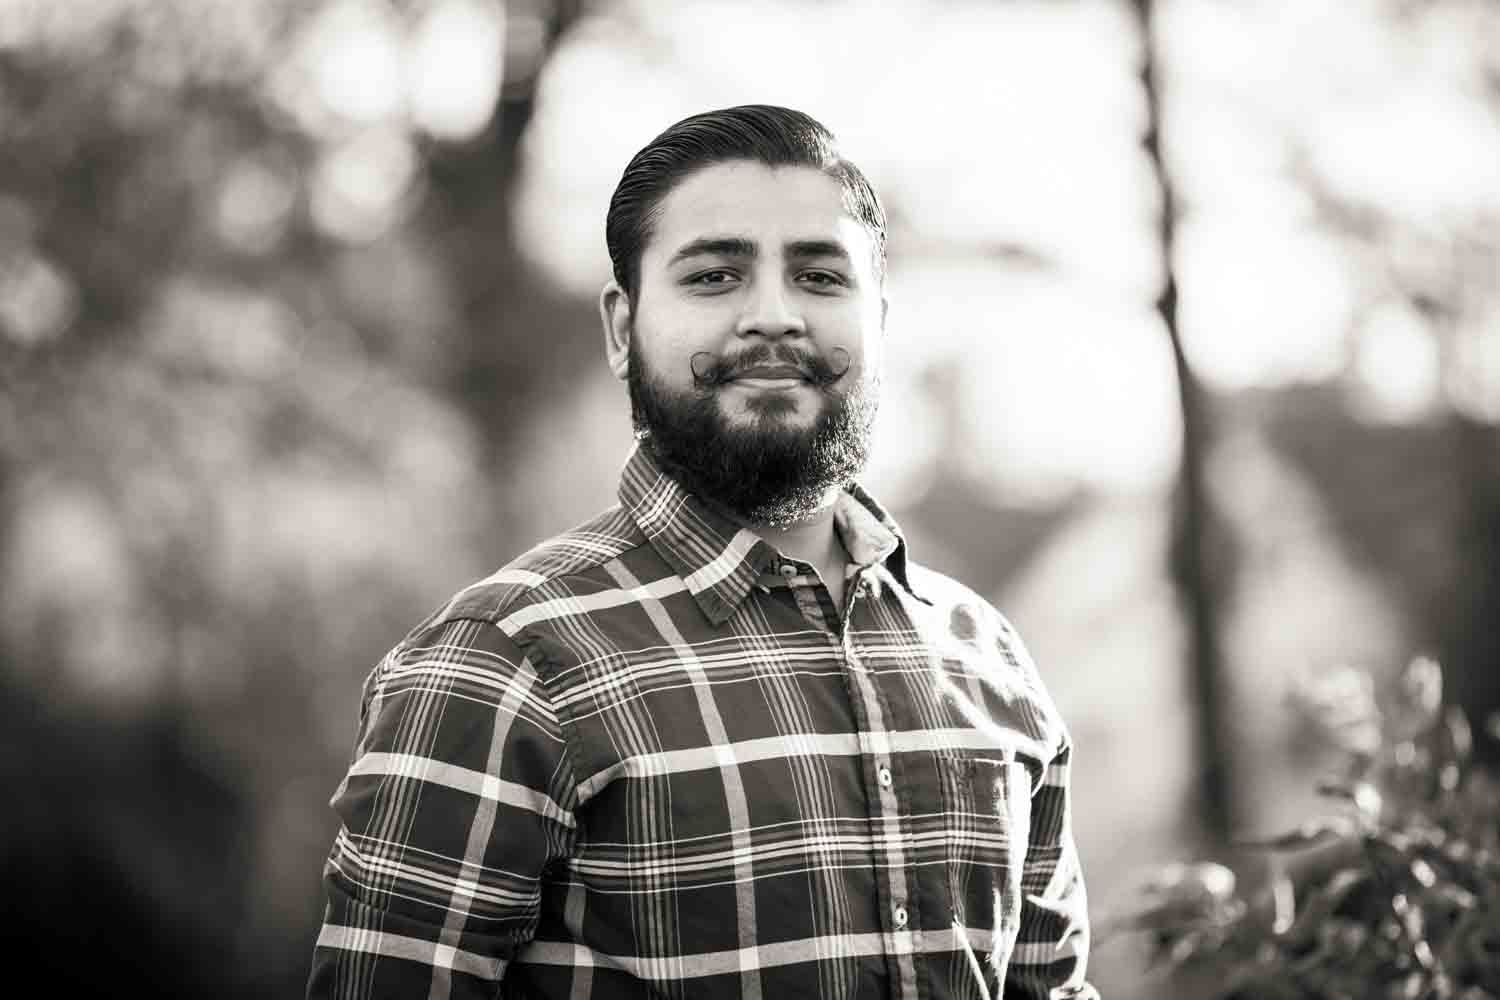
Seriously. If your photo comes out looking not as spectacular as you had hoped, try flipping it to black and white and increasing the contrast.
Tip #13: Be prepared
Try to have everything ready days ahead of time so that you won’t be stressing out about details. Allow extra time to get ready and arrive to your shoot on time. Get plenty of rest the night before so you won’t be tired out. On the trip to your session, loosen up to your favorite iPod tunes and crank it up!
Interested in taking a look at some of my other headshots? Check out some recent headshots with this link.
Thinking about a new photo for yourself or your website? Drop me a line and let’s talk about scheduling.
If you would like to see more images from my headshot portfolio, please visit my website — KellyWilliamsCorporate.com
