Hand-Colored Black and White Images
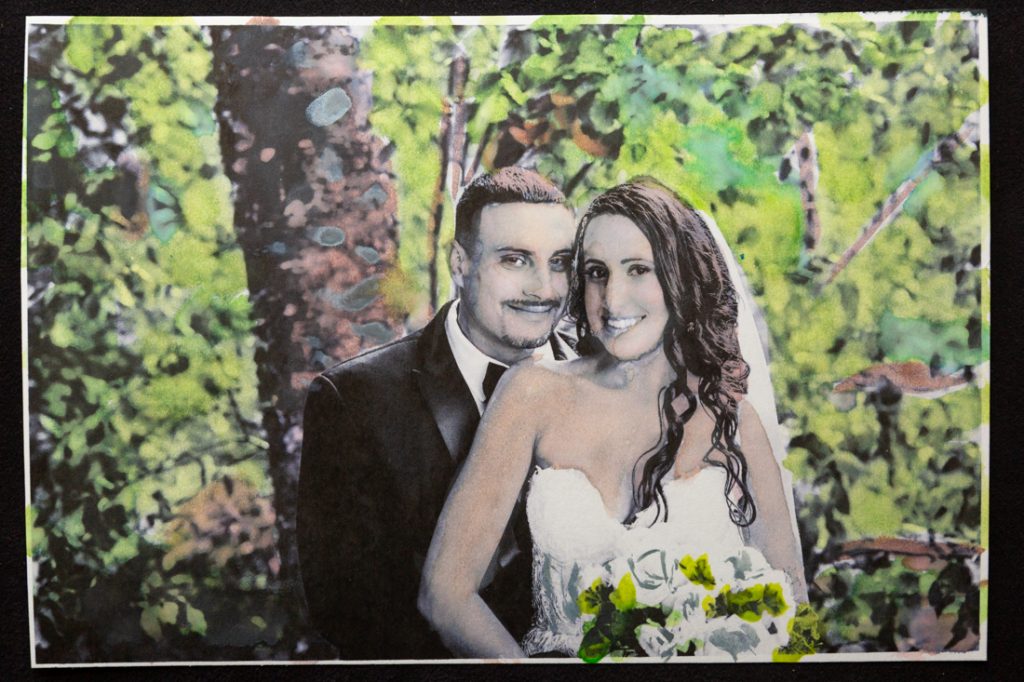
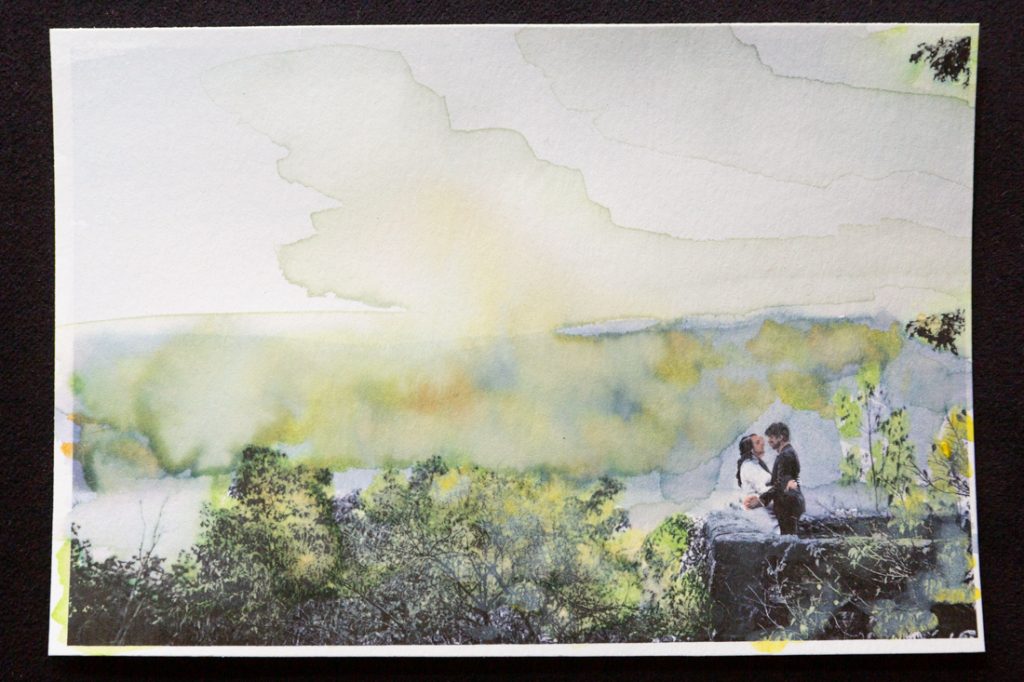
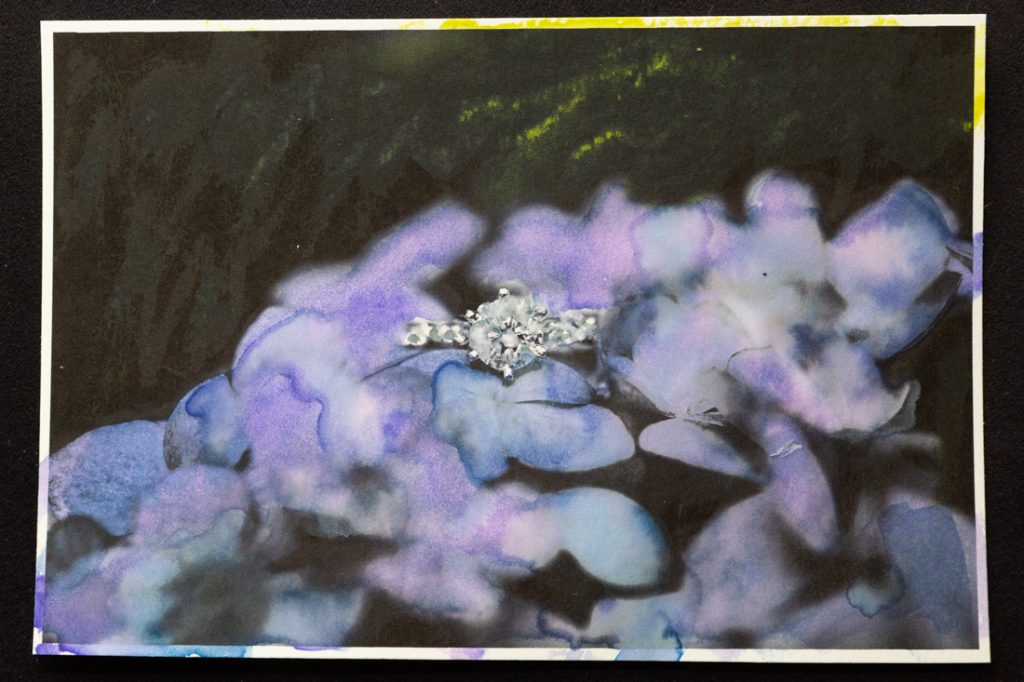
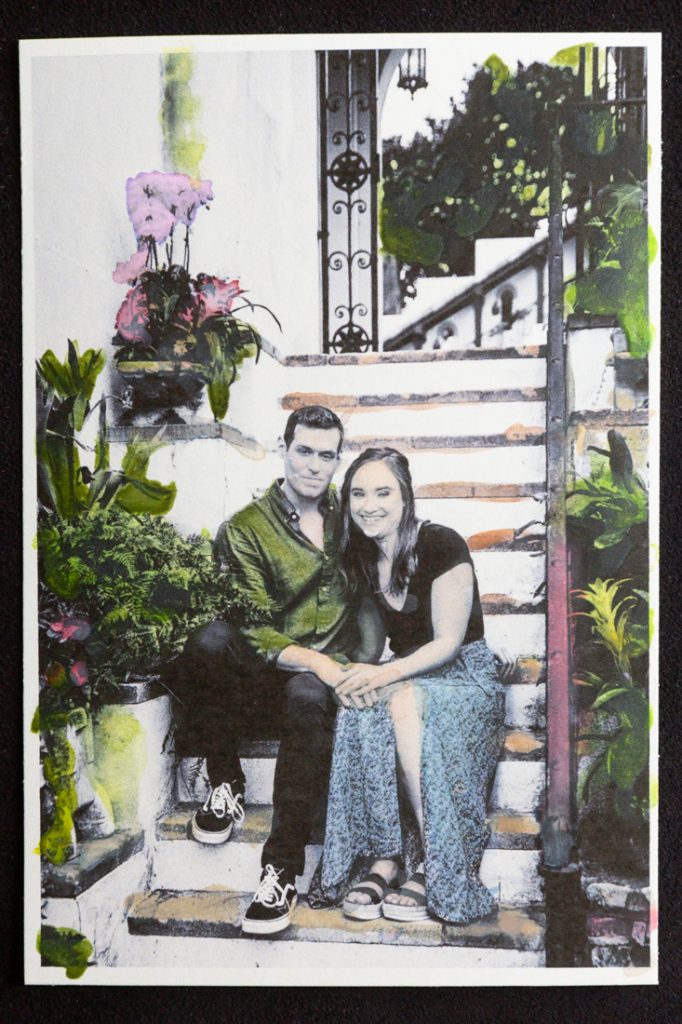
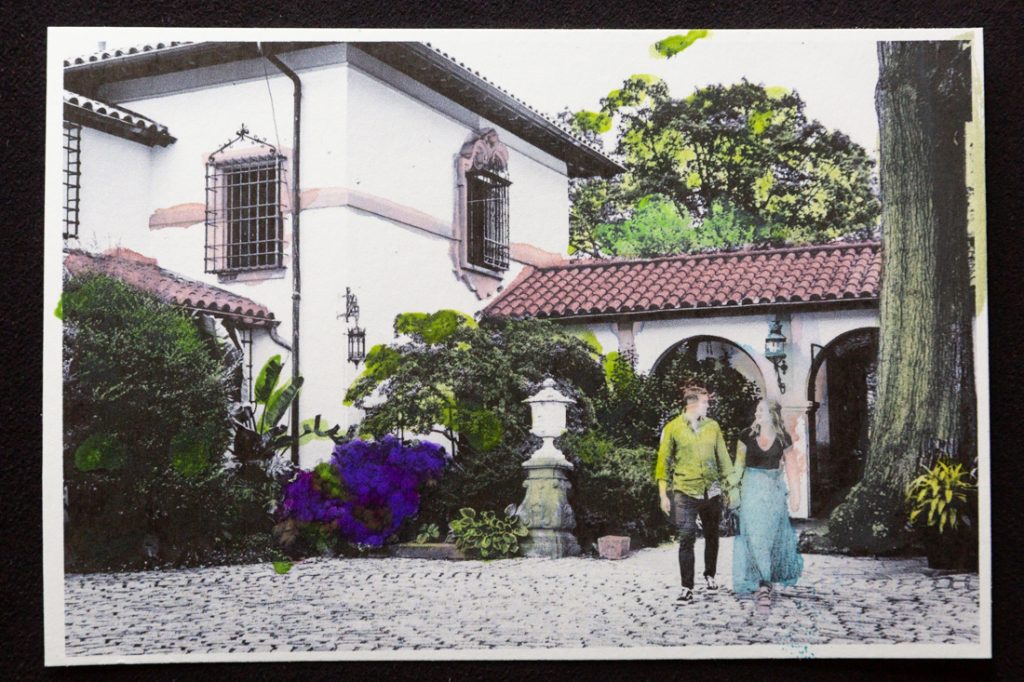
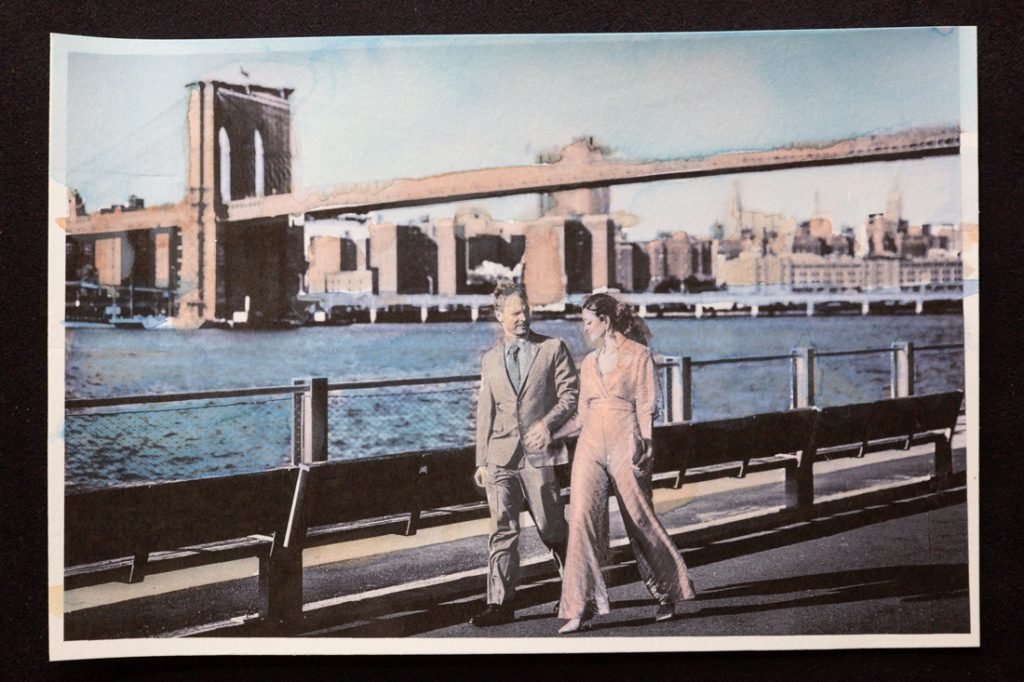
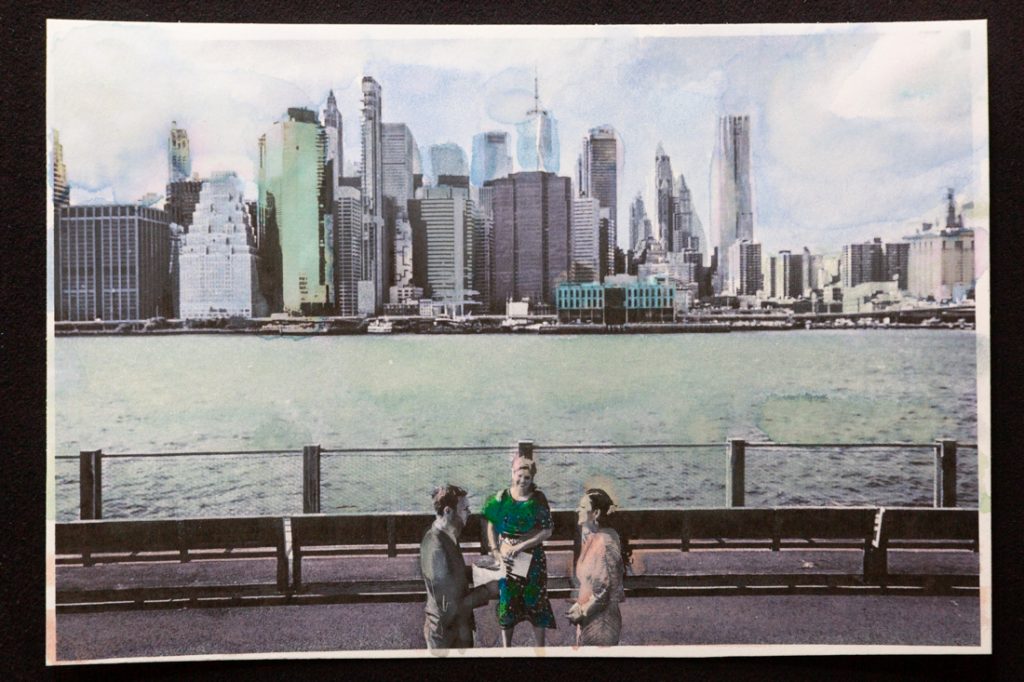
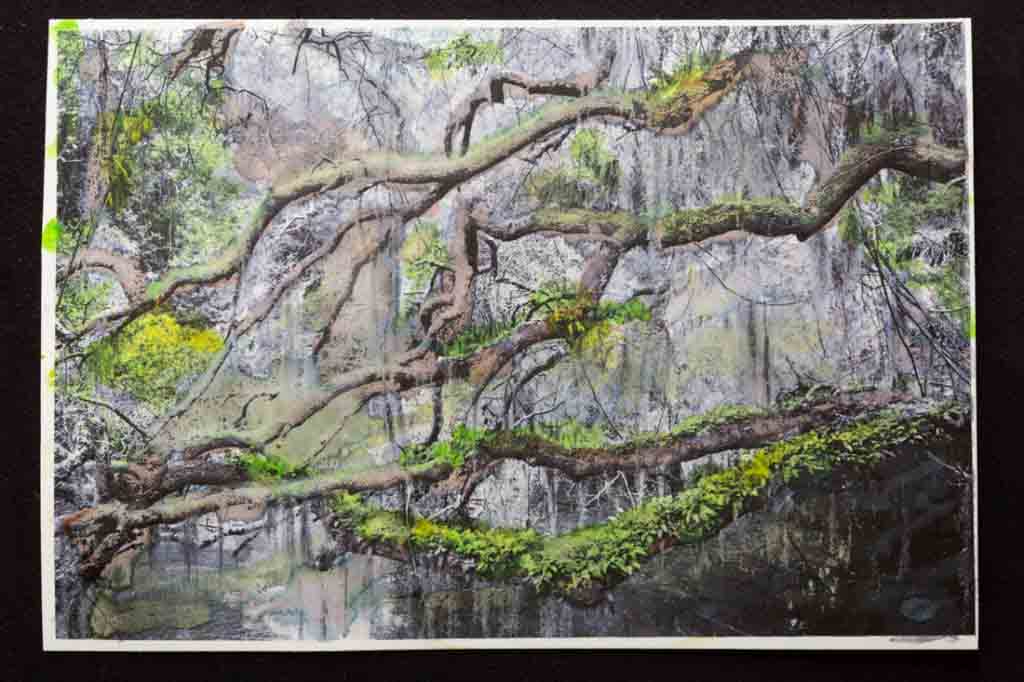
I spent another week creatively expanding the artistic boundaries my photography. This week I got out my watercolor paint set to created hand-colored black and white images. For those of you stuck at home, this is a relaxing and easy DIY craft project that anyone can handle – even those of us with limited painting skills. Find out all the details of how I created these images in today’s blog post.
The Inspiration
The basic premise of hand-coloring black and white images is to turn your photography into a coloring book. And while I have absolutely no ability to take a blank piece of paper and turn it into a work of art, I am pretty good at coloring within the lines.
I am sure that Photoshop software has an easy way to digitally create colorized images, but I have a closet full of art supplies just begging to be utilized. The pandemic has turned me into a crafting queen, so I knew I had to try this the old fashioned way, with paintbrush in hand.
The History of Hand-Colored Black and White Images
Historically, artists have been creating hand-colored images since the dawn of daguerreotypes in the 1800s. The color pigments used included gum arabic and later, photo oils, dyes, and pencils.
The look of colorized black and white images became particular popular at the end of the 19th century when postcards of tourist destinations hit the mainstream. Indeed, these creatively colorized images – often painted by lithographers who had no idea the actual color of the images they were painting – remained popular until the advent of color photography in 1935. [To find out more about hand-colored photography, check out this article.]
Step #1: Selecting the Images
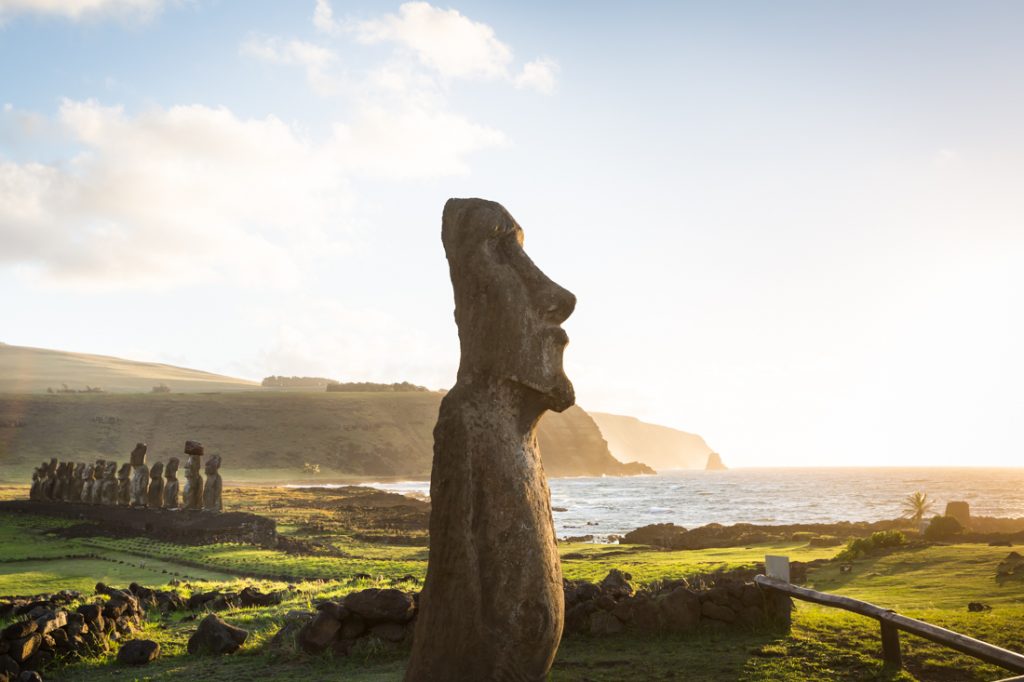
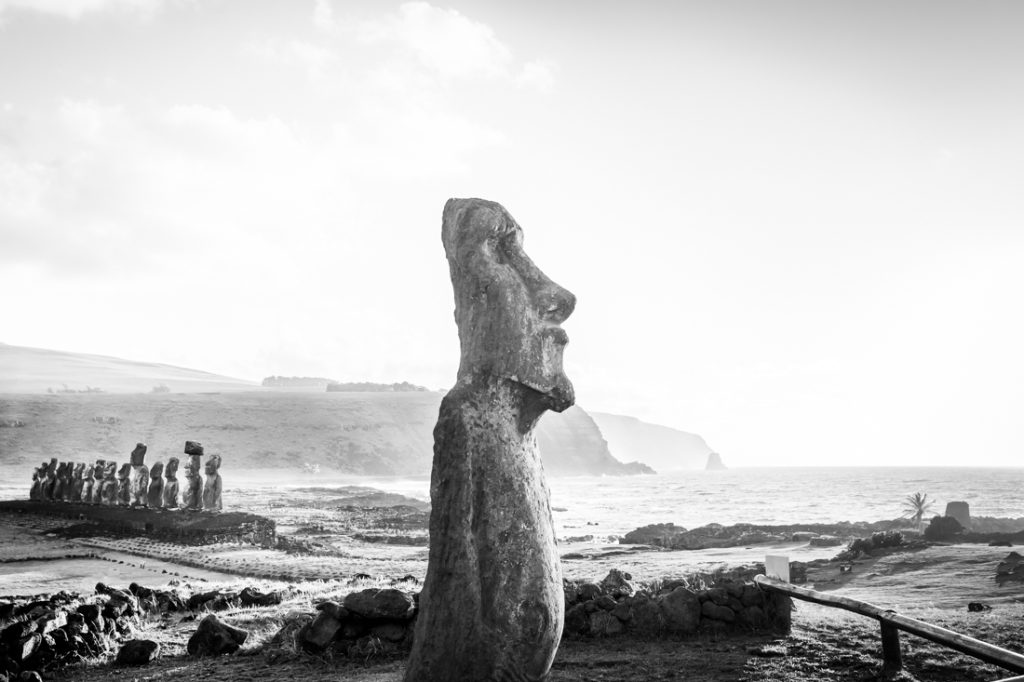
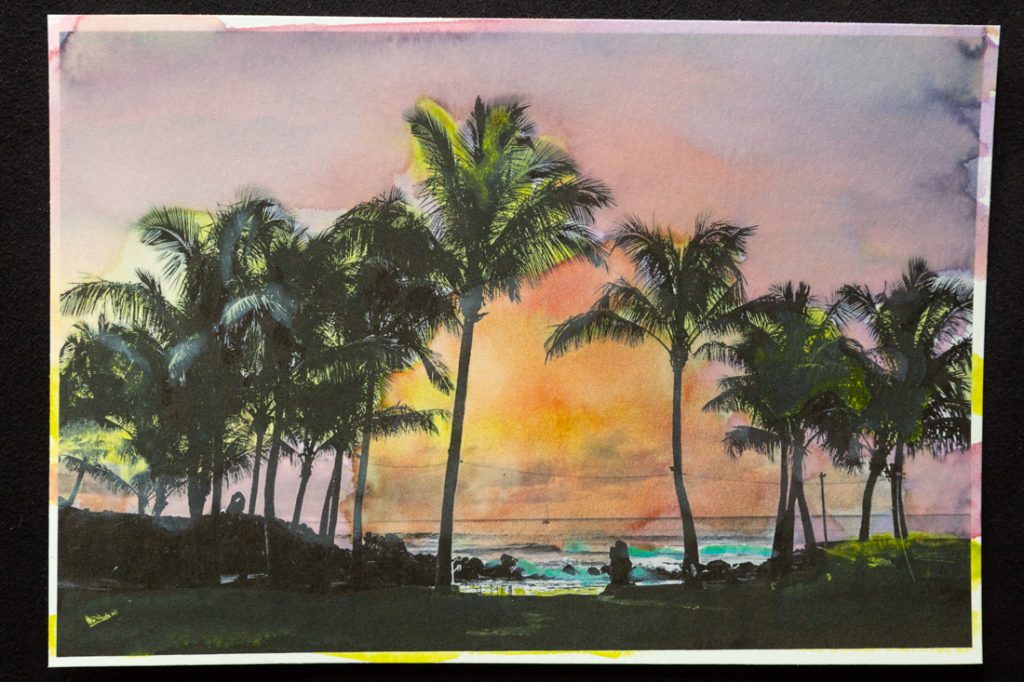
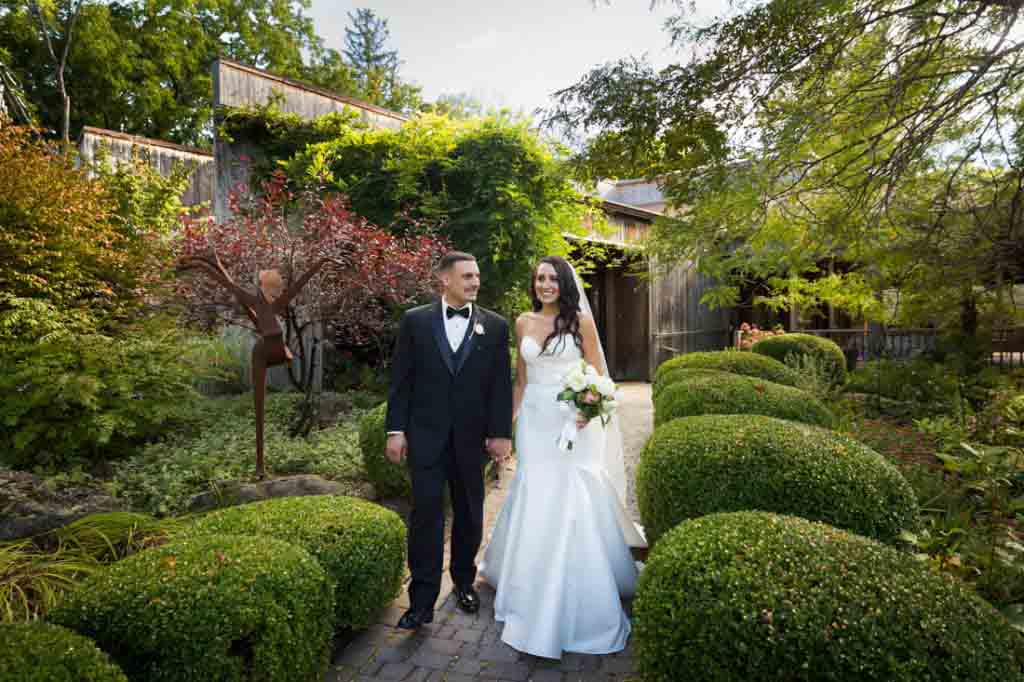
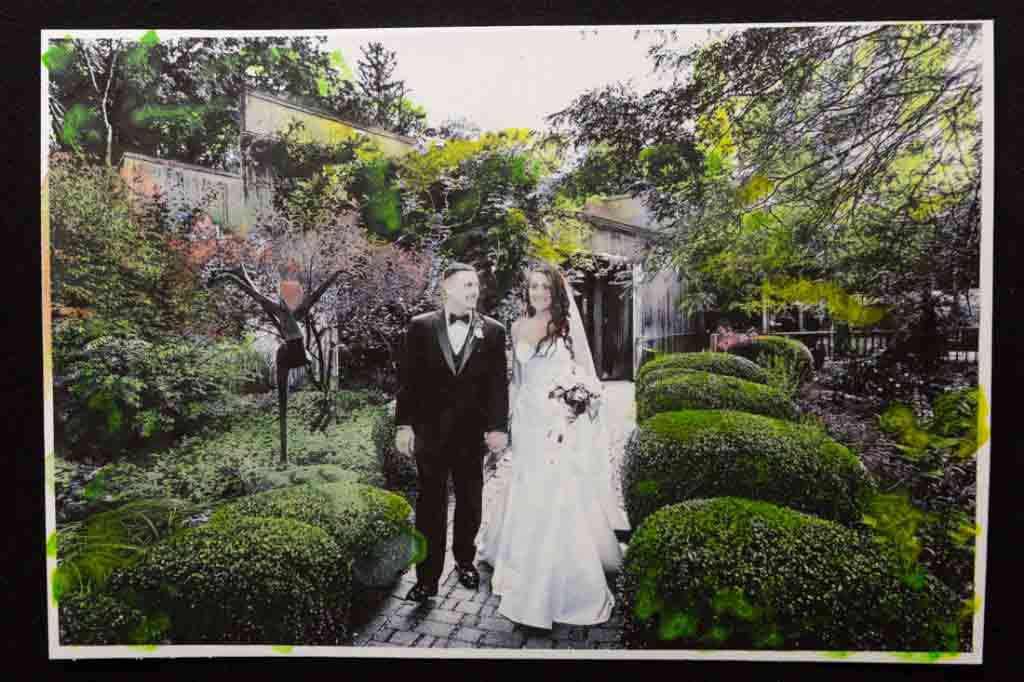
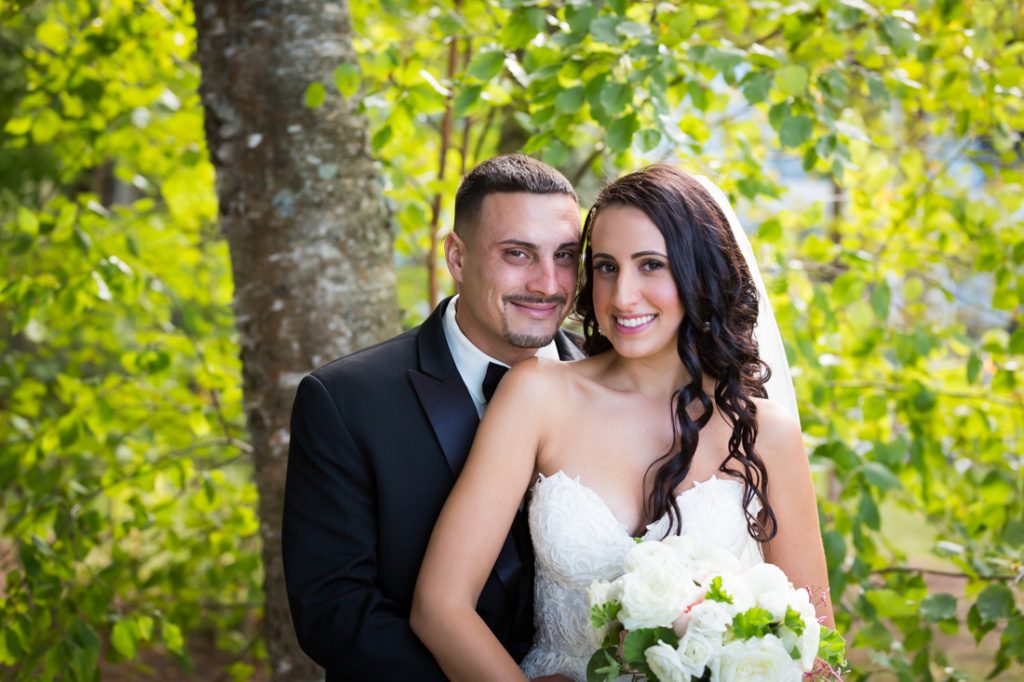
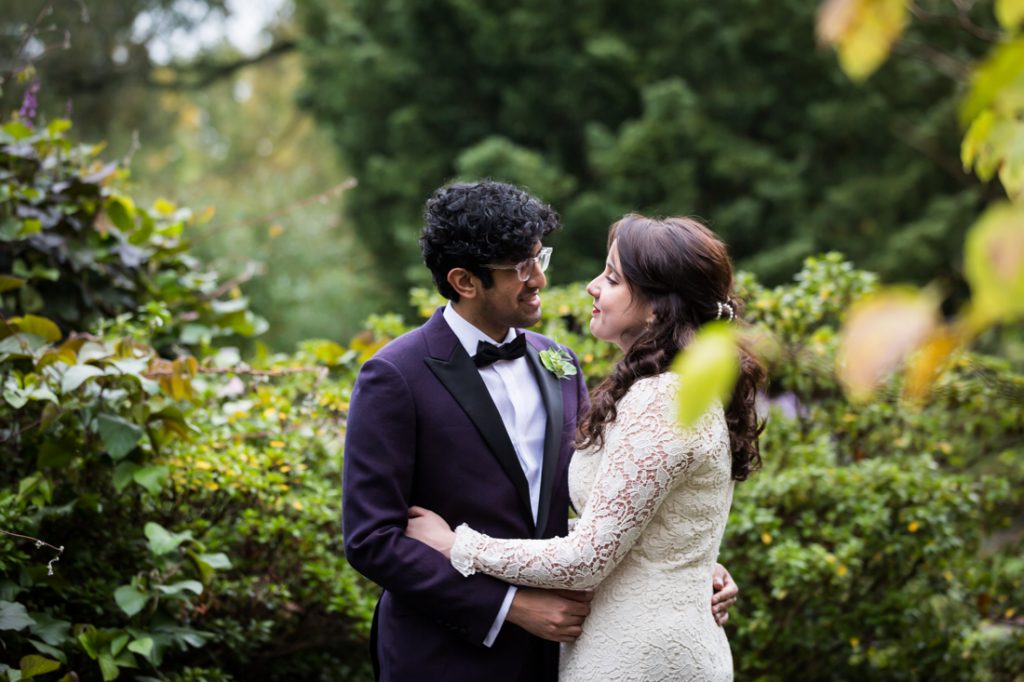
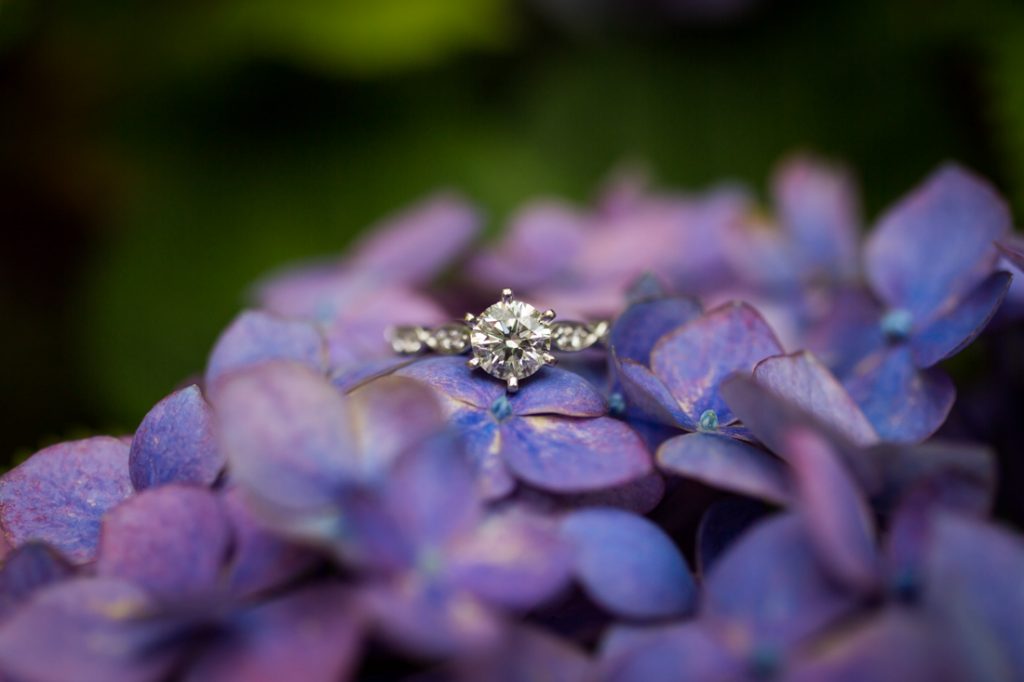
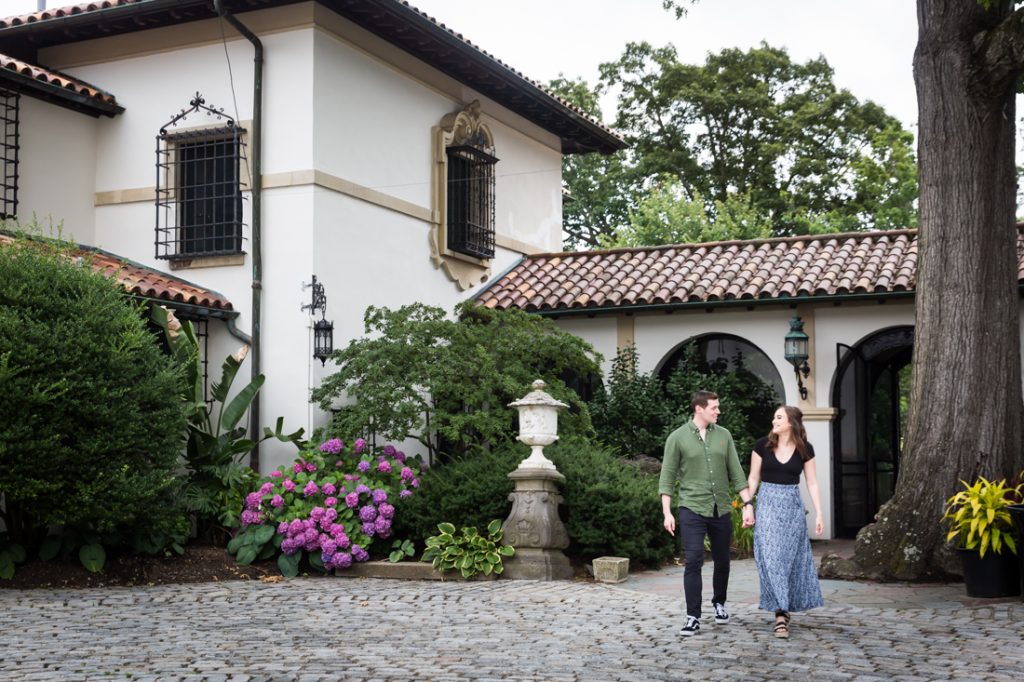
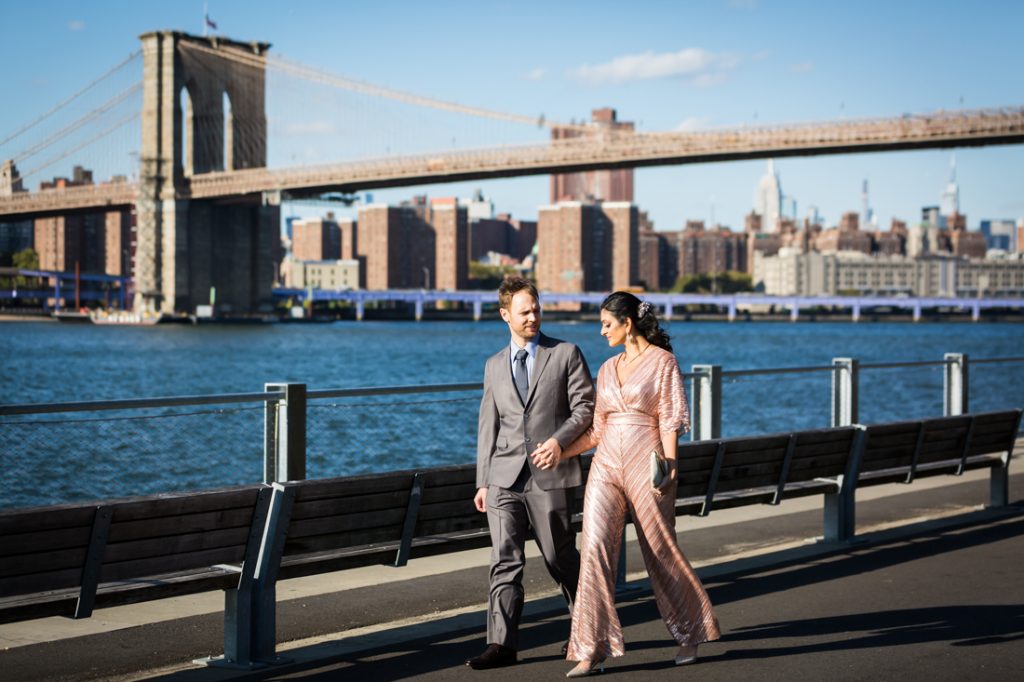
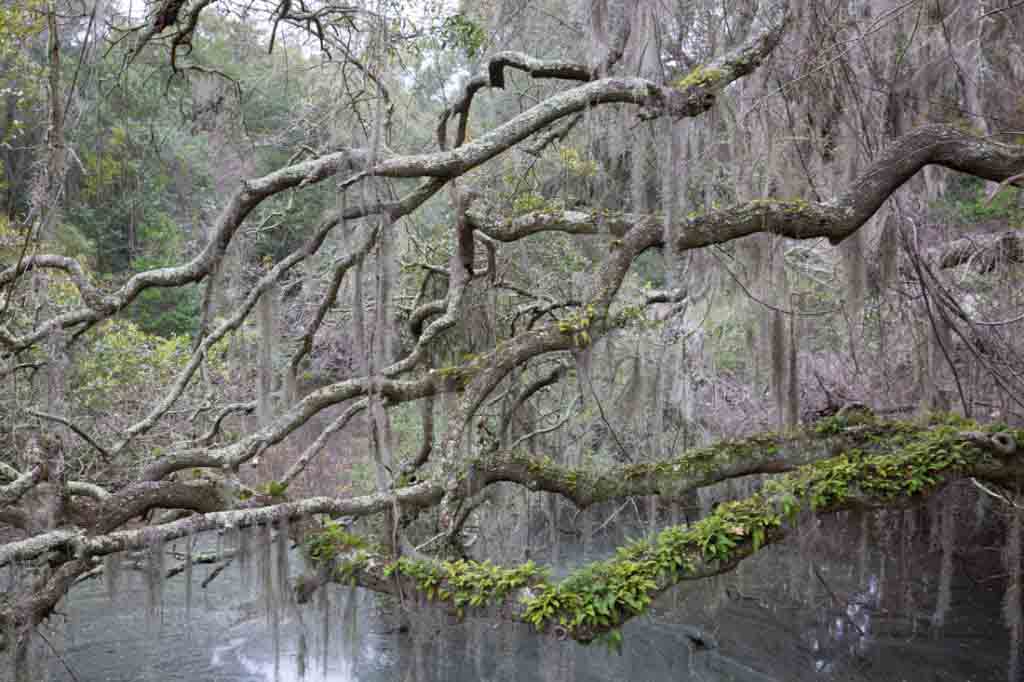
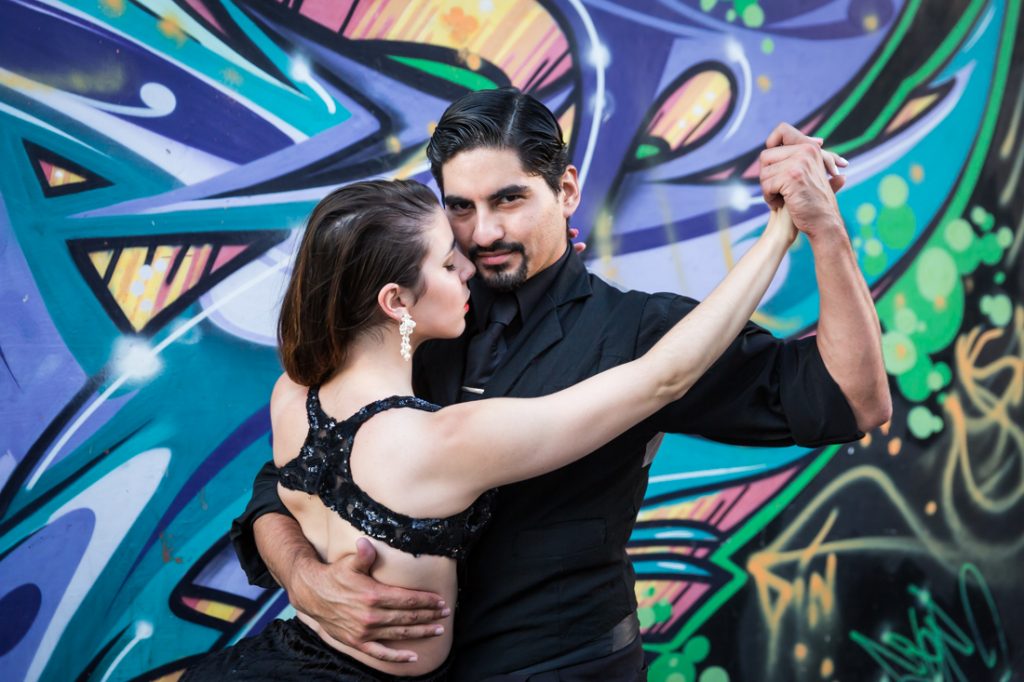
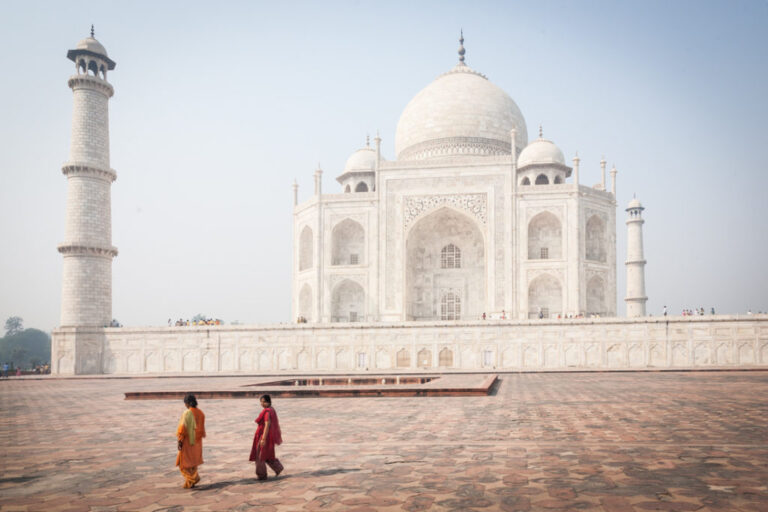
I selected a variety of wedding and engagement photos from this past year, as well as a few travel photos from both my trip to the southern US in early 2020 and my 2019 trip to South America. My focus was on images that had a wide variety of colors in the background, and I mixed up my selection with both portraits and action shots.
Step #2: Creating Black and White Images
It is easy enough to digitally de-saturate an image and remove all of the color. The key to turning a photo into an excellent coloring book image, however, lies in toning down the shadows to let more white space shine through. Lightroom software has a number of black and white presets (or pre-selected configuration of settings, designed to achieve a certain look). I chose the ‘Black and White Punch’ preset. For those of you interested in trying this project at home, my Lightroom settings were as follows:
- Contrast: +30
- Highlights: -24
- Shadows: 0
- Whites: +40
- Blacks: -40
- Clarity: +40
- Black and White Mix:
- Red: -12
- Orange: -21
- Yellow: -25
- Green: -28
- Aqua: -16
- Blue: +15
- Purple: +19
- Magenta: +4
- No changes to the tone curve or split toning
Step #3: Printing on Watercolor Paper
The next task was to print out my black and white image on watercolor paper. This was actually the hardest part of the process, as I had to figure out how to change the size of the paper and feed it through the back of my new printer. Mission accomplished after quite a few tries, and I was able to print out a number of images.
The choice of watercolor paper here is key. Using good quality watercolor paper that will properly absorb the paint will make all the difference in your final image. I found my paper at Michael’s, and you certainly don’t have to buy an expensive brand of paper.
Step #4: Get Painting!
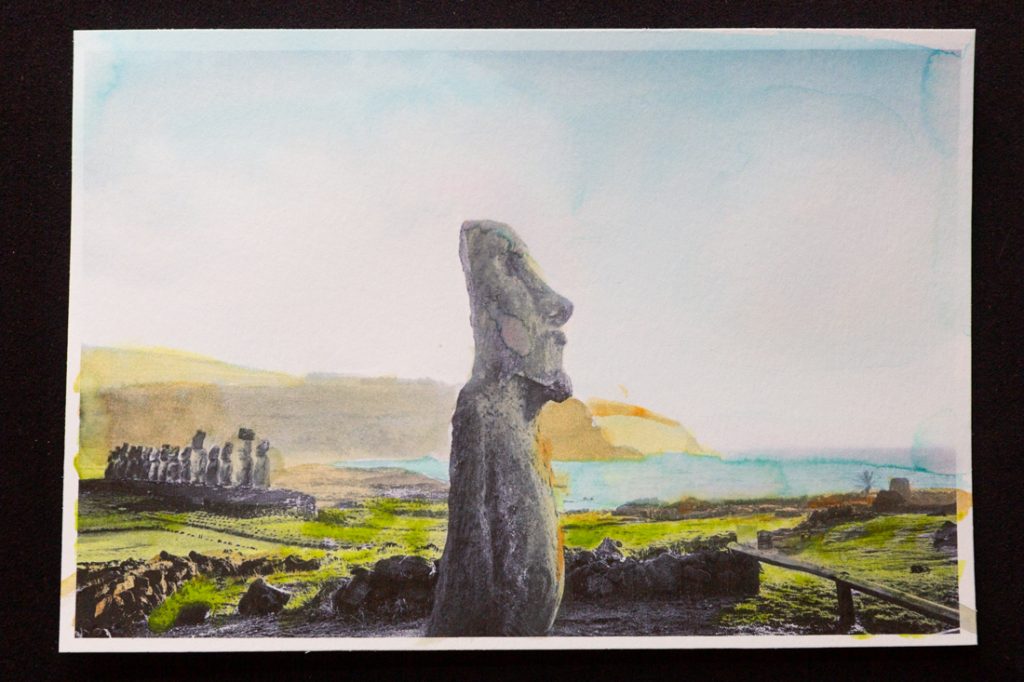
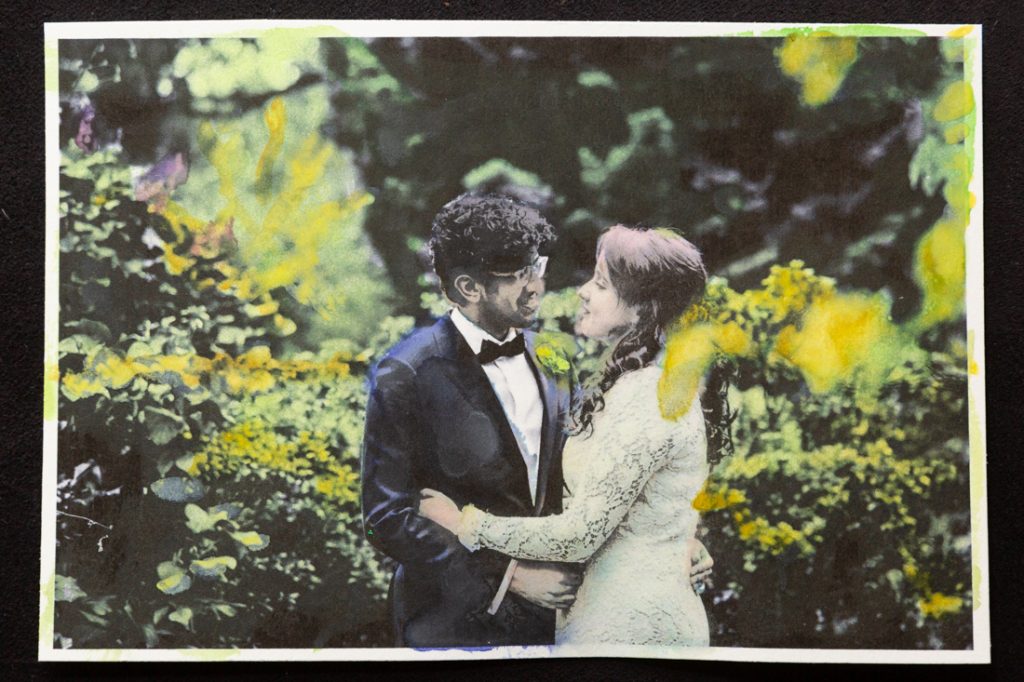
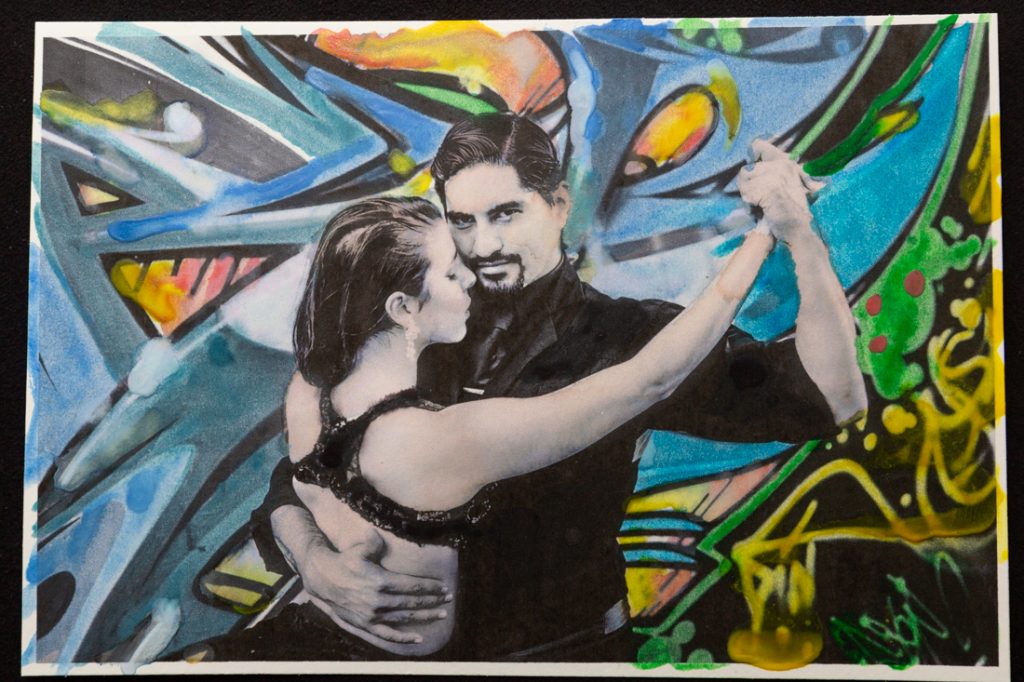
All you have left to do is put painting brush to paper. I did not use expensive paints – Crayola! – and adjusted the colors with the addition of water where necessary. The trick is to add just a nudge of color to suggest a naturalistic affect. Also, remember to wait for a print to dry and then add additional colors on top for a multilayered look.
Finally, don’t be afraid of happy accidents. Colors will blend into one another creating something completely unexpected, and dare I say, artistic.
This was a thoroughly enjoyable project to undertake, and it has been on my creative bucket list for a while now. I hope you all enjoy this little arts and crafts moment, and if you have some other suggestions for creative photography projects then drop me a line – I am always open to ideas.








Hi, I am an artist. I work in watercolor/acrylic. As a kid, I always found it fascinating that my aunt (now deceased) colored in black & wh photos. Now I have time to do this. One method I’ve learned about is once the photo is printed on watercolor paper is to spray the paper with workable fixative, then mix the watercolor with thinned modge podge, which I have tried. Not sure if the Modge Podge is necessary? I love working with older photos. Which I’ve collected from antique stores. I know you can color photos with photoshop (which I am not good at). I like real materials. I would love to hear about your process.
Hi Sharon — Thank you for this fascinating information. I’ve never tried that method, but will indeed give it a go. I need to get some fixative, but I do have Mod Podge in the house. Thanks for the comment! — Kelly
Hi my name is Phil Baker and I paint black and white prints.I take a photo of a certain scene then get it printed on to type 21 paper in the A2 sizing ,and got my inspiration from looking at some of Andy Wahol s posters he did I use acrylic paints am I quite enjoy it.If you have any comments please forward them to me .Cheers