How to Take Photos in the Austin Central Library
The Austin Central Library in many ways represents the beating heart of the city of Austin. Opened in 2018, the eye-catching exterior is a testament to the city’s modern outlook on the world. But it is the interior of the building that brings together people from all walks of life with a shared love of knowledge. For avid readers in Austin, this venue is also the perfect location for a photo shoot. So, in today’s blog post I will give you all the details on how to take photos in the Austin Central Library. From how to get your permit to the best locations, today’s article will give you the photos you want without getting you banned by any librarians.

How To Take Photos in the Austin Central Library – Photo Permit Process
Let’s start off with the biggest hurdle to taking photos in the Austin Central Library – the photo permit process. As you might expect, the Austin Central Library is a tricky place in which to take photos. It is, of course, a very public location, and one in which a loud photo shoot would be disruptive. As such, the library is meticulous in asking questions about the details of each photo shoot.
Photo permits, at a cost of $60, must be requested at least 14 days in advance. [Note: the photo permit fee will be increasing in October 2025.] Having gone through the process myself, be prepared to have a list of every location within the library you wish to visit, as well as a list of all equipment you will be bringing with you. Since the person applying for the permit will need to provide insurance, it is best if the photographer applies directly for the photo permit. Otherwise, both the person applying and the photographer need to provide insurance.
In regards to what equipment you can bring into the library, my understanding is that flash is not allowed. Note, however, I was never specifically told what equipment was off limits during the permit process. In general, your equipment must be compact and not large enough to be in the way of patrons (such as a large reflector or light stand).
The permit application did take a full week for approval, and I did have to provide proof of insurance.

How To Take Photos in the Austin Central Library – The Rules
This is a good time to discuss the rules. There is not a strict set of rules for taking photos within the library. The only rules stipulated in the contract are no pyrotechnics (duh) and no blocking the aisles. The only mention of lighting equipment in the contract is as follows: ‘Any lighting or sound testing needed after the reservation is confirmed should also be scheduled in advance, and may require the attendance of a Facilities Manager or Supervisor.’ So, it sounds like flash and lighting equipment can be brought in, but the equipment has to be approved on a case-by-case basis.
Conversely, I asked at the front desk about the general rules for taking photos within the library as a tourist, and was told the following:
- No flash
- No photos on the stairs or in the walkways so as not to obstruct the general flow of traffic
- As much as possible, avoid taking photos of other people
I think in general, it’s always best to remember that the Austin Central Library is first and foremost a public space. People are here to read and learn. The public has the right of way, and you and your photo shoot need to be as unobtrusive as possible.
And just in case you were curious, all of the photos shown in this blog post were taken without flash. The library has plenty of ambient light, so natural light photography is more than possible within the venue.

How To Take Photos in the Austin Central Library – When to Schedule Your Shoot
The Austin Central Library is open on the following hours:
Sunday: 12:00 pm-5:00 pm
Monday: 9:00 am-8:00 pm
Tuesday: 9:00 am-8:00 pm
Wednesday: 9:00 am-8:00 pm
Thursday: 9:00 am-8:00 pm
Friday: 9:00 am-5:00 pm
Saturday: 10:00 am-5:00 pm
Since your photo shoot will be held indoors, adhering to the usual rules of ‘golden hour’ do not apply. Also, what you would think of as the most crowded times are a bit surprising when it comes to the library.
I spoke with one of the main librarians at the front desk when trying to schedule my photo shoot with Nancy. In general, the library is most crowded on the weekends. And it is crazy crowded in the mornings when parents bring their children for story hours.
So, if you have a photo shoot with adults, then try to schedule your session for a weekday in the morning if it all possible. If weekends are your only opportunity for your session, then aim for the afternoon so that you can avoid the rush of children.
How To Take Photos in the Austin Central Library – The Best Photo Locations
Map of the Austin Central Library
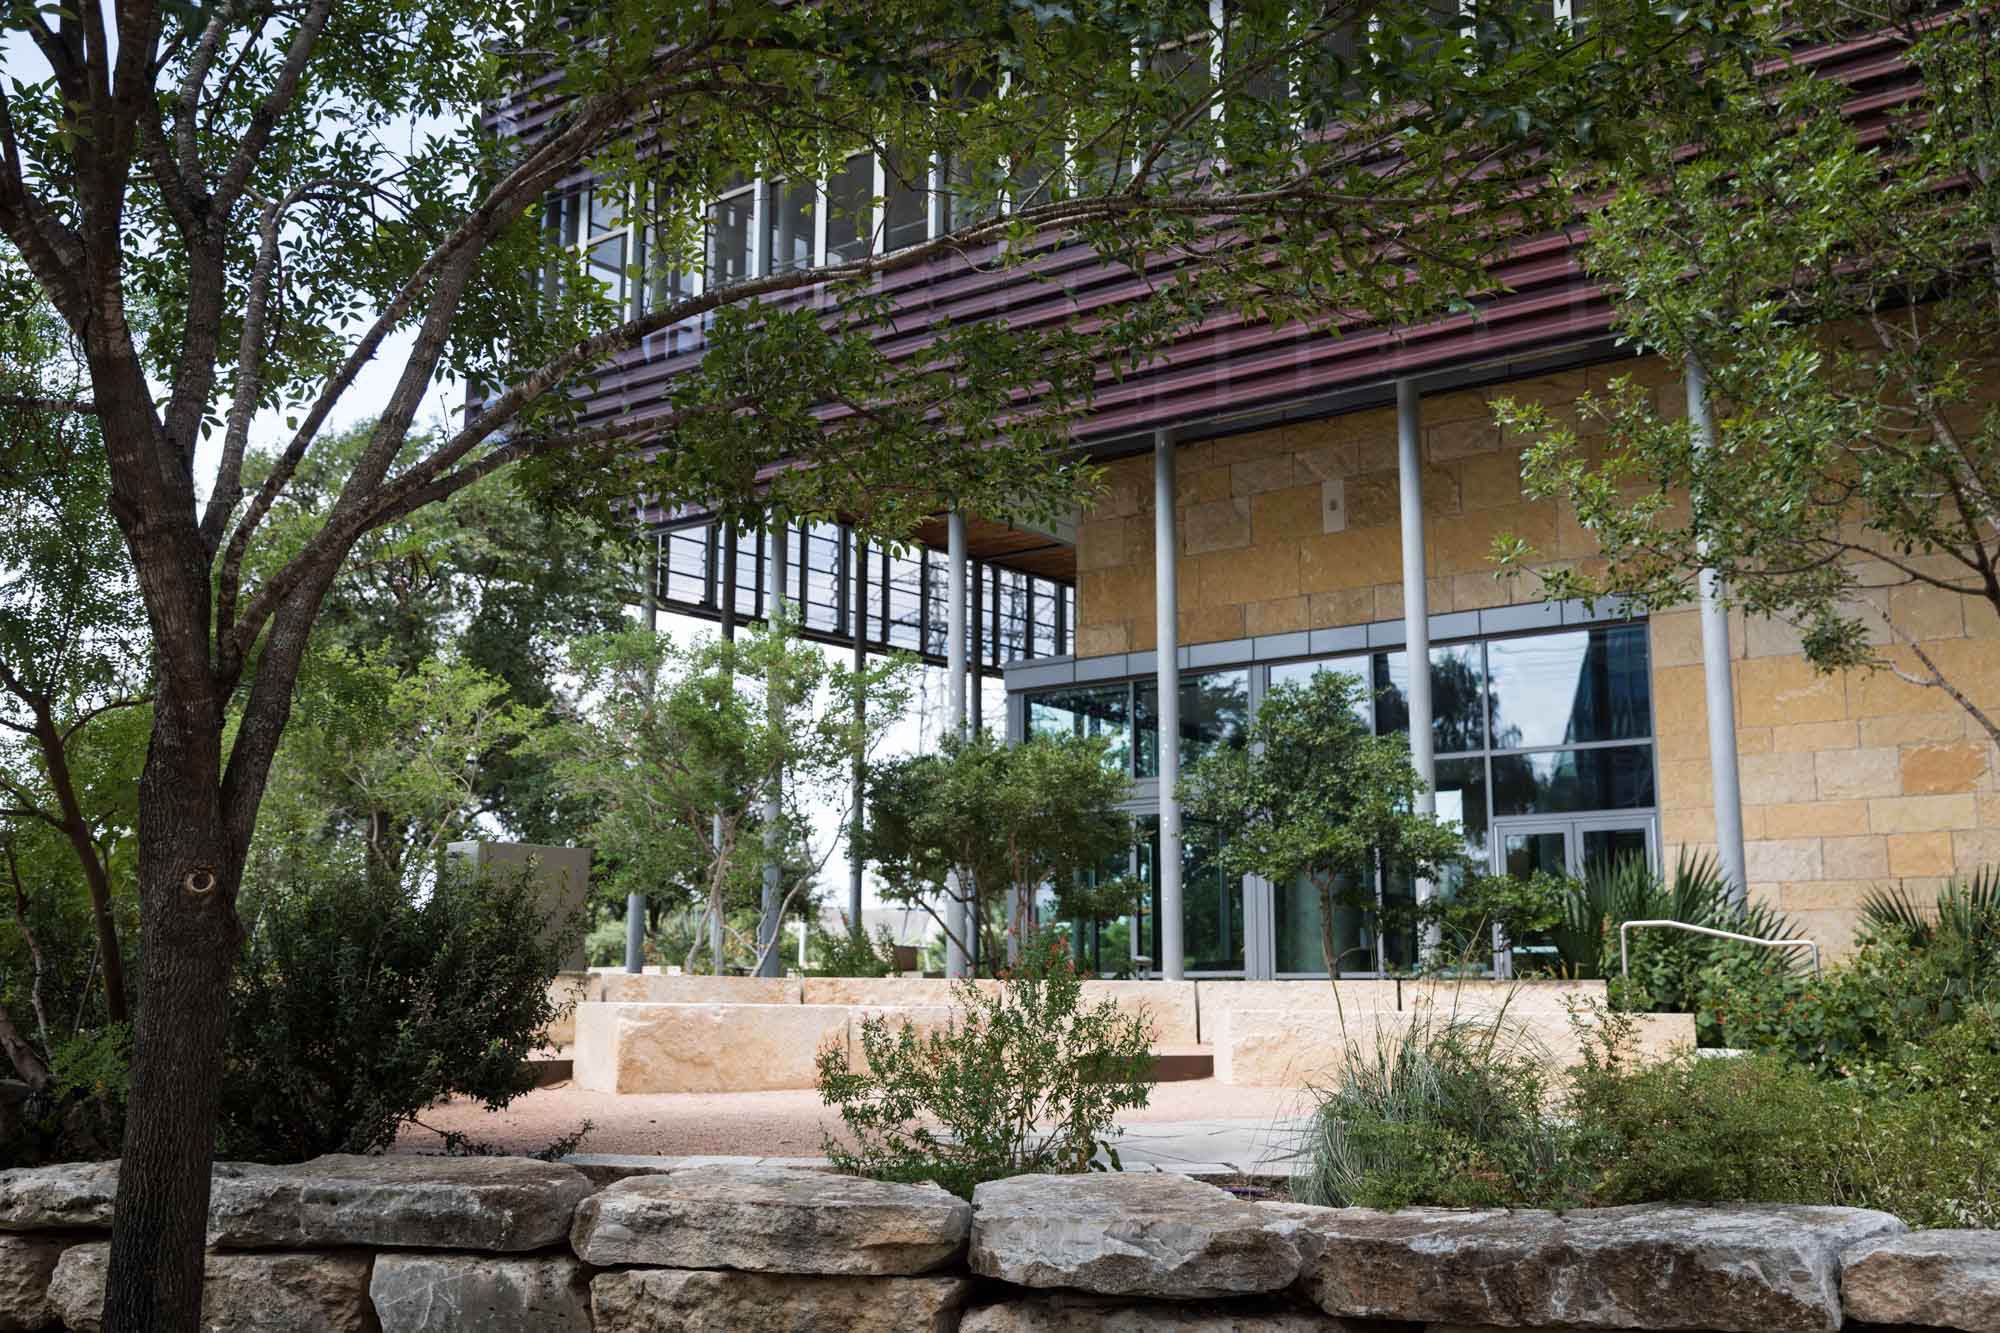
The space within the library is immense, though with the number of people filling the venue, I think you will find the building actually feels quite small. There are six floors in total, including a garden roof deck. Of these floors, I would consider only the fourth through sixth floors for a photo shoot since the second and third floors are dedicated to kids activities.
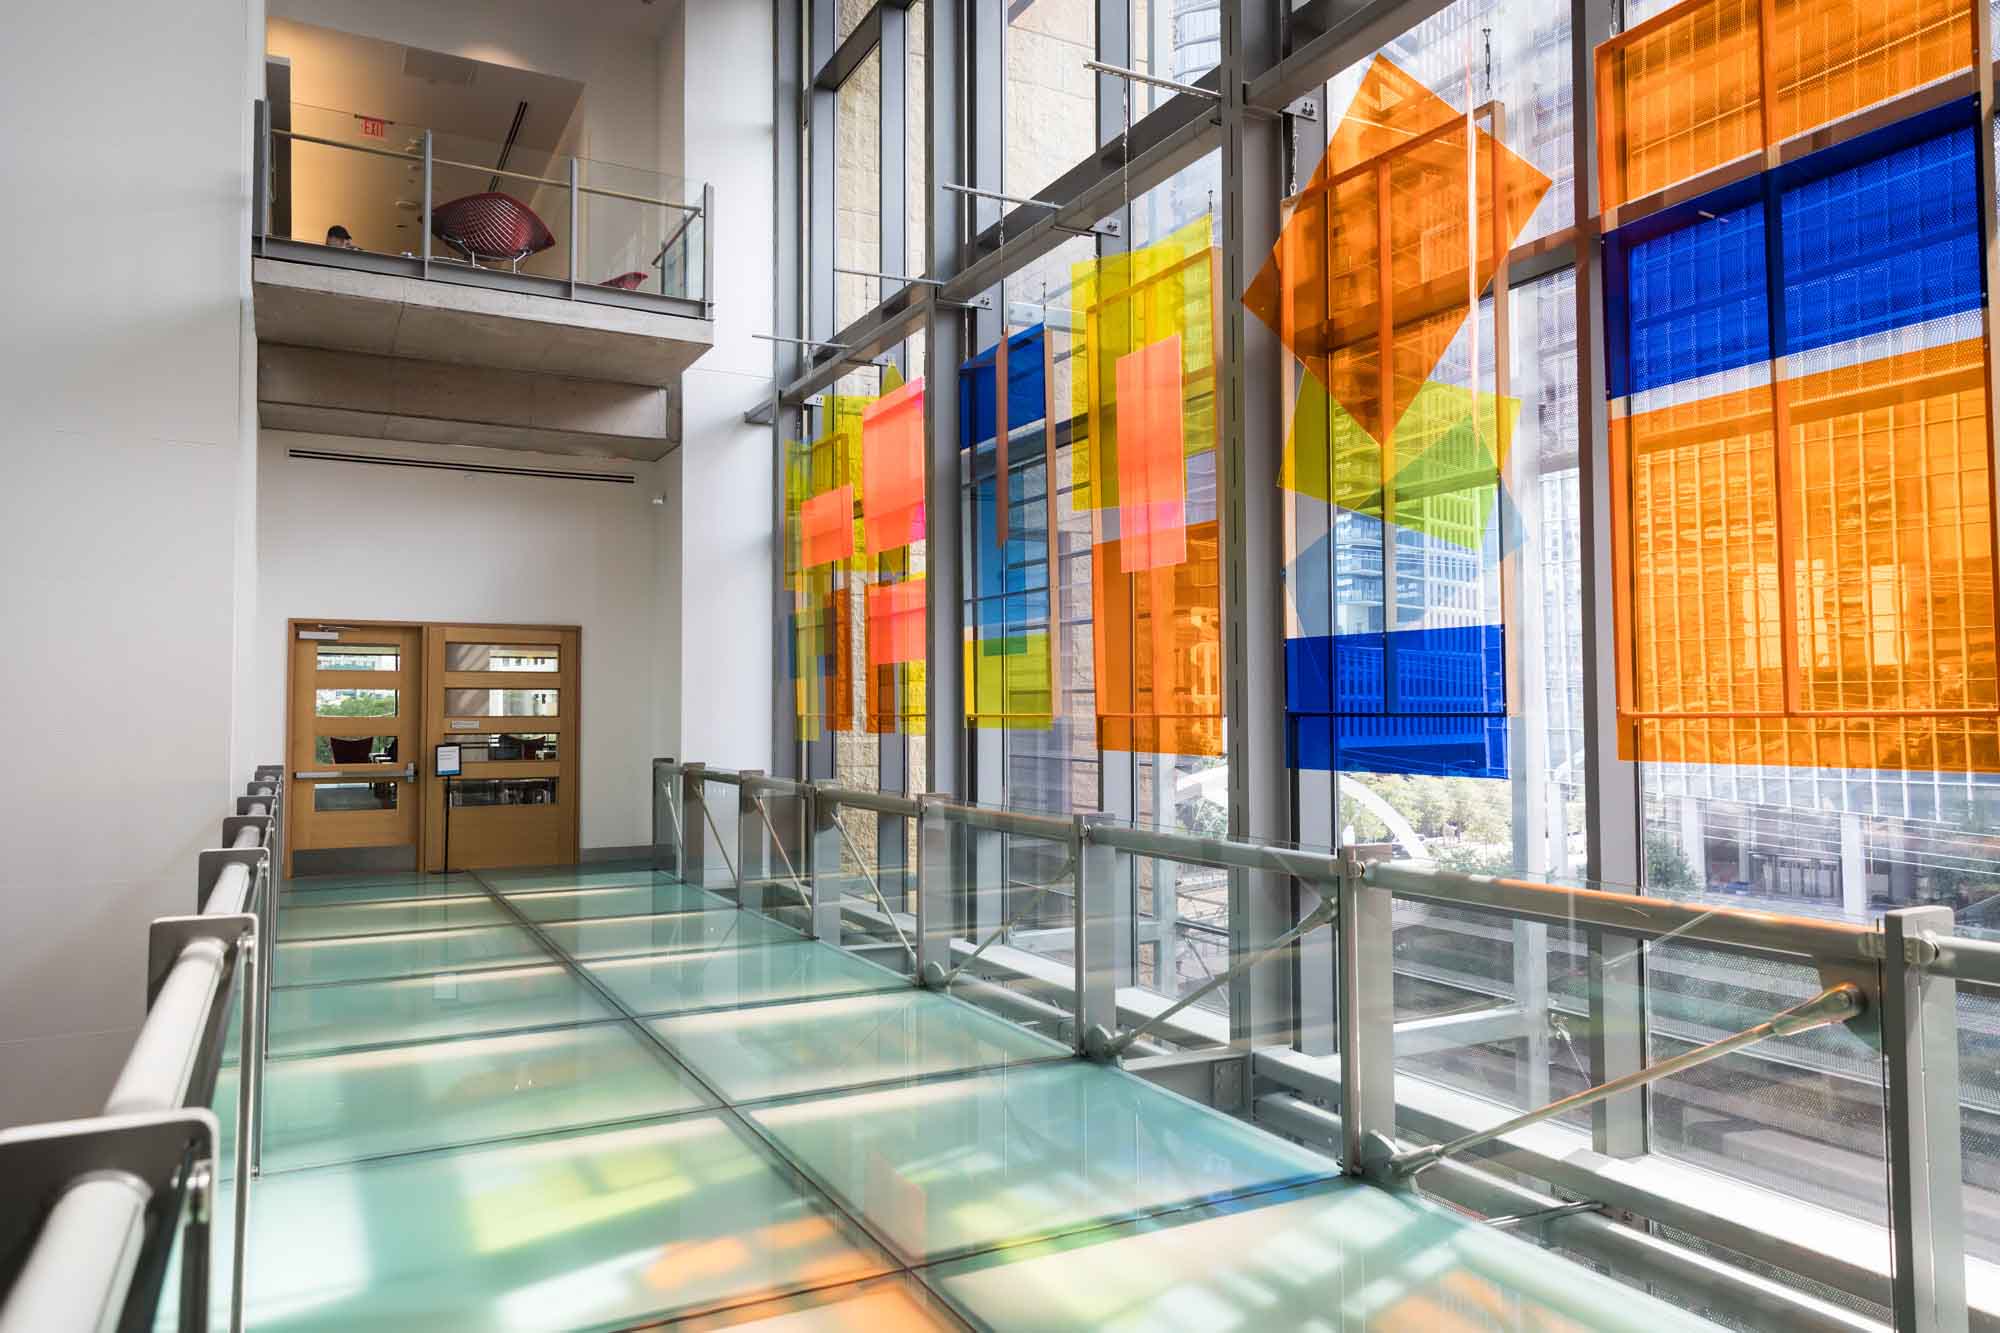
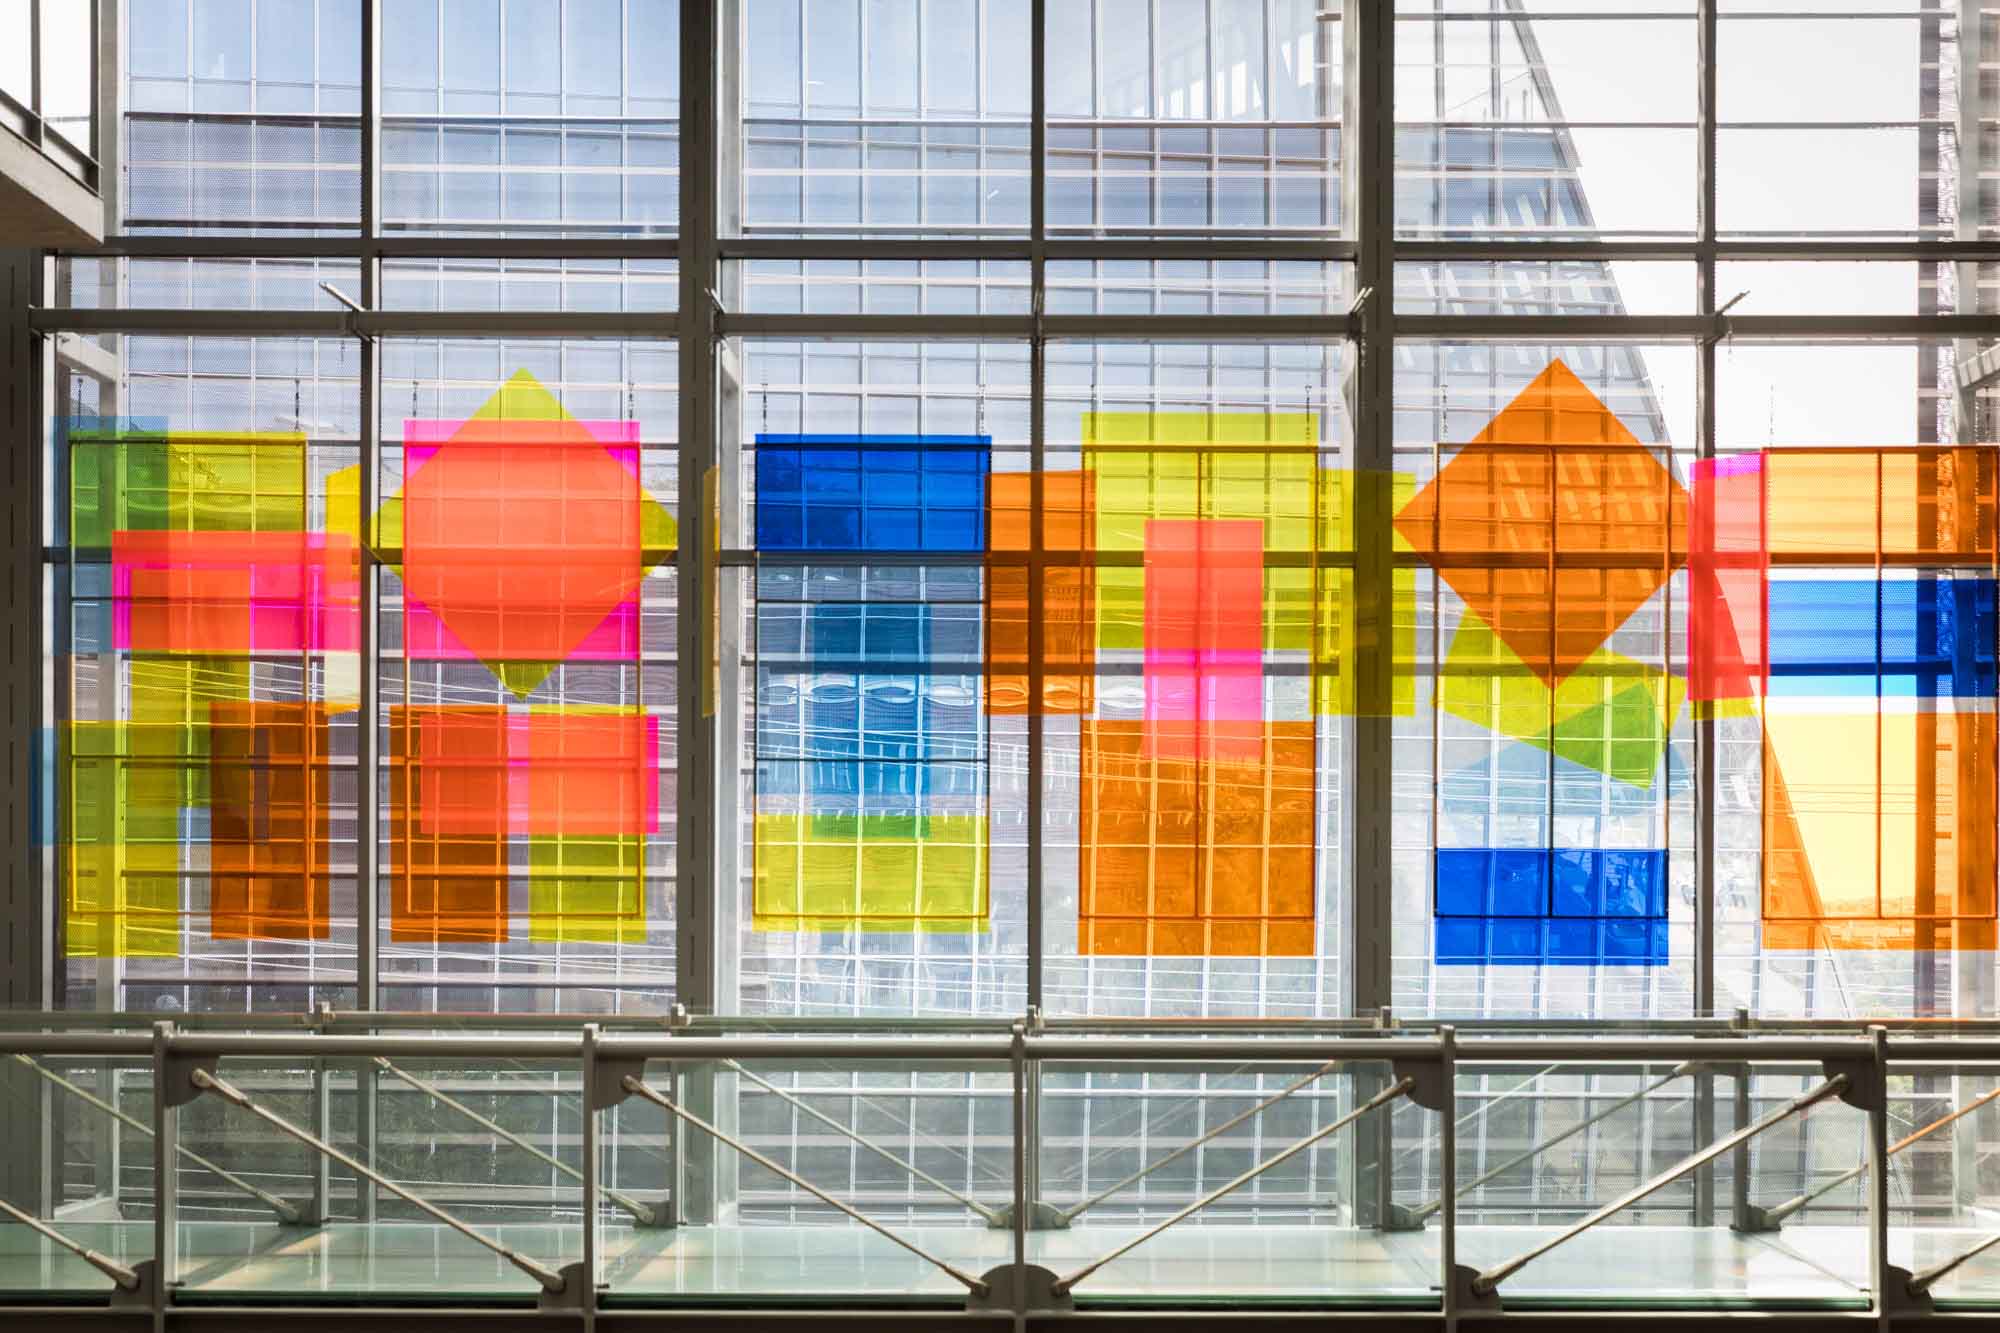
Fourth-Floor Walkway
You should begin your photo journey on the fourth-floor walkway underneath the colored glass art installation. The sculpture above the walkway, called ‘If a Tree Falls…’ by artist Susan Scafati, is a great place for photos both taken from across the main staircase, as well as shot on the walkway itself. This is also a fantastic point at which to get photos with the red raven clock in the background.

Fourth Floor Book Stacks
In comparing the difference floors, I found the fourth floor to have the best ratio of large windows to low level of visitors. Running along the wall of the fiction section you will find large windows that provide adequate ambient light. Personally, I found this area of the library to not have as many visitors, and thus to be ideal for taking quiet portraits. I recommend you use the aisle closest to the Reading Porch with artwork hanging on the wall.
If you are looking for a bookshelf with a slightly different look, try the special collections area. Here you will find a bookshelf with the word ‘Literature’ in raised letters along the top of the shelf.
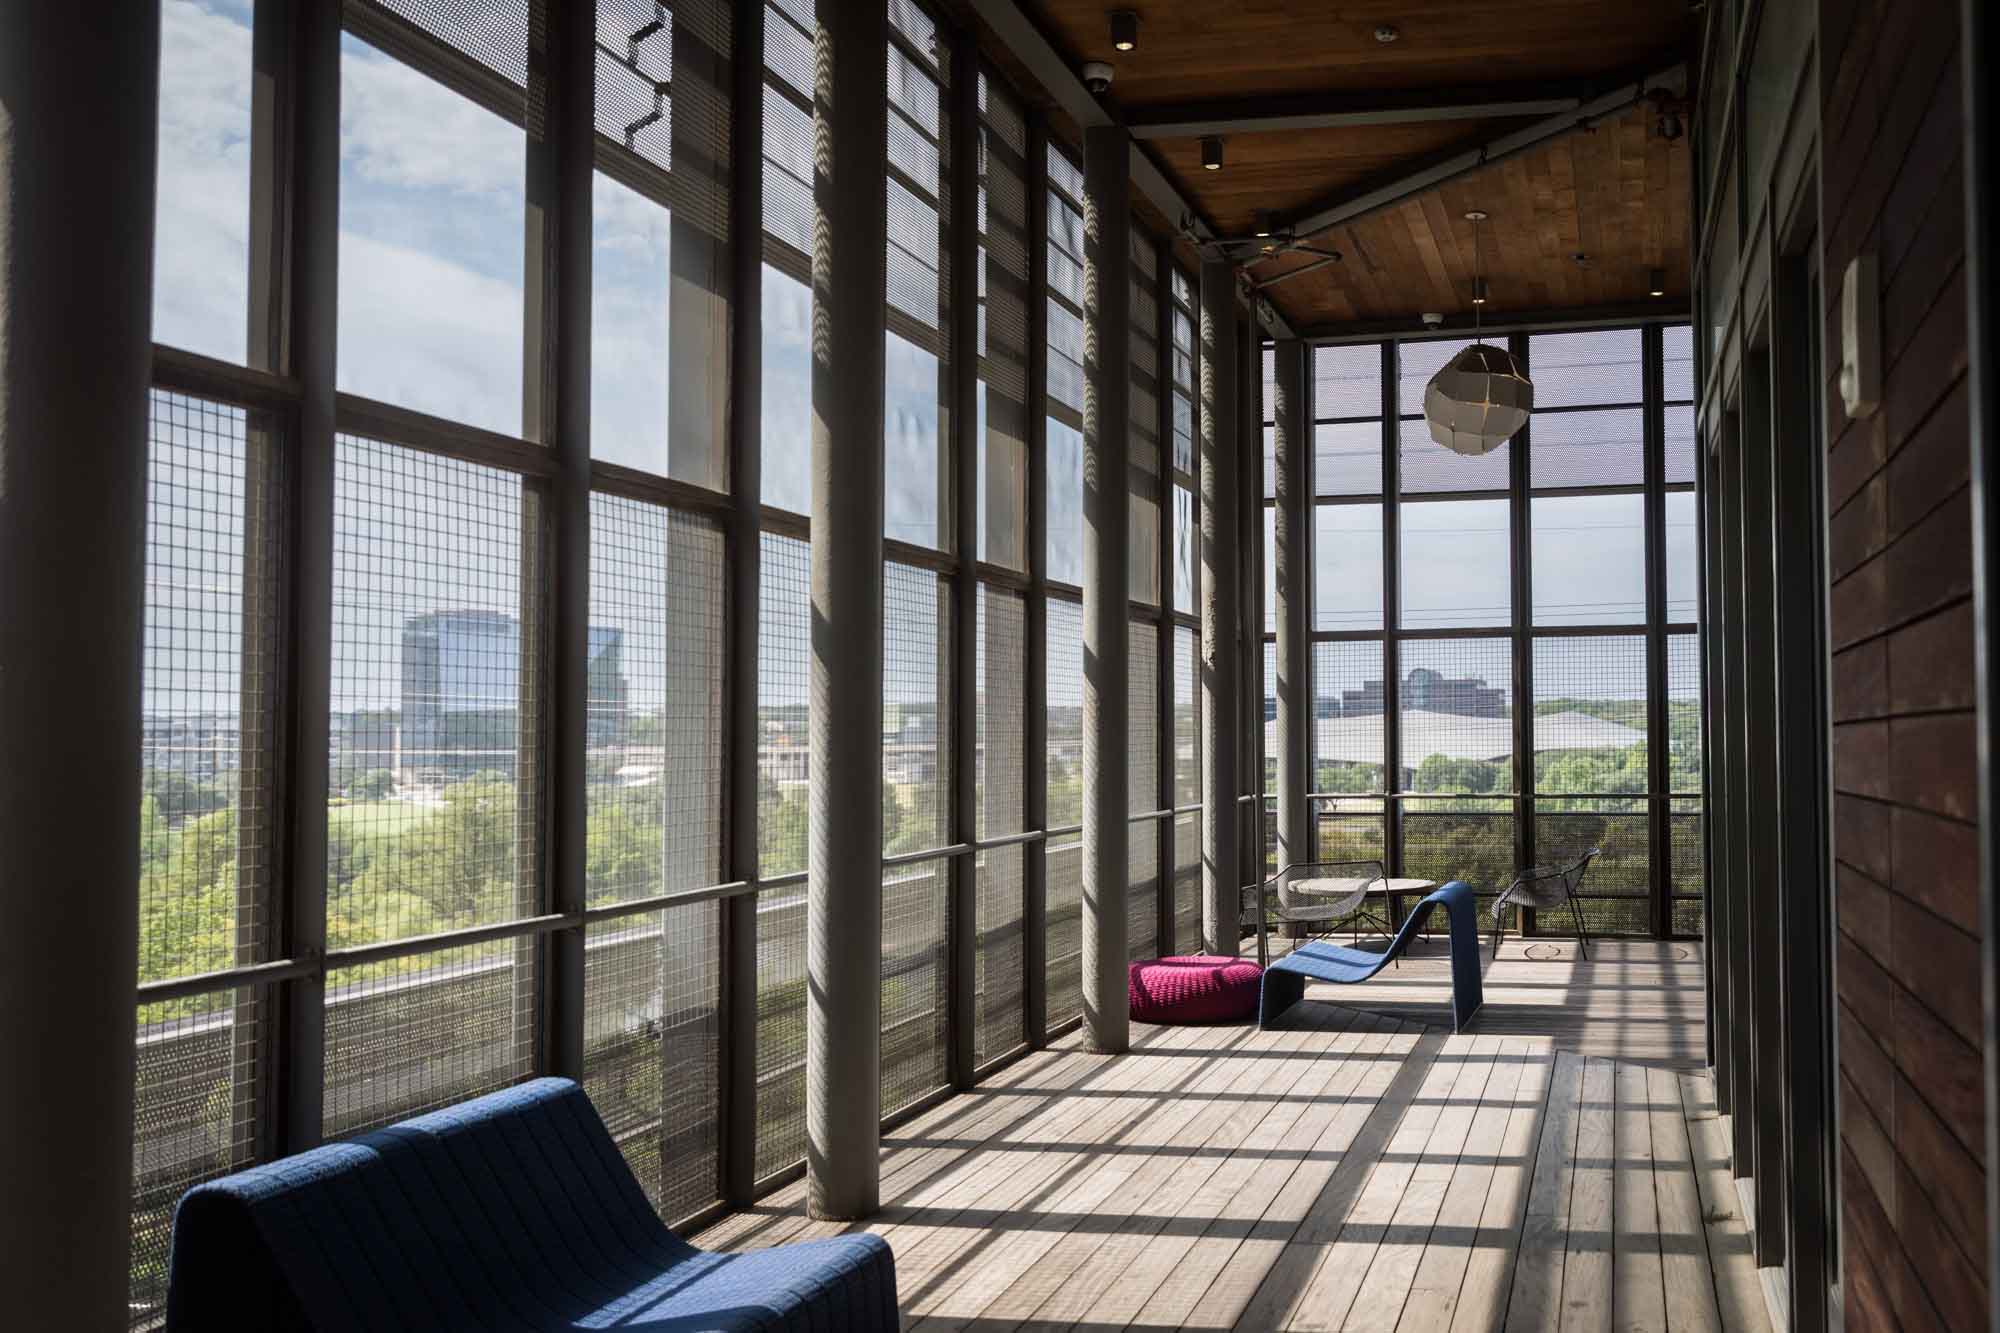
Reading Porch
The reading porch is a nice compromise if you are looking for natural light and a stylized, artistic look. You will still find this area to be inhabited, but it does offer city skyline views, albeit through a mesh screen. In addition, there are some cool reflections of the book stacks along the side of the porch facing the fiction section.
Fifth Floor
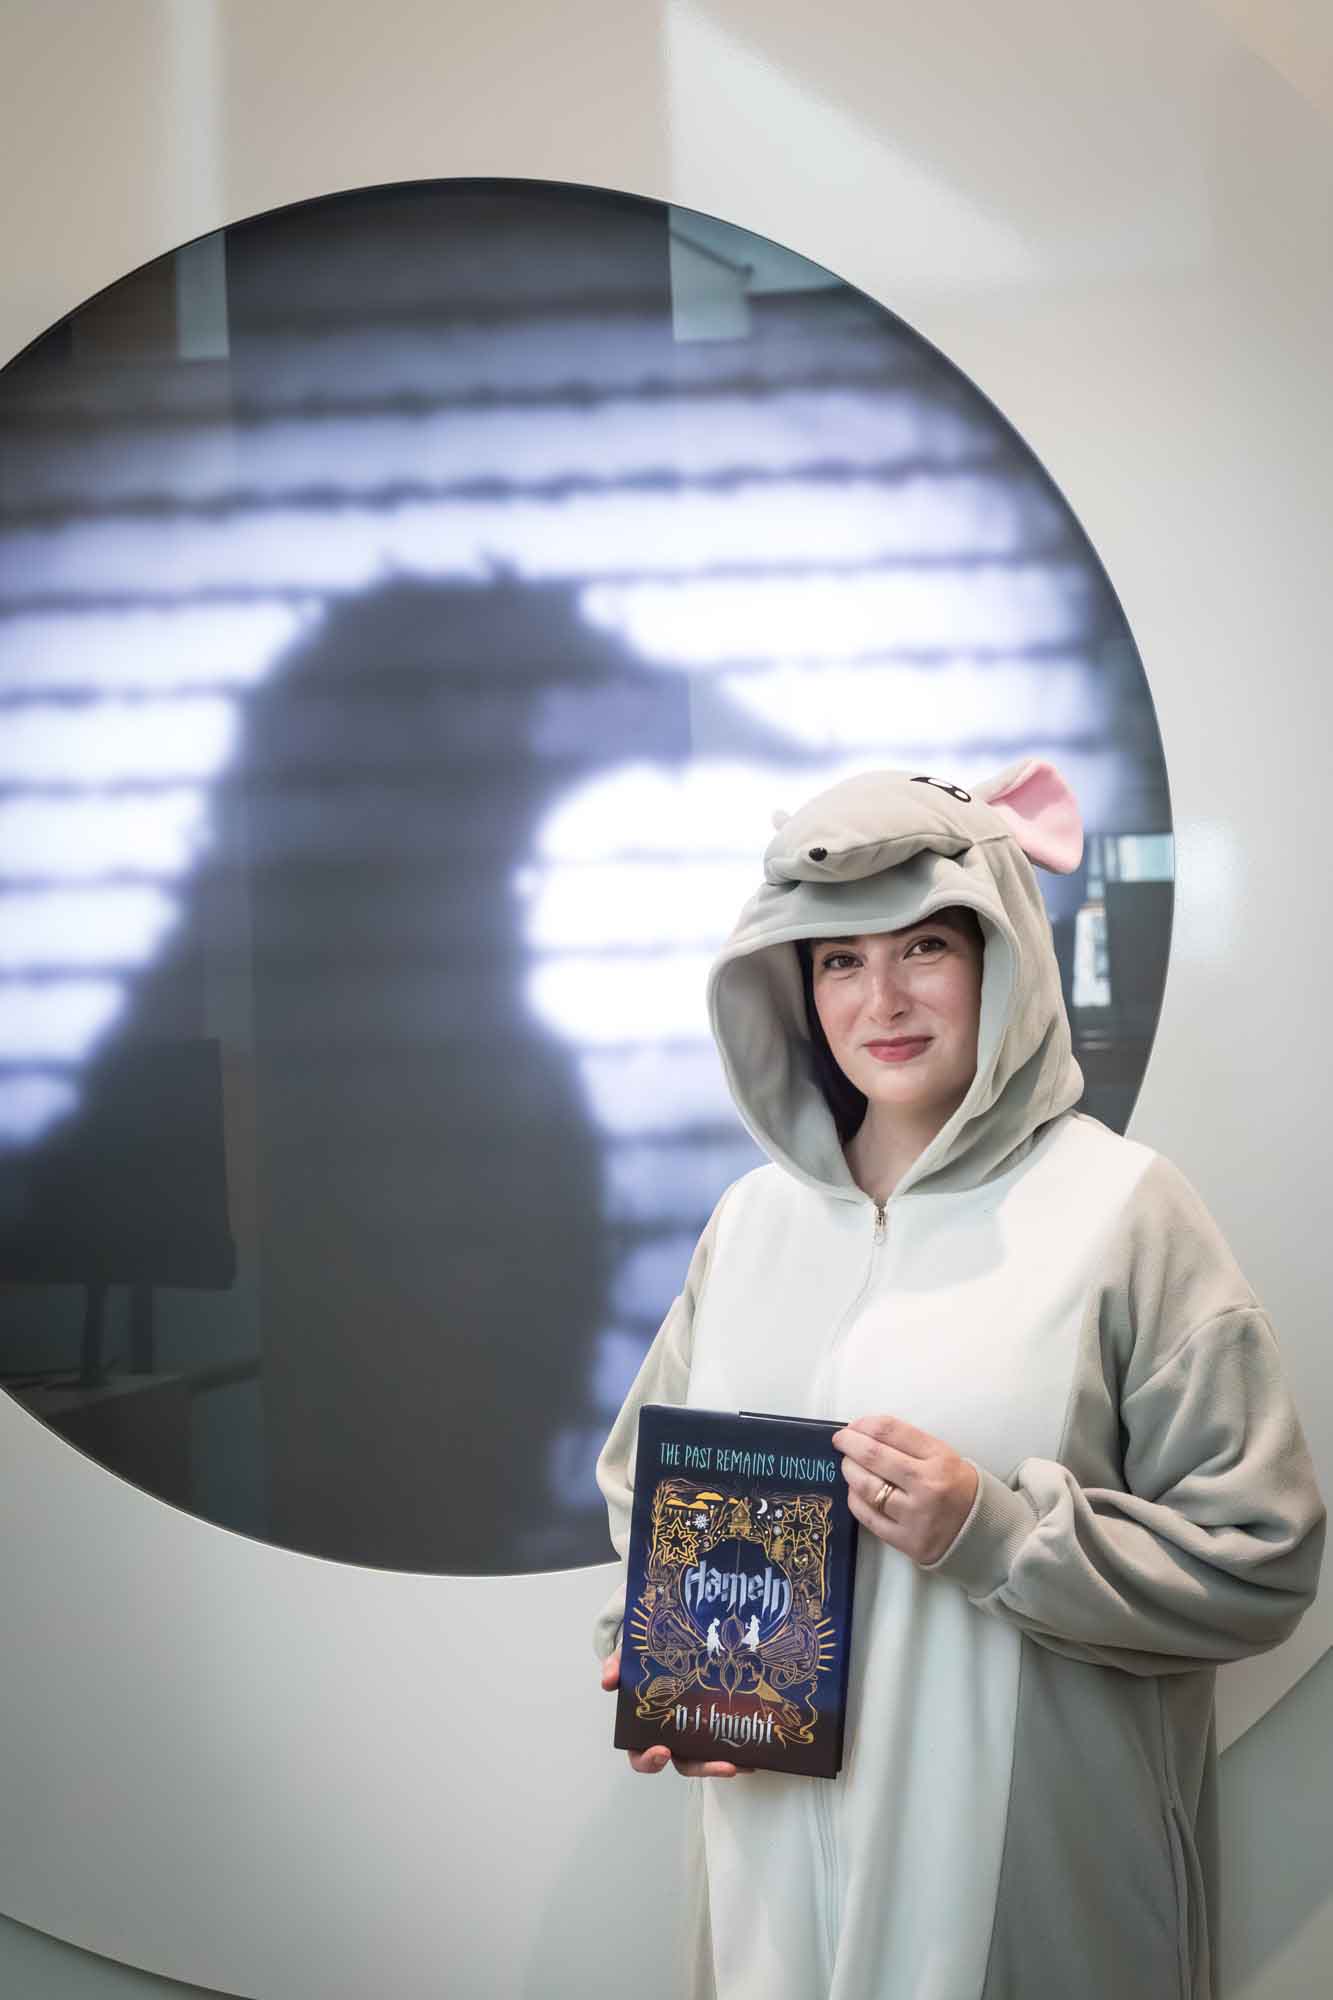
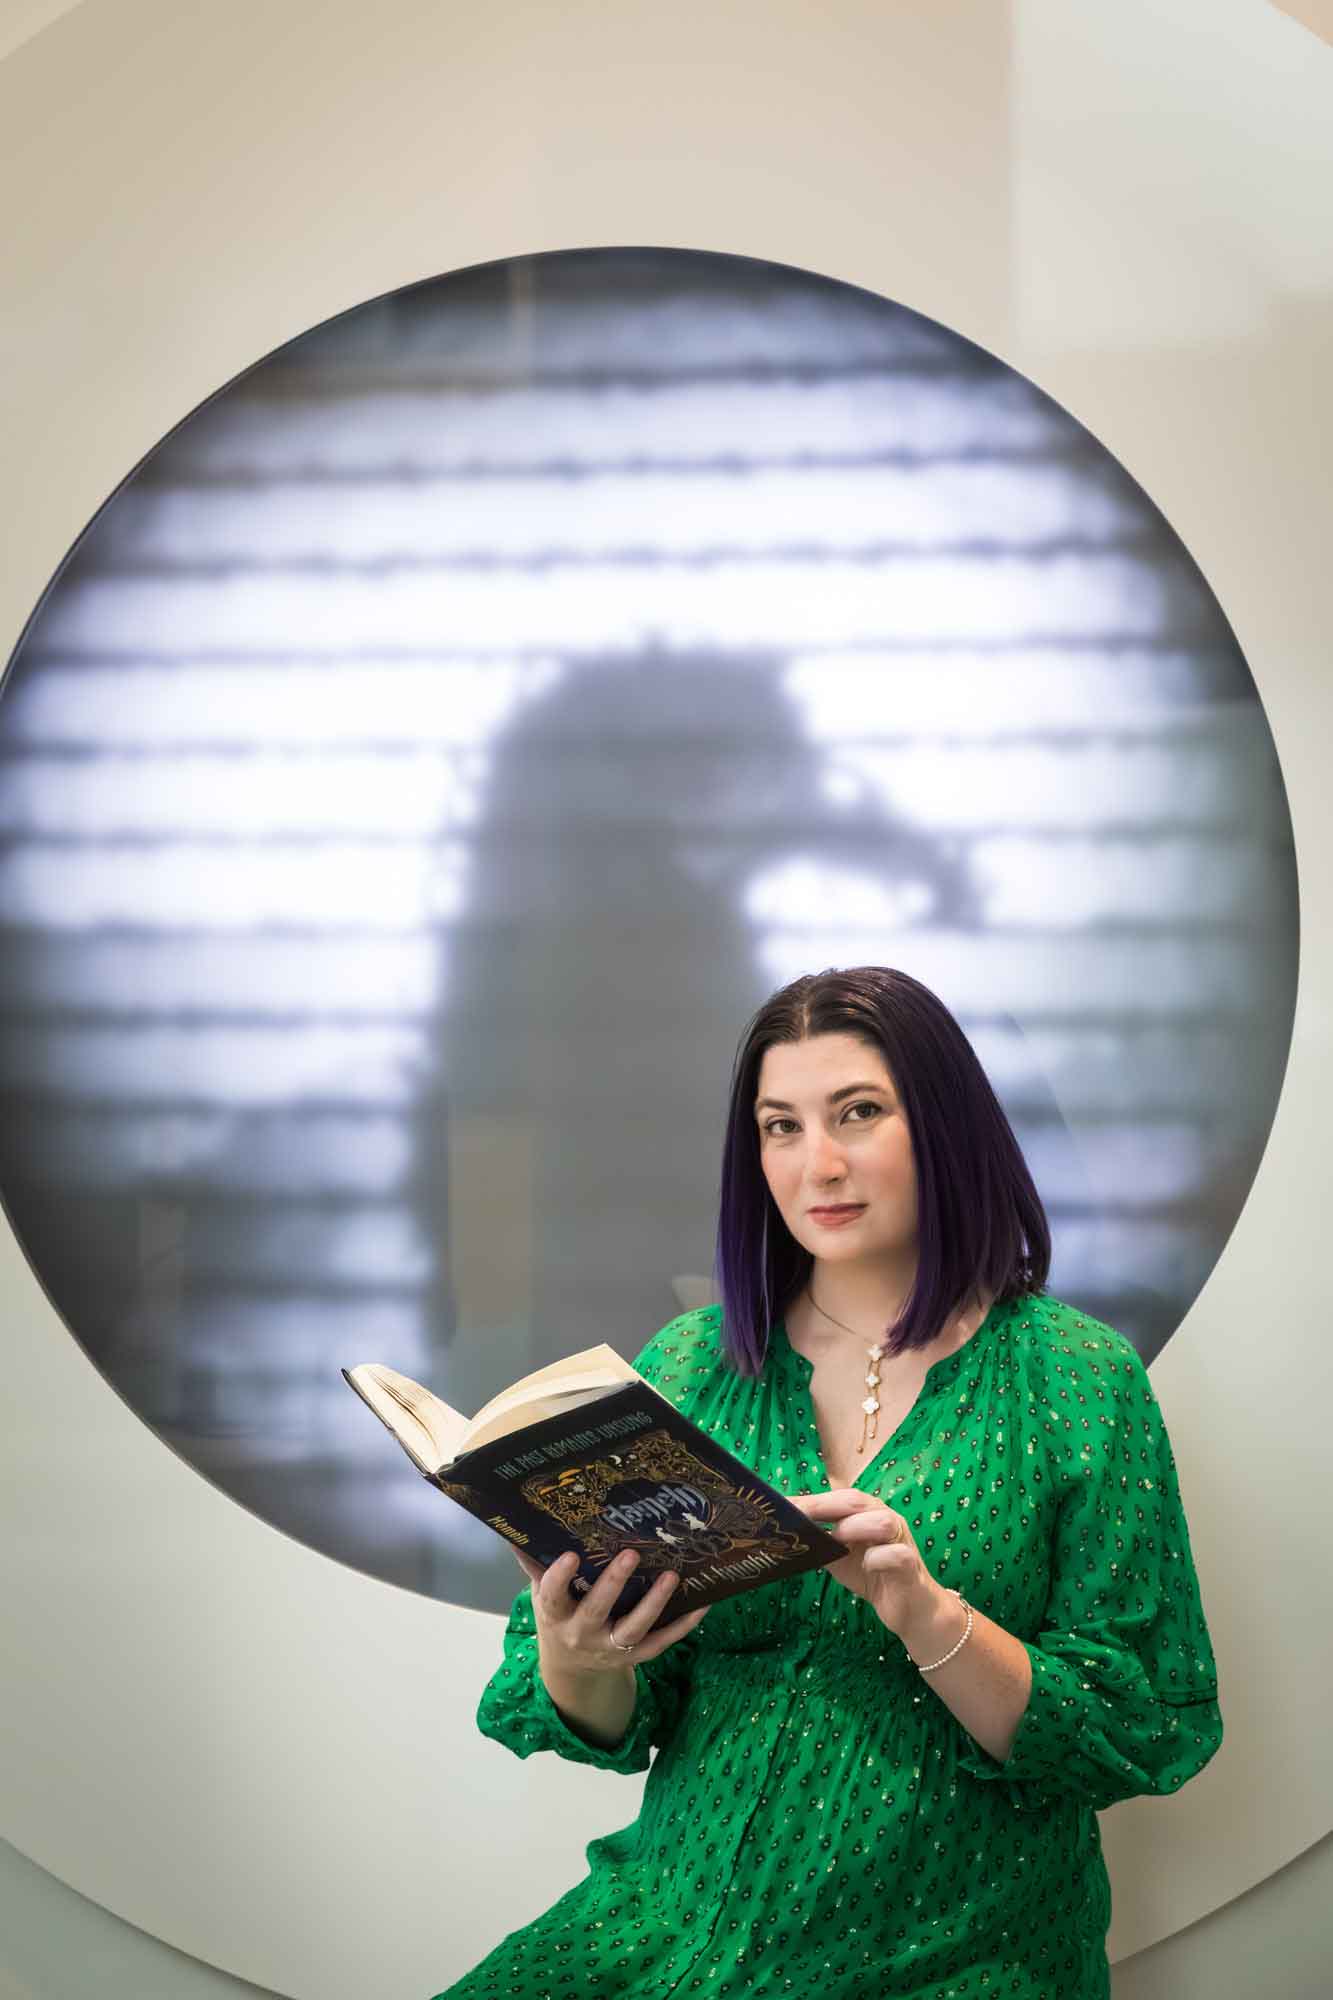
The fifth floor looks very much like the fourth floor, in terms of book stacks. The only draw here is a multimedia sculpture of a raven. This sculpture is tucked away in a corner by the stairs in the non-fiction section. For my portrait with Nancy, whose book has a spooky element to it, we used this sculpture as a background.
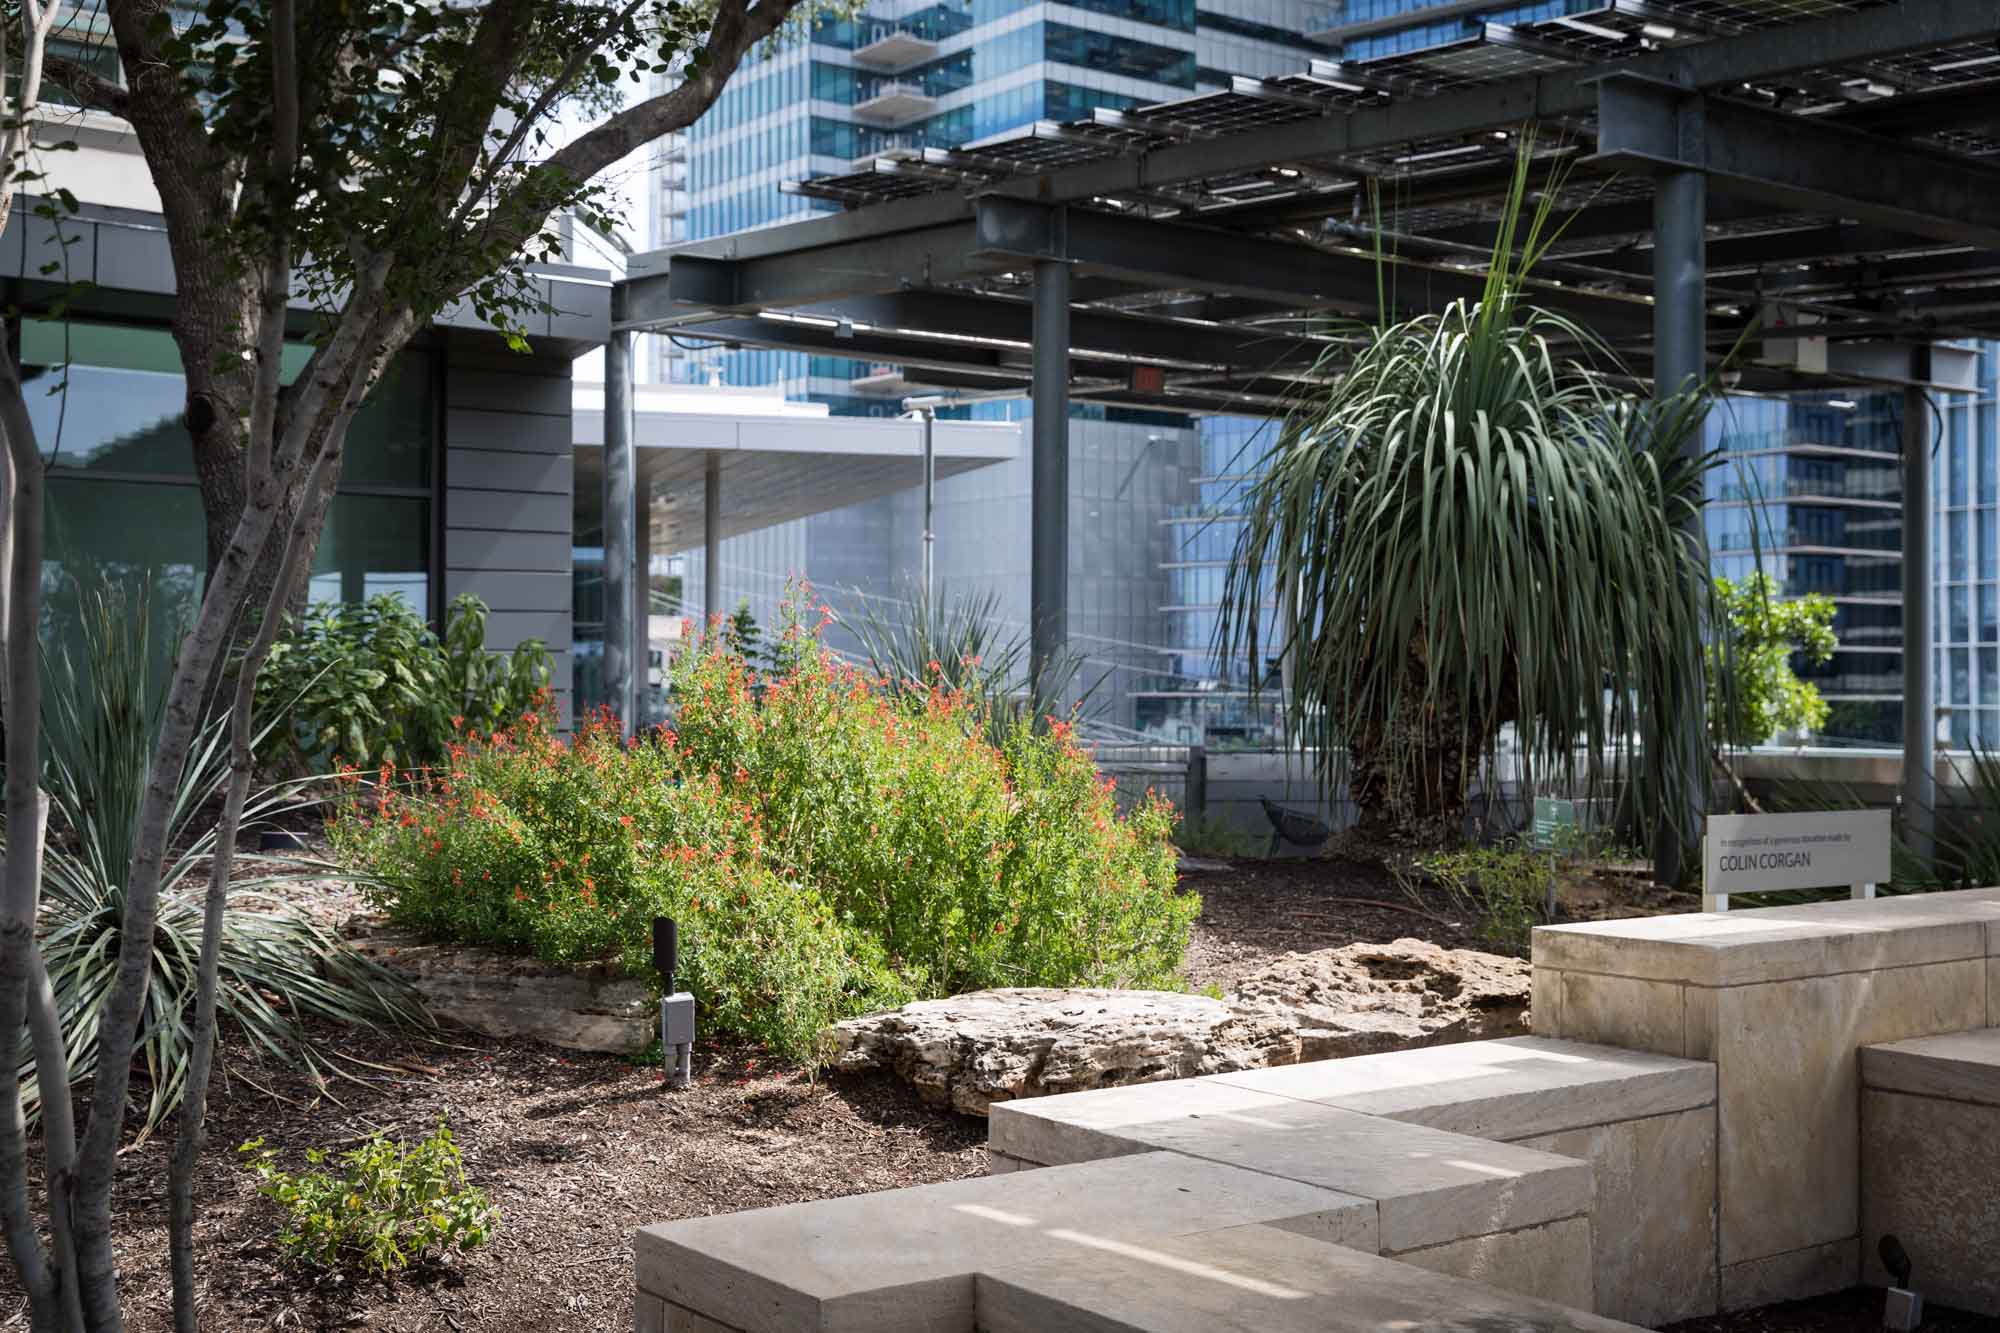
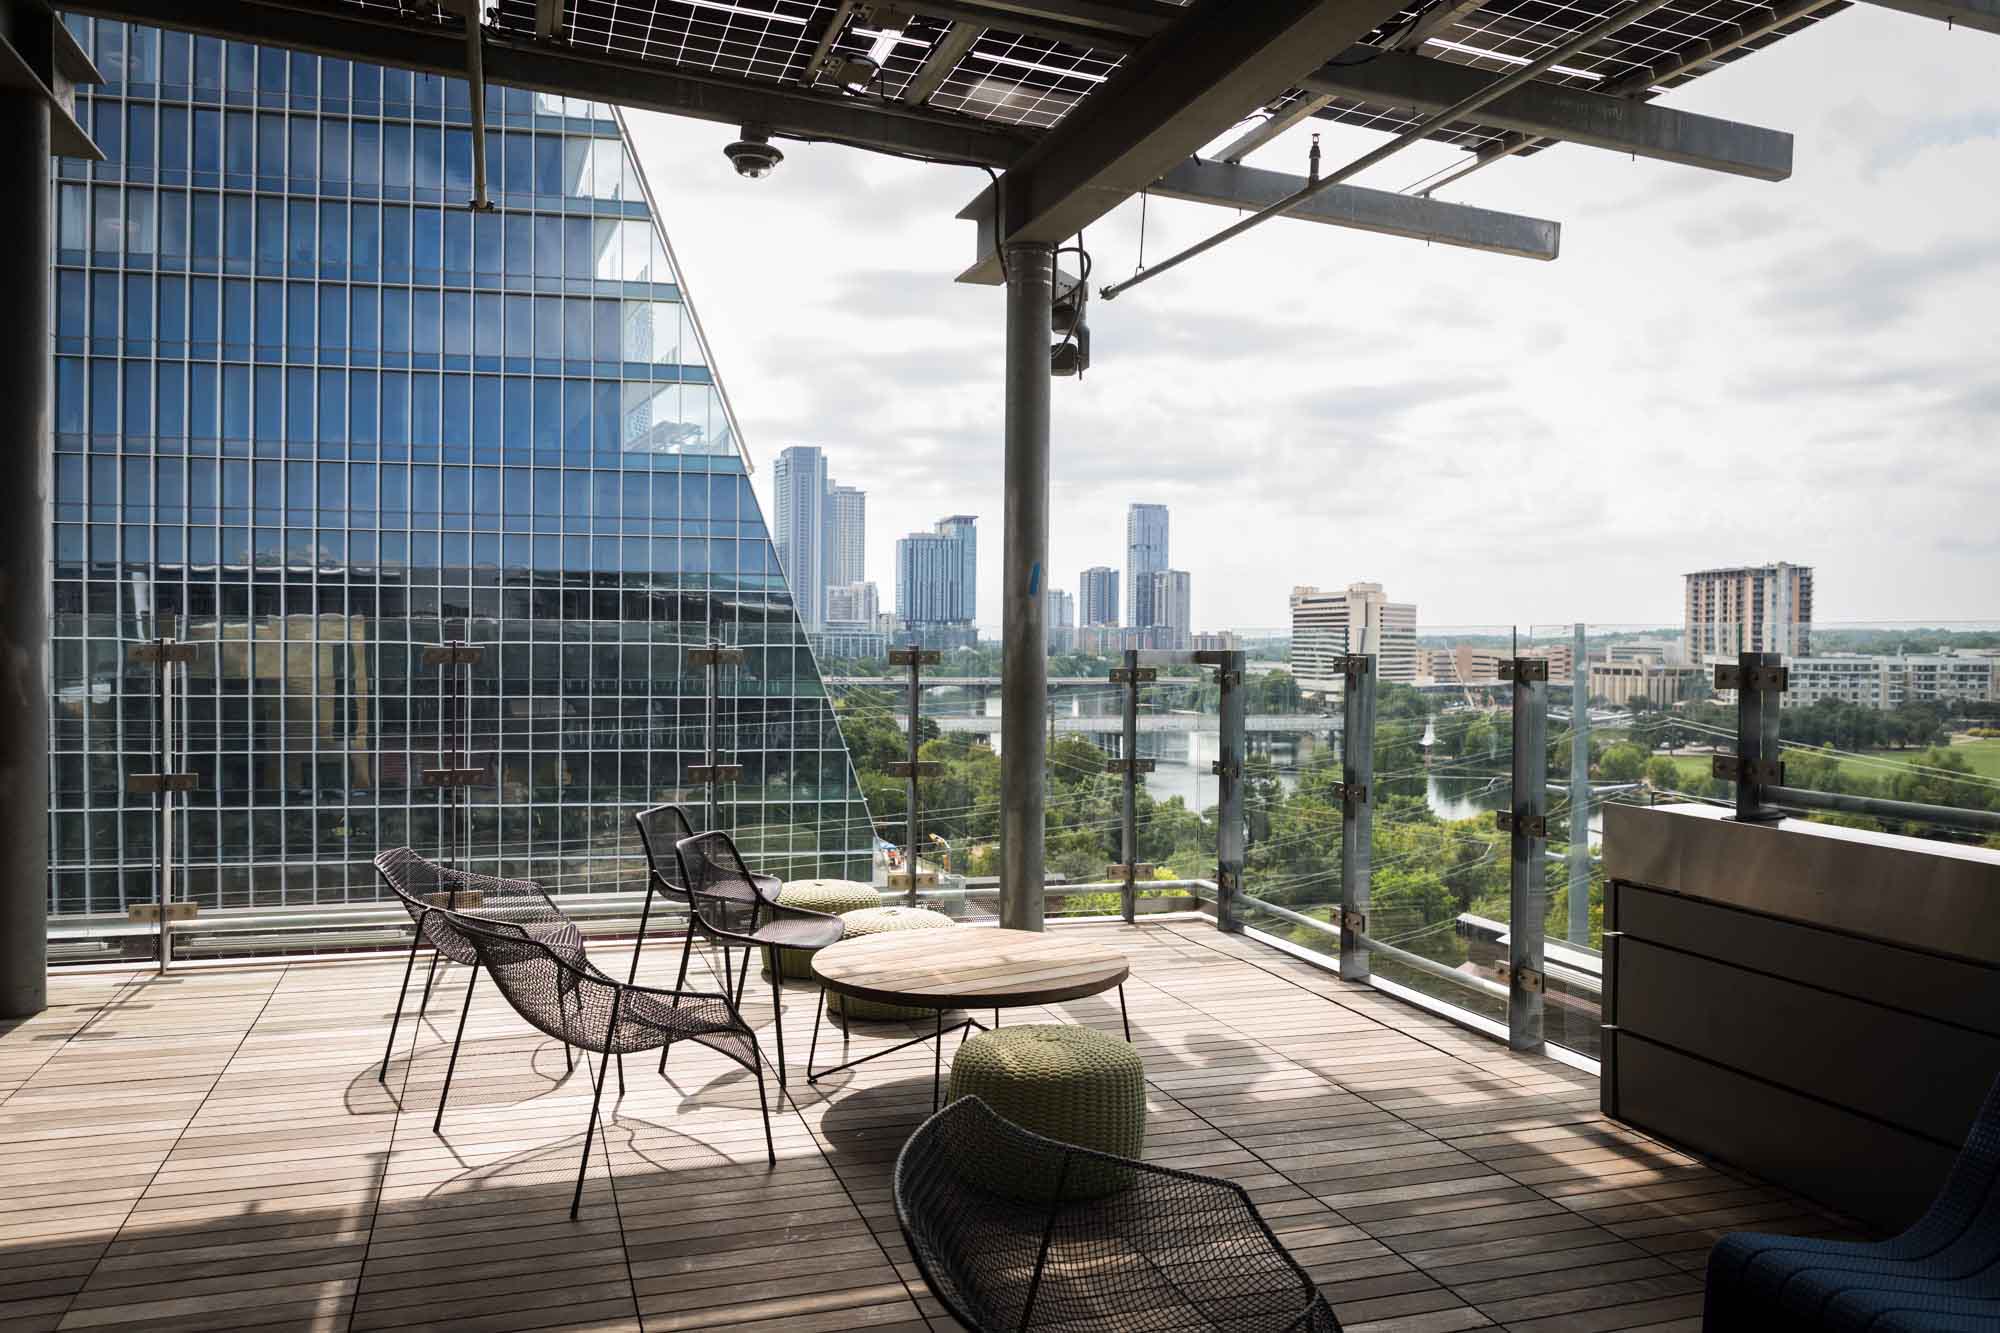
Roof Garden
Much like the reading porch, the roof garden is a great way to take photos with natural light and city skyline views. Do not, however, come up here and expect to have much in the way of nature in your photos. The small, square garden in the center of the roof deck is cordoned off so that you cannot enter the garden. You can take photos over the garden, but you cannot situate your subject inside the garden. Also, this space gets crowded very quickly.
Outdoor Locations
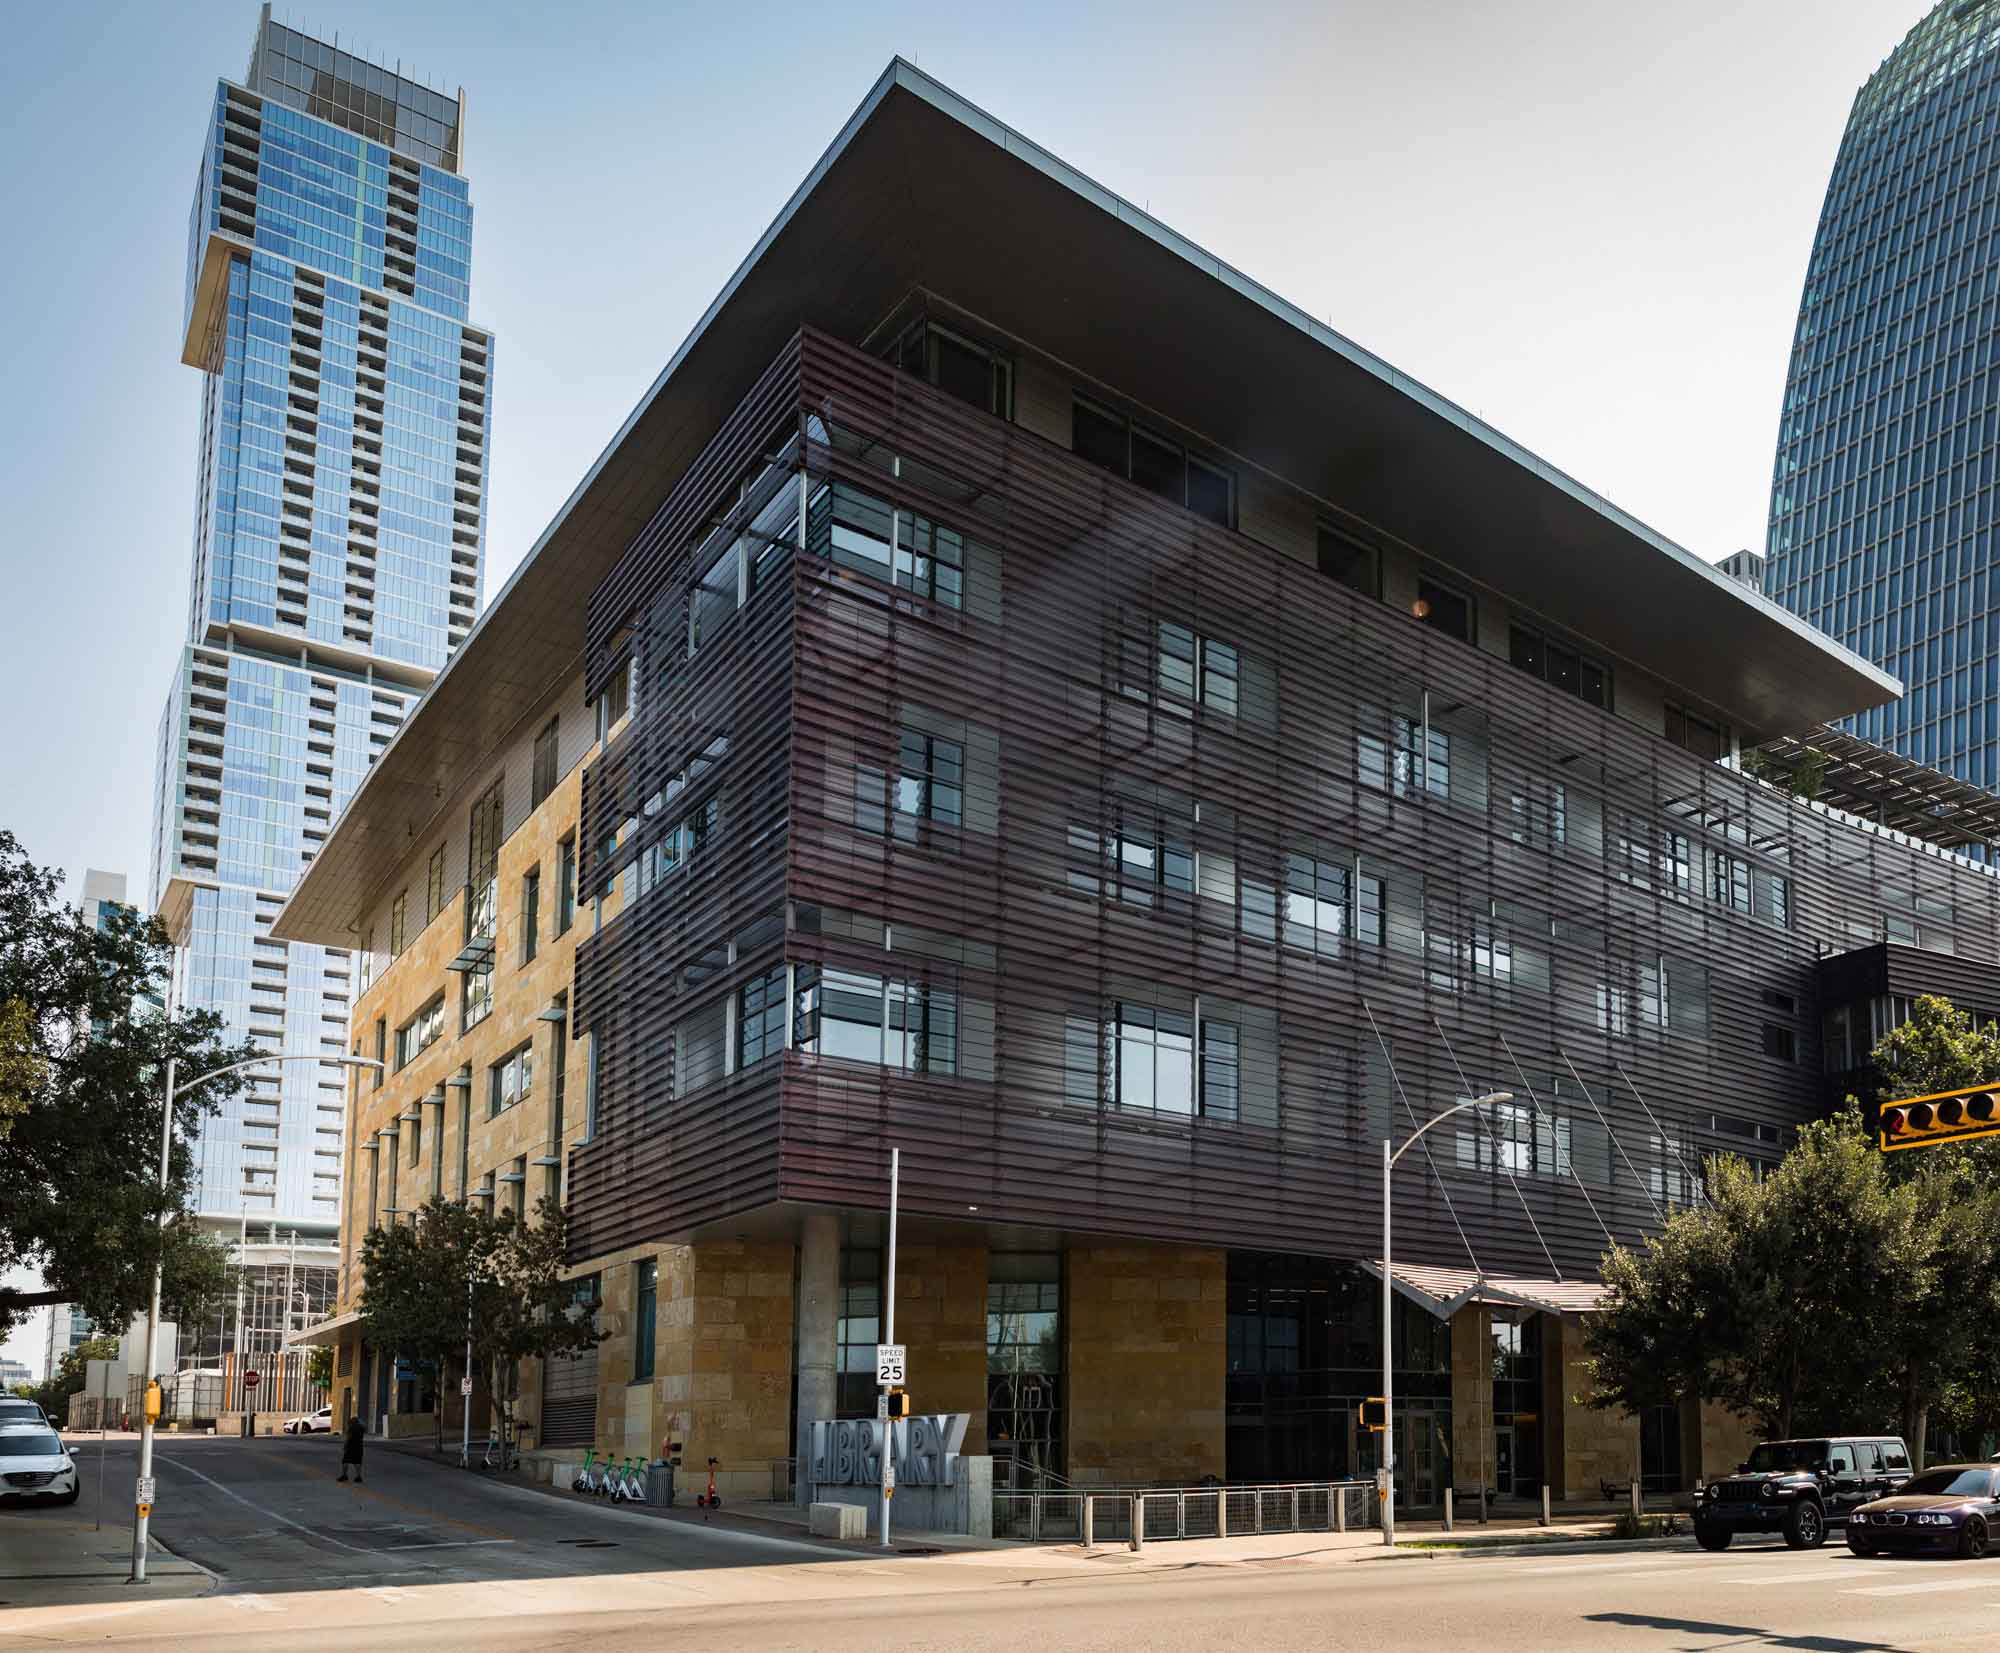
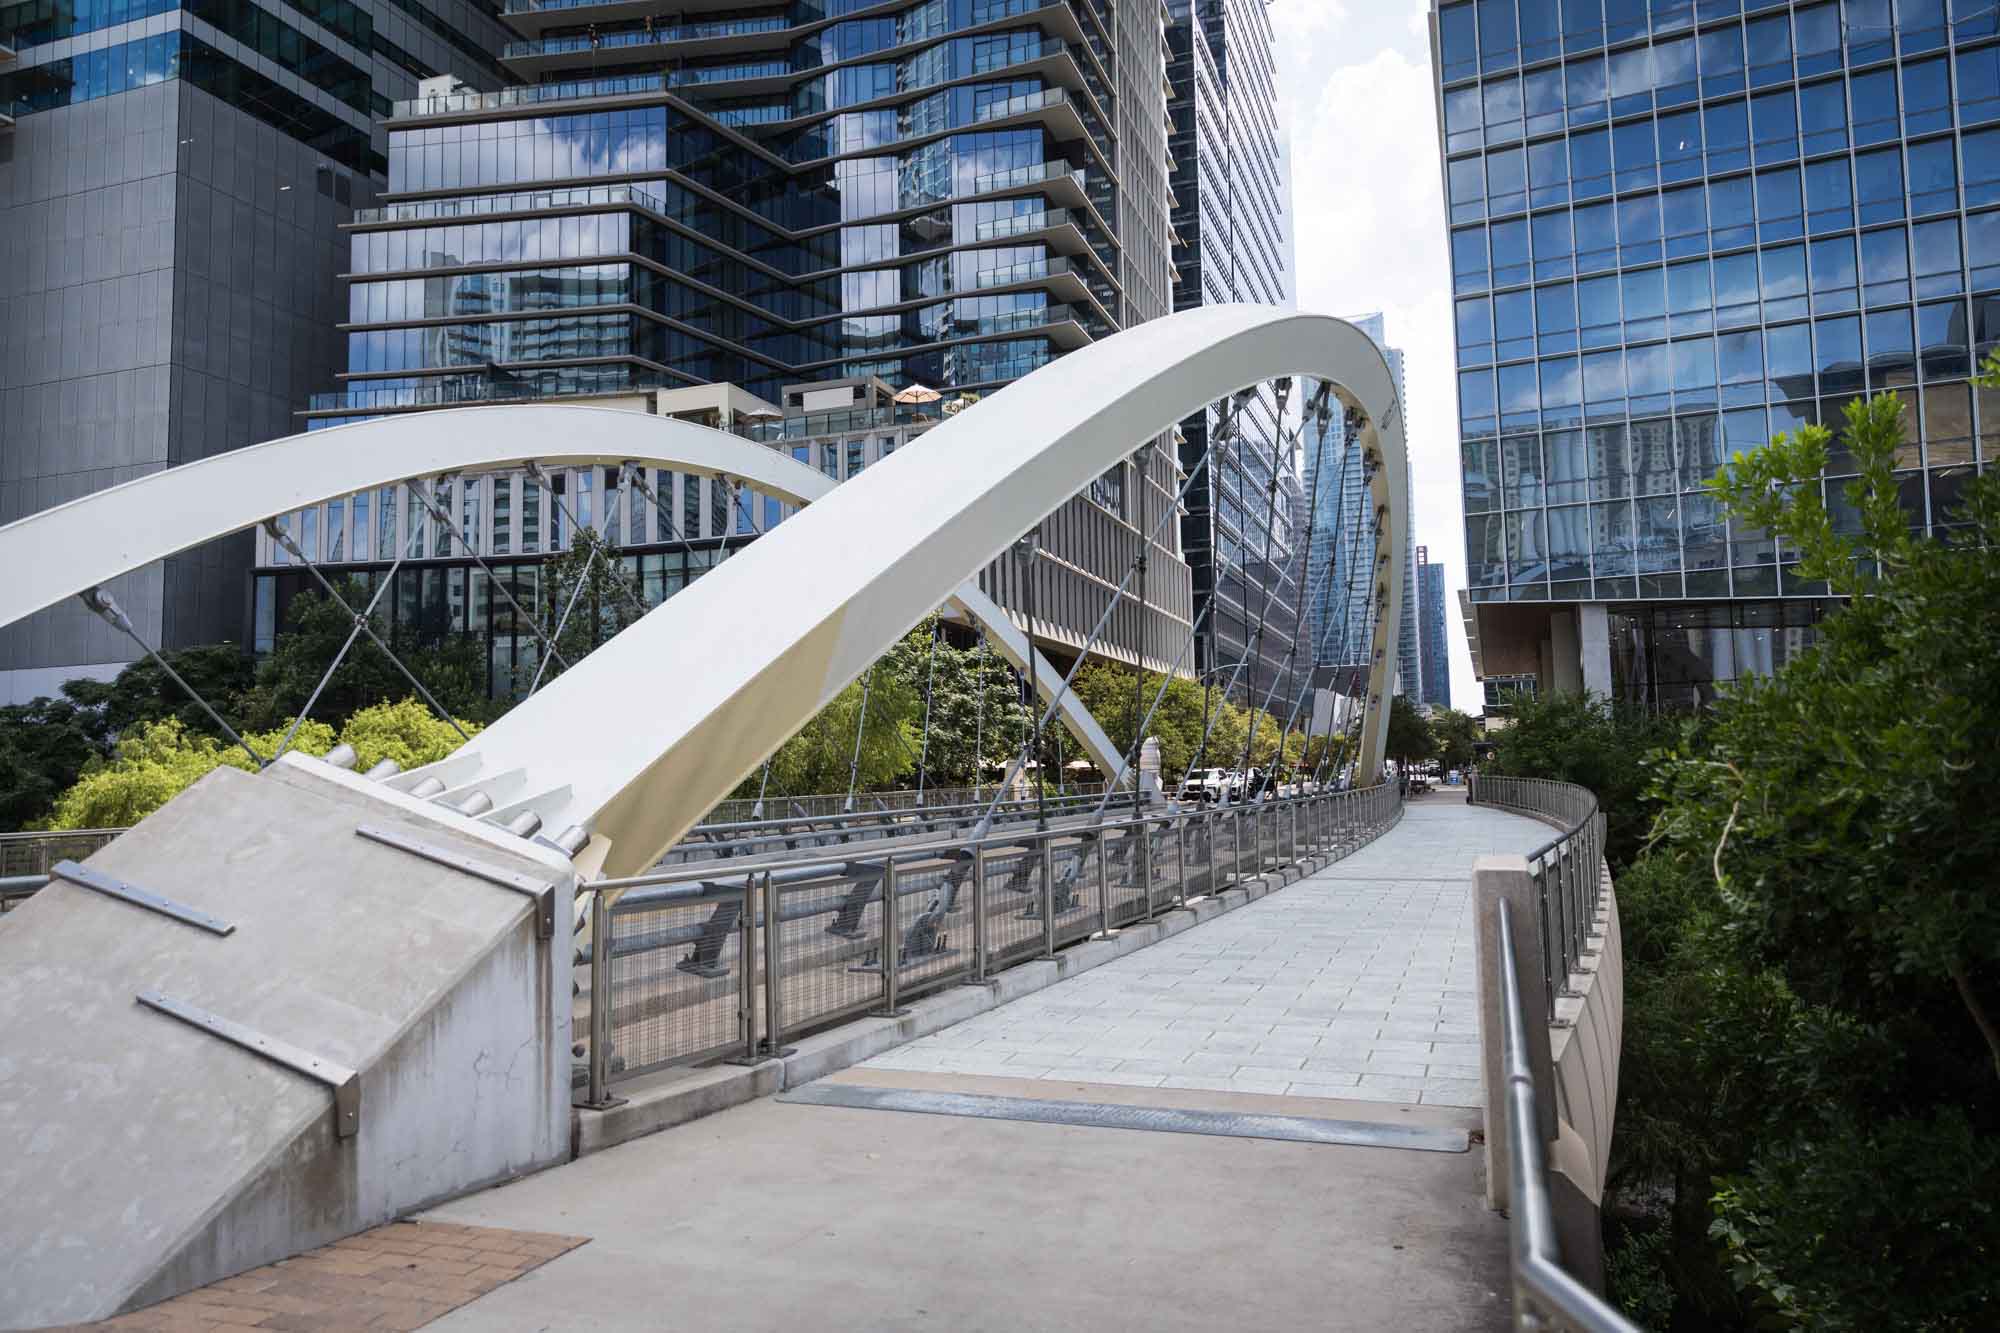
Finally, don’t forget that the Austin Central Library is surrounded by a bounty of beautiful landscaping. First, you have the butterfly bridge within a stone’s throw of the library. You also have the Shoal Creek Trail just outside the back door of the library. Finally, there is the large ‘Library’ sign in the front entrance to the building. All of these are excellent options in case it gets too crowded inside the library itself.

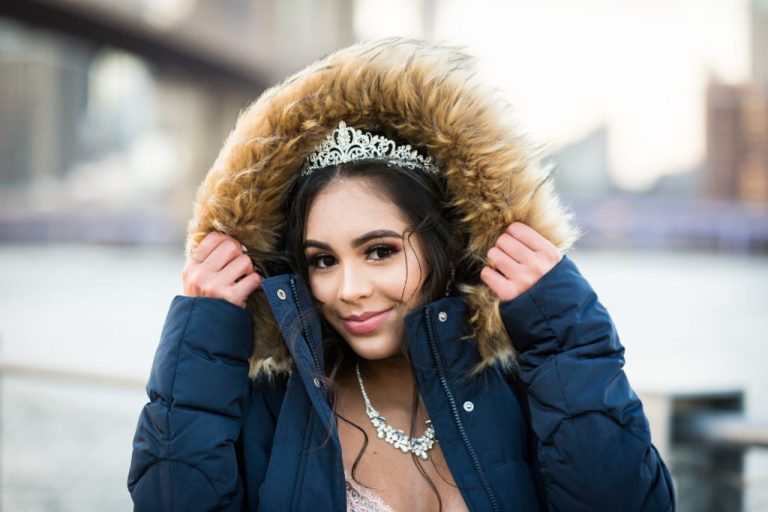
Introducing Nancy and Hameln
So, with all of the rules and permits out of the way, let me introduce you to Nancy Knight, the author of Hameln. I was so excited when Nancy called me to take her author portrait. Published through Murasaki Press, her book is a historical fantasy retelling of the Pied Piper of Hameln. The book will debut on Halloween, and you can go here to get your copy.
By the way, that other lovely lady in the photos is Britta Jensen, Nancy’s wonderful editor at Murasaki Press. Murasaki Press is based in Austin, and has published other titles including Beneath a Sun Deprived Sky by Kara Lenore and Orphan Pods by Britta Jensen.
Final Thoughts
This was such a fun project to undertake from start to finish. First, I was honored to be able to help Nancy publicize her first book. As a writer myself, I could empathize with Nancy’s excitement. I know this book will bring her much success, and I am thrilled to be part of the process.
Second, it was an exciting adventure to be able to explore the Austin Central Library in more detail. This is a challenging venue in which to take photos because of the balance between not wanting to disturb those around me, yet also needing to get the perfect photo. Still, it was worth all of the research and legwork that went into getting the permit. The library staff could not have been more accommodating to work with (shout out to Davetta!). I think the photos turned out great, and I’m looking forward to more portrait sessions at the Austin Central Library in the future.
___________________________________________________
If you find this article on ‘How to Take Photos in the Austin Central Library’ useful, then check out these articles:
- Professional Headshot Tips – with author, Jiordan Castle
- Secret San Antonio Photo Shoot Locations
- San Antonio Architectural Photography
Looking to book a portrait session or update your website photos in Austin or San Antonio? Drop me a line and let’s chat about how I can help you. I have hourly rates, and all photo shoots include editing and high-resolution files.
To view more images from my photography portfolio, please visit my website – KellyWilliamsPhotographer.com