Digital Tintype Portraits
So how have you been spending your time quarantined at home? With few photo shoots to keep me occupied, I have had to get creative – very creative – with my downtime. In today’s blog post, I have some digital tintype portraits to share along with all the details of how I whipped up these images. But first we have to go way back in history to find out what a tintype is…so read on!
Tintype: (n) also known as a melainotype or ferrotype, is a photograph made by creating a direct positive on a thin sheet of metal coated with a dark lacquer or enamel and used as the support for the photographic emulsion. (Wikipedia)
Tintypes: The Science
The name tintype comes from the fact that the image created in the camera is developed on a sheet of metal, rather than glass. The metal used in a tintype was normally iron, and no tin was involved in the process.
There are two types of tintypes: wet and dry. The wet tintype development process uses a collodion emulsion containing silver halide crystals that is put on a plate while wet before it is exposed. This process is a bit messy, and the more convenient dry process uses a gelatin emulsion that is applied to the plate well in advance and exposed in the camera dry. No matter what type of processing is used – wet or dry – the resulting image looks the same.
In comparison to daguerreotypes and other early forms of photography, tintypes could be exposed rather quickly. The shorter exposure time meant that subjects did not have to remain still in front of the camera for as long. The reduced sitting time plus the lowered cost of materials served to increase the popularity of the tintype.
Tintypes: The History
Tintypes flourished during the 1860s and 1870s. While tintypes were created in studios, photographers began to take their cameras on the road and tintypes became a regular feature at fairs and carnivals. The lacquered iron support used in the making of the tintype image did not need drying so the quick development time meant that an image could be created, developed, and handed to a customer in only a few minutes. Indeed the early tintype was something akin to a later day Polaroid.
Though the tintype gradually began to lose popularity with the development of albumen prints on paper in the 1860s, the tintype was in use for another 40 years. Today tintypes are seeing a resurgence in popularity thanks to photographers going back – waaaaaay back – to historical methods. Case in point, photographer Victoria Will created a series of celebrity portraits for the 2015 Sundance Film Festival 2015. In addition, you can try your hand at tintypes on your phone with the Tintype app.
The Inspiration
I have long loved the antique look of tintype photographs. Recently on a trip to Beacon, New York I came across a photography studio – Beacon Tintype – that has been bringing back the ageless art of tintype photography.
The Costs of Real Tintype Photography
Tintypes are made using large format cameras. I had the pleasure of shooting with one of these cameras while taking a class at the International Center of Photography many years ago. Sadly, however, these cameras are hard to come by these days. In addition to the cameras being rare and expensive, the cost of developing the film itself is astronomical. Furthermore, if you decide to do it yourself with your own in-house lab, then you are encountering all sorts of chemicals. [If you would like to get further in the weeds and find out the exact list of what you need on hand to create your own tintype photograph, check out this article.]
Digital Tintype Portraits: How They Are Created

So that leaves the digital solution. Purists will cry that nothing can beat a true tintype portrait, and I would readily agree. However, since the cost and chemicals are prohibitive, digital editing will have to suffice.
I started the project by selecting some of my favorite portraits from the end of last year. These images all had a basic blank background and a single subject.
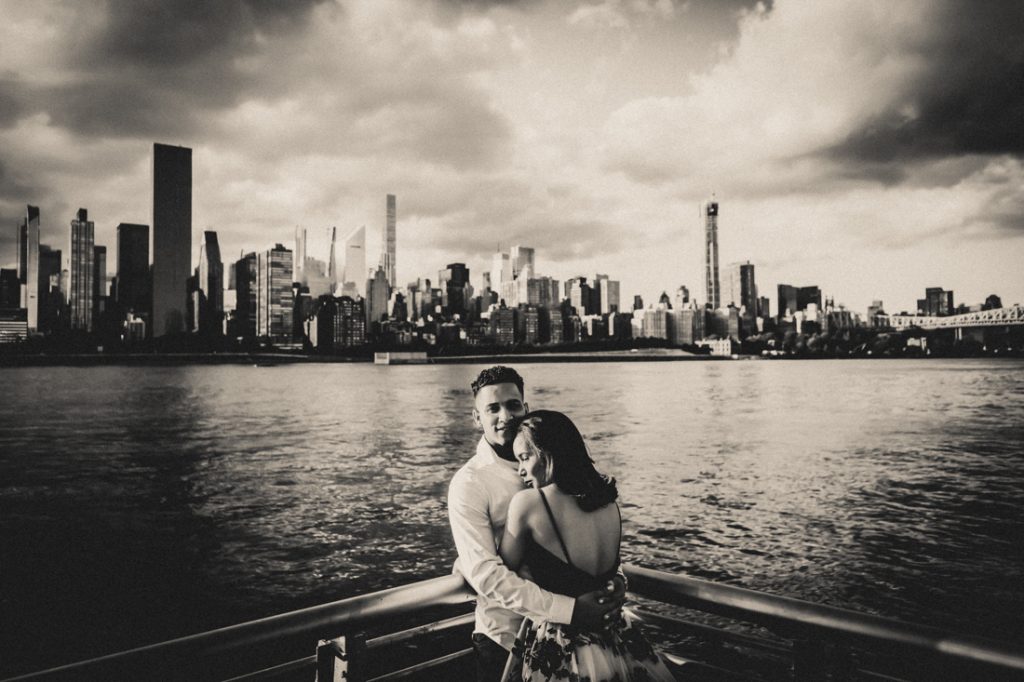
The first step is to convert the image to black and white and then adjust the editing to each image as close to a tintype look as possible using Lightroom editing software. In case you are curious about the technical details, here are my Lightroom settings for this image:
- Contrast: +30
- Highlights: -17
- Shadows: 0
- Whites: +25
- Blacks: -30
- Clarity: +20
- Black and white mix:
- Red: -12
- Orange: -21
- Yellow: -25
- Green: -28
- Aqua: -16
- Blue: +15
- Purple: +19
- Magenta: +4
- Split Toning Highlights:
- Hue: 48
- Saturation: 24
- Balance: -12
- Post-Crop Vignetting: Highlight Priority, -24
- Grain:
- Amount: 59
- Size: 38
- Roughness: 39
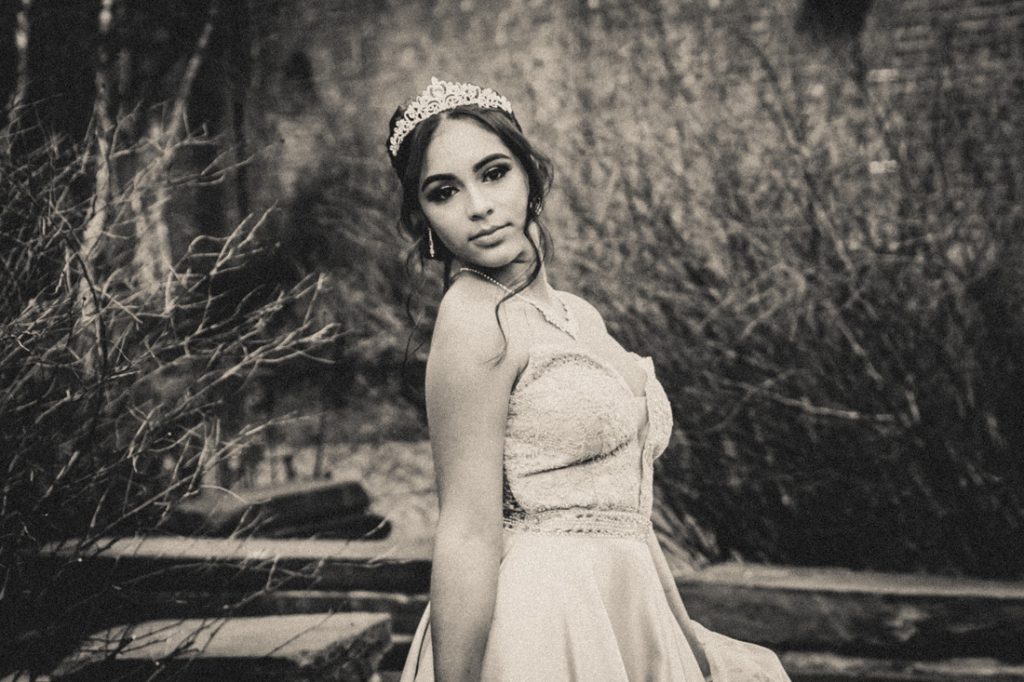
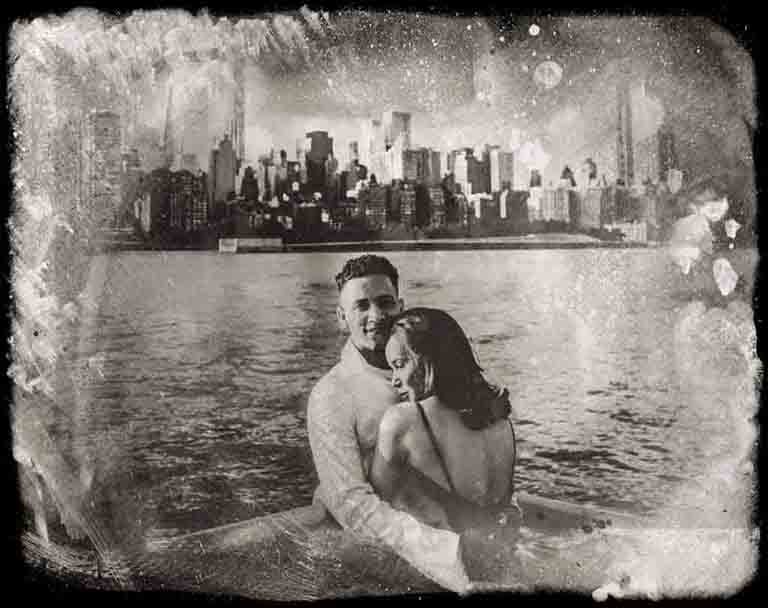
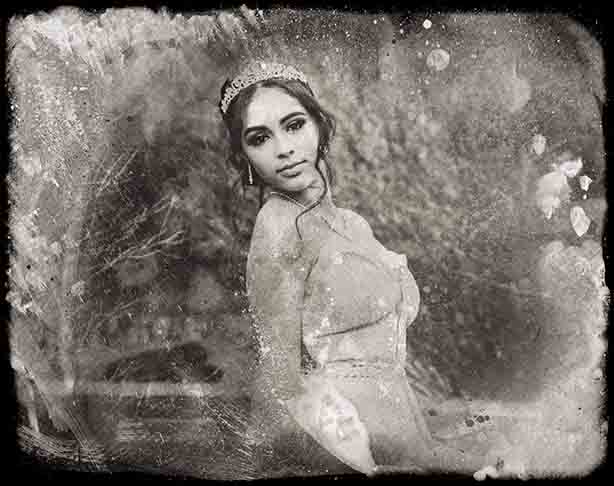
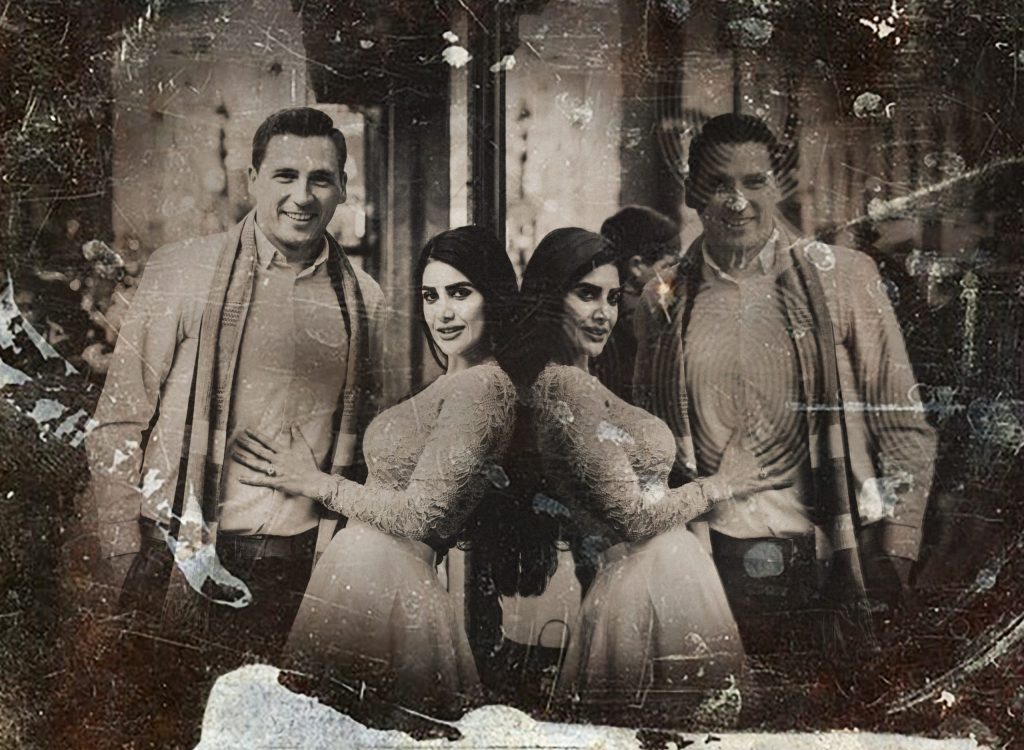
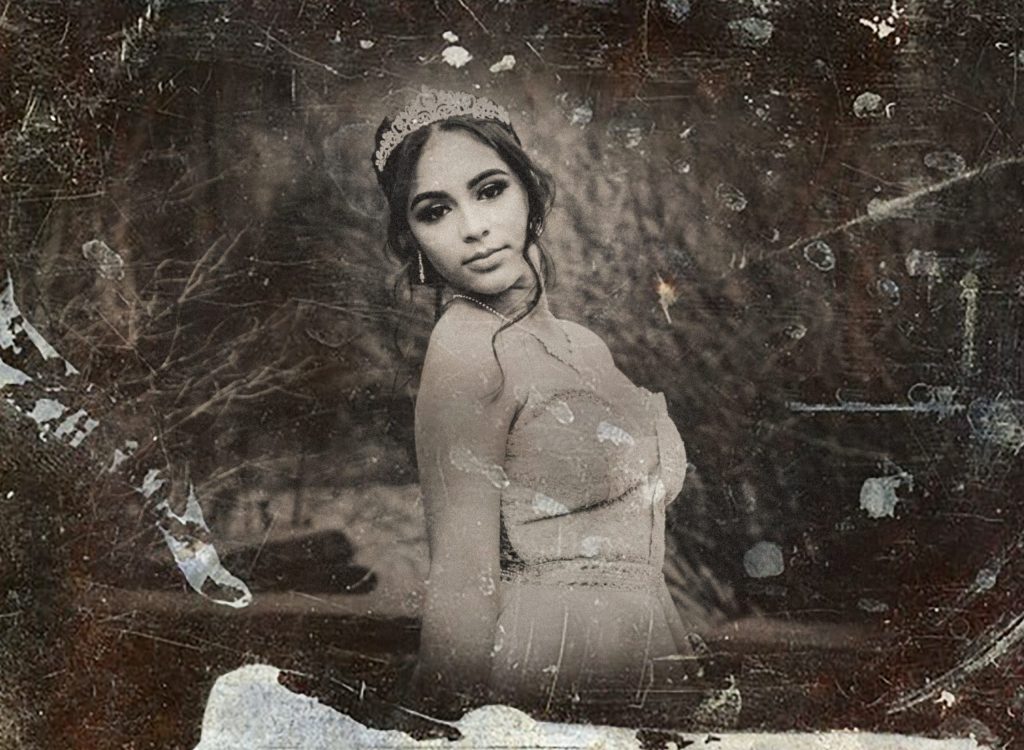
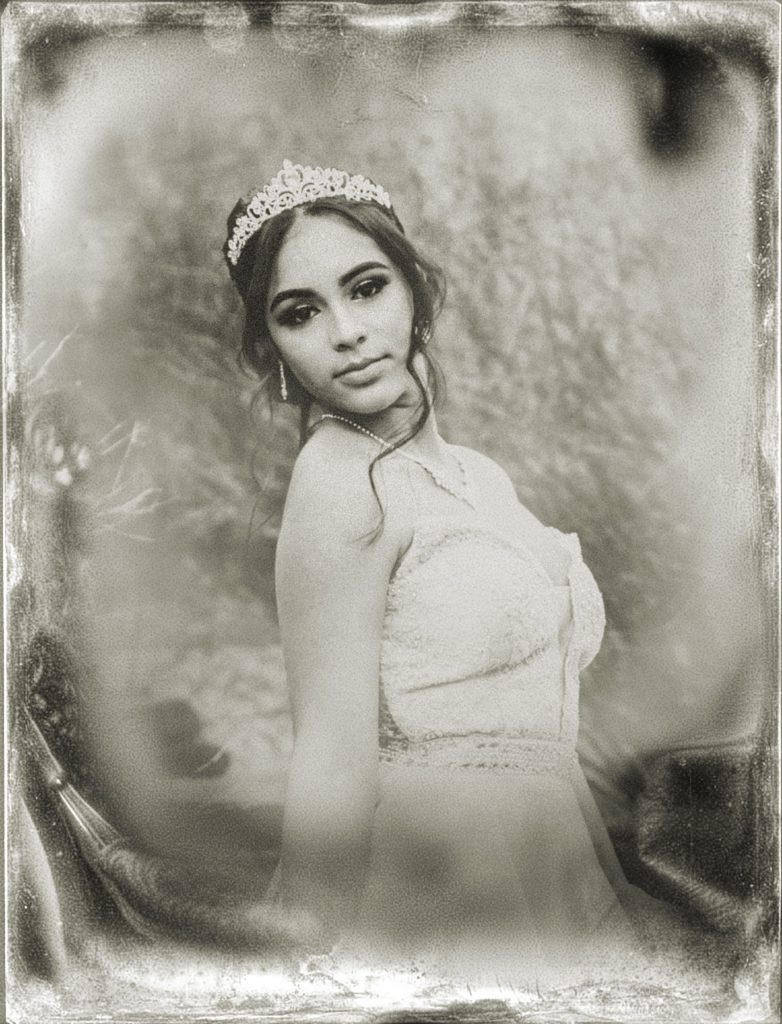
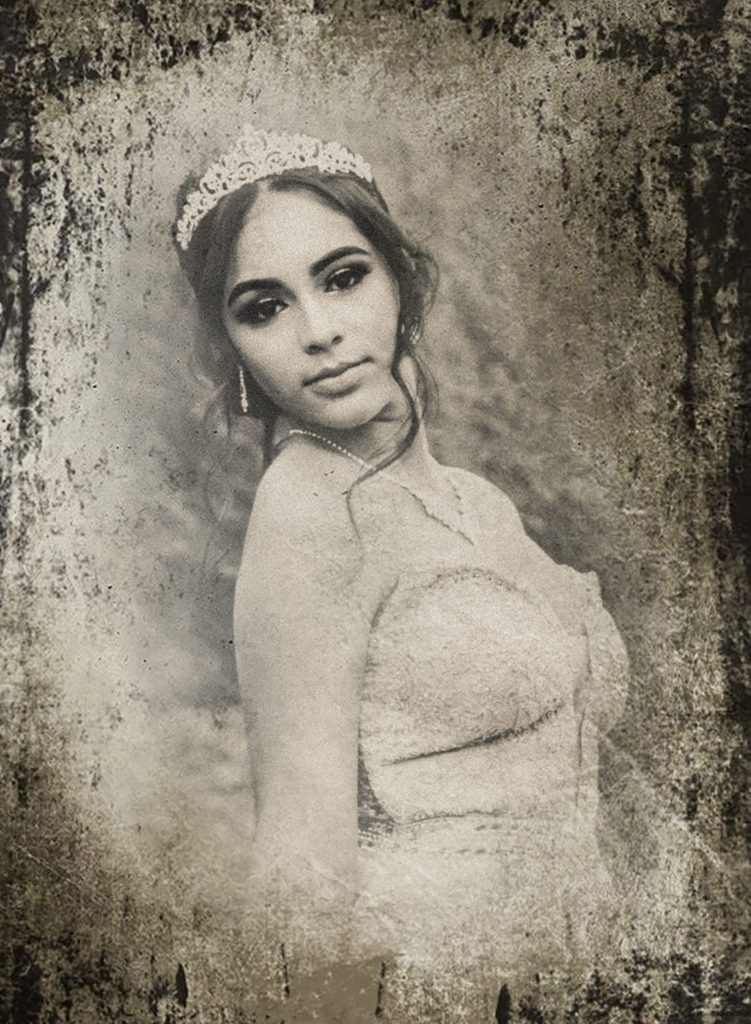
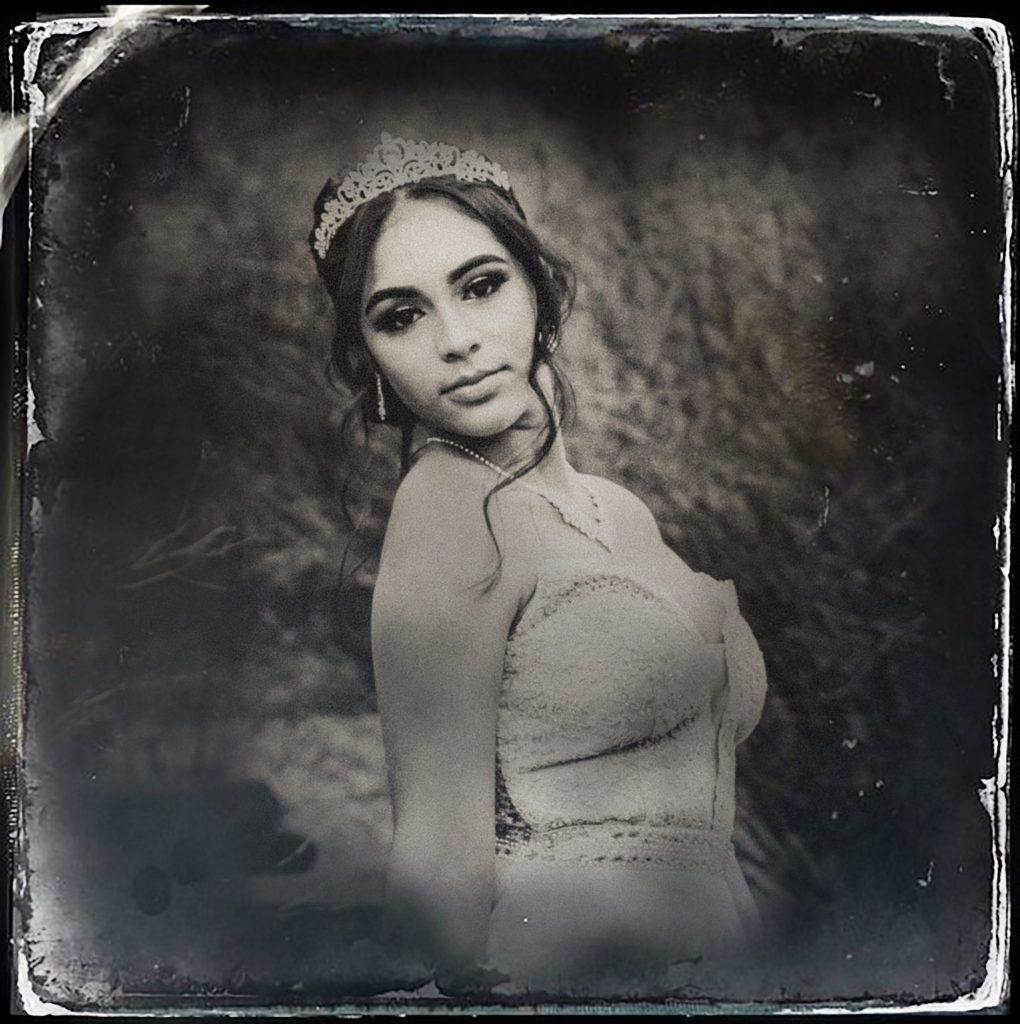
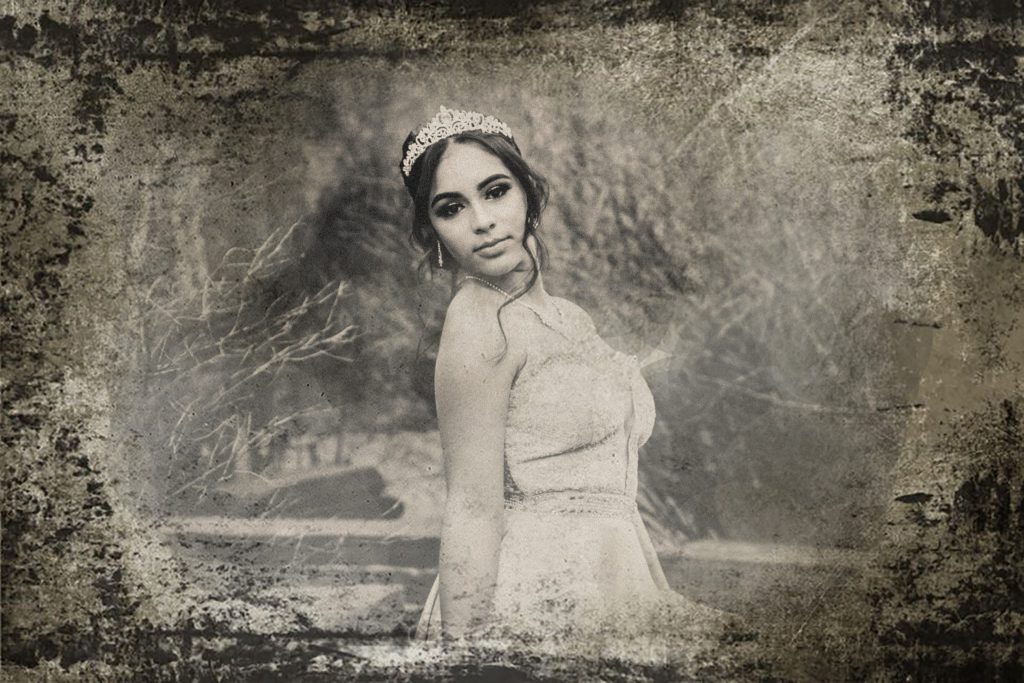
The calling card of a tintype image is to have a frame around the subject showing the chemical deterioration. To get a similar background, I did a quick Google image search and found a few backgrounds I liked. The next step was to put it all together using Photoshop. I am no wizard at using Photoshop, but after applying the background as a layer mask on top of the original image, I think the final outcome looks pretty good. Each individual image was adjusted further with a bit more contrast or brightness.
Digital Tintype Portraits: The Final Result
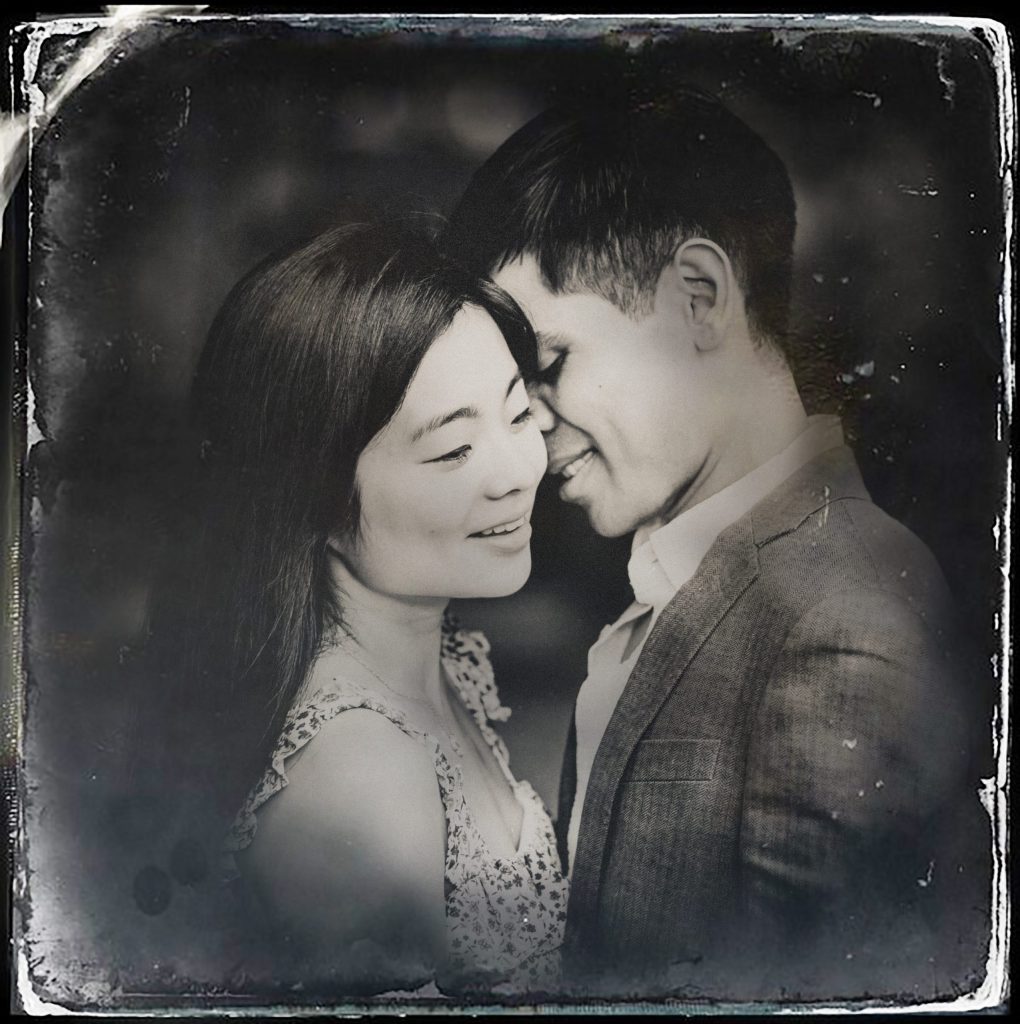
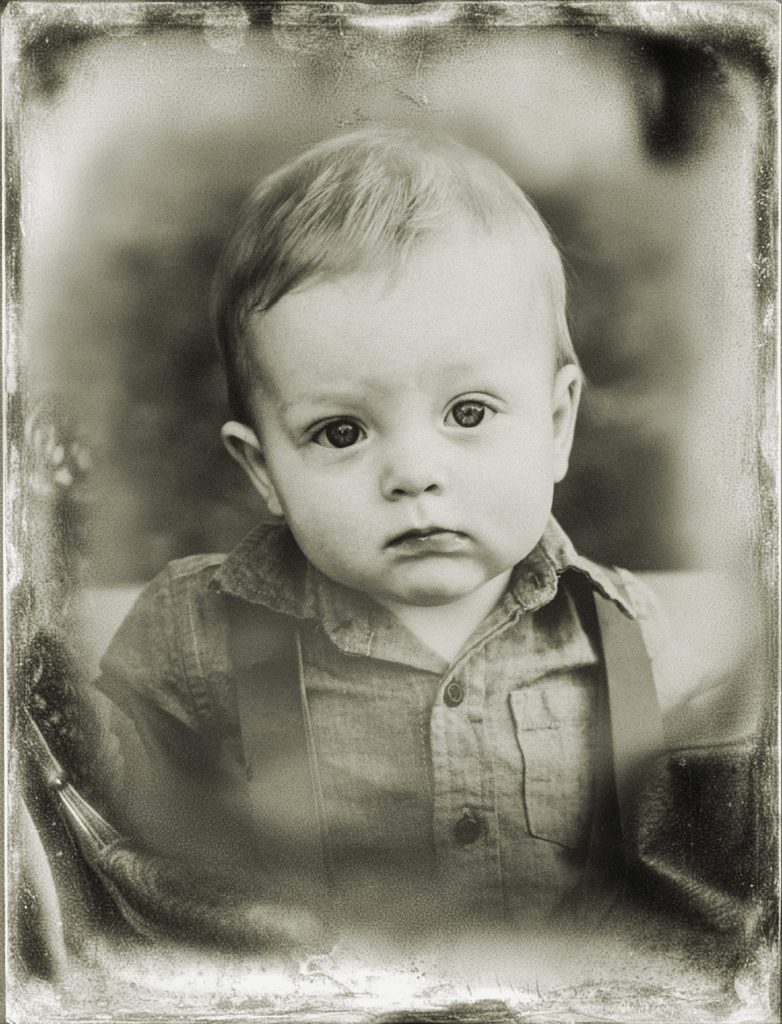
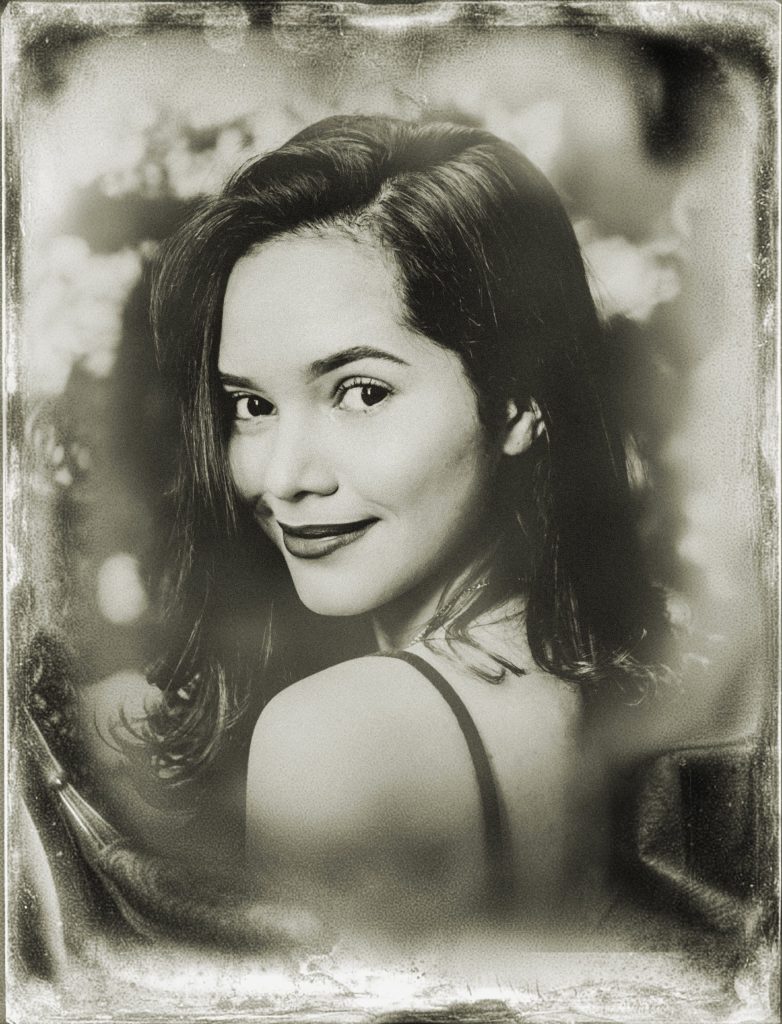
It was clear from this project that each image needed its own unique background and that one tintype-style background would not fit each portrait. So after a bit of adjusting, I came up with these digital tintype portrait examples. What do you think? Do you have a favorite?
The good news is that I have come up with a process that is easily replicable and I can use this process for future portrait sessions. Though not every portrait will look good as a tintype, for one standout image this is a fantastic way to add a little creative twist to your family portrait selection. Even better, a portrait like this printed at least 8×10 on a metal background would be a stunning addition to the wall of any living room.
I hope you all are enjoying your downtime. For some people I know this is not a slow period, but for anyone in similar circumstances I hope you feel as I do that there is finally a light at the end of the tunnel. Knowing that spring is right around the corner has me excited about new projects and the possibility of new photo shoots in the future. Let’s hope this year brings a brighter tomorrow for us all.
Interested in creating your own digital tintype portraits or perhaps scheduling a family portrait session? Drop me a line, and let’s chat about your photography needs.
If you would like to view more images from my family portrait portfolio, then please visit my website – KellyWilliamsPhotographer.com
